Have you ever found yourself staring into the fridge, searching for inspiration while the takeout menus lie untouched? That was me last week, until I uncovered the fresh zucchinis I’d meant to use for something exciting. That’s when I decided to craft my delicious Zucchini Enchiladas—nothing short of a game changer. These vibrant, veggie-packed enchiladas not only let you savor that homemade goodness you crave, but they’re also a breeze to whip up, making weeknight dinners less of a chore. Packed with fiber, protein, and flavor, this dish is a fabulous comfort food that will satisfy your cravings without the guilt. Ready to turn those lonely zucchinis into a culinary delight? Let’s get cooking!
Why Are Zucchini Enchiladas a Must-Try?
Deliciously Unique: These Zucchini Enchiladas transform a classic dish into a fresh, veggie-forward experience that will surprise your taste buds.
Healthy Twist: Packed with protein from black beans and nutrients from zucchinis, this recipe is guilt-free comfort food.
Quick & Easy: With just 50 minutes from prep to plate, you can enjoy a wholesome dinner on even your busiest nights.
Crowd-Pleasing Flavor: The combination of spices and melted cheese will have everyone asking for seconds!
Versatile: Feel free to customize with your favorite ingredients, like adding corn or different types of cheese. It's the perfect base for your creative cooking!
For more delicious veggie dishes, check out these Hibachi Zucchini Flavorful recipes or try some Parmesan Roasted Zucchini for a delightful side!
Zucchini Enchiladas Ingredients
Discover the key ingredients to elevate your zucchini enchiladas!
For the Filling
- Medium zucchinis – 4 zucchinis create the perfect wrap for your flavorful filling.
- Black beans – 1 cup provides a hearty source of protein.
- Corn – 1 cup adds a sweet crunch balancing the savory spices.
- Cumin – 1 teaspoon offers a warm, earthy flavor that enhances the dish.
- Chili powder – 1 teaspoon gives a pleasing kick to your enchiladas.
- Garlic powder – 1 teaspoon elevates the taste with its aromatic touch.
- Salt – ½ teaspoon helps to bring out all the vibrant flavors.
- Pepper – ½ teaspoon adds a dash of heat to awaken your taste buds.
- Shredded cheese – 1 cup (divided) provides creaminess and richness; reserve half for the filling.
For the Topping
- Enchilada sauce – 1 cup blankets your enchiladas in a zesty embrace.
- Fresh cilantro – Use as garnish for a fresh, herbaceous finish.
With these Zucchini Enchiladas ingredients, you’re just steps away from a comforting meal that feels like a warm hug!
Step‑by‑Step Instructions for Zucchini Enchiladas
Step 1: Preheat and Prepare
Begin by preheating your oven to 375°F (190°C) to ensure it’s hot and ready for baking. While the oven warms, gather your ingredients and grab a large mixing bowl. This is where you’ll create your flavorful filling for the Zucchini Enchiladas.
Step 2: Mix the Filling
In the large mixing bowl, combine 1 cup of black beans, 1 cup of corn, and season with 1 teaspoon each of cumin and chili powder, 1 teaspoon of garlic powder, along with ½ teaspoon each of salt and pepper. Stir in half of the shredded cheese (about ½ cup) until everything is well incorporated and vibrant.
Step 3: Slice the Zucchinis
Take the 4 medium zucchinis and slice them lengthwise into thin strips, about ¼ inch thick, which will serve as your enchilada wrappers. Aim for even slices to ensure they cook consistently. You’ll want them flexible enough to easily wrap the filling.
Step 4: Assemble the Enchiladas
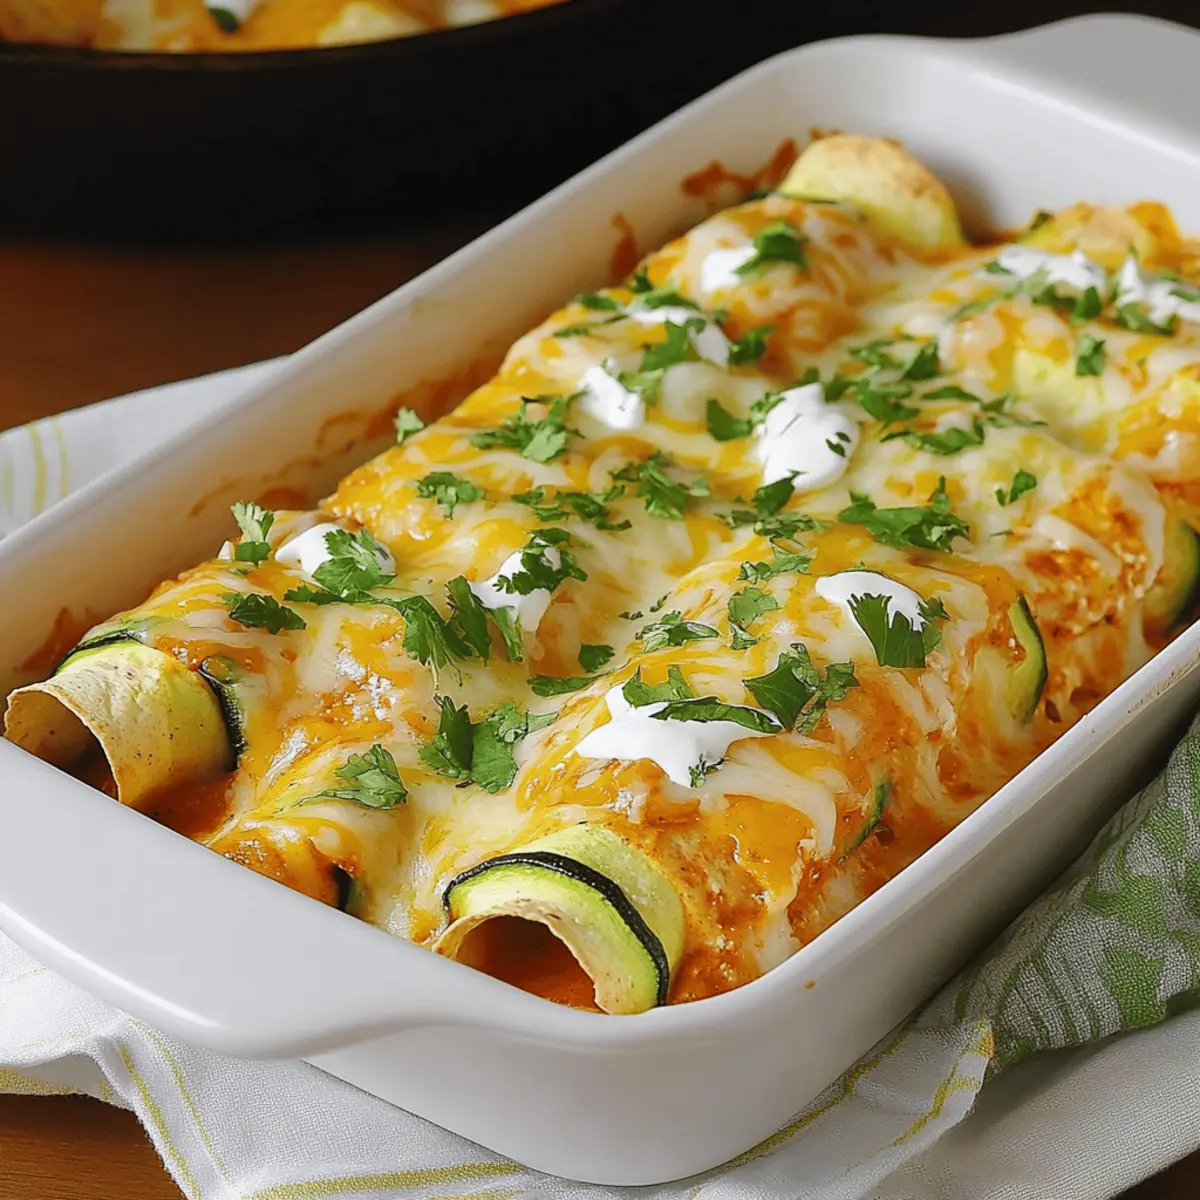
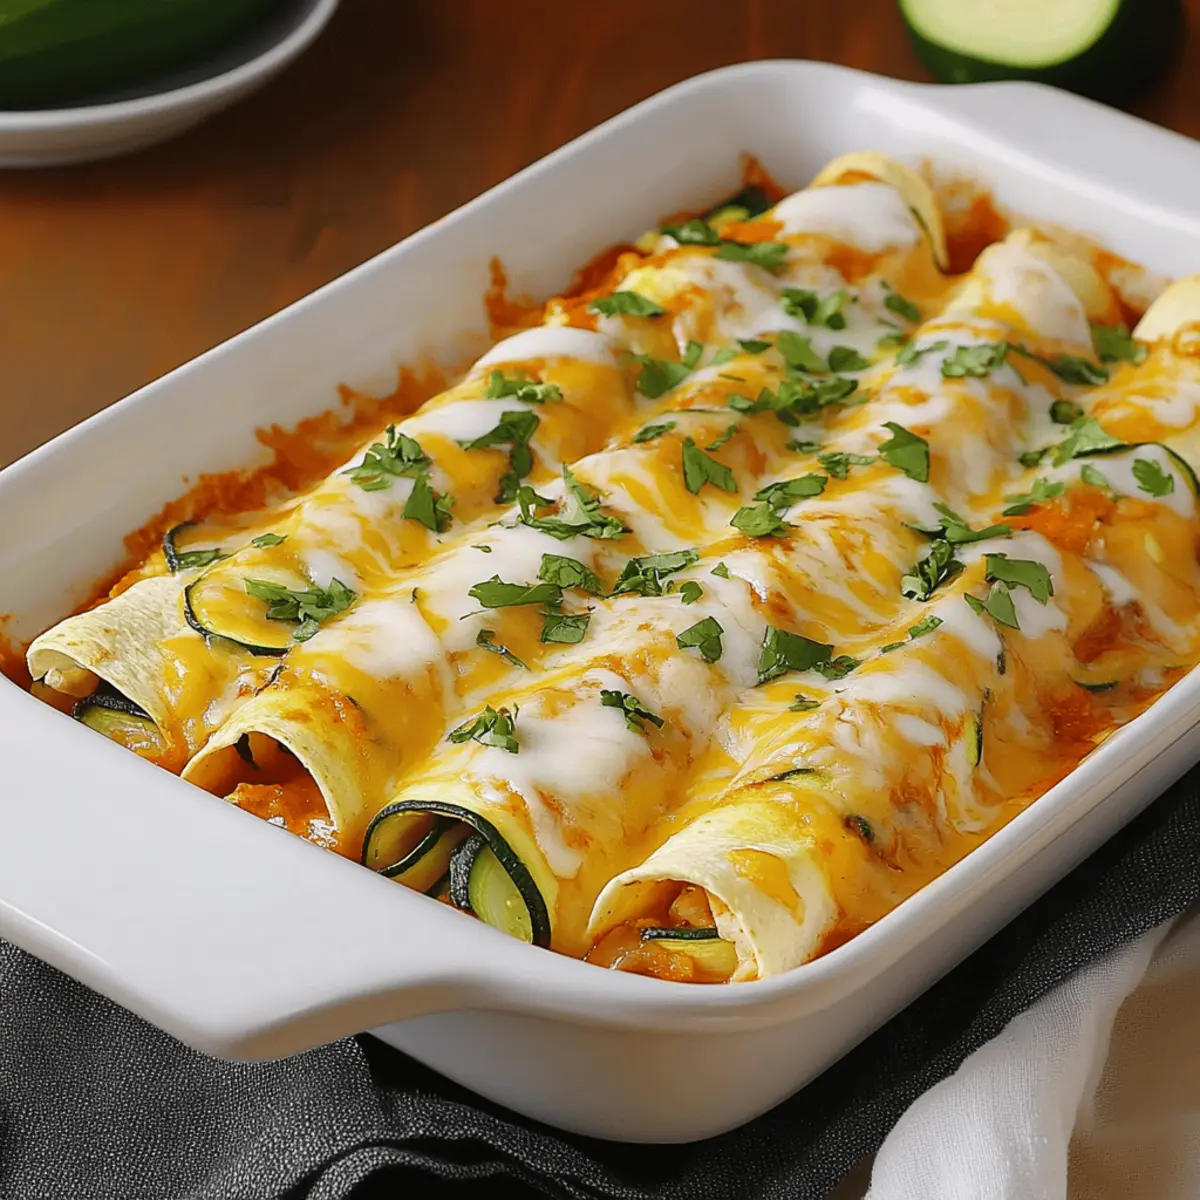
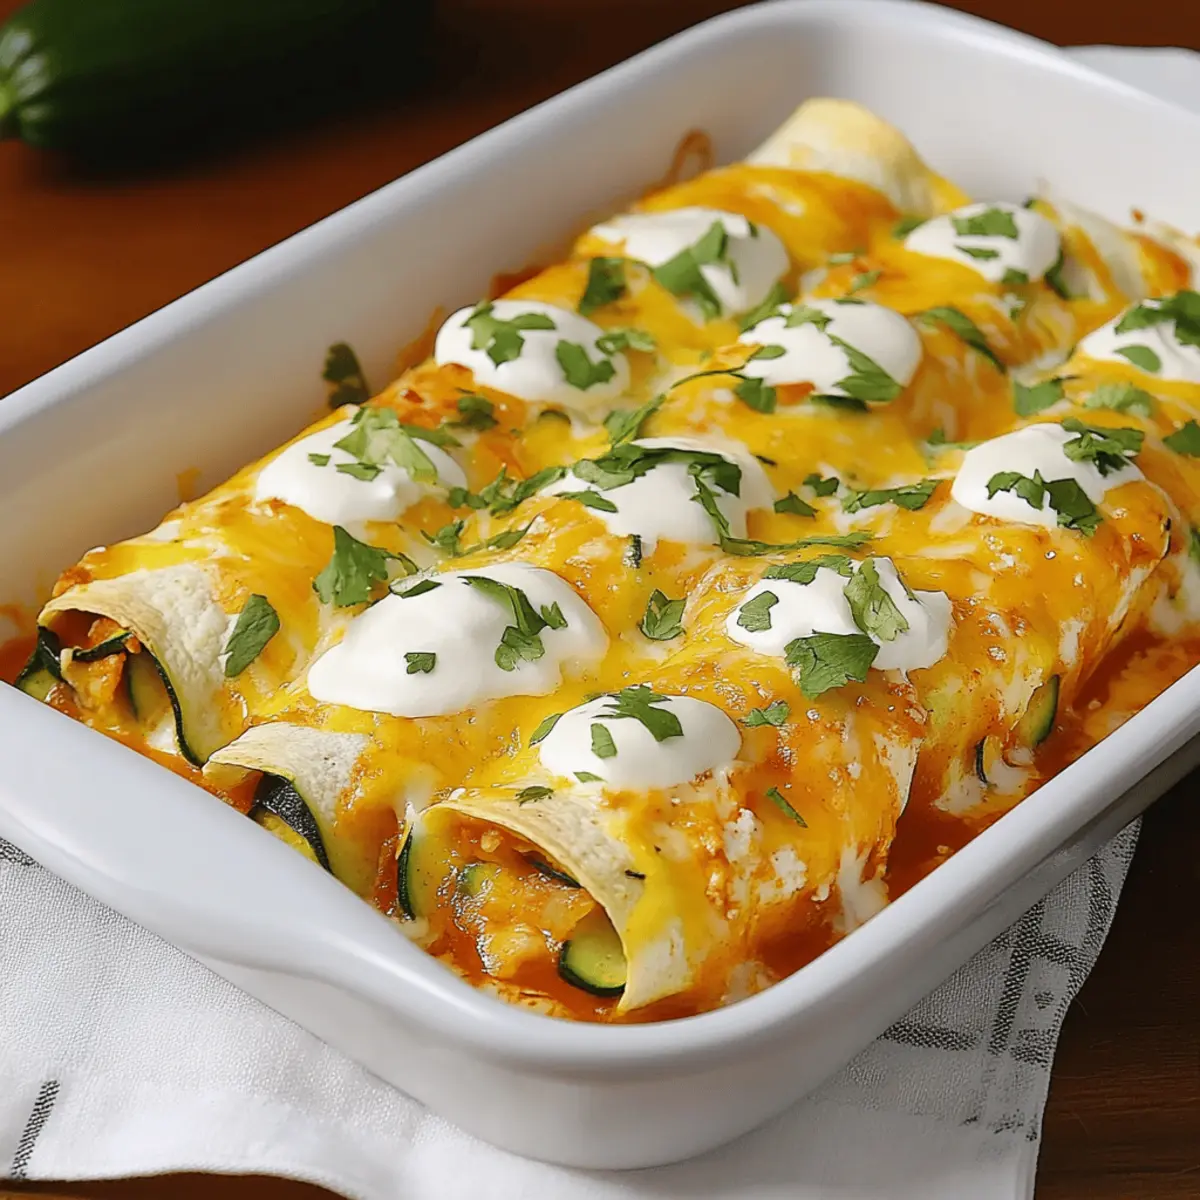
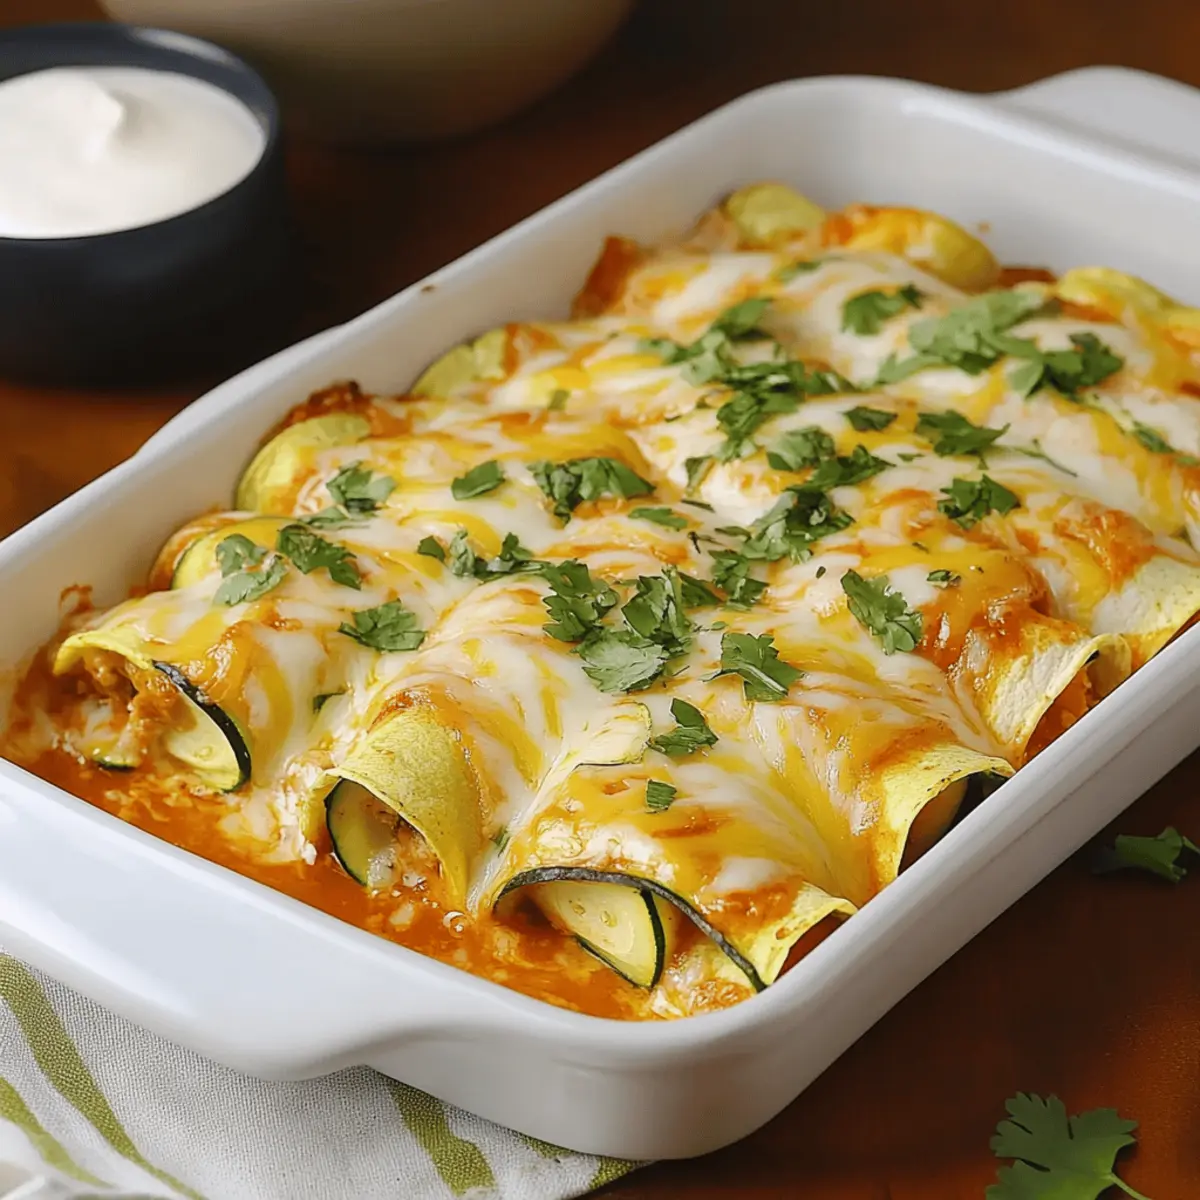
Take a zucchini strip and place a generous spoonful of the filling mixture at one end. Carefully roll the zucchini around the filling and place it seam-side down in a greased baking dish. Repeat until all the filling is used, arranging the stuffed zucchini closely together in the dish.
Step 5: Sauce and Cheese Topping
Pour 1 cup of enchilada sauce evenly over the arranged zucchini enchiladas. Then sprinkle the remaining ½ cup of shredded cheese on top, ensuring a deliciously cheesy crust. The sauce will add moisture and flavor, resulting in a succulent dish.
Step 6: Bake the Enchiladas
Place the baking dish in your preheated oven and bake for 30 minutes. You’ll know they’re ready when the cheese is melted, bubbly, and slightly golden. The aroma of spices and cheese will fill your kitchen, enticing everyone to gather around.
Step 7: Garnish and Serve
Once baked, carefully remove the dish from the oven and let it sit for a few minutes to cool slightly. Garnish your Zucchini Enchiladas with freshly chopped cilantro for a pop of color and flavor. Serve them hot and enjoy every comforting bite!
Expert Tips for Zucchini Enchiladas
Even Slices: Ensure your zucchini strips are cut evenly for uniform cooking. This prevents some parts from being overcooked while others remain crunchy.
Flexibility Matters: If your zucchini strips are too thick or not sliced properly, they may not wrap correctly. Take your time with this step to avoid tearing.
Cheese Choices: Use a blend of cheeses for extra flavor. A mix of cheddar and Monterey Jack melts beautifully and adds a nice creaminess to your Zucchini Enchiladas.
Sauce Control: Don’t skimp on the enchilada sauce! An even layer ensures moisture and prevents the enchiladas from drying out during baking.
Rest Before Serving: Allow the enchiladas to cool for a few minutes after baking. This helps them set and makes serving effortless while enhancing the flavors.
Customize Fillings: Feel free to experiment by adding other veggies like bell peppers or spinach for a twist! Your Zucchini Enchiladas can be a canvas for your tastes.
How to Store and Freeze Zucchini Enchiladas
Fridge: Store leftover Zucchini Enchiladas in an airtight container for up to 3 days. Make sure they are completely cooled before sealing to maintain freshness.
Freezer: For longer storage, freeze the enchiladas in a freezer-safe container or wrap them tightly in foil. They will stay fresh for up to 3 months.
Reheating: To reheat from the fridge, microwave for 2-3 minutes or bake in a preheated oven at 350°F (175°C) for 15-20 minutes until heated through.
Thawing: When frozen, thaw the Zucchini Enchiladas in the fridge overnight before reheating for the best texture and flavor.
What to Serve with Zucchini Enchiladas
Picture your table set with vibrant colors and delicious aromas, creating a perfect complement to your delightful meal.
- Creamy Guacamole: A scoop of guacamole adds a rich, buttery flavor that contrasts beautifully with the spicy enchiladas.
- Mexican Street Corn Salad: The sweetness of the corn mingled with lime and cilantro brings a refreshing crunch to each bite.
- Chips and Salsa: Crisp chips paired with spicy salsa create a satisfying snack that’s perfect for lingering before the main event.
- Cilantro Lime Rice: The zesty flavors of this rice dish perfectly balance the richness of the enchiladas, enhancing the overall meal experience.
- Black Bean Soup: A warm, hearty bowl of black bean soup echoes the flavors in the enchiladas while adding extra nutrition and comfort.
- Fresh Pico de Gallo: The brightness of fresh tomatoes and onions in pico de gallo brightens up your plate and adds a burst of freshness.
- Margaritas: A chilled margarita paired with these enchiladas will elevate the meal, bringing a festive touch to your dining experience.
- Churros for Dessert: End the meal on a sweet note! Crispy churros dusted with cinnamon sugar offer a delightful treat everyone will love.
Make Ahead Options
These Zucchini Enchiladas are fantastic for busy weeknights and can easily be prepared ahead of time! You can slice the zucchinis and prepare the filling (black beans, corn, and spices) up to 24 hours in advance. Just store them separately in airtight containers in the refrigerator to maintain freshness. When you're ready to enjoy your meal, simply assemble the enchiladas, pour in the enchilada sauce, and top with cheese, then bake as instructed. This way, you'll savor the same delicious flavors with minimal effort, ensuring dinner is ready in no time! Meal prep has never been so easy and satisfying!
Zucchini Enchiladas Variations
Feel free to get creative and make these zucchini enchiladas truly your own with these fun twists!
-
Dairy-Free: Substitute the shredded cheese with nutritional yeast or dairy-free cheese alternatives for a creamy taste without the dairy.
-
Spicy Kick: Add diced jalapeños or a few drops of hot sauce to the filling to spice things up. Your taste buds will thank you for the extra heat!
-
Extra Veggies: Incorporate sautéed mushrooms, spinach, or diced bell peppers into your filling for an added boost of flavor and nutrition. More colors mean more fun!
-
Grain-Free: Replace the black beans with cooked quinoa for a grain-free option that's packed with protein while staying light and fluffy.
-
Smoky Flavor: Mix in some smoked paprika with your spices for a deliciously smoky depth that pairs wonderfully with the enchiladas.
-
Herb Infusion: Add fresh herbs like basil or oregano to the filling or garnish for an aromatic twist. These herbs will elevate the dish and bring a fresh brightness.
-
Sweet Twist: Mix in some roasted butternut squash cubes with the filling for a subtly sweet and earthy taste that complements all the savory flavors.
-
Zesty Sauce: Experiment with different enchilada sauces, such as green tomatillo sauce, for a tangy flavor that will take these enchiladas to new heights.
These suggestions are just the beginning! You can make these zucchini enchiladas uniquely yours with any of these variations. If you’re looking for more delightful veggie recipes, check out these Healthy Zucchini Oatmeal cookies for a sweet treat or savor the flavors of Pecan Zucchini Bundt cake as a velvety dessert!
Zucchini Enchiladas Recipe FAQs
What type of zucchinis should I use for the best flavor?
Absolutely! Look for firm, glossy zucchinis without dark spots or blemishes. The smaller the zucchinis, the sweeter and more tender they’ll be. Medium-sized ones work well because they provide enough surface area for wrapping around the filling while still being pliable.
How should I store leftover Zucchini Enchiladas?
After enjoying your delicious enchiladas, store any leftovers in an airtight container in the fridge for up to 3 days. It's best to let them cool completely before sealing to retain their freshness and prevent sogginess.
Can I freeze Zucchini Enchiladas for later?
Yes! To freeze, individually wrap the enchiladas in foil or place them in a freezer-safe container. They can last for up to 3 months in the freezer. When you’re ready to enjoy them again, simply thaw in the fridge overnight and reheat.
What can I do if my zucchini strips tear while wrapping?
Don't worry! If that happens, just use the pieces as a bottom layer in your baking dish. Layer them with some filling and sauce for a deconstructed version. This will still taste delicious, and you won’t waste any ingredients!
Are these Zucchini Enchiladas suitable for my gluten-free diet?
Very much so! This recipe is naturally gluten-free, thanks to the zucchini wraps and the choice of ingredients. Just ensure the enchilada sauce you use is also gluten-free, as some sauces may contain gluten. Enjoy every flavorful bite without any worries!
Can I use other beans instead of black beans?
Yes! Feel free to swap black beans for pinto beans or white beans if you prefer. The key is to maintain that lovely creamy texture, which adds richness to the filling. The more, the merrier when it comes to customizing to your taste!
Mouthwatering Zucchini Enchiladas That Will Wow Your Tastebuds
Ingredients
Equipment
Method
- Preheat your oven to 375°F (190°C) and gather your ingredients.
- In a large mixing bowl, combine the black beans, corn, cumin, chili powder, garlic powder, salt, pepper and half of the shredded cheese.
- Slice the zucchinis lengthwise into thin strips, about ¼ inch thick.
- Place a spoonful of the filling mixture at one end of a zucchini strip, roll it up, and place seam-side down in a greased baking dish.
- Pour enchilada sauce over zucchini enchiladas and sprinkle with remaining cheese.
- Bake for 30 minutes until cheese is melted and golden.
- Garnish with chopped cilantro before serving.

Leave a Reply