Ingredients
Equipment
Method
Step-by-Step Instructions
- Start by bringing a large pot of salted water to a rolling boil over high heat. Once boiling, add 8 ounces of spaghetti and cook according to the package instructions until al dente, which usually takes about 8–10 minutes. Stir occasionally to ensure even cooking, and keep an eye on it as it cooks to achieve that perfect texture.
- While the pasta cooks, prepare your veggies by seeding and chopping 1 cup of fire-roasted hatch chiles and finely dicing 1 small onion. Set these aside, as they will add incredible flavor to your Hatch Chile Pasta. Make sure your garlic is minced as well, which typically takes just a minute or so.
- In a large pan, heat 2 tablespoons of olive oil over medium heat. Once hot, add the diced onion and sauté for about 3–5 minutes, or until it becomes soft and translucent. This step is crucial as it builds the foundation of flavor for your sauce. Your kitchen will start to smell amazing!
- Next, add the minced garlic to the pan, cooking for an additional minute until fragrant. Then, incorporate the chopped hatch chiles, 1 cup of vegetable broth, 1 teaspoon of sea salt, and 1 teaspoon of chili powder. Stir everything together and let the mixture simmer for 3–5 minutes, allowing the flavors to meld and the sauce to thicken slightly.
- When the spaghetti is about 2 minutes from being done, reduce the heat on your pan and mix in 1 cup of shredded Monterey Jack cheese, 1 cup of sour cream, and ¼ cup of chopped cilantro. Stir continuously until the cheese melts completely and the sauce looks creamy and luscious, enveloping all the delightful ingredients.
- Gradually pour in about ½ to ¾ cup of the reserved pasta cooking water to the sauce, stirring to loosen it to your desired consistency. This step ensures the sauce clings beautifully to the noodles in your Hatch Chile Pasta, making every bite creamy and flavorful.
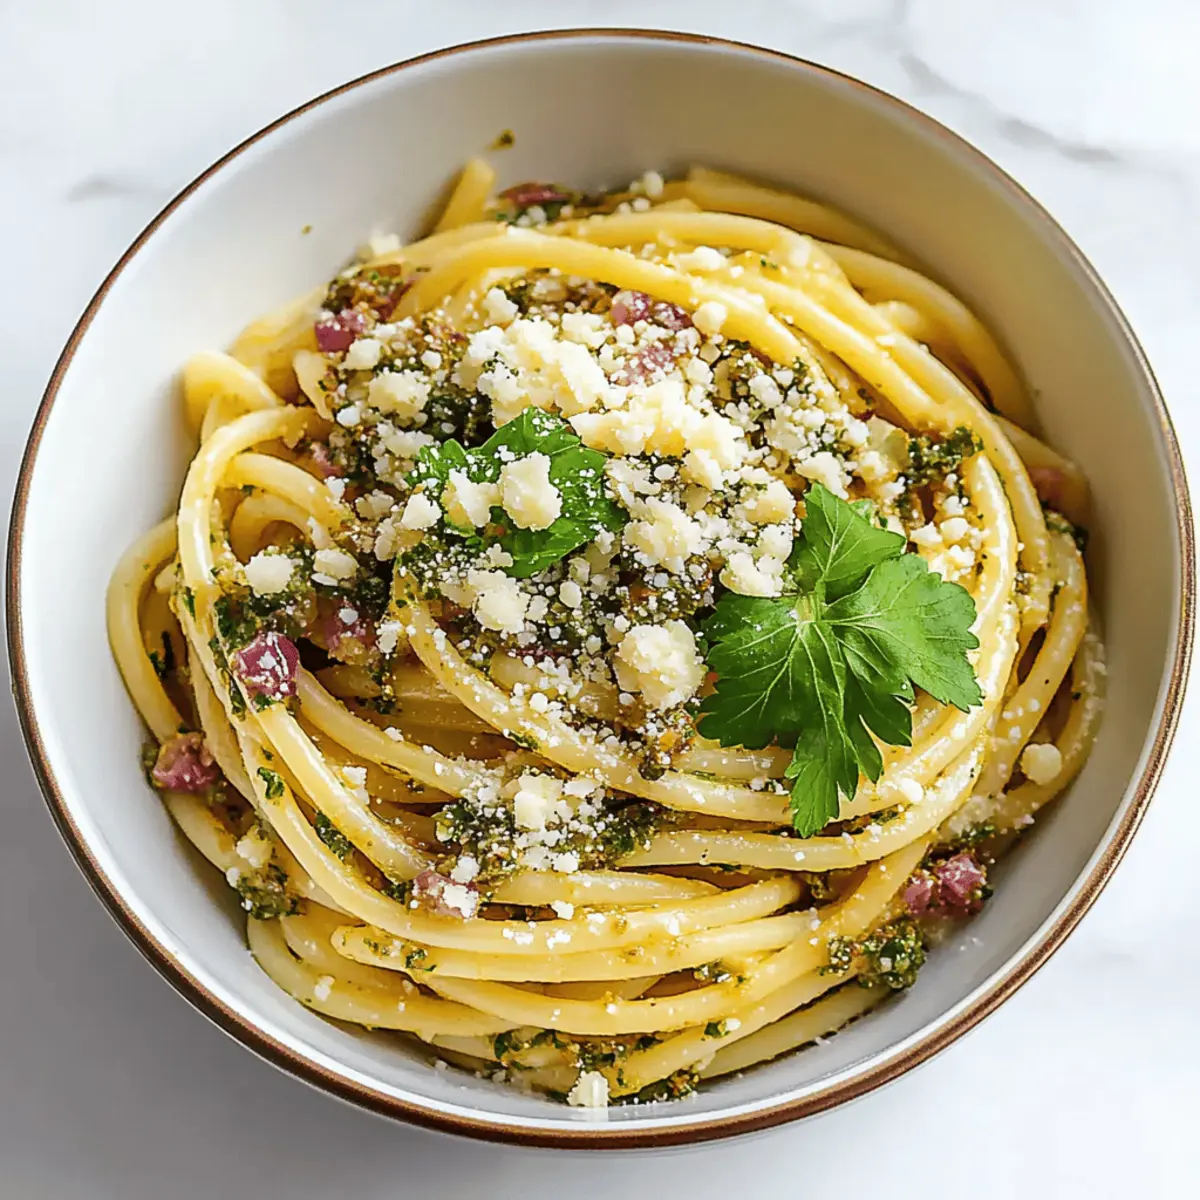
- Once the pasta is cooked and drained, immediately add it to the pan with the creamy hatch chile sauce. Toss gently but thoroughly to coat the spaghetti evenly, allowing the flavors to infuse into each noodle. The vibrant colors from the chiles and cheese will create a visual feast.
- After mixing, let the Hatch Chile Pasta rest off the heat for a few minutes. This helps the sauce thicken even more while you prepare to serve. When ready, transfer the pasta to serving plates, making sure to highlight those gorgeous colors.
- To finish, add beautiful garnishes of extra chopped cilantro, crumbled cotija cheese, and a dusting of chili powder over each plate. This not only elevates the flavors but also adds a pop of color, making your dish visually appealing.
- Serve your delicious Hatch Chile Pasta immediately, accompanied by lime wedges. A zesty squeeze from the lime will brighten the flavors, creating a delightful dining experience. Gather your loved ones and enjoy!
Nutrition
Notes
Store any leftover Hatch Chile Pasta in an airtight container in the fridge for up to 3 days. To freeze, portion the pasta into airtight freezer bags or containers, allowing up to 2 months for storage. Reheat gently in a pan over low heat, adding a splash of vegetable broth or reserved pasta water to revive the creamy sauce.