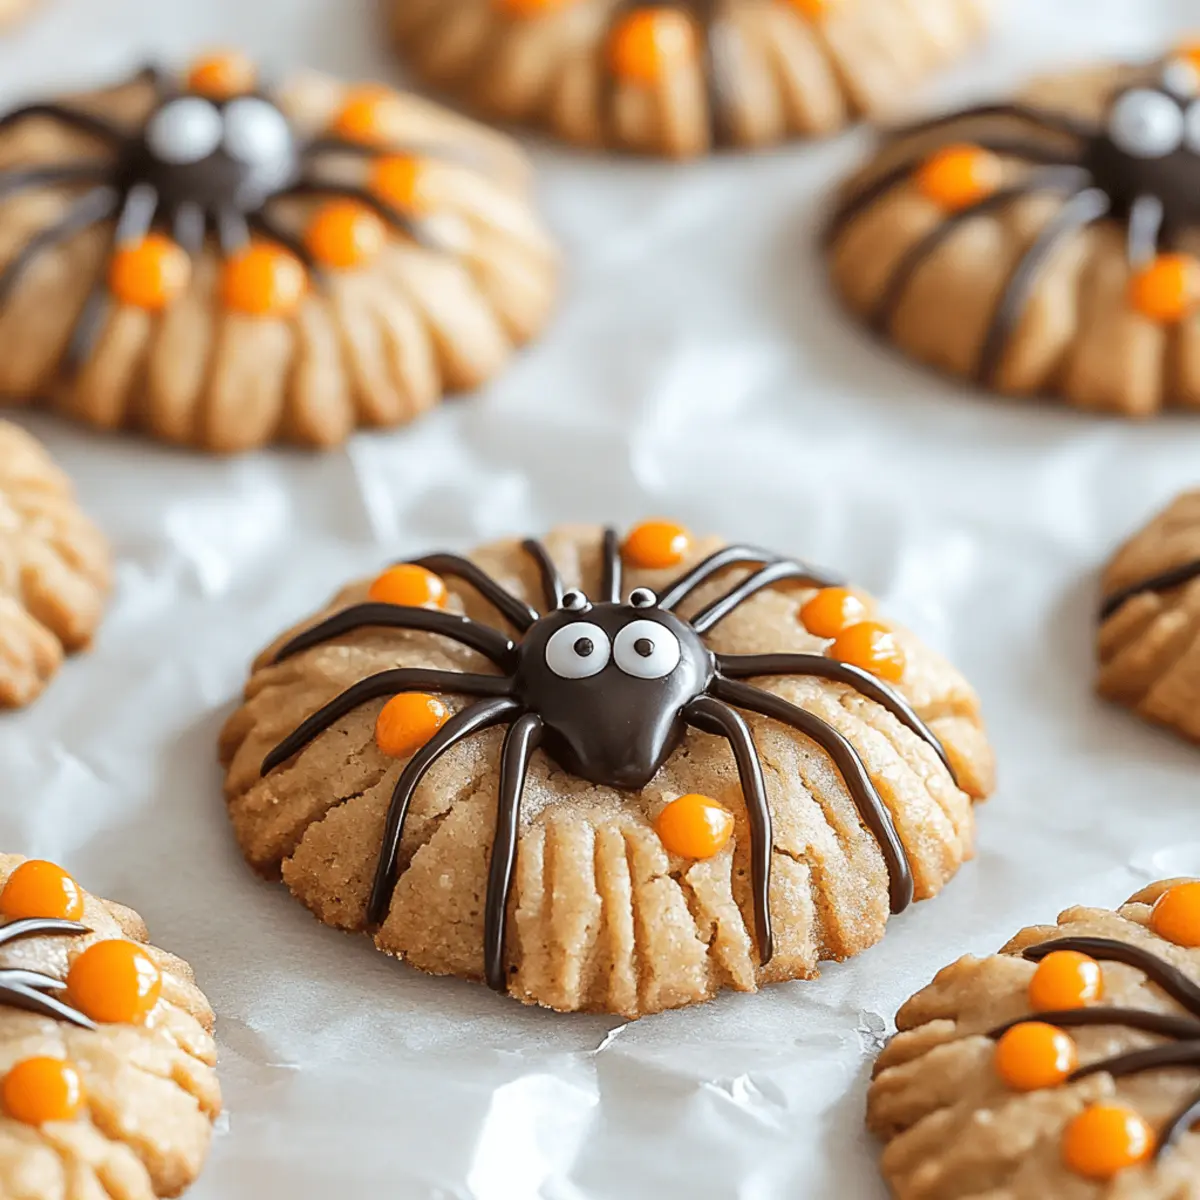
As I sifted through piles of candy and cobwebs in preparation for Halloween, a whimsical idea darted into my mind: Spooky Spider Cookies! These delightful treats combine the fun of crafting with the joy of flavor, making them the perfect addition to your Halloween dessert collection. Not only are they a fantastic way to engage your little ghosts and goblins in the kitchen, but they also offer a playful twist on traditional cookies that will impress any crowd. With a little creativity and some clever assembly, you’ll have a spooktacular centerpiece that’s sure to thrill party-goers of all ages. Curious about how these eerie delights come together? Let’s dive in and bake up some magic!
Why will you love these spooky cookies?
Irresistible Fun: These Spooky Spider Cookies are not just mouthwatering; they’re a blast to make, perfect for involving kids in the Halloween spirit!
Eye-Catching Design: With their creepy-crawly appearance, these cookies are sure to be the highlight of your Halloween spread, just like our Roll Witch Hats.
Customizable Flavors: Feel free to experiment with different cookie bases and toppings, making each batch uniquely yours.
Quick to Assemble: Whip them up in no time, letting you enjoy more of the festivities.
Crowd-Pleasing Treat: These cookies will delight both kids and adults alike, ensuring they vanish from the dessert table in a blink!
Spooky Spider Cookies Ingredients
Get ready to create a spooky sensation!
For the Cookie Base
- All-purpose flour – The backbone of your cookies, providing structure.
- Granulated sugar – Adds the perfect sweetness to balance the flavors.
- Brown sugar – Brings moisture and richness for a chewy texture.
- Unsalted butter – Ensures your cookies are buttery and delectable.
- Egg – Acts as a binder, holding everything together beautifully.
- Vanilla extract – Enhances the overall flavor profile of your spooky spiders!
- Baking soda – Helps the cookies rise for a soft and chewy bite.
- Salt – Just a pinch brings all the flavors alive.
For the Decoration
- Chocolate melts or chips – Provide a delightful, melted coating for your spider frosting.
- Black licorice or candy legs – The quintessential creepy-crawly touch for your spiders!
- Candy eyes – These little pieces bring your spooky spiders to life with a fun character.
Get your ingredients ready, and let’s conjure up some festive fun this Halloween!
Step‑by‑Step Instructions for Spooky Spider Cookies
Step 1: Preheat Your Oven
Begin by preheating your oven to 350°F (175°C). This temperature is ideal for achieving that perfect, slightly chewy texture in your Spooky Spider Cookies. While the oven heats up, gather your mixing bowls and cookie sheets, lining them with parchment paper for easy cleanup.
Step 2: Mix Your Ingredients
In a large mixing bowl, cream together the unsalted butter, granulated sugar, and brown sugar until light and fluffy—about 2-3 minutes. Then, beat in the egg and vanilla extract until well combined. In a separate bowl, whisk together the flour, baking soda, and salt, before gradually adding this dry mixture to your wet ingredients. Mix until just combined, yielding a soft dough.
Step 3: Scoop the Dough
Using a cookie scoop or tablespoon, portion out the cookie dough onto the prepared cookie sheets, leaving space between each scoop for expansion. You should aim for about 2 inches apart. Bake your cookies in the preheated oven for 10-12 minutes, or until the edges are lightly golden and the centers look slightly underbaked for that perfect chewy bite.
Step 4: Cool the Cookies
Once baked, remove the Spooky Spider Cookies from the oven and let them cool on the baking sheets for about 5 minutes. This allows them to set before transferring them to a wire rack. Allow the cookies to cool completely, which will make decorating them much easier and more fun!
Step 5: Melt the Chocolate
While your spooky cookies cool, melt the chocolate melts or chips in a microwave-safe bowl. Heat in 30-second intervals, stirring between each, until smooth and fully melted. This delicious chocolate will serve as the spooky frosting for your cookie decorating adventure!
Step 6: Decorate Your Cookies
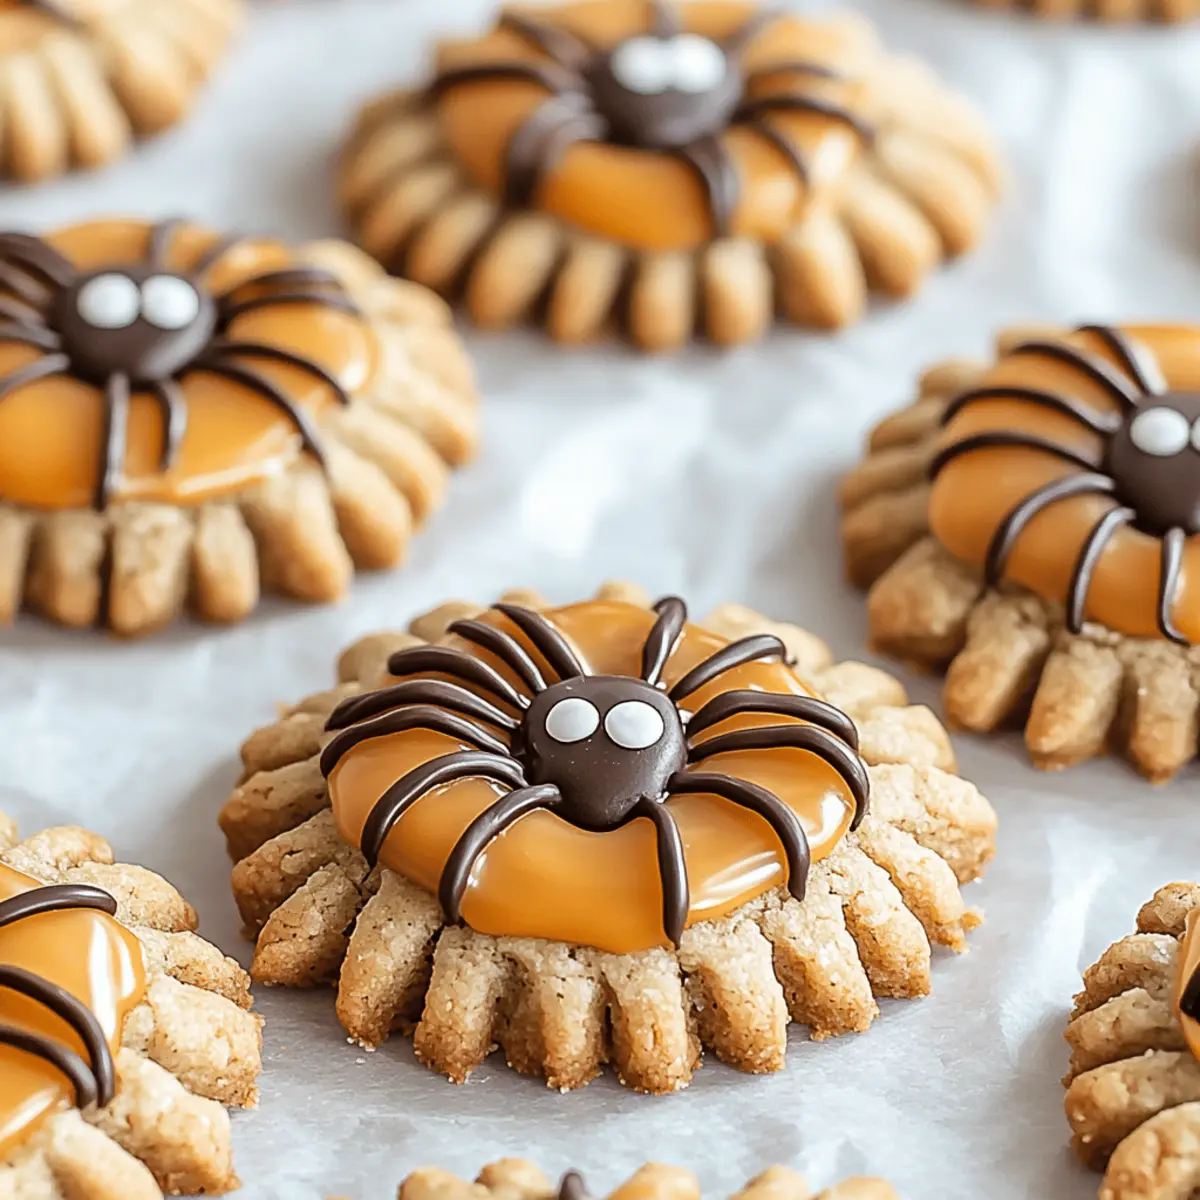
Once the cookies are cool and your chocolate is melted, dip the tops of each cookie into the chocolate to create an even layer. Let any excess chocolate drip off, then place the cookies on a cooling rack. Add black licorice or candy legs while the chocolate is still warm, and top it off with candy eyes to complete your spooky spider look!
Step 7: Enjoy and Share!
After your Spooky Spider Cookies have set, it’s time to let your creativity shine! Arrange them on a festive platter and surprise your family or guests with your creepy creations. These cookies are perfect for sharing at Halloween gatherings, making them both a treat for the eyes and a delight for the taste buds!
Make Ahead Options
These Spooky Spider Cookies are a fantastic choice for busy home cooks looking to save time during Halloween festivities! You can prepare the cookie dough up to 24 hours in advance. Simply follow the recipe instructions up to the baking stage, then cover the dough tightly in plastic wrap and refrigerate. To maintain the cookies' delightful chewy texture, be sure to bring the dough to room temperature before scooping and baking. If you'd like to decorate ahead of time, you can also melt the chocolate and store it in an airtight container, then reheat it slightly before dipping the cookies. When ready to serve, just assemble your spooky spiders with the melted chocolate and candy legs for a thrilling, crowd-pleasing treat!
Expert Tips for Spooky Spider Cookies
- Choose Quality Chocolate: Use high-quality chocolate melts for a smoother coating; it makes a difference in taste and appearance.
- Watch the Baking Time: Avoid over-baking your cookies; they should look slightly underbaked in the center for that soft, chewy texture!
- Creative Leg Options: Experiment with different candies for spider legs; pretzel sticks offer a fun crunch and spider-like aesthetic.
- Let it Cool: Allow cookies to cool completely before decorating to ensure the chocolate sets smoothly without running.
- Engage Your Helpers: Invite kids or friends to assist with the decoration for a fun and memorable cooking experience while making these spooky spider cookies!
How to Store and Freeze Spooky Spider Cookies
Room Temperature: Store un-decorated cookies in an airtight container at room temperature for up to 5 days to maintain freshness and texture.
Fridge: If decorated, keep your Spooky Spider Cookies in the fridge for up to 3 days to prevent the chocolate from melting or losing its shape.
Freezer: For long-term storage, freeze the undecorated cookies in a single layer on a baking sheet for 1-2 hours before transferring to an airtight container for up to 3 months.
Reheating: To refresh your cookies, thaw them overnight in the fridge and let them come to room temperature before enjoying, or warm for a few seconds in the microwave.
Spooky Spider Cookies Substitutions
Feel free to let your creativity run wild as you customize these fun treats for a personal touch!
- Gluten-Free: Substitute all-purpose flour with a gluten-free blend to keep everyone included in the fun.
- Nut-Free: Use sunflower seed butter instead of regular butter for a nut-free alternative that's just as delicious.
- Vegan: Replace the egg with a flaxseed or chia egg and use coconut oil instead of butter, making these cookies plant-based.
- Peanut Butter Twist: Add a spoonful of peanut butter to the cookie dough for a delightful nutty flavor that pairs wonderfully with chocolate.
- Flavor Boost: Sprinkle in some cinnamon or pumpkin spice to the dough for an autumn-inspired twist that complements the Halloween theme beautifully.
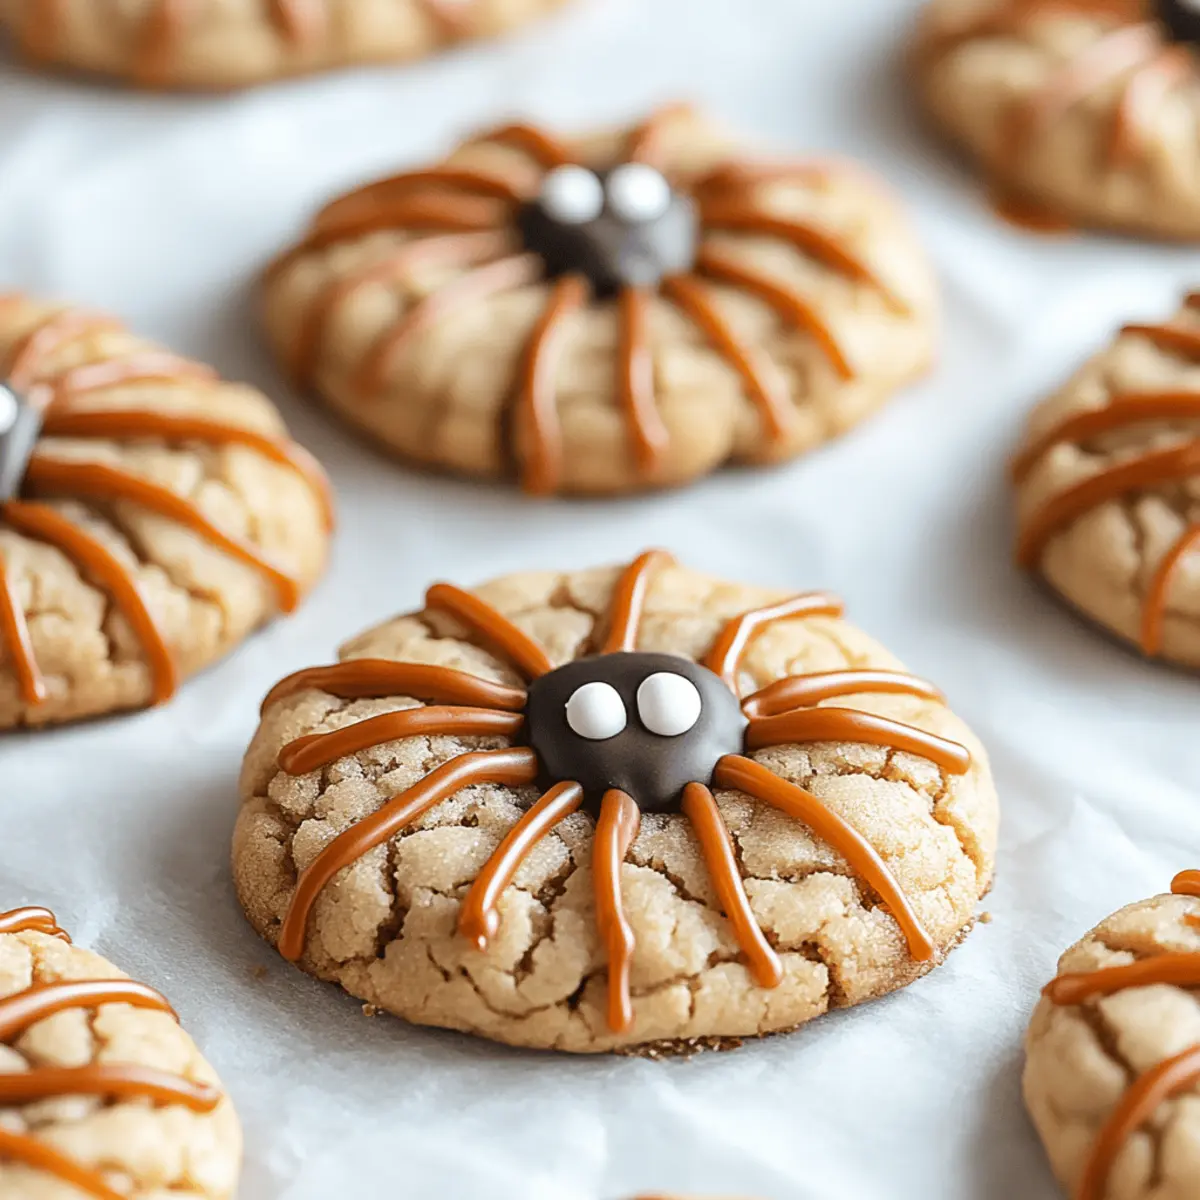
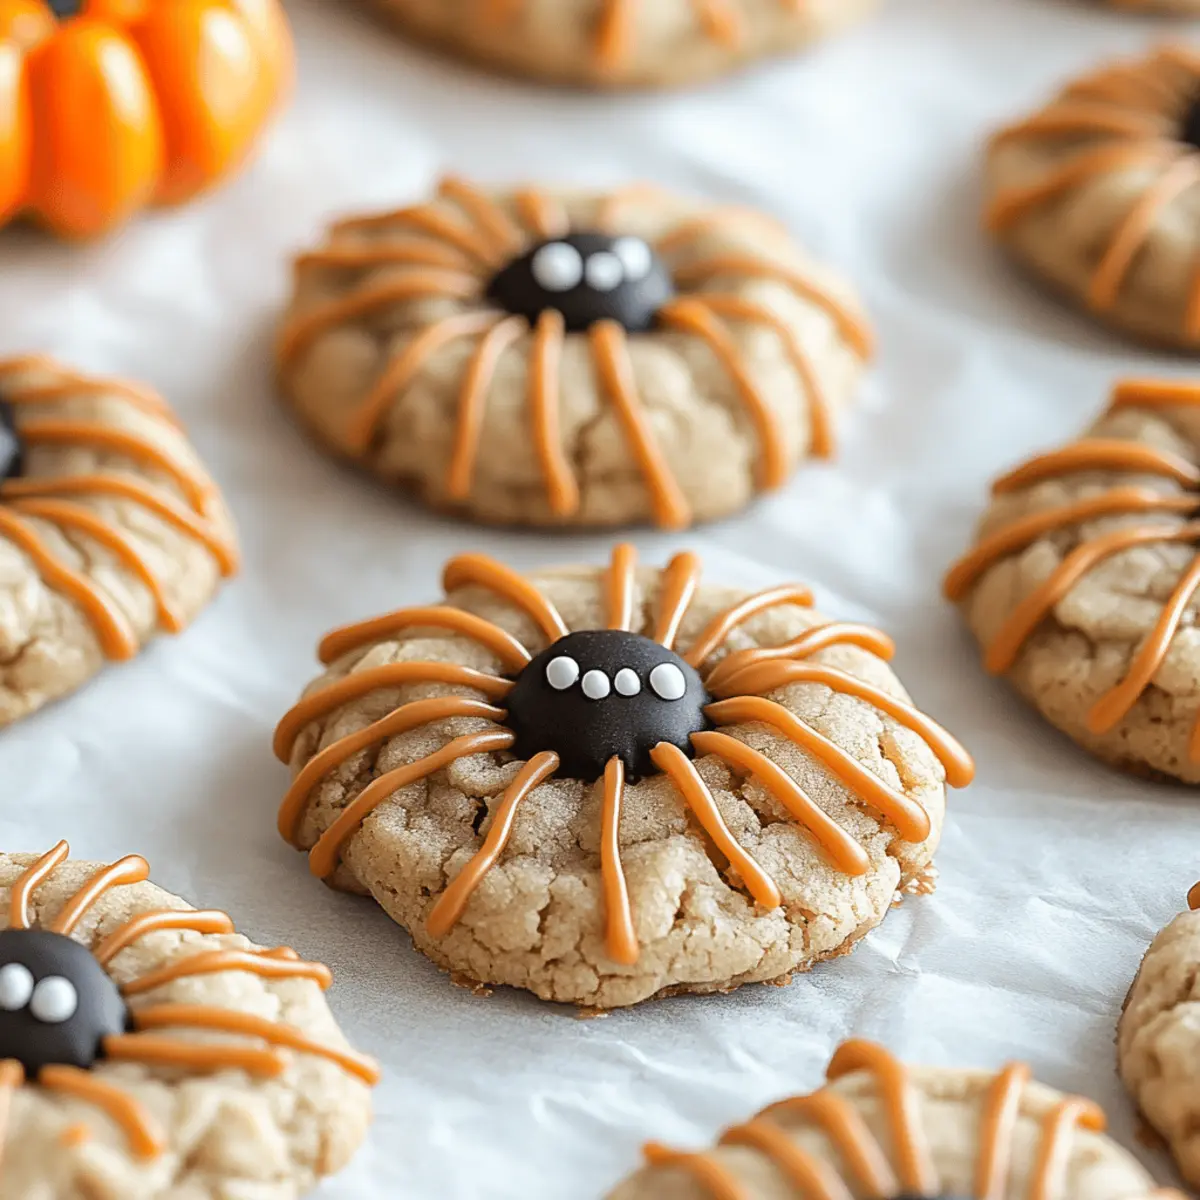
- Colorful Spiders: Try using colored candy melts for a fun and vibrant spider cookie design that will captivate the little ones, just as we created with our Ghost Meringues.
- Marshmallow Surprise: Add mini marshmallows into the dough for an unexpected treat that adds chewiness and sweetness to each bite!
- Spicy Kick: Integrate a pinch of cayenne pepper or chili powder in the dough for a spicy surprise that balances the sweetness delightfully.
So, roll up your sleeves and tailor these Spooky Spider Cookies to your taste preferences!
What to Serve with Spooky Spider Cookies?
As you conjure up a haunting Halloween dessert spread, consider delightful pairings that enhance the spooky charm of your family-favorite cookies.
- Warm Apple Cider: The rich, spiced flavors create a cozy counterpoint to your spooky treats, perfect for chilly nights.
- Gooey Caramel Sauce: Drizzle this sweet and buttery delight over your cookies for an irresistible combination of flavors. It's a warm hug for your taste buds!
- Chocolate Dipped Strawberries: These luscious berries bring a fresh, fruity note, balancing the sweetness of the cookies wonderfully.
- Pumpkin Cream Cheese Dip: This velvety dip pairs perfectly with pretzels or graham crackers, introducing a hint of fall that complements the theme.
- Creepy Cupcake Platter: Include Halloween-themed cupcakes for an eye-catching dessert table that ups the festive factor. Think orange frosting and black sprinkles!
- Chilling Milkshakes: Serve up spooky black-and-white milkshakes for a refreshing treat that pairs beautifully with your Spooky Spider Cookies.
- Ghostly Fruit Skewers: Add some fun and freshness with skewers of fruits like banana ghosts and grape goblins to please everyone.
- Candied Apples: A classic Halloween favorite that adds a crunchy, sweet element to your dessert lineup is always a hit.
- Hazelnut Hot Chocolate: Pair this rich beverage with your cookies for a comforting drink that enhances your spooky cookie experience.
- Halloween Punch: Whip up a bright, colorful punch to bring some extra festive cheer to your gathering. It's refreshing and adds a playful element!
Spooky Spider Cookies Recipe FAQs
How do I select the best ingredients for Spooky Spider Cookies?
Absolutely! For the best flavor and texture in your Spooky Spider Cookies, choose fresh all-purpose flour, high-quality unsalted butter, and fresh eggs. Make sure your baking soda is not expired for proper rising, and get chocolate melts that are smooth and creamy, which will enhance the cookie's taste.
How should I store my decorated Spooky Spider Cookies?
Very! After decorating, place your Spooky Spider Cookies in an airtight container and refrigerate them for up to 3 days. This will help the chocolate maintain its shape and prevent melting. If you'd prefer to store them at room temperature, consider eating them within a day or two to keep their freshness intact and avoid any sogginess.
Can I freeze Spooky Spider Cookies? How?
Of course! To freeze your Spider Cookies, first, make sure they are undecorated. Lay them in a single layer on a baking sheet and freeze for about 1-2 hours until solid. Once they’re firm, transfer the cookies to an airtight container or freezer bag, separating layers with parchment paper to prevent sticking. They can be frozen for up to 3 months. When you’re ready to enjoy them, thaw overnight in the fridge or at room temperature before decorating.
What if my cookies turn out hard instead of chewy?
Oh no, that can happen! If your Spooky Spider Cookies end up too hard, it’s likely they were baked for too long. Aim for a lightly golden edge but slightly underbaked centers when you remove them from the oven. Remember to cool them on a wire rack for the best texture. If they do turn out hard, you can try placing a slice of bread in the storage container to help reintroduce moisture.
Are there any dietary considerations I should be aware of?
Definitely! If you’re making these cookies for a gathering, be mindful of potential allergies related to ingredients like gluten (the flour) and dairy (the butter). You can use gluten-free flour and dairy-free butter substitutes for a safer option. Just double-check the labels on your chocolate melts and any decorations to ensure they align with dietary preferences and restrictions, especially if you're serving children or guests with specific allergies.
Spooky Spider Cookies That Will Haunt Your Halloween Fun
Ingredients
Equipment
Method
- Preheat your oven to 350°F (175°C). Line cookie sheets with parchment paper.
- Cream together the butter, granulated sugar, and brown sugar until light and fluffy.
- Beat in the egg and vanilla extract. In another bowl, whisk together flour, baking soda, and salt, then mix into the wet ingredients.
- Scoop the dough onto cookie sheets, leaving 2 inches apart. Bake for 10-12 minutes until edges are golden.
- Cool the cookies on the baking sheets for 5 minutes before transferring to a wire rack.
- Melt chocolate in intervals in a microwave, stirring until smooth.
- Dip the tops of each cookie in melted chocolate, add candy legs and eyes while the chocolate is still warm.
- Arrange cookies on a platter and share your creepy creations!


Leave a Reply