As I stood in my kitchen, the aroma of melting chocolate filled the air, instantly transporting me back to carefree summer nights by the campfire. S’mores Bars are the nostalgic treat that combines all the gooey goodness of the classic campfire dessert, but with a twist that's perfect for sharing. With just a handful of ingredients—graham crackers, chocolate, and marshmallows—you can whip up these bars in under 15 minutes of active prep. They’re not just quick to make; these crowd-pleasers are also a great way to unwind after a long day or to delight guests at your next gathering. Whether you slice them into generous squares or indulge directly from the pan, you’ll find yourself making new memories as you dive into the rich chocolate and fluffy marshmallow layers. Who knew that such easy recipes could also stir up so much joy in the kitchen? Ready to learn how to create these delightful S'mores Bars? Let’s get started!
Why are S'mores Bars a must-try?
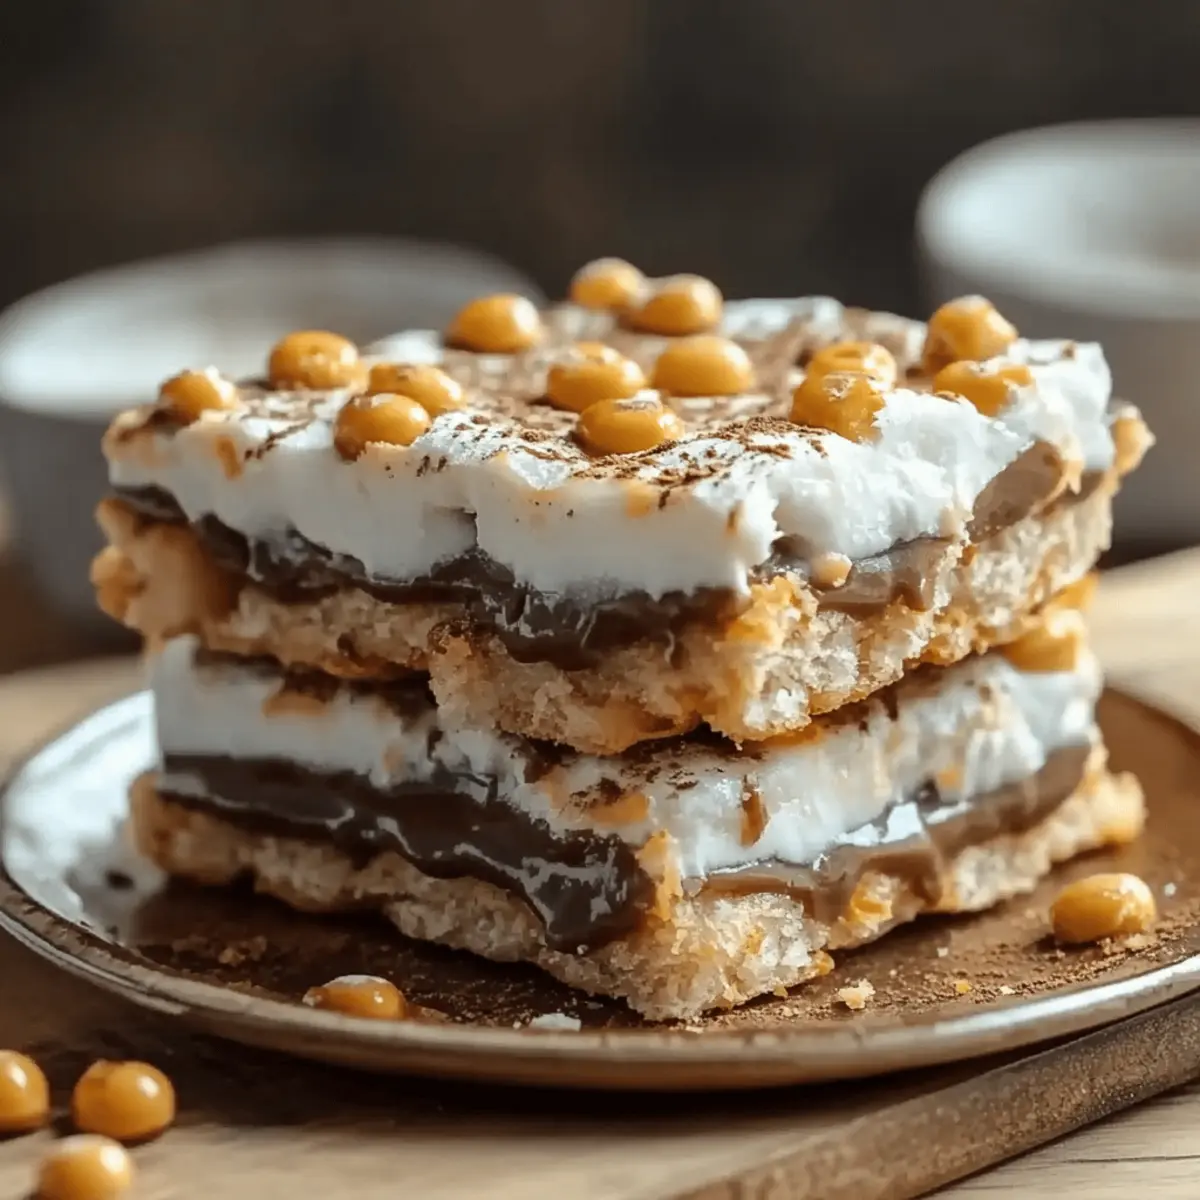
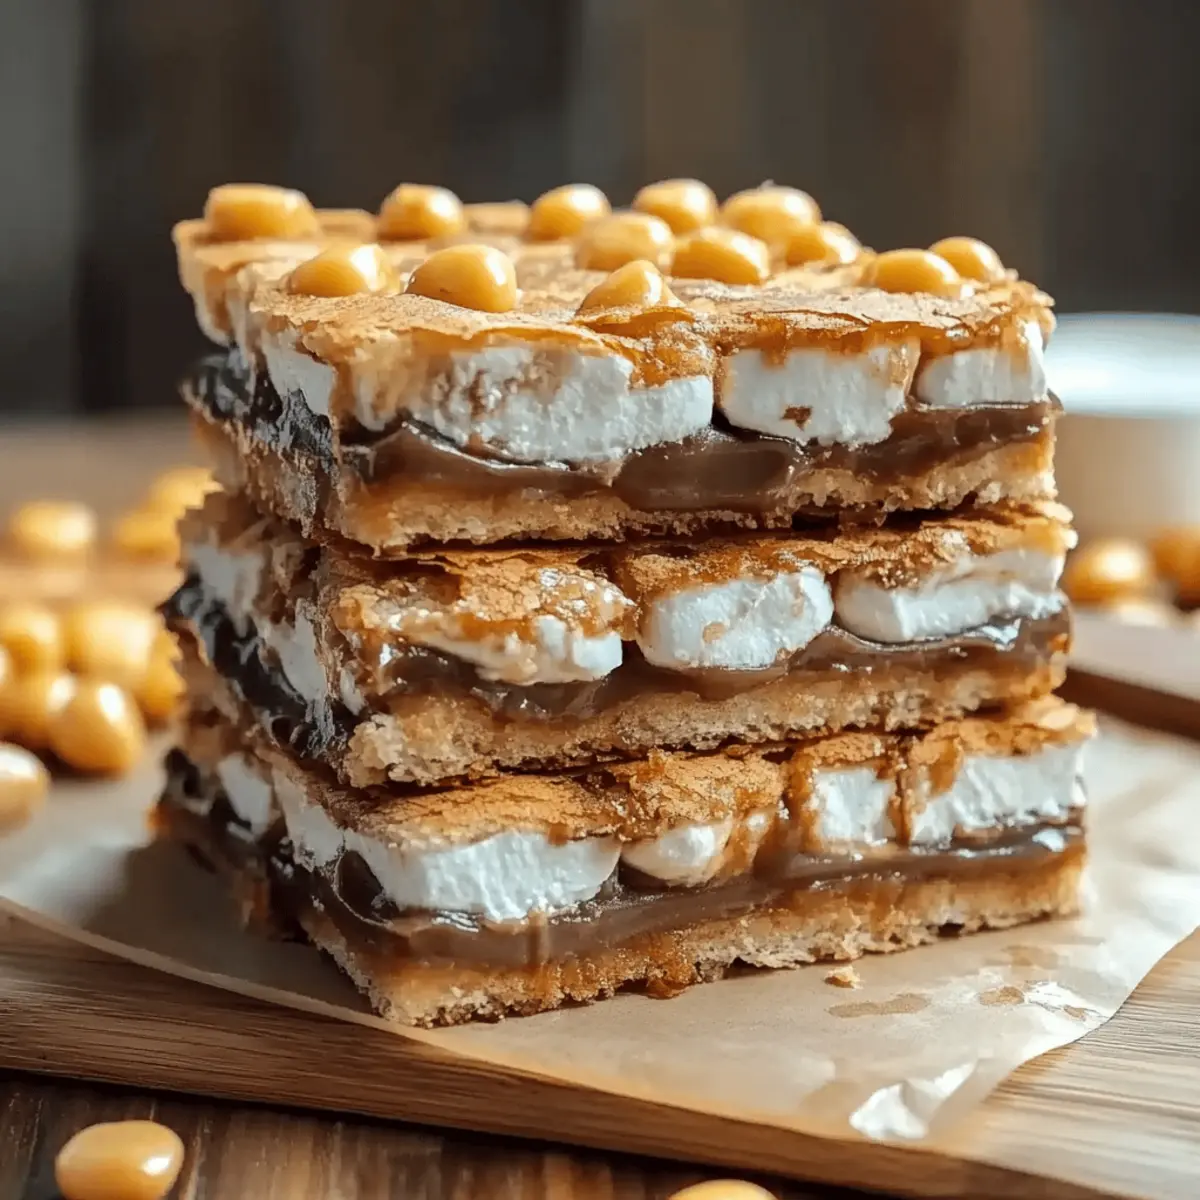
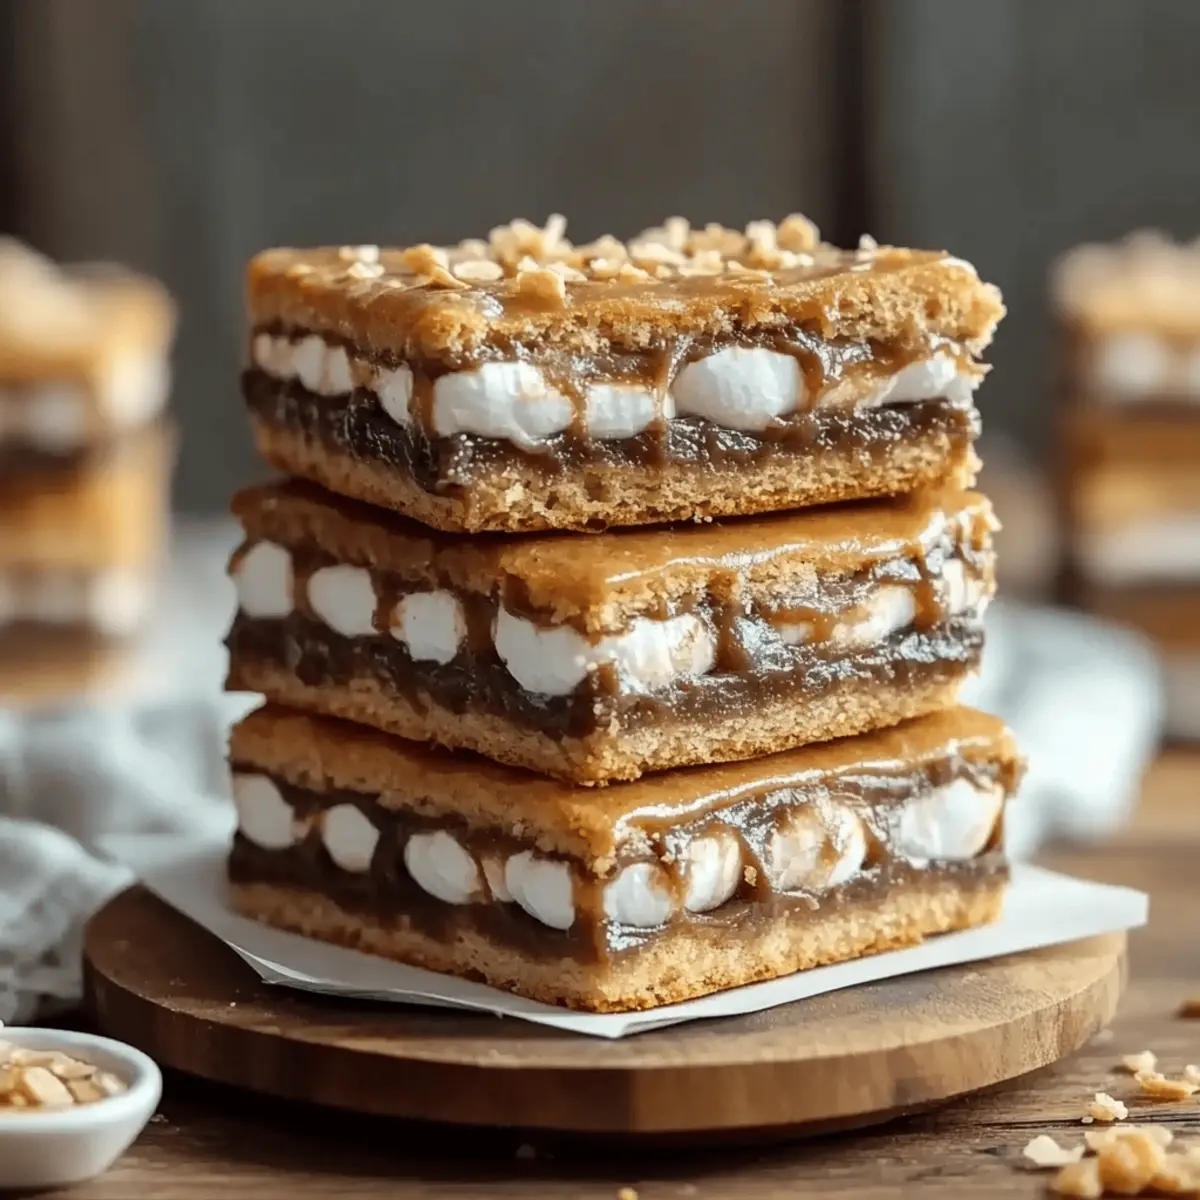
Unforgettable Flavor: The perfect mix of graham cracker crust, rich chocolate, and toasted marshmallows creates a delightful experience that will transport you straight to summer nights. Quick and Easy: Whipping up these S'mores Bars takes minimal effort, so you can satisfy your sweet tooth without spending hours in the kitchen. Versatile Treat: Perfect for parties or simply indulging at home, these bars can be enjoyed by everyone. For more easy dessert ideas, check out my favorite simple dessert recipes. Family Favorite: Watch your loved ones' faces light up as they enjoy this nostalgic treat! With a gooey, satisfying texture, you’ll be the star of any gathering.
S'mores Bars Ingredients
For the Crust
• Graham cracker crumbs – These provide the classic base for your S'mores Bars and add that essential texture.
• Powdered sugar – This helps to sweeten the crust and gives it a nice, smooth finish.
• Butter, melted – Essential for binding the crust ingredients together, creating a rich flavor.
For the Filling
• Hershey bars – The rich chocolate melts into a gooey layer that's pure bliss.
• Mini marshmallows – These are the key to that indulgent, fluffy topping that makes S'mores Bars so irresistible.
Enjoy crafting these delightful treats!
Step‑by‑Step Instructions for S’mores Bars
Step 1: Preheat the Oven
Begin by preheating your oven to 350°F (175°C). This step is crucial as it ensures that your S’mores Bars bake evenly. While the oven heats up, prepare your baking pan by greasing a 9×13-inch dish with a bit of butter or cooking spray to prevent sticking later.
Step 2: Combine the Crust Ingredients
In a mixing bowl, stir together 2 cups of graham cracker crumbs, 1 cup of powdered sugar, and ½ cup of melted butter. Mix until fully combined and the mixture is crumbly but holds together when pressed. This delicious crust is the foundation of your S’mores Bars, so make sure not to over-saturate the crumbs with butter.
Step 3: Press the Crust into the Pan
Once your crust mixture is ready, transfer it to your greased baking pan. Using a spatula or your hands, firmly press the mixture into an even layer across the bottom of the pan. Aim for a smooth, compact base that’s about half an inch thick. This ensures a sturdy foundation for your S’mores Bars.
Step 4: Bake the Crust
Place the crust in the preheated oven and bake for 5–8 minutes. Keep an eye on it, as you’re looking for the edges to turn a light golden brown. This initial baking will give your crust a delicious, slightly crispy texture, perfect for balancing the gooey toppings.
Step 5: Add the Chocolate Layer
Remove the crust from the oven and immediately lay 8 full-size Hershey bars on top of the warm crust. Arrange them closely together to cover the entire surface. The heat from the crust will begin to soften the chocolate, making it easier to spread later on.
Step 6: Melt the Chocolate
Return the pan to the oven for another 3 minutes. You’ll want to watch carefully as the chocolate starts to melt and shimmer. The goal here is to achieve a smooth, melting chocolate layer that will blend beautifully with the marshmallows to follow.
Step 7: Top with Marshmallows
After the chocolate has softened, let it sit for about 1–2 minutes until cool enough to handle. Evenly sprinkle 2 cups of mini marshmallows across the melted chocolate layer. This fluffy topping is what makes your S’mores Bars truly irresistible, so distribute them generously.
Step 8: Broil the Marshmallows
Switch your oven setting to broil and return the pan for 1–2 minutes. Stay vigilant during this step, as the marshmallows can toast quickly. You want them to turn a beautiful golden brown, adding that classic s'mores flavor.
Step 9: Cool the S’mores Bars
Remove the pan from the oven and allow the S’mores Bars to cool completely at room temperature. This cooling period helps set the layers and makes slicing simpler. If you're in a hurry, you can place them in the refrigerator for about 30 minutes for quicker cooling.
Step 10: Slice and Serve
Once cooled, use a sharp knife warmed under hot water to cut the bars into squares. Wipe the knife clean and reheat it as needed between cuts to ensure smooth edges. This helps maintain the beautiful layers of chocolate and marshmallow within each piece.
Step 11: Store Leftovers
If you have any S'mores Bars left, store them in an airtight container at room temperature for up to 3 days. This makes it easy to enjoy your delightful homemade treat without compromising freshness. Prepare for the smiles as friends and family indulge in your sweet creation!
How to Store and Freeze S'mores Bars
Room Temperature: Store your S'mores Bars in an airtight container at room temperature for up to 3 days to maintain their gooey texture and flavor.
Fridge: If you prefer them chilled or want to extend freshness, keep the bars in the refrigerator for up to 5 days. Make sure they’re tightly sealed to prevent drying out.
Freezer: For longer storage, wrap individual bars in plastic wrap and place them in a freezer-safe bag. They can be frozen for up to 2 months, allowing you to enjoy delicious S'mores Bars whenever the craving strikes.
Reheating: To enjoy the bars warm, simply microwave for 10–15 seconds or pop them in the oven at a low temperature for a few minutes until they’re softened and gooey again.
Expert Tips for Making S'mores Bars
Crust Consistency: Ensure the graham cracker crumb mixture is not overly wet after adding butter, as a dry crust will crumble easily.
Even Layering: When pressing the crust into the pan, make sure it’s an even layer to allow for consistent baking and a sturdy base for your S'mores Bars.
Chocolate Melting: When adding the Hershey bars, lay them evenly across the crust; uneven layers may lead to some parts staying solid while others melt too much.
Watch the Broil: Keep a close eye while broiling the marshmallows. They can turn from perfectly golden to burnt in seconds—it's worth the extra vigilance!
Slicing Tips: Use a warm, sharp knife for slicing the bars; this prevents the marshmallows from stretching and tearing the layers apart, ensuring beautiful cuts every time.
Storage Secrets: For optimal freshness, store leftovers in an airtight container rather than a loosely covered one to keep the textures just right.
S'mores Bars Variations & Substitutions
Feel free to get creative and personalize your S'mores Bars with these delightful twists!
-
Gluten-Free: Substitute graham cracker crumbs with gluten-free options like almond flour or gluten-free cookies for a delicious alternative.
-
Nutty Crunch: Add 1 cup of crushed nuts, such as pecans or almonds, into the crust for an extra crunchy texture and nutty flavor. It’s a wonderful way to elevate your bars!
-
Peppermint Delight: Incorporate crushed peppermint candies or extract into the chocolate layer for a refreshing holiday twist that adds a festive flair.
-
Dark Chocolate: Swap the Hershey bars for dark chocolate or milk chocolate varieties for a richer, more decadent flavor profile. This simple change can transform the taste from good to divine!
-
Fruit Fusion: Lay sliced bananas or strawberries over the chocolate layer before adding the marshmallows. This fruity addition brings a fresh note and brightens the bars beautifully.
-
Spicy Kick: Introduce a pinch of cayenne pepper or chili powder to the melted chocolate for a surprising heat that complements the sweetness. It’s a bold twist that might just become your new favorite!
-
Chewy Coconut: Add shredded coconut to the top with the marshmallows before broiling for a tropical twist that takes your S'mores Bars to new heights. This fusion will remind you of summer vacations!
-
Peanut Butter Swirl: Drizzle warmed peanut butter over the chocolate layer before adding marshmallows for a creamy, nutty finish that will satisfy those peanut butter cravings.
These variations not only cater to different tastes and dietary needs but also keep the spirit of S'mores Bars alive and deliciously fun! If you're looking for more easy dessert ideas to complement your creations, make sure to explore my favorite simple dessert recipes.
What to Serve with S'mores Bars
Looking to create a delightful spread to complement your S’mores Bars? Pairing them with the right flavors will elevate your dessert experience to the next level!
-
Rich Chocolate Ice Cream: A scoop of chocolate ice cream adds creaminess that beautifully contrasts the chewy bars, creating a decadent balance.
-
Fresh Fruit Platter: Bright, refreshing fruits like strawberries and raspberries will cleanse the palate and add a burst of freshness between bites of chocolatey sweetness.
-
Savory Cheese Board: A selection of sharp cheeses can provide a delightful contrast to the sweetness of the bars, making for an intriguing flavor pairing that elevates your tasting experience.
-
Coffee or Latte: Sip on a warm cup of coffee or a creamy latte to enrich the flavors of your S’mores Bars, as the bold coffee notes complement the chocolate beautifully.
-
Chocolate Fondue: Take the indulgence up a notch by serving chocolate fondue alongside your bars, allowing you and your guests to dip fruits or pretzels into extra melted chocolate.
-
Milkshakes: Creamy vanilla or chocolate milkshakes offer a nostalgic touch that echoes the classic campfire vibe of S’mores Bars. The cold, thick texture makes every bite feel like a special treat.
-
S’mores Themed Cocktails: Create fun cocktails inspired by s’mores, like a s'mores martini, which can amplify the festive spirit of your dessert spread and excite your guests.
Make Ahead Options
These S'mores Bars are perfect for meal prep enthusiasts! You can prepare the crust up to 24 hours in advance by mixing together the graham cracker crumbs, powdered sugar, and melted butter, then pressing it into the baking pan. Cover the pan tightly with plastic wrap and refrigerate to maintain its freshness. The chocolate layer can also be arranged in the pan (after baking the crust) and kept in the fridge with the marshmallows added just before serving; this keeps the marshmallows perfectly fluffy. When ready to enjoy, simply broil the bars for 1–2 minutes to achieve that golden toast on the marshmallows, and you'll have a delightful treat with minimal last-minute effort!
S'mores Bars Recipe FAQs
How do I choose the right graham cracker crumbs?
Absolutely! For the best results, make sure to select a brand that offers fine, uniform crumbs. Look for options that don’t contain preservatives or high fructose corn syrup for a more authentic flavor. If you’re feeling adventurous, crushing whole graham crackers in a food processor can give you a fresh taste and texture.
What’s the best way to store leftover S’mores Bars?
I recommend storing your S'mores Bars in an airtight container at room temperature for up to 3 days. This helps retain their deliciously gooey texture. If you want to enjoy them longer, refrigerate them for up to 5 days, but ensure they’re tightly sealed to maintain freshness. A quick tip: if you refrigerate them, let them sit at room temperature for a few minutes before enjoying for a more delightful texture!
Can I freeze S'mores Bars? How?
Absolutely! To freeze your S'mores Bars, wrap each bar individually in plastic wrap and place them into a freezer-safe bag. They’ll stay fresh for up to 2 months. Make sure to label the bag with the date for easy reference. When you’re ready to enjoy, simply remove a bar from the freezer and let it sit at room temperature for about 15-20 minutes or microwave it for about 10-15 seconds for a warm, gooey treat.
What should I do if my marshmallows burn while broiling?
Very! If you notice that your marshmallows are burning too quickly, consider lowering the broiler temperature slightly or positioning the oven rack further from the heat source next time. Keep a close watch during broiling—sometimes it can be just a matter of seconds between perfectly toasted and burnt, so staying vigilant is key!
Are there any allergy considerations with S'mores Bars?
Yes! If you’re concerned about allergies, it’s important to note that S'mores Bars contain common allergens such as gluten (from graham crackers) and dairy (from butter and chocolate). If you're catering to someone with specific dietary restrictions, you can substitute gluten-free graham crackers, dairy-free butter, and vegan chocolate to create a custom version of this sweet treat that everyone can enjoy!

Irresistible S'mores Bars: Your New Go-To Sweet Treat
Ingredients
Equipment
Method
- Preheat your oven to 350°F (175°C) and grease a 9×13-inch dish.
- In a mixing bowl, stir together 2 cups of graham cracker crumbs, 1 cup of powdered sugar, and ½ cup of melted butter until crumbly.
- Press the mixture into the greased baking pan to form an even layer about half an inch thick.
- Bake the crust in the preheated oven for 5–8 minutes until edges turn golden brown.
- Remove the crust and lay 8 full-size Hershey bars on top to cover the surface.
- Return the pan to the oven for another 3 minutes to melt the chocolate.
- Sprinkle 2 cups of mini marshmallows evenly across the melted chocolate layer.
- Switch to broil and toast the marshmallows for 1–2 minutes until golden brown.
- Cool completely at room temperature or in the refrigerator for about 30 minutes.
- Slice into squares with a warm, sharp knife for clean edges.
- Store leftovers in an airtight container at room temperature for up to 3 days.


Leave a Reply