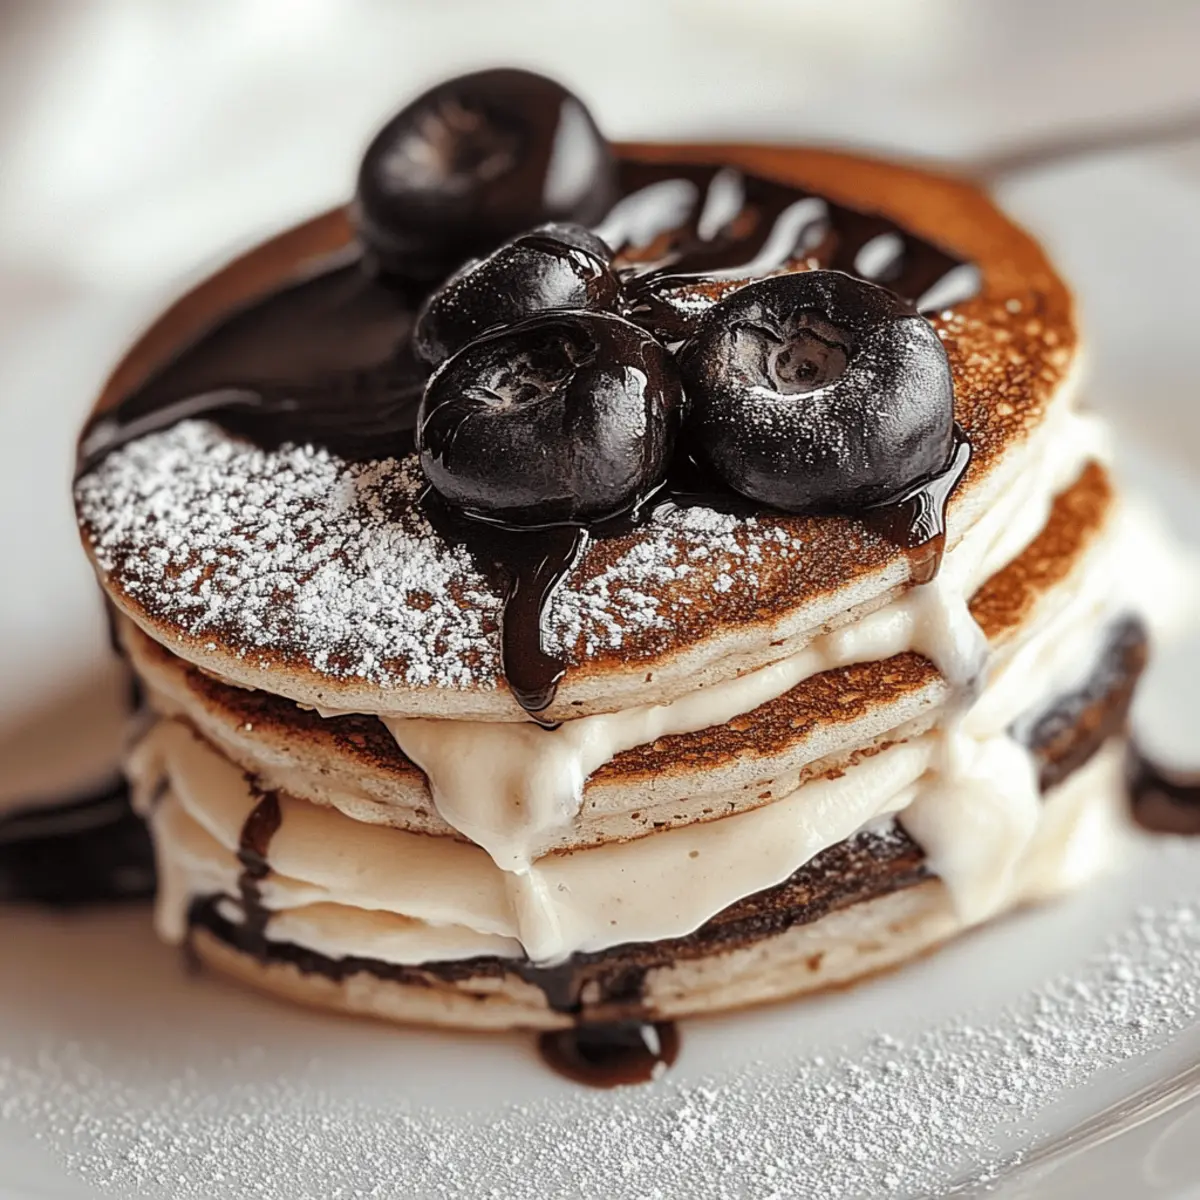
As I stood in my kitchen, the rich aroma of melting chocolate and freshly cooked pancakes wafted through the air, instantly transporting me back to childhood breakfasts filled with laughter and sweetness. These Oreo Pancakes are my delightful twist on a classic favorite, and trust me, they’ll have everyone in your home begging for seconds! With just 20 minutes of prep and cook time, this recipe is perfect for busy mornings or lazy weekends alike. Plus, who could resist the charm of fluffy pancakes mingling with crunchy bits of Oreos? They’re not only a fun way to elevate your breakfast routine but also a crowd-pleaser that everyone, from kids to adults, will adore. Ready to flip some deliciousness? Let’s dive into the scrumptious details!
Why Are Oreo Pancakes So Irresistible?
Decadent Delight: These Oreo Pancakes offer a luscious twist on your traditional breakfast treat, combining fluffy pancakes with the beloved taste of Oreos for a truly unique experience.
Quick and Easy: In just 20 minutes, you can whip up a batch that’ll impress your family or guests, making it ideal for both busy weekdays and leisurely weekends.
Fun for Everyone: Kids and adults alike will go wild over these pancakes, giving breakfast a fun and indulgent upgrade.
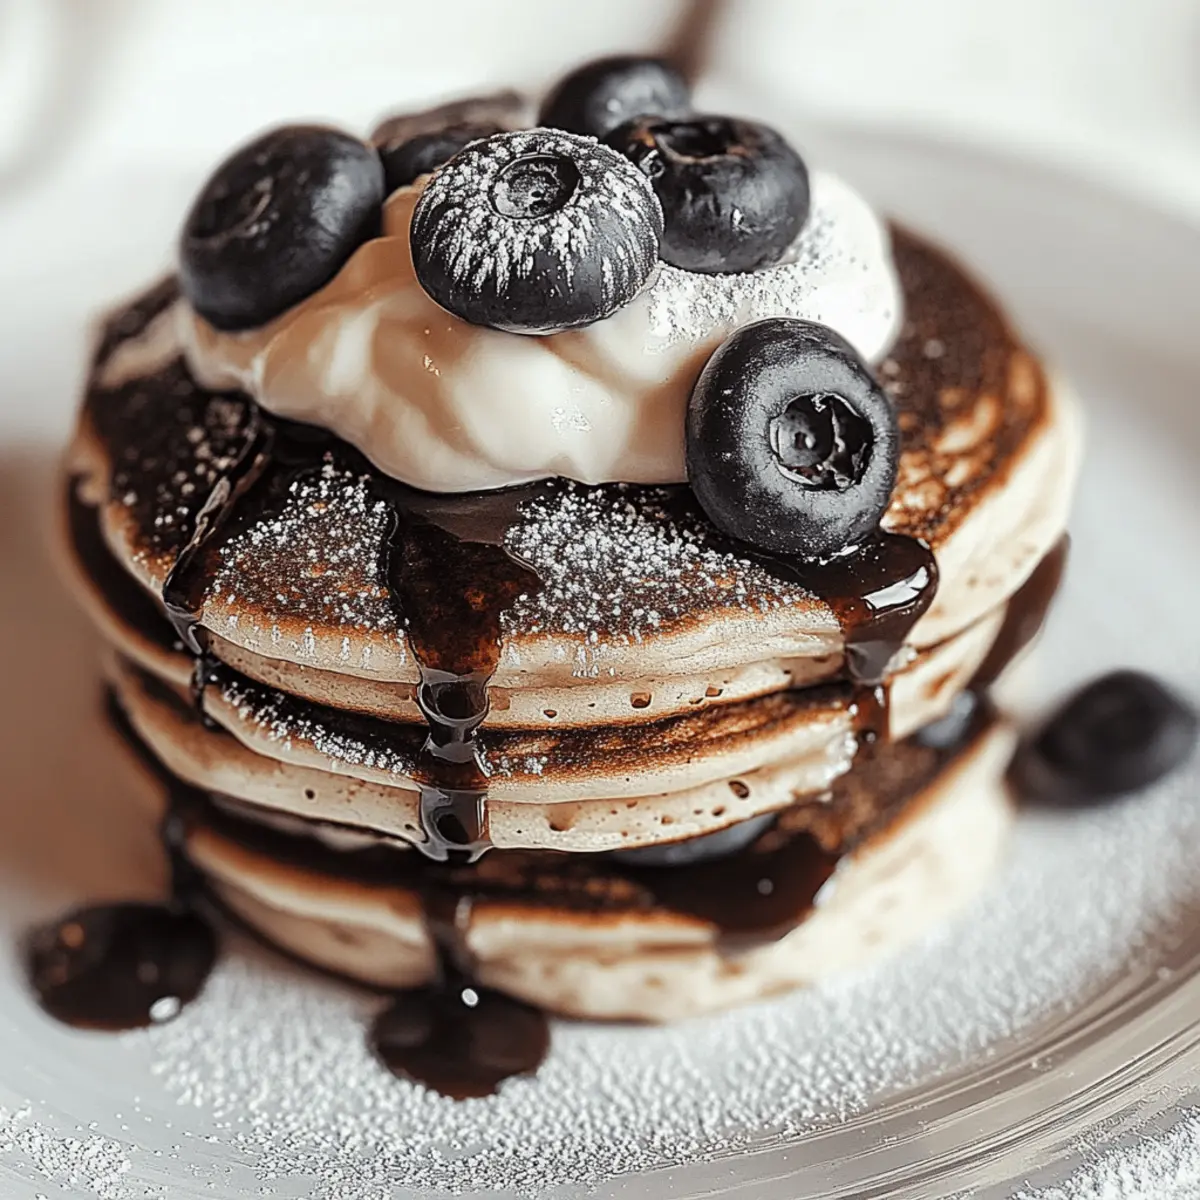
Versatile Toppings: Top them with maple syrup, whipped cream, or even fresh fruit to personalize your breakfast and cater to different tastes.
Great for Meal Prep: Make extra and refrigerate for quick breakfasts throughout the week; simply reheat and enjoy!
Once you try these Oreo Pancakes, you’ll be eager to check out more delightful recipes, like fluffy blueberry pancakes or classic buttermilk pancakes, to elevate your breakfast game!
Oreo Pancake Ingredients
For the Pancake Batter
• 1 cup all-purpose flour – This is the base for your fluffy pancakes and provides structure.
• 2 teaspoon baking powder – Essential for fluffiness; make sure it’s fresh for the best rise.
• 2 tablespoon granulated sugar – Sweetens the batter; you can reduce it if you prefer less sweetness.
• ¼ teaspoon salt – Enhances flavors, balancing the sweetness of the Oreos.
• 1 cup whole milk – Gives the pancakes their creamy texture, but feel free to use any milk alternative.
• 1 large egg – Binds the ingredients and helps the pancakes rise.
• 2 tablespoon melted butter – Adds richness; you can substitute with oil if desired.
• 6 crushed Oreos – The star of the show; they're what make these pancakes a delicious Oreo delight!
Step‑by‑Step Instructions for Oreo Pancakes
Step 1: Mix Dry Ingredients
In a large mixing bowl, whisk together 1 cup of all-purpose flour, 2 teaspoons of baking powder, 2 tablespoons of granulated sugar, and ¼ teaspoon of salt. This blend creates a light and fluffy base for your Oreo Pancakes. Ensure there are no lumps for the best texture, and set the bowl aside as you prepare the wet ingredients.
Step 2: Combine Wet Ingredients
In a separate bowl, mix 1 cup of whole milk, 1 large egg, and 2 tablespoons of melted butter until fully combined. A whisk works great here! You want the mixture to be smooth and creamy, with no visible egg whites. This delightful wet mixture will blend seamlessly with the dry ingredients, bringing your Oreo Pancakes to life.
Step 3: Create the Pancake Batter
Gradually pour the wet ingredients into the bowl with the dry ingredients, mixing gently with a spatula. Aim for a batter that still has some lumps, as this leads to fluffier pancakes. Once just combined, fold in the 6 crushed Oreos, ensuring they are evenly distributed throughout the batter for that oh-so-decadent flavor in each bite.
Step 4: Heat the Skillet
Place a non-stick skillet or griddle over medium heat and let it warm up for a couple of minutes. To test if it’s ready, splash a few drops of water on the surface; they should sizzle and evaporate immediately. Lightly grease the skillet with cooking spray or a little extra melted butter for optimal pancake flipping later on.
Step 5: Cook the Pancakes
Pour about half a cup of the pancake batter onto the skillet for each pancake. Allow them to cook undisturbed for approximately 2 minutes, or until bubbles start forming on the surface. This visual cue indicates that the bottom is golden brown, creating a perfect base for your Oreo Pancakes.
Step 6: Flip and Finish
Gently flip the pancakes with a spatula once bubbles appear and edges appear set. Cook for an additional 1-2 minutes, or until the second side is also golden brown. The aroma should be irresistible at this point! Keep an eye on them as they cook to ensure they don’t over-brown.
Step 7: Serve and Enjoy
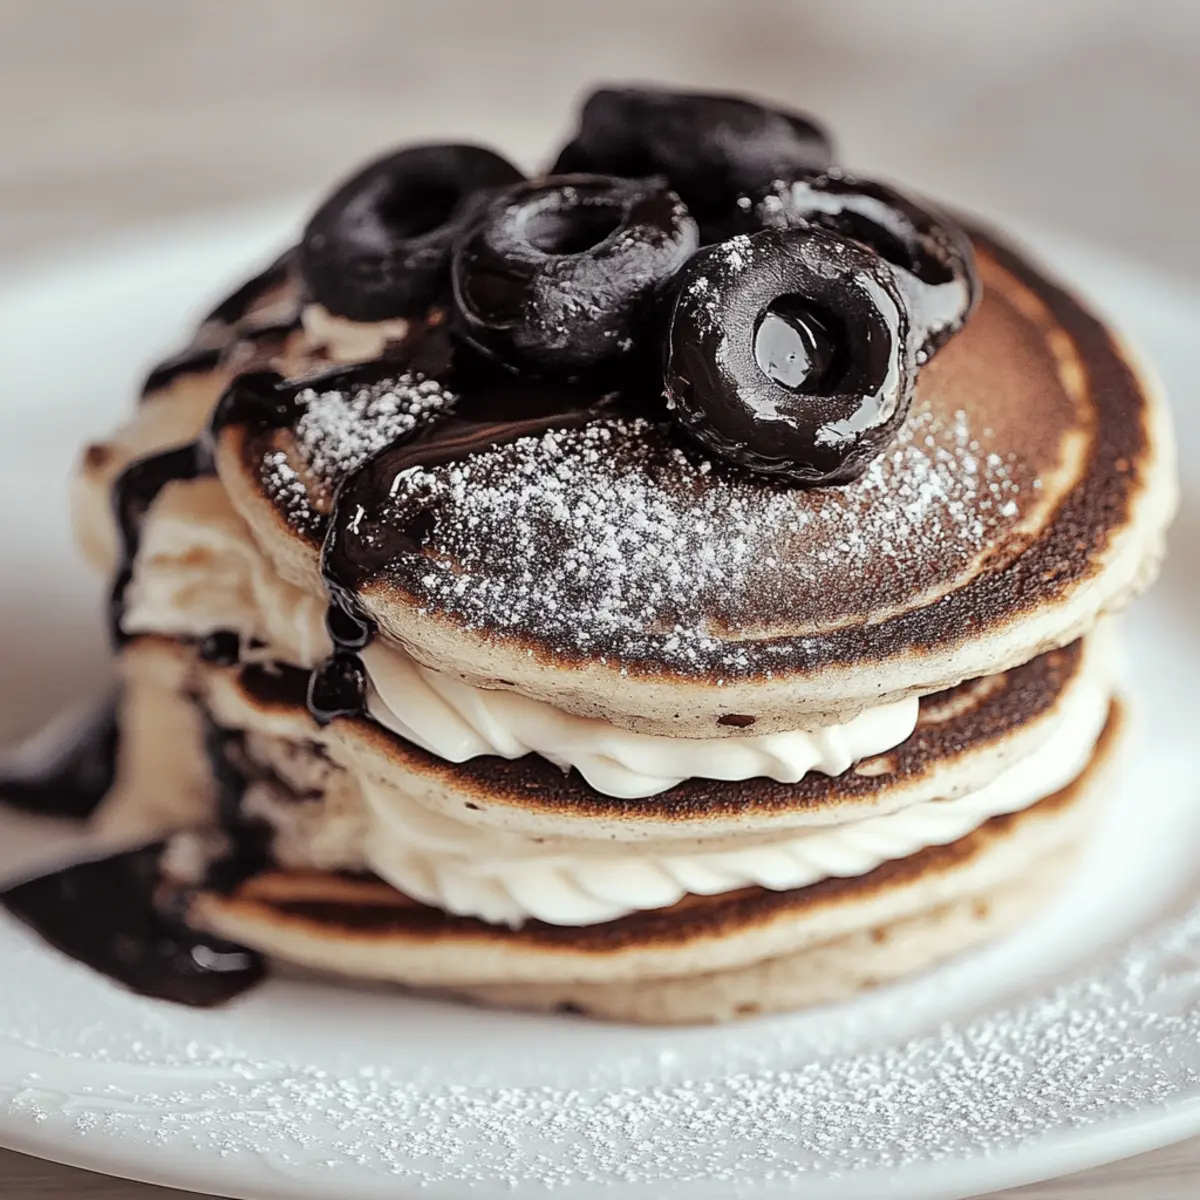
Once cooked, transfer your fluffy Oreo Pancakes to a warm plate. Stack them high, and feel free to serve with maple syrup and your favorite toppings, such as whipped cream or fresh fruit. Relish the delightful combination of flavors, and watch your family dive into this scrumptious breakfast treat!
What to Serve with Oreo Pancakes
A warm stack of Oreo Pancakes begs for delightful companions that round out your breakfast experience with flavor and texture.
-
Fresh Berries: Juicy blueberries or strawberries add a pop of freshness, balancing the sweetness of the pancakes perfectly. Their vibrant colors also create a visually appealing plate that invites you to dig in.
-
Crispy Bacon: The salty crunch of bacon complements the sweet, rich flavor of the pancakes, providing a delicious contrast. It can be that savory touch that takes breakfast to the next level.
-
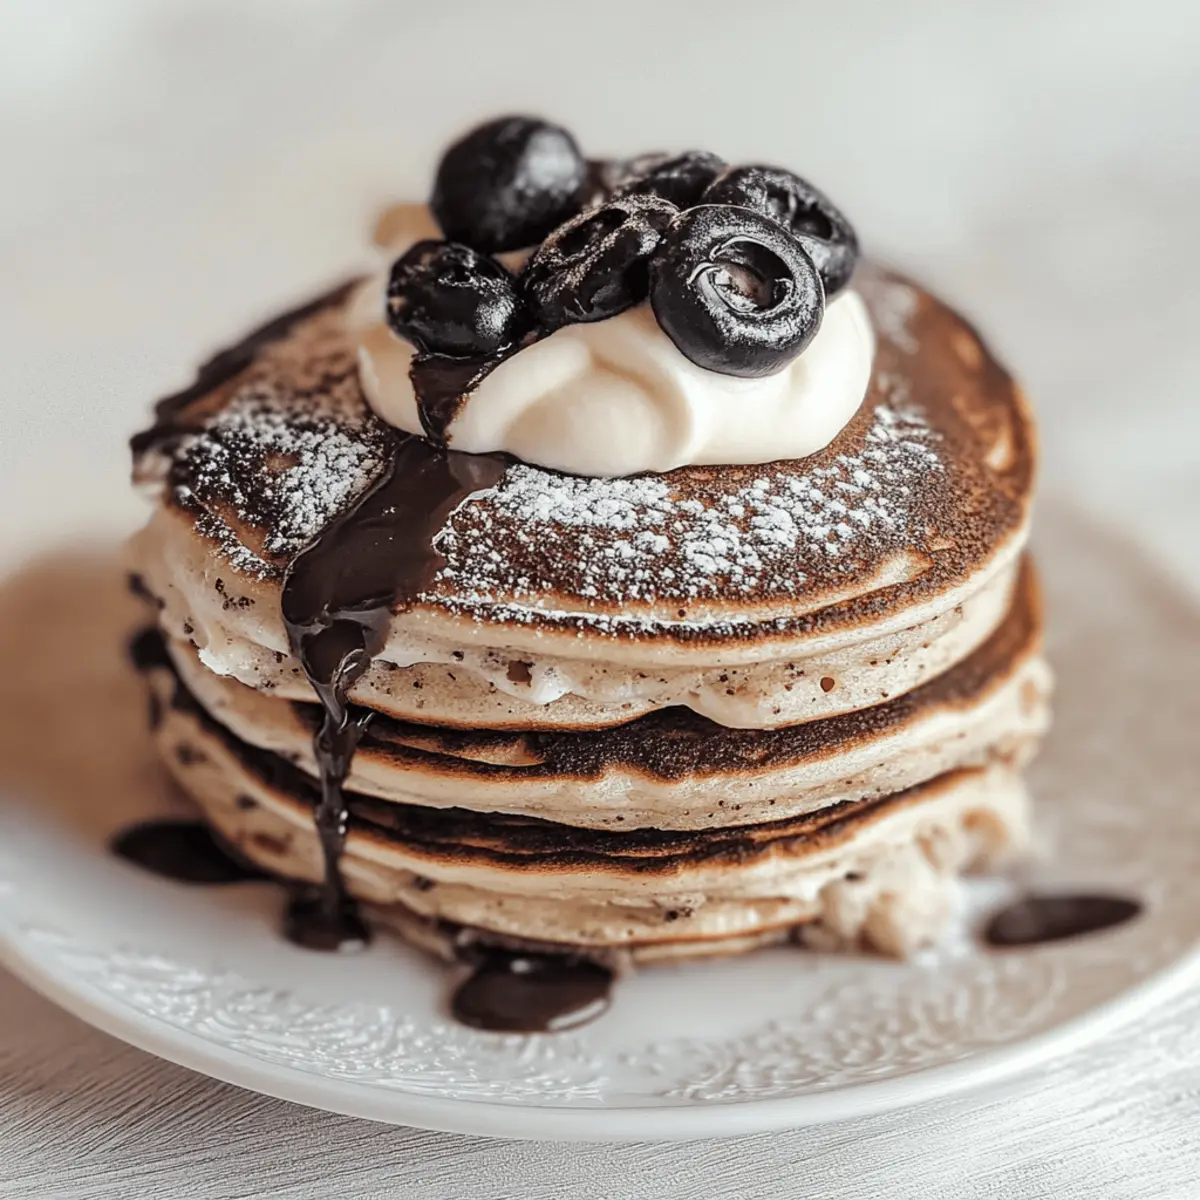
Whipped Cream: Light and airy, whipped cream adds a dreamy element to your pancakes, turning them into an indulgent treat. Drizzle it generously for a classic flavor boost that everyone loves.
-
Maple Syrup: A classic! The rich, amber syrup seeps into the fluffy pancakes, enhancing their flavor while adding a hint of sweetness that’s irresistible at breakfast.
-
Chocolate Chips: For chocolate lovers, sprinkle extra chocolate chips on top or fold them into the batter for an even richer experience. This amplifies the Oreo flavor while satisfying any sweet tooth.
-
Almond Milk Latte: Smooth and nutty, an almond milk latte pairs wonderfully as a beverage that softens the sweetness, making each bite of your Oreo Pancakes even more enjoyable.
-
Coconut Flakes: Toasted coconut flakes bring a tropical flair and satisfying crunch, balancing the pancake's softness with a nutty twist. Just a sprinkle elevates the dish to a whole new level!
-
Ice Cream: For a breakfast dessert, serve them with a scoop of vanilla ice cream on top. The melting ice cream mingles beautifully with warm pancakes, creating an unforgettable treat for any occasion!
Make Ahead Options
These Oreo Pancakes are perfect for meal prep enthusiasts! You can mix the dry ingredients (flour, baking powder, sugar, and salt) and store them in an airtight container for up to 3 days in advance, ensuring you save time during busy mornings. Additionally, you can prepare the wet ingredients (milk, egg, melted butter) and refrigerate them for up to 24 hours, which helps streamline your cooking process. When you're ready to serve, simply combine the wet and dry ingredients, fold in the crushed Oreos, and cook as directed. This way, you can enjoy delightful pancakes with minimal effort, maintaining their fluffy texture and delicious flavors just as if they were freshly made!
Expert Tips for Oreo Pancakes
• Use Fresh Baking Powder: Always check the expiration date on your baking powder to ensure your pancakes rise properly and achieve that fluffy texture.
• Don’t Overmix: When combining wet and dry ingredients, mix gently and leave some lumps; overmixing will lead to dense pancakes instead of light, airy Oreo Pancakes.
• Adjust Heat Carefully: Cooking on medium heat is key; too high can burn the pancakes before they cook through. Keep a watchful eye and adjust as needed!
• Preheat Skillfully: Ensure your skillet is perfectly heated before adding the batter; a test drop of water should sizzle to confirm readiness.
• Experiment with Toppings: Customize with a drizzle of chocolate sauce, a sprinkle of powdered sugar, or fresh berries to enhance flavors and make breakfast extra special.
How to Store and Freeze Oreo Pancakes
Fridge: Store leftover Oreo Pancakes in an airtight container in the refrigerator for up to 3 days to maintain freshness.
Freezer: Place cooled pancakes in a single layer on a baking sheet, then freeze for about an hour. Once firm, transfer to a zip-top bag, where they can be stored for up to 2 months.
Reheating: For quick reheating, pop the frozen pancakes in the toaster or microwave. If using the microwave, heat in 30-second intervals until warm. Enjoy your delicious Oreo Pancakes!
Room Temperature: If you plan to serve fresh pancakes immediately, keep cooked ones at room temperature for no more than 1 hour to avoid drying out.
Oreo Pancakes Variations & Substitutions
Feel free to get creative with these Oreo Pancakes and make them your own with these delightful twists!
-
Gluten-Free: Substitute all-purpose flour with a gluten-free flour blend to enjoy these pancakes without the gluten.
-
Dairy-Free: Replace whole milk with almond or oat milk, and use a dairy-free butter alternative for a lactose-friendly version.
-
Chocolate Lover's Dream: Add some cocoa powder to the batter for an extra chocolatey flavor that pairs beautifully with Oreos.
-
Fruit Fusion: Fold in some mashed bananas or blueberries along with the Oreos for added sweetness and a fruity twist.
-
Minty Fresh: Crushed mint Oreos can be used instead of regular ones to create a refreshing, minty pancake sensation.
-
Crunchy Toppings: Top with crushed nuts or granola for an additional crunchy texture that complements the fluffy pancakes.
-
Spicy Kick: Incorporate a pinch of cinnamon or a dash of cayenne pepper into the batter for a surprising, spicy kick.
-
Mini Pancakes: Make silver dollar-sized pancakes for a fun, bite-sized breakfast that’s perfect for kids’ parties or brunch gatherings.
Now that you know how to customize these Oreo Pancakes, you might also want to check out fluffy blueberry pancakes or classic buttermilk pancakes for more breakfast options that delight!
Oreo Pancakes Recipe FAQs
How do I choose the right Oreos for this recipe?
Absolutely! For the best flavor, use standard Oreos. The classic chocolate cookie pairs perfectly with the pancake batter, creating a delightful combination. You could also try different flavors like Golden Oreos for a unique twist!
How should I store leftover Oreo Pancakes?
You can keep leftover Oreo Pancakes in an airtight container in the refrigerator for up to 3 days. If you want to preserve their fluffiness, place a layer of parchment paper between the pancakes to prevent sticking.
Can I freeze these pancakes? If so, how?
Very much! To freeze your Oreo Pancakes, let them cool completely after cooking. then place them in a single layer on a baking sheet and freeze for about an hour. Once frozen, transfer them to a zip-top bag, and they’ll stay fresh for up to 2 months. When you're ready to enjoy, simply heat them in a toaster or microwave until warmed through!
What if my pancake batter is too thick?
If you find your batter is too thick, simply add a little more milk, one tablespoon at a time, until you reach your desired consistency. Remember, leaving some lumps in the batter is key to achieving those pillowy, fluffy Oreo Pancakes, so avoid stirring too much!
Are these pancakes suitable for everyone?
Keep in mind that this recipe contains gluten and dairy. If you’re catering to someone with allergies, you can substitute gluten-free flour and use a dairy-free milk alternative, like almond or oat milk, to make these pancakes safer and suitable for various dietary needs.
What toppings pair best with Oreo Pancakes?
The more the merrier! Top your Oreo Pancakes with maple syrup, whipped cream, or even chocolate sauce for a truly indulgent treat. Fresh fruit like berries or banana slices also adds a delightful contrast, balancing the sweetness perfectly. Enjoy mixing and matching to find your favorite!
Delicious Oreo Pancakes That Will Brighten Your Morning
Ingredients
Equipment
Method
- In a large mixing bowl, whisk together 1 cup of all-purpose flour, 2 teaspoons of baking powder, 2 tablespoons of granulated sugar, and ¼ teaspoon of salt. This blend creates a light and fluffy base for your Oreo Pancakes. Ensure there are no lumps for the best texture, and set the bowl aside as you prepare the wet ingredients.
- In a separate bowl, mix 1 cup of whole milk, 1 large egg, and 2 tablespoons of melted butter until fully combined. A whisk works great here! You want the mixture to be smooth and creamy, with no visible egg whites. This delightful wet mixture will blend seamlessly with the dry ingredients, bringing your Oreo Pancakes to life.
- Gradually pour the wet ingredients into the bowl with the dry ingredients, mixing gently with a spatula. Aim for a batter that still has some lumps, as this leads to fluffier pancakes. Once just combined, fold in the 6 crushed Oreos, ensuring they are evenly distributed throughout the batter for that oh-so-decadent flavor in each bite.
- Place a non-stick skillet or griddle over medium heat and let it warm up for a couple of minutes. To test if it’s ready, splash a few drops of water on the surface; they should sizzle and evaporate immediately. Lightly grease the skillet with cooking spray or a little extra melted butter for optimal pancake flipping later on.
- Pour about half a cup of the pancake batter onto the skillet for each pancake. Allow them to cook undisturbed for approximately 2 minutes, or until bubbles start forming on the surface. This visual cue indicates that the bottom is golden brown, creating a perfect base for your Oreo Pancakes.
- Gently flip the pancakes with a spatula once bubbles appear and edges appear set. Cook for an additional 1-2 minutes, or until the second side is also golden brown. The aroma should be irresistible at this point! Keep an eye on them as they cook to ensure they don’t over-brown.
- Once cooked, transfer your fluffy Oreo Pancakes to a warm plate. Stack them high, and feel free to serve with maple syrup and your favorite toppings, such as whipped cream or fresh fruit. Relish the delightful combination of flavors, and watch your family dive into this scrumptious breakfast treat!

Leave a Reply