As I stood in the kitchen, the sweet, nutty aroma of peanut butter wafted through the air, instantly sparking joy. This is the moment I knew I was about to whip up something special: No Bake Peanut Butter Oat Cups. They offer two irresistible perks: not only are they a breeze to make—ready in just 10 minutes—but they’re also the perfect guilt-free treat that satisfies cravings without any guilt. Each bite is a delightful combination of creamy peanut butter, hearty oats, and tiny bursts of chocolate, making them a hit with everyone—whether you're a busy parent or an aspiring chef looking to elevate snack time. So why not take a break from store-bought sweets and try your hand at these tasty oat cups? Your taste buds will thank you! Curious about just how simple they are? Let’s dive into the recipe!
Why are No Bake Peanut Butter Oat Cups amazing?
Quick and Easy: These No Bake Peanut Butter Oat Cups come together in just 10 minutes, making them a perfect snack solution for busy days.
Nutritious Treat: Packed with wholesome ingredients like oats and peanut butter, they’re a guilt-free way to satisfy your sweet tooth.
Versatile Snack: Change up the mix-ins with dried fruit, nuts, or seeds to create a flavor you love!
Family-Friendly: Everyone, from kids to adults, will be reaching for these delicious cups—they're a hit at every gathering.
Mess-Free Fun: With no baking required, clean-up is a breeze, letting you enjoy the moment instead of fussing in the kitchen!
No Bake Peanut Butter Oat Cups Ingredients
• Let’s gather the goodness!
For the Base
- Peanut Butter – a creamy delight that binds everything together and adds rich flavor.
- Honey – natural sweetness that also helps to hold the oat cups in shape.
- Vanilla Extract – a splash of warmth that enhances the overall taste.
For the Oat Mixture
- Rolled Oats – the hearty foundation that makes these cups filling and nutritious.
- Milk – helps to bring all the ingredients together into a sticky delight.
For the Sweet Finish
- Chocolate Chips – a fun addition that adds just the right amount of indulgence to your No Bake Peanut Butter Oat Cups.
Feel free to mix in any extras you love; the possibilities are endless!
Step‑by‑Step Instructions for No Bake Peanut Butter Oat Cups
Step 1: Mix the Base Ingredients
In a medium-sized mixing bowl, scoop in 1 cup of creamy peanut butter, ¼ cup of honey, and 1 teaspoon of vanilla extract. Using a sturdy spatula, blend the mixture until smooth and creamy—this should take about 2 minutes. Look for a uniform consistency where all ingredients are completely mixed and the mixture is glossy.
Step 2: Incorporate the Oats
Next, add 2 cups of rolled oats to the peanut butter mixture. Stir vigorously to ensure each oat is evenly coated in the nutty goodness—this should take about 1–2 minutes. You want the oats to be fully mixed in, creating a thick and sticky texture that forms the foundation of your No Bake Peanut Butter Oat Cups.
Step 3: Add the Chocolate Chips
Now it’s time to fold in ¼ cup of chocolate chips. Gently mix until the chips are evenly distributed throughout the sticky oat mixture. This step adds delightful bursts of chocolatey flavor, balancing the sweetness of the honey and the richness of the peanut butter. Aim for an even distribution to guarantee chocolate in every bite.
Step 4: Bring it All Together with Milk
Pour in ¼ cup of milk to the mixture. Stir thoroughly until everything is combined into a thick, sticky mix—this should take about a minute. The milk helps bind the ingredients together, ensuring the mixture holds its shape once cooled. Look for a consistency similar to thick cookie dough.
Step 5: Prep the Muffin Tin
While the mixture rests, prepare a muffin tin by lining it with paper liners or lightly greasing each cup with cooking spray. This will prevent sticking and make it easy to remove your delicious No Bake Peanut Butter Oat Cups once they’re set. Take a moment to ensure each compartment is ready for the sweet mixture.
Step 6: Fill the Muffin Tin
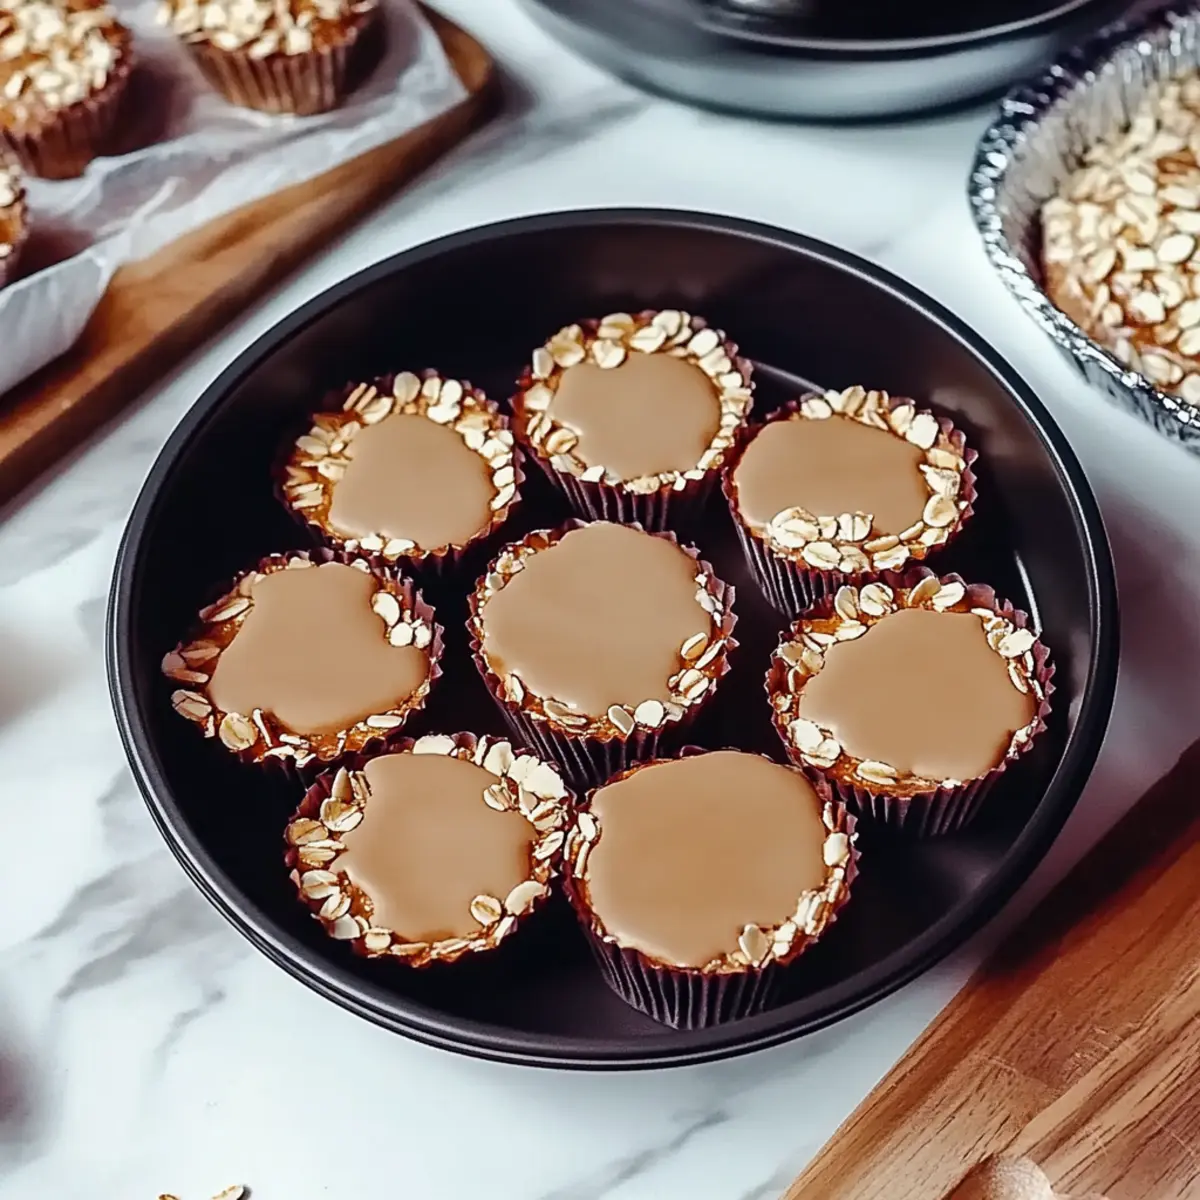
Spoon the oat mixture into each muffin cup, ensuring you divide it evenly across all 12 cups. As you fill, keep the layers compact to help them hold together once chilled. You can use a small ice cream scoop or a spoon; aim for a generous scoop in each compartment for a hearty oat cup.
Step 7: Press Down Firmly
With the muffin cups filled, use the back of a spoon or your fingers to press the mixture down firmly into each cup. This helps to shape the cups and ensures they hold together when removed. Press until flattened and compact—this should only take a couple of minutes but is vital for achieving perfect No Bake Peanut Butter Oat Cups.
Step 8: Chill Until Firm
Place the filled muffin tin in the refrigerator to chill for at least 1 hour. This resting period allows the mixture to firm up properly, making it easier to remove them once set. If you can wait longer, chilling for up to 2 hours improves the texture, giving you a firmer and more delightful oat cup.
Step 9: Remove and Serve
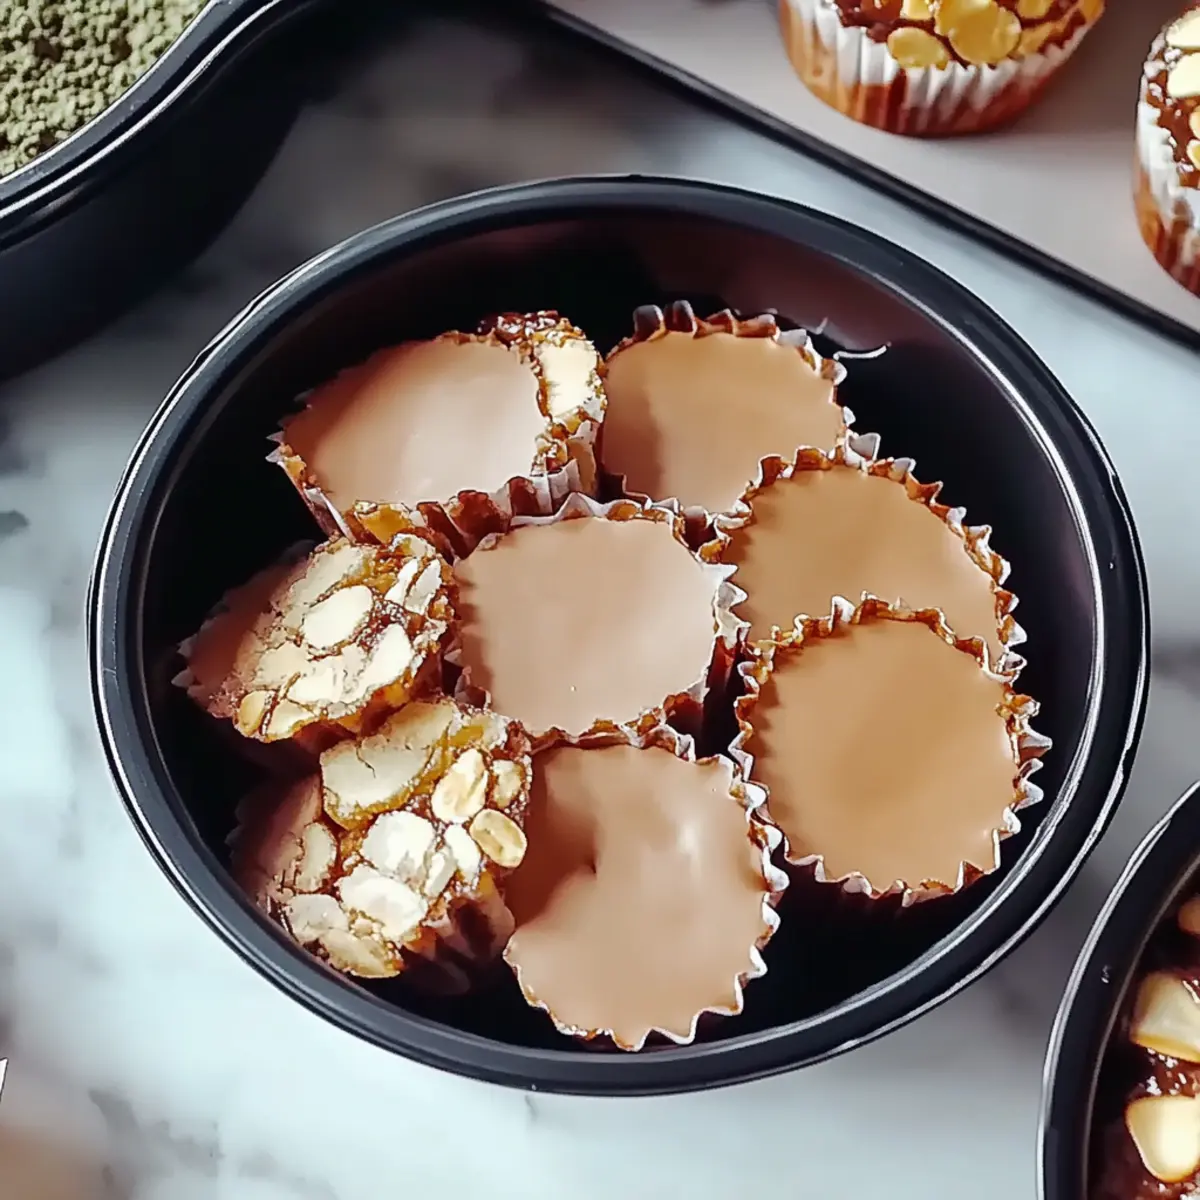
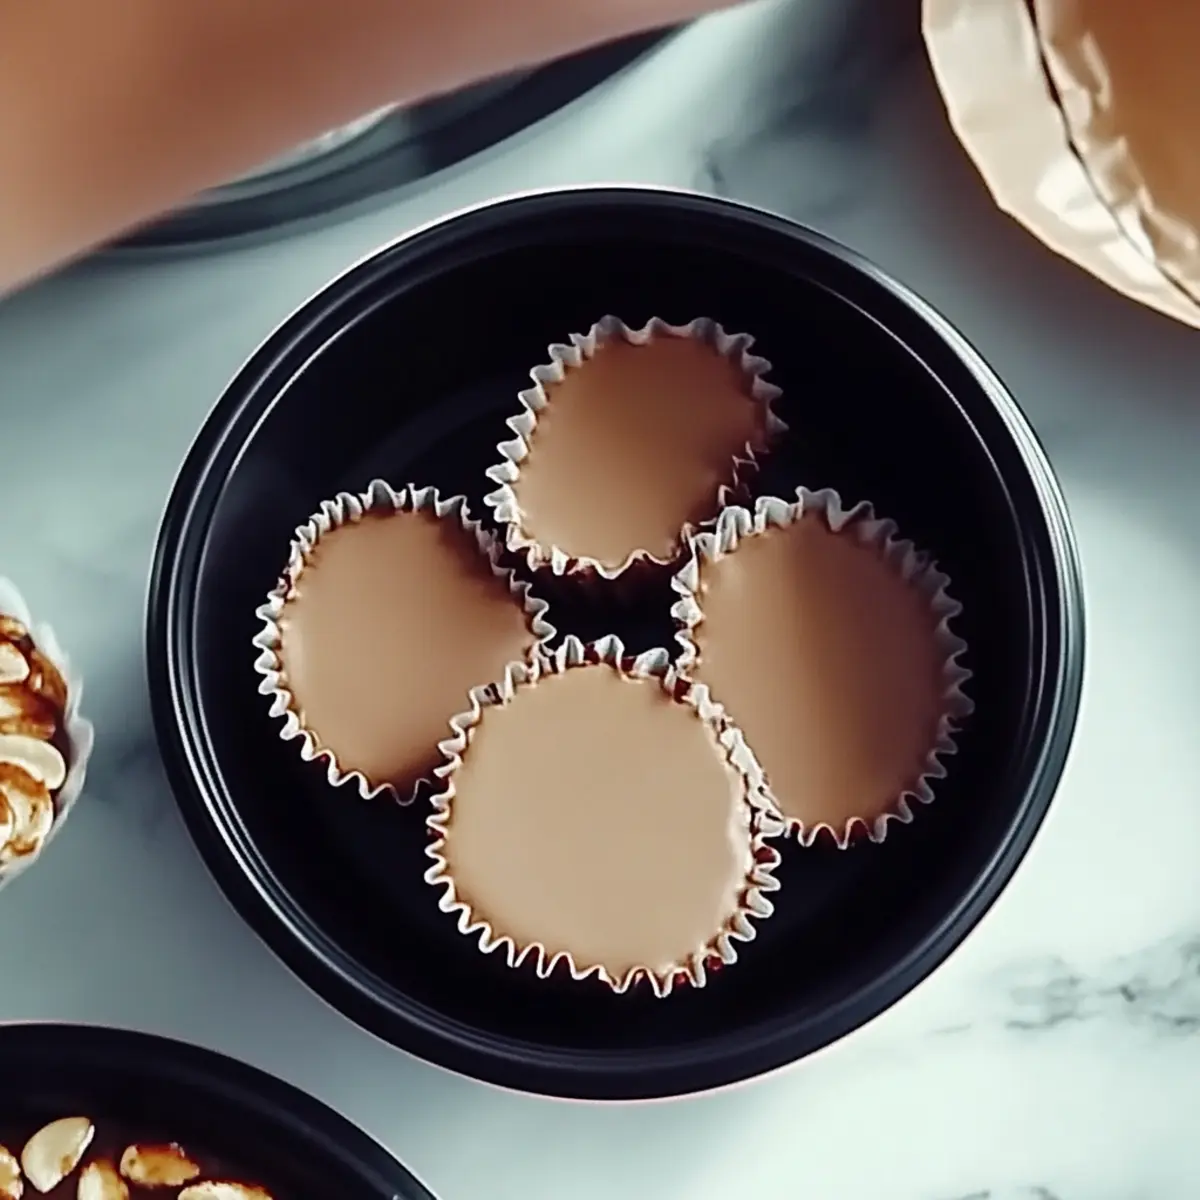
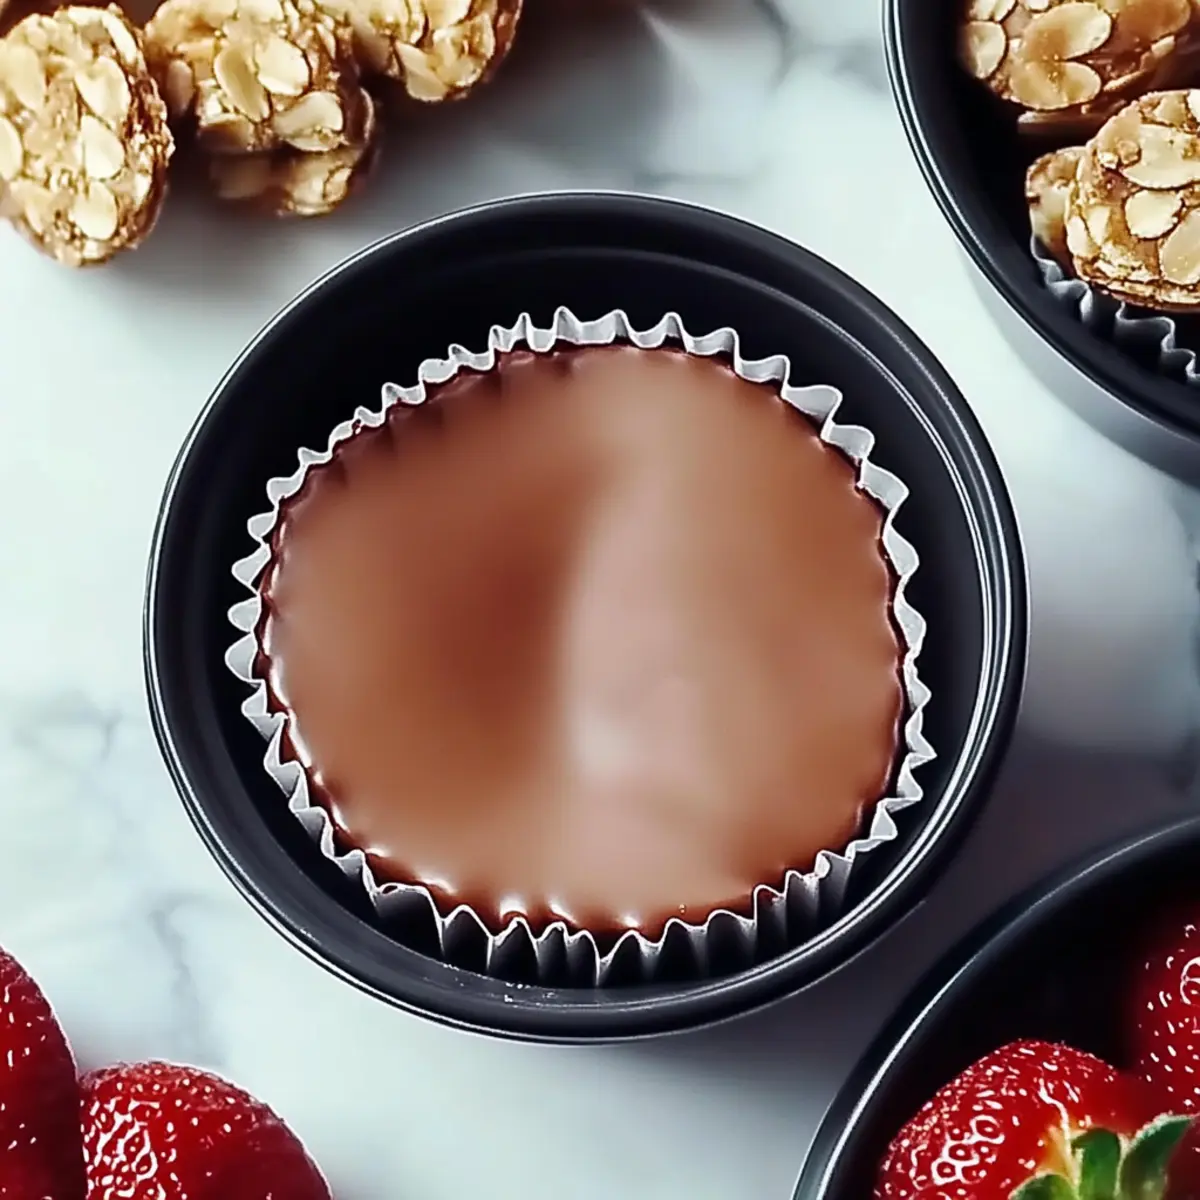
After chilling, carefully remove the oat cups from the muffin tin by peeling off the paper liners if used. If they stick a little, gently twist the edges of the liners to loosen them. Once removed, you’ll see beautifully shaped No Bake Peanut Butter Oat Cups ready for a delicious snack.
Step 10: Store for Later Enjoyment
If you have any leftover oat cups, place them in an airtight container and keep them refrigerated for up to a week. This way, you’ll have a quick and nutritious snack on hand whenever cravings strike. Just remember to enjoy the delightful taste and convenience of your homemade No Bake Peanut Butter Oat Cups!
No Bake Peanut Butter Oat Cups Variations
Feel free to customize the recipe and make it your own with these creative suggestions!
-
Nut-Free: Swap out the peanut butter for sunflower seed butter to make it allergy-friendly and equally delicious.
Embrace the nutty flavor without the nuts! This simple substitution still provides that creamy texture while keeping it safe for those with allergies. -
Maple Sweetened: Use maple syrup instead of honey for a vegan-friendly sweetness that adds a unique depth of flavor.
The rich taste of maple complements the oats beautifully, creating a more complex sweetness that balances perfectly with the chocolate. -
Vegan Delight: Opt for plant-based milk and chocolate chips to make these oat cups completely vegan-friendly and just as delightful!
With a few easy swaps, everyone can enjoy these tasty snacks without compromising on flavor or texture! -
Spice it Up: Add a pinch of cinnamon or nutmeg to the peanut butter mixture for a warm, spiced aroma that takes it to the next level.
These warming spices can transform your No Bake Peanut Butter Oat Cups into a cozy treat that’s perfect for chilly days. -
Fruity Twist: Incorporate dried fruits like cranberries, raisins, or apricots into the mixture for a chewy texture and a burst of natural sweetness.
This variation not only enhances flavor but also adds a pop of color, making your snack visually appealing. -
Crunchy Texture: Mix in some chopped nuts or seeds to provide extra crunch and a satisfying contrast to the creamy base.
A delightful textural change elevates your oat cups, giving you a more dynamic snacking experience that will keep you coming back for more. -
Chocolate Lovers: Increase the chocolate chips or mix in chocolate chunks for a richer taste that satisfies any chocolate craving!
Why not indulge a little more? Each bite becomes a chocolaty delight, ensuring your sweet tooth is fully satisfied. -
Heat It Up: For those who love a spicy kick, add a dash of cayenne pepper or chili powder to the mix.
This bold twist brings an unexpected layer of flavor that can kick your snacking game into high gear!
Remember, the sky's the limit when it comes to creating your perfect No Bake Peanut Butter Oat Cups—let your taste buds lead the way! For more delicious ideas, check out my guide on how to store and freeze these tasty treats to have them ready when cravings hit!
Expert Tips for No Bake Peanut Butter Oat Cups
-
Use Natural Peanut Butter: Opt for natural peanut butter without added sugars or oils for a healthier, creamy consistency that binds well.
-
Customize Your Sweetness: Adjust the honey to your preference; remember, less honey means a slightly firmer mixture that's easier to handle.
-
Press Firmly: Be sure to press the mixture down firmly in the muffin cups—this step is key to prevent crumbling when you remove your No Bake Peanut Butter Oat Cups later!
-
Experiment with Mix-ins: Feel free to swap chocolate chips for dried fruits, nuts, or seeds to give your oat cups a delightful twist and introduce new flavors.
-
Chill Longer for Best Texture: While 1 hour is sufficient, letting them chill for 2 hours or more will create firmer oat cups that are easy to handle, enhancing your snacking experience!
How to Store and Freeze No Bake Peanut Butter Oat Cups
Fridge: Store your No Bake Peanut Butter Oat Cups in an airtight container in the refrigerator for up to 1 week. This ensures they stay fresh and delicious for whenever you need a quick snack.
Freezer: For longer storage, place the oat cups in a single layer on a baking sheet to freeze for 1–2 hours. Once solid, transfer them to a freezer-safe container and enjoy them within 2–3 months for best quality.
Defrosting: To defrost, simply remove the desired number of cups and let them sit at room temperature for about 30 minutes, or pop them in the fridge overnight for a refreshing treat ready to enjoy.
Reheating: While these oat cups are delicious cold, if you prefer them warm, microwave for 10-15 seconds for a cozy snack experience!
What to Serve with No Bake Peanut Butter Oat Cups
Indulging in these delightful oat cups opens the door to endless meal possibilities that will elevate your snack game.
-
Fresh Fruit Salad: A vibrant blend of seasonal fruits adds a refreshing crunch, perfectly balancing the rich flavors of the oat cups. The natural sweetness of the fruit pairs beautifully with the nuttiness of peanut butter.
-
Greek Yogurt: A dollop of creamy Greek yogurt offers a tangy contrast to the sweetness, enhancing your snack with a boost of protein and creaminess. Top with a sprinkle of granola for an extra texture twist.
-
Nutty Granola: Serve alongside a crunchy granola mix for complementary textures and additional nuttiness. It’s the ultimate way to turn your oat cups into a wholesome breakfast!
-
Silky Smooth Chocolate Mousse: For a touch of indulgence, a silky chocolate mousse can create a delightful dessert pairing, offering a luxurious texture that dances beautifully with the peanut butter flavors.
-
Herbal Iced Tea: A refreshing herbal iced tea brings a soothing element to your snack time, providing a light and refreshing contrast while sipping on something sweet.
-
Chocolate-Covered Strawberries: These elegant treats are not only visually appealing but also provide a luscious, juicy bite alongside the rich texture of the oat cups, perfect for special occasions or afternoon pick-me-ups.
-
Coconut Milk Smoothie: Whip up a creamy coconut milk smoothie for a tropical flair, blending flavors that perfectly complement the nutty elements of your oat cups while adding a refreshing slurp.
-
Milk or Plant-Based Milk: Pairing with a chilled glass of classic milk or your favorite plant-based alternative keeps it simple and adds that nostalgic touch, inviting you back to delightful snack times of your childhood.
Make Ahead Options
These No Bake Peanut Butter Oat Cups are a fantastic choice for meal prep enthusiasts! You can mix the peanut butter, honey, and vanilla extract, along with oats and chocolate chips, up to 24 hours in advance. Simply prepare the mixture and store it in an airtight container in the refrigerator. When you’re ready to serve, follow the remaining steps by pressing the mixture into your muffin tin and chilling it as directed. This ensures that your oat cups remain just as delicious and satisfying, allowing you to enjoy a wholesome snack with minimal effort on busy days. Enjoy the ease of having these treats ready to go whenever cravings strike!
No Bake Peanut Butter Oat Cups Recipe FAQs
How do I select ripe ingredients for this recipe?
Absolutely! When choosing peanut butter, opt for a natural variety without added sugars or oils for the best flavor and binding quality. For honey, choose one that is raw and unfiltered to enjoy its natural sweetness and health benefits. Rolled oats should be fresh and free of any moisture for optimal texture.
How should I store my No Bake Peanut Butter Oat Cups?
You can store your No Bake Peanut Butter Oat Cups in an airtight container in the refrigerator for up to 1 week. This keeps them fresh and ready for snacking anytime. Make sure the container is sealed well to avoid any moisture entering which could affect their texture.
Can I freeze these oat cups, and if so, how?
Yes, absolutely! To freeze, first lay the oat cups in a single layer on a baking sheet and place them in the freezer for about 1-2 hours until firm. Once frozen, transfer them to a freezer-safe container or a zip-lock bag, separating layers with parchment paper to prevent sticking. They can be enjoyed for up to 2-3 months stored this way.
What should I do if my oat cups crumble when removed from the muffin tin?
If your No Bake Peanut Butter Oat Cups are crumbling, it might be because they weren't pressed down firmly enough in the muffin tin. Next time, ensure you press the mixture down well while filling each cup. If it's too soft, chilling them longer in the refrigerator for 2 hours can also help form a firmer cup.
Are these oat cups safe for kids and individuals with allergies?
Very! These No Bake Peanut Butter Oat Cups are a kid-friendly, nutritious option. However, be mindful of peanut allergies; you can easily substitute the peanut butter with sun butter or almond butter if necessary. Always double-check ingredient labels to ensure they align with any dietary restrictions.
How can I customize these cups for different tastes?
The more the merrier! Feel free to add your favorite mix-ins, like dried fruits such as cranberries or raisins, chopped nuts for extra crunch, or even a sprinkle of cinnamon for a warm flavor boost. Mixing in seeds, like chia or flaxseed, can also amp up the nutrition! Just keep an eye on the total volume to maintain the right texture.
Delicious No Bake Peanut Butter Oat Cups for Quick Snacking
Ingredients
Equipment
Method
- In a mixing bowl, combine peanut butter, honey, and vanilla extract. Blend until smooth for about 2 minutes.
- Add rolled oats and stir vigorously for 1-2 minutes until oats are evenly coated.
- Fold in chocolate chips gently until evenly distributed.
- Pour in milk and stir until combined into a thick mix.
- Prepare muffin tin by lining it with paper liners or greasing.
- Spoon the mixture into muffin cups evenly.
- Press down firmly using a spoon.
- Chill in the refrigerator for at least 1 hour to firm up.
- Remove from muffin tin and enjoy.
- Store any leftovers in an airtight container in the fridge for up to a week.


Leave a Reply