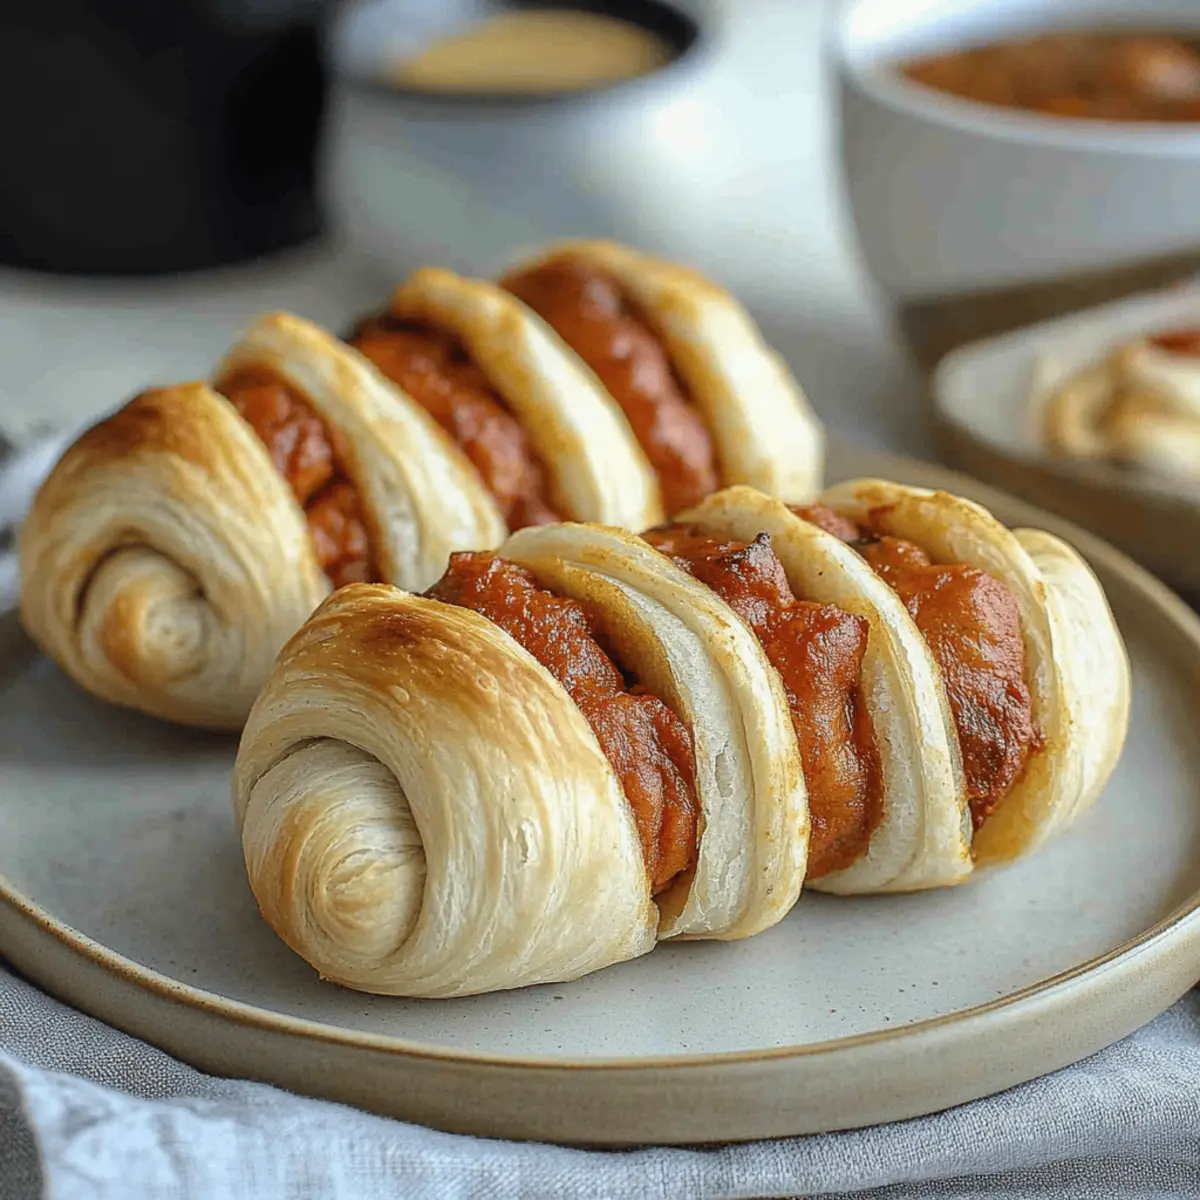
As I rummaged through my kitchen for a quick snack, my eyes landed on a can of crescent roll dough and a pack of hot dogs. A lightbulb moment struck—why not turn this simple combo into something fun and festive? Thus, Mummy Dogs were born! This delightful Halloween-inspired dish not only excites the kids but also brings a playful twist to a classic favorite. With just ten minutes of prep and a total cooking time of 15 minutes, these spooky treats are perfect for busy weeknights or cozy gatherings. Plus, they’re oh-so-easy to customize with your favorite dipping sauces! What could be better than a quick, crowd-pleasing dish that gets everyone into the Halloween spirit? Ready to create some kitchen magic? Let's get wrapped up in this fun recipe!
Why Are Mummy Dogs a Must-Try?
Simplicity at its best: This recipe requires minimal ingredients and just a few straightforward steps, making it perfect for both beginner cooks and seasoned chefs.
Fun and Festive: With their playful presentation, Mummy Dogs are not just a treat; they are a conversation starter at any gathering or Halloween party.
Endless Customization: Feel free to swap in your favorite sausages— turkey, chicken, or even veggie options for a healthier twist!
Quick Cooking: In just 25 minutes, you can have these delicious snacks ready to impress, making them an ideal choice for busy weeknights.
Crowd-Pleaser: Pair them with ketchup, mustard, or sriracha mayo for dipping, and watch everyone rave about these spooky snacks. You'll love how easy it is to delight your guests!
Mummy Dogs Ingredients
For the Mummy Wrapping
• Crescent Roll Dough – perfect for creating that fun “mummy” look while adding a delightful flaky texture.
• Hot Dogs – the star of the show; feel free to use turkey or vegetarian options for a tasty twist!
Optional Extras
• Cooking Spray – helps prevent sticking; use it on your baking sheet for easier clean-up.
Get ready to dive into making these delightful Mummy Dogs; they’re as fun to eat as they are to create!
Step‑by‑Step Instructions for Mummy Dogs
Step 1: Preheat the Oven
Begin by preheating your oven to 375°F (190°C). This is a crucial first step to ensure that your Mummy Dogs bake evenly and achieve that perfect golden-brown color. While the oven heats up, gather your ingredients and get ready for some fun in the kitchen!
Step 2: Prepare the Dough
Unroll the can of crescent roll dough and gently separate it into the triangle-shaped pieces. This dough is key to creating the fun mummy look that makes this recipe festive. Lay the triangles flat on your work surface, ensuring they are ready to be transformed into the wraps for your delicious hot dogs.
Step 3: Cut the Dough
Using a sharp knife or pizza cutter, cut each triangle of dough into thin strips, about ½ inch wide. These strips will act as the bandages for your Mummy Dogs, so keep them uniform for an even wrap. It’s important to keep a small opening at the top of each hot dog to create the "face."
Step 4: Wrap the Hot Dogs
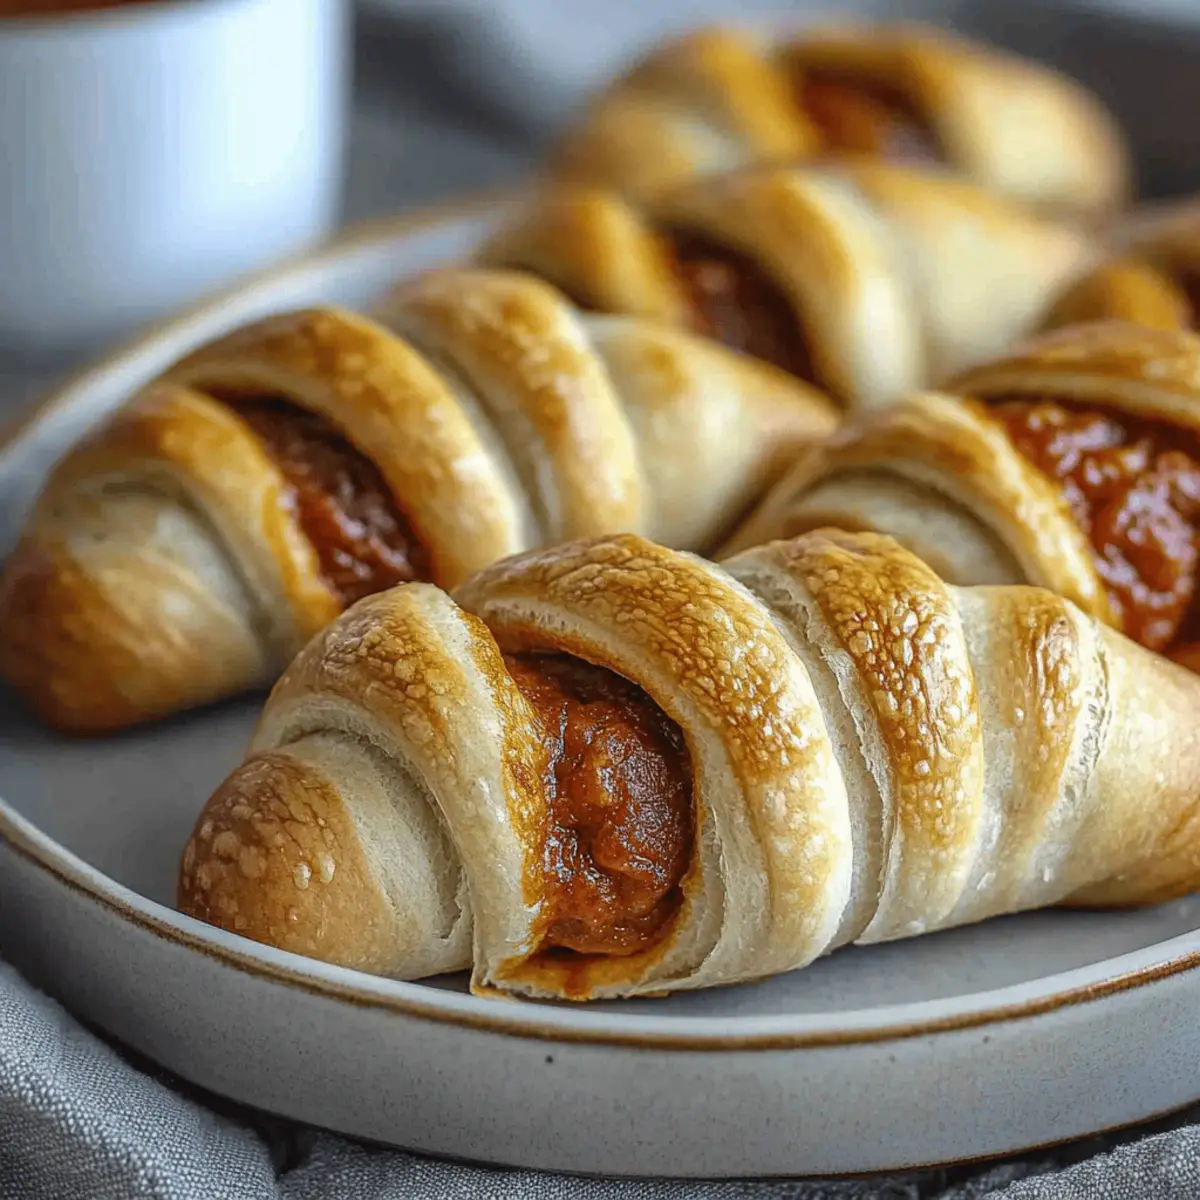
Take a hot dog and begin wrapping the strips of dough around it, starting at one end and working your way up. Leave a small gap at the top for the “face” of the mummy to peek out. Aim for a crisscross pattern to mimic mummy bandages, ensuring each hot dog is well covered yet still visible at the top.
Step 5: Arrange on Baking Sheet
Once all the hot dogs are wrapped in dough, place them on a baking sheet lined with parchment paper. This helps prevent sticking and ensures easy cleanup. Make sure to space them apart a little, allowing for some expansion as they bake into their delicious, mummy-like form.
Step 6: Bake the Mummy Dogs
Slide the baking sheet into the preheated oven and bake for approximately 15 minutes. Keep an eye on them as they cook; the dough should turn a beautiful golden brown, indicating they are ready to come out. This is when the Mummy Dogs start to look truly festive!
Step 7: Cool and Serve
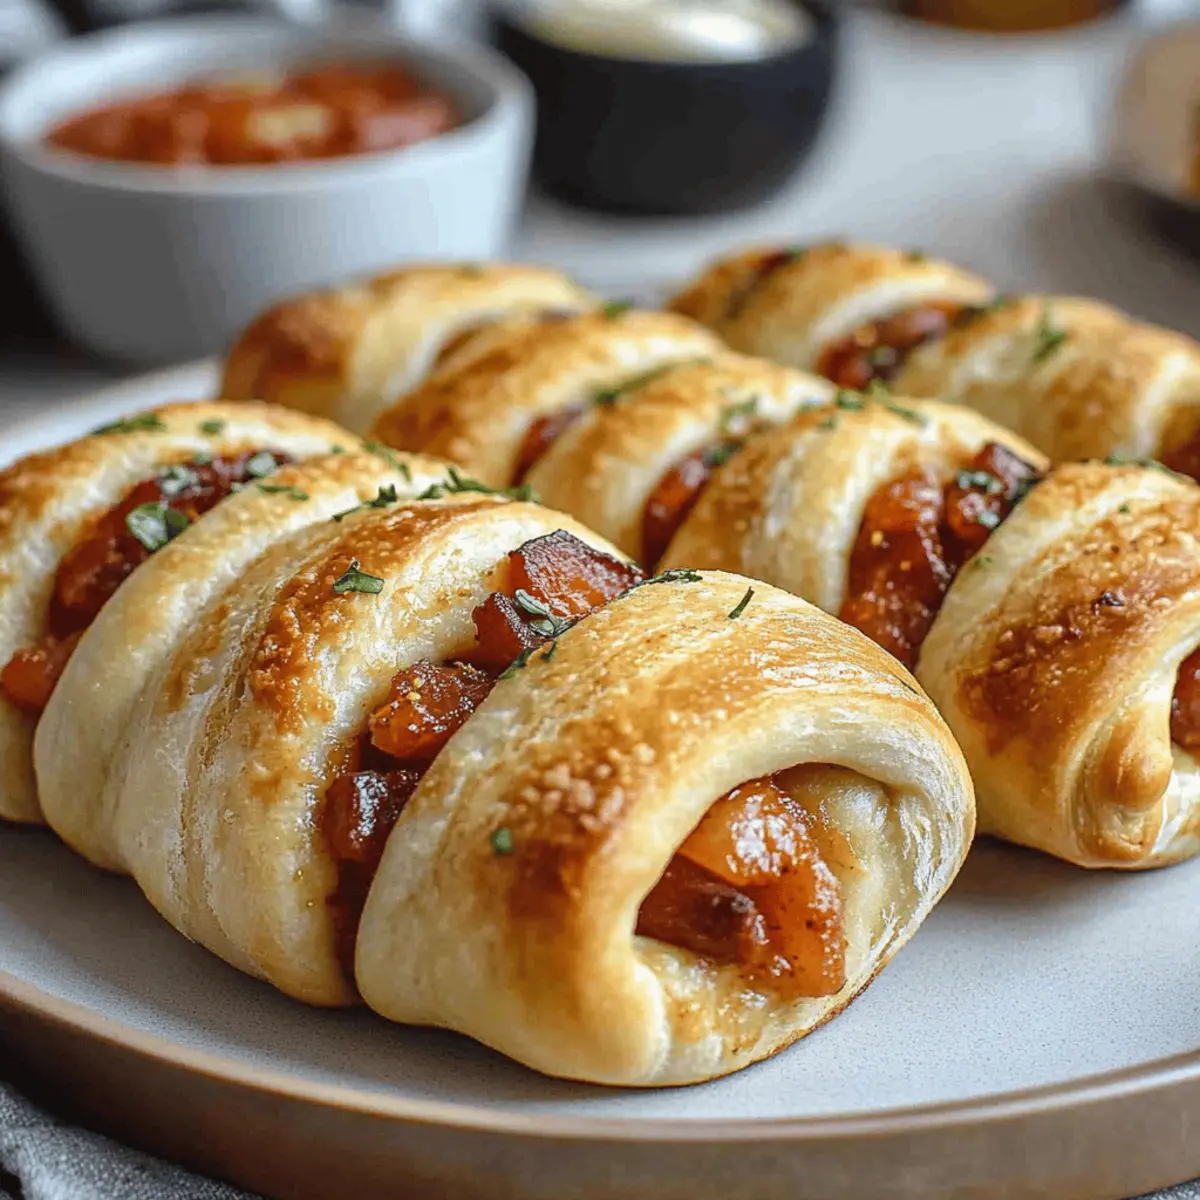
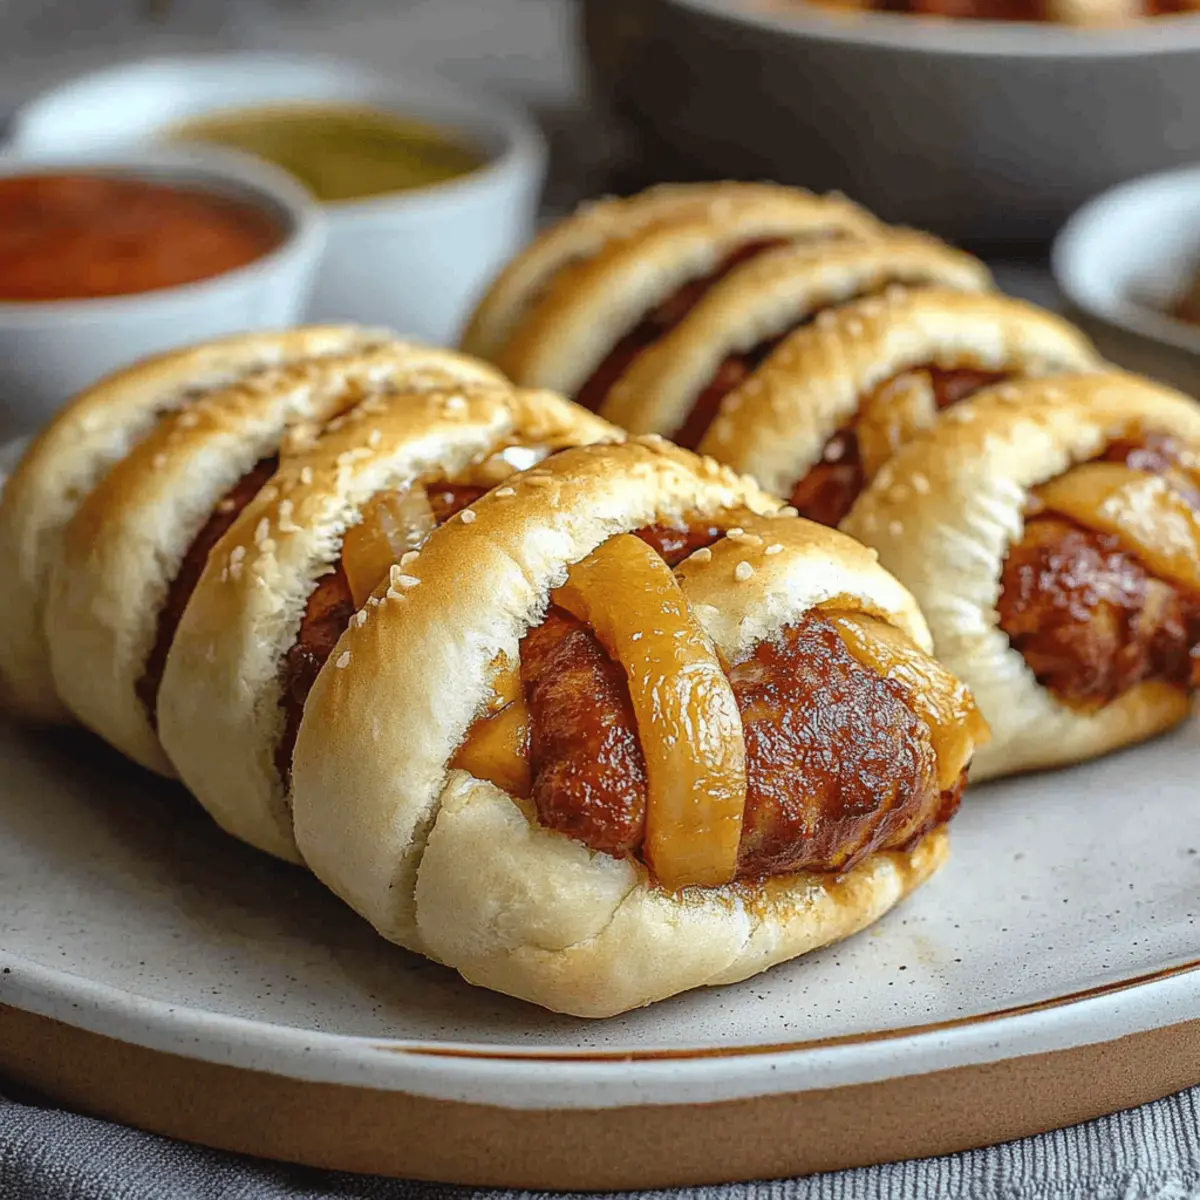
Once they are golden brown and wonderfully puffed, remove the Mummy Dogs from the oven and let them cool slightly for about 5 minutes. This cooling time helps prevent burns when eating. Serve them with your favorite dipping sauces like ketchup or mustard for a deliciously spooky treat!
Make Ahead Options
These Mummy Dogs are a fantastic option for meal prep, saving you time on busy weeknights! You can wrap the hot dogs in the crescent roll dough up to 24 hours ahead of time. Simply follow steps 1-4, wrap the hot dogs, and place them on a baking sheet. Then, cover the baking sheet tightly with plastic wrap to prevent the dough from drying out. When you're ready to bake, just preheat the oven and place the prepared Mummy Dogs straight in. Bake them for about 15 minutes for that delightful, golden-brown finish! This way, you’ll have fun treats ready to go with minimal fuss!
Expert Tips for Mummy Dogs
• Choose Quality Dough: Use fresh crescent roll dough for the best texture. Old dough may not rise as well, affecting the wrapping.
• Even Strips: Cut the dough strips evenly to ensure consistent cooking. Uneven pieces can lead to parts being overcooked or undercooked.
• Keep an Eye: Check the Mummy Dogs near the end of the baking time. Ovens can vary, and you want them perfectly golden, not burnt.
• Poke Holes: If dough puffs too much, poke a small hole into the rest. This lets steam escape and maintains their mummy shape.
• Serving Style: Consider serving these Mummy Dogs on a festive platter to elevate the Halloween spirit, making them even more appealing to your guests!
How to Store and Freeze Mummy Dogs
Fridge: Store leftover Mummy Dogs in an airtight container in the refrigerator for up to 3 days. This keeps them fresh and ready for snacking later!
Freezer: Mummy Dogs can be frozen for 1-2 months. Wrap each one individually in plastic wrap and place them in a freezer-safe bag for optimal preservation.
Reheating: To enjoy them again, thaw your Mummy Dogs in the refrigerator overnight. Reheat in the oven at 350°F (175°C) for 5-7 minutes or microwave in 30-second bursts until heated through.
Mummy Dogs: Creative Twists Await
Let your imagination run wild as you explore fun and delicious ways to personalize these festive treats!
-
Turkey Dogs: Swap regular hot dogs for turkey ones to create a leaner, yet still scrumptious option, perfect for health-conscious eaters.
-
Veggie Dogs: Try wrapping your favorite vegetarian or plant-based sausages instead. It’s a great way to ensure everyone can join in on the fun!
-
Spicy Kick: Add a dash of cayenne pepper or paprika to the dough for a slight heat that takes these Mummy Dogs to the next level. A little spice can add a delightful surprise to every bite!
-
Cheese Stuffed: Insert a small slice of cheese inside the hot dog before wrapping with dough. As they bake, the cheese will melt and ooze out, creating a rich and gooey center. Who doesn’t love a cheesy treat?
-
Herbed Dough: Add some dried herbs or garlic powder to your crescent roll dough for an aromatic twist that enhances the overall flavor profile. Fresh herbs can elevate your Mummy Dogs from simple to sublime!
-
Fun Faces: Use pieces of olives or sliced jalapeños to create silly or spooky faces on the Mummy Dogs. This extra touch not only makes them eye-catching but adds delicious flavor too!
-
Zesty Dips: Switch up the dipping sauces—try spicy mustard, ranch, or even a homemade garlic aioli. Each dip can completely change the flavor experience and delight your taste buds!
-
Gluten-Free Option: Use gluten-free crescent roll dough to make these spooky snacks accessible for those with dietary restrictions. It’s easy to cater to everyone so that no one is left out of the Halloween fun!
With these variations, you can create something truly unique and delightful that's perfect for gatherings or cozy family dinners. Need more inspiration? Consider pairing these Mummy Dogs with festive sides like Pumpkin Spice Muffins or a crunchy Witch's Brew Salad to enhance your Halloween feast!
What to Serve With Mummy Dogs?
Mummy Dogs are not only a fun treat; they’re the perfect centerpiece for your Halloween spread, inviting colorful sides and drinks to join the festive fun.
-
Crispy Sweet Potato Fries: Their natural sweetness contrasts beautifully with the savory Mummy Dogs, adding a delightful crunch to every bite. These fries can be oven-baked for a healthier side that everyone will love!
-
Classic Coleslaw: A refreshing crunch, this slaw offers a creamy counterpart to the flaky pastry of Mummy Dogs. The tangy taste cuts through the richness, making for a balanced plate.
-
Spooky Veggie Tray: A mix of bright bell peppers, cucumbers, and carrots served with ranch dip creates a healthy addition to balance out the indulgence. This colorful spread will keep all the goblins entertained!
-
Pumpkin Soup: A warm, inviting option, this creamy soup brings in seasonal flavors that perfectly complement your spooky snack. Serve it in small cups for a fun sipping experience.
-
Apple Slices with Caramel Dip: Crisp, sweet apples dipped in luscious caramel make for a light dessert that contrasts the savory Mummy Dogs wonderfully. It’s a treat that’s simple yet irresistible!
-
Witch’s Brew Punch: This fruity, colorful punch, with hints of citrus, will delight both kids and adults. Its vibrant hue adds to the Halloween theme and keeps everyone hydrated!
-
Hot Chocolate with Marshmallows: After enjoying the Mummy Dogs, cozy up with a warm mug of hot chocolate. The sweet and creamy drink adds a comforting finish to your festive feast while inviting everyone to gather around.
Mummy Dogs Recipe FAQs
How do I choose the right hot dogs for my Mummy Dogs?
Absolutely! You can use any type of hot dogs you prefer. From classic beef to turkey or even plant-based options, feel free to experiment with flavors and dietary preferences. Just ensure they're well-cooked before wrapping them with dough for the best results.
How should I store leftover Mummy Dogs?
Very simple! Store leftover Mummy Dogs in an airtight container in the refrigerator for up to 3 days. This keeps them fresh and tasty for quick snacking later. Just make sure they’re completely cooled before sealing them up!
Can I freeze Mummy Dogs, and how do I do that?
Yes, you can freeze Mummy Dogs for 1-2 months! Wrap each one individually in plastic wrap to prevent freezer burn and then place them in a freezer-safe bag. When you’re ready to enjoy them again, simply thaw the desired amount in the refrigerator overnight before reheating.
What should I do if the dough sticks while I’m wrapping the hot dogs?
If you find the dough is sticking, don’t worry! Lightly flour your work surface before rolling out the dough, or use parchment paper to help prevent sticking. This way, you’ll have an easier time cutting and wrapping the dough around your hot dogs!
Can I customize this recipe for dietary restrictions?
Absolutely! For a healthier version, try substituting your regular hot dogs with turkey, chicken, or vegetarian sausage options. Just be sure to adjust the cooking time if using alternate sausages that may have different cooking requirements.
How do I prevent the dough from puffing up too much while baking?
If you find the dough puffs excessively, it’s a good idea to poke a small hole in the wrapped dough. This allows steam to escape and helps maintain the mummy shape. Just be gentle to avoid ruining the look of your spooky treats!
Mummy Dogs: Spooktacular Treats for Halloween Fun
Ingredients
Equipment
Method
- Preheat your oven to 375°F (190°C).
- Unroll the crescent roll dough and separate it into triangles.
- Cut each triangle into thin strips, about ½ inch wide.
- Wrap the strips around each hot dog, leaving a small gap at the top.
- Place them on a baking sheet lined with parchment paper.
- Bake for approximately 15 minutes, until golden brown.
- Cool for about 5 minutes before serving with dipping sauces.


Leave a Reply