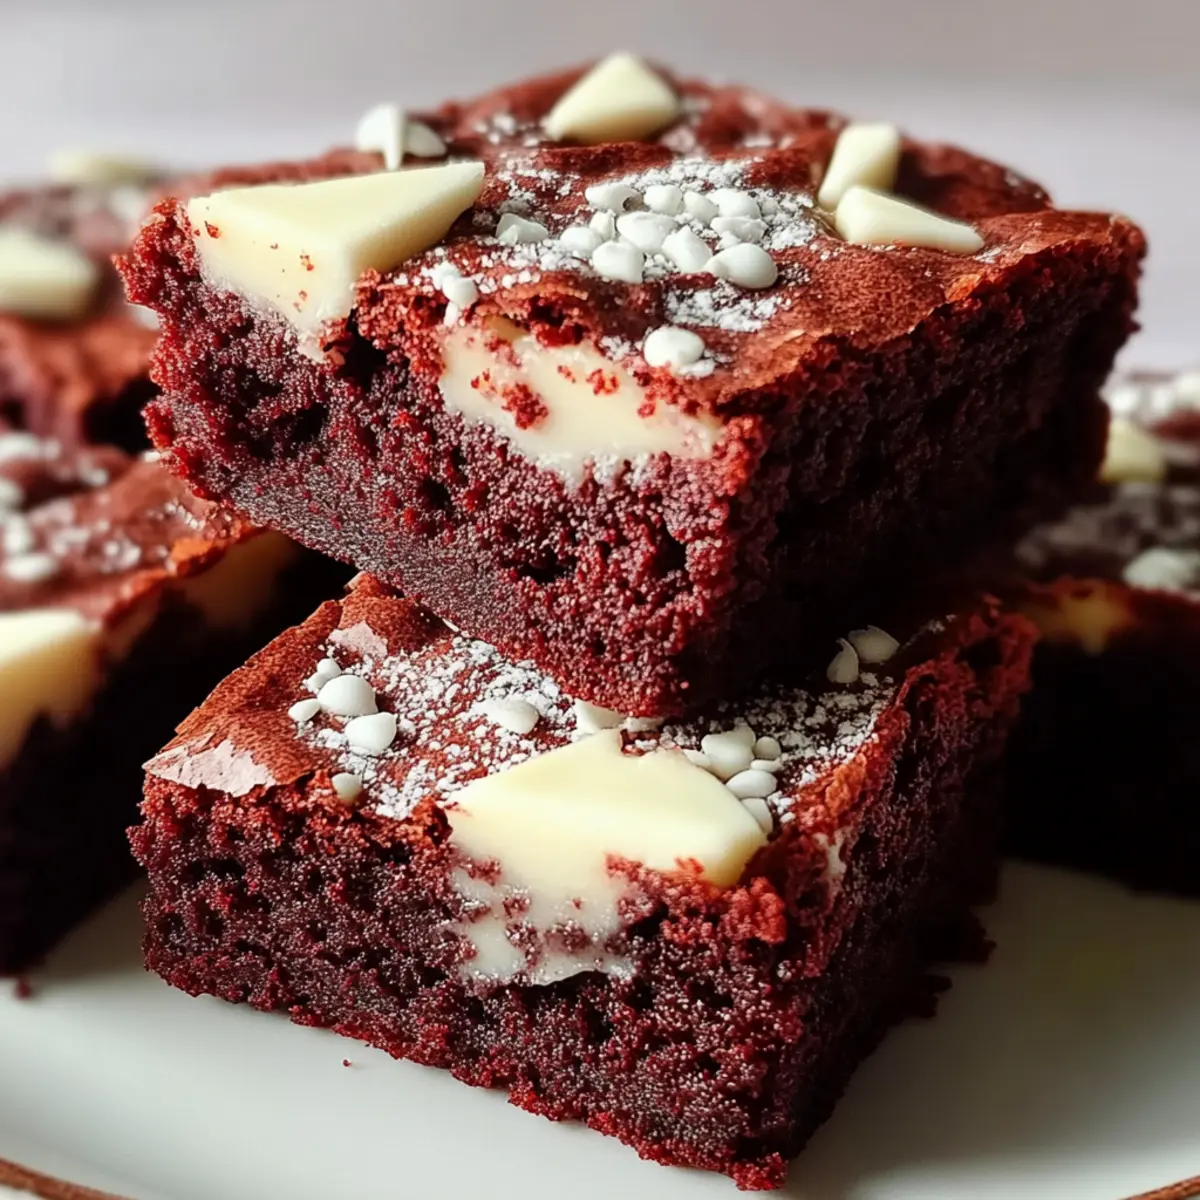
The aroma wafting through my kitchen feels like a hug on a chilly day, instantly lifting my spirits. That's the magic behind my Red Velvet Brownies—a delightful twist on a classic that combines rich cocoa goodness with a bold splash of red. Ideal for both seasoned bakers and those just finding their culinary rhythm, these brownies promise quick prep time and endless smiles from loved ones. With melty white chocolate chips that create an irresistible contrast to the earthy cocoa, every bite takes you on a journey of pure indulgence. Whether it's a cozy night in or a gathering with friends, these brownies are sure to impress. So, are you ready to indulge in a sweet adventure? Let's get baking!
Why are Red Velvet Brownies so special?
Indulge in Bliss: These Red Velvet Brownies offer a decadent twist on a beloved dessert, giving you that luxurious feel with every bite.
Easy to Make: With just a few straightforward steps and minimal effort, you can impress family and friends alike.
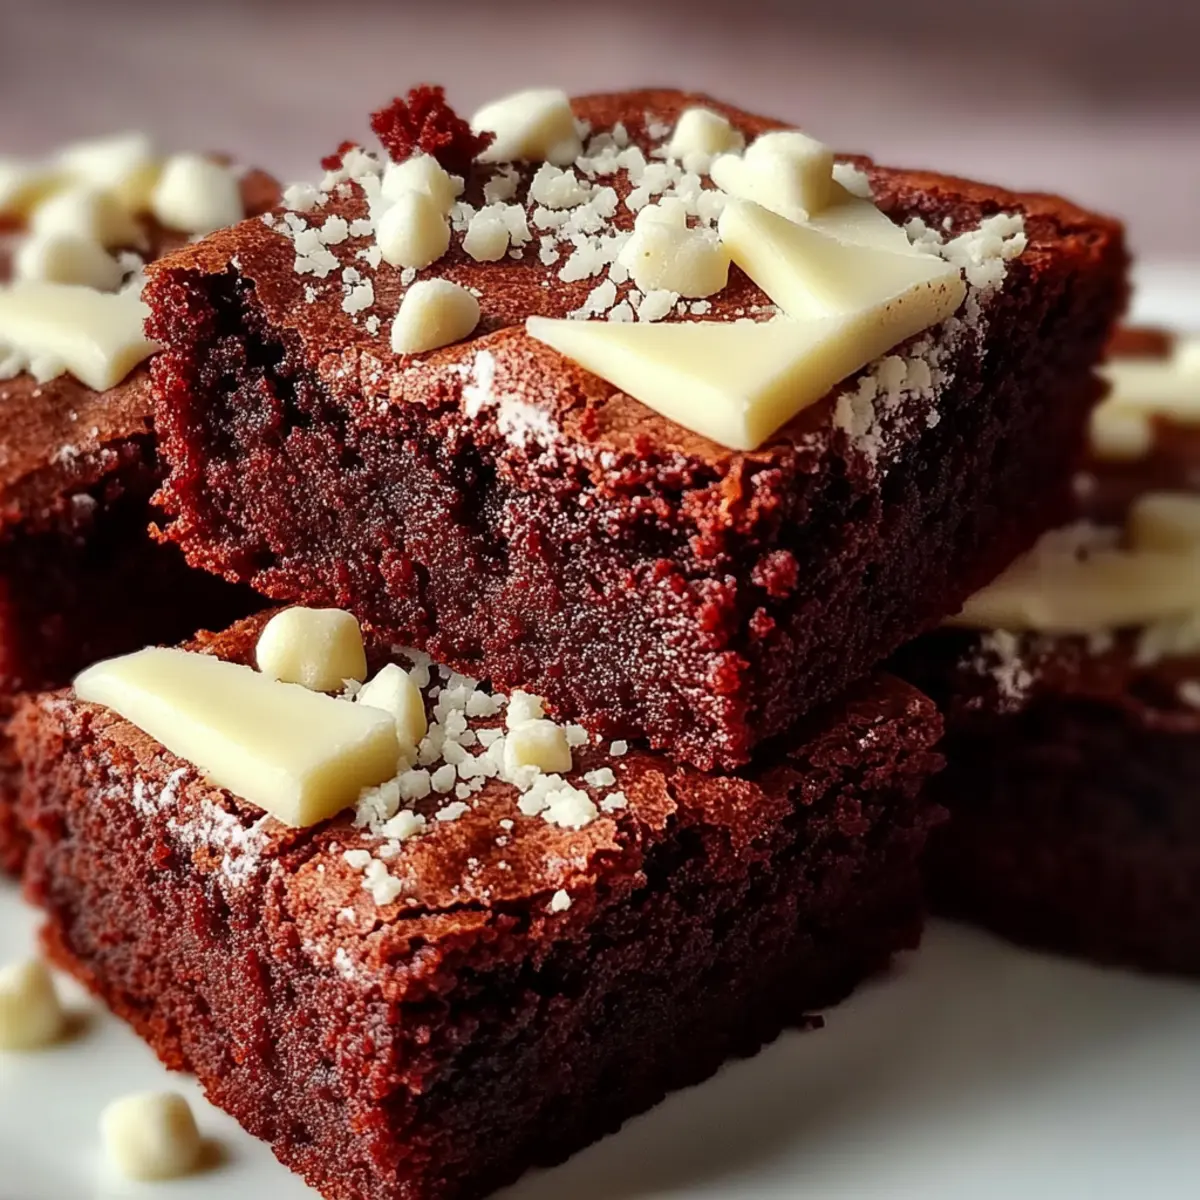
Vibrant Presentation: Their stunning red color makes them perfect for special occasions or simply to brighten up your day.
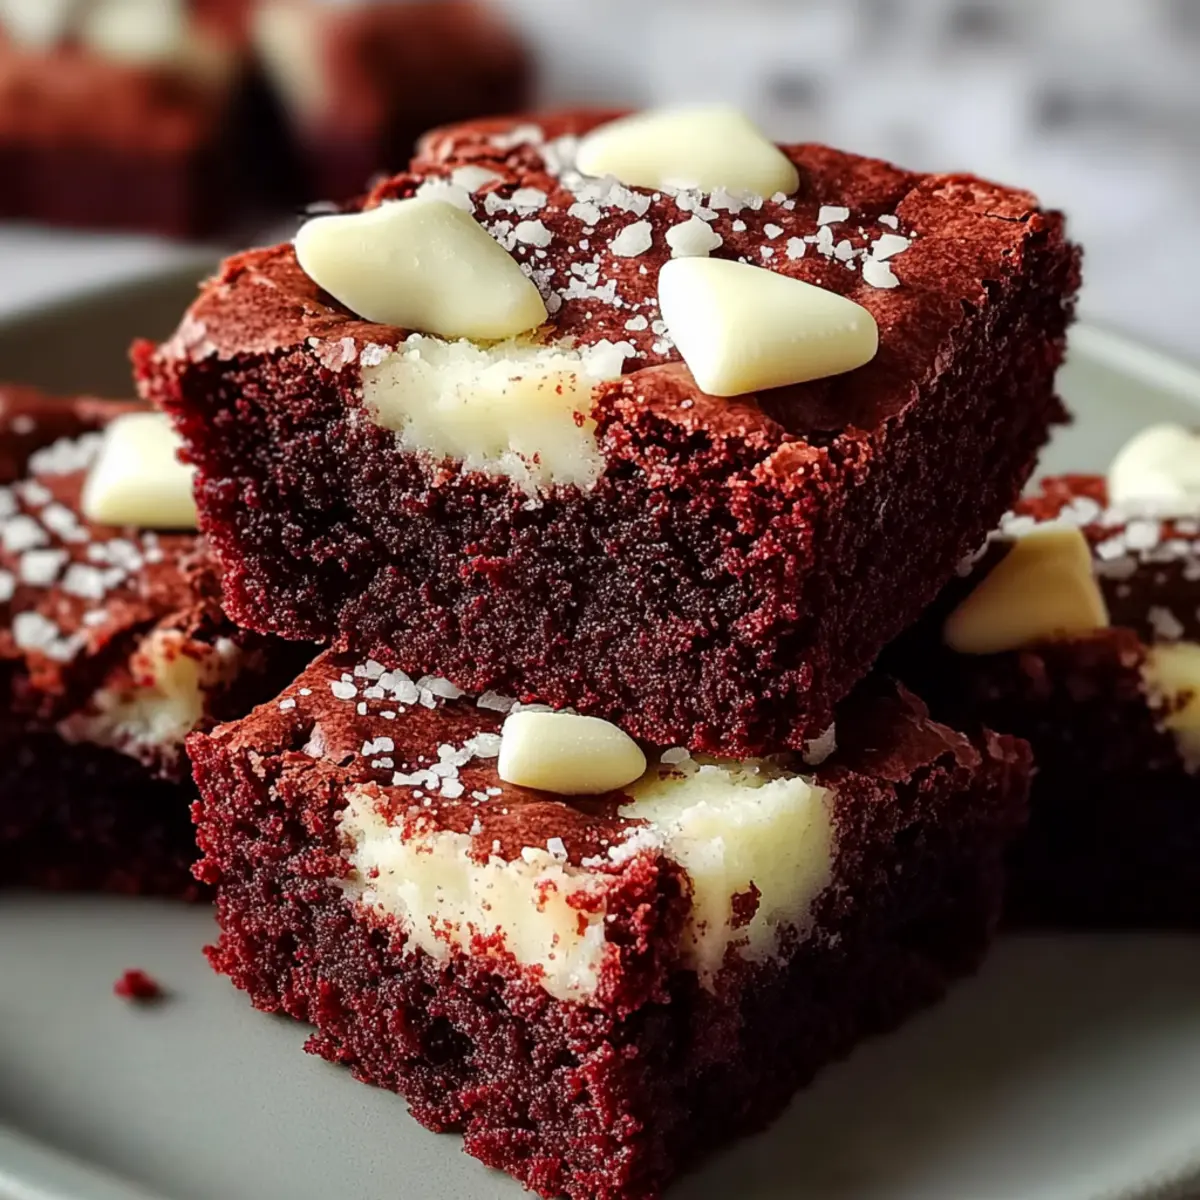
Creamy Delight: The addition of white chocolate chips not only adds flavor but also creates a delicious contrast to the rich cocoa base.
Crowd-Pleaser: Whether it's a cozy movie night or a festive gathering, these brownies are sure to be a hit with everyone! If you love creative desserts, you might also enjoy making Spooky Spider Brownies for Halloween or Loaded Cheeseburger Alfredo for a savory treat!
Red Velvet Brownies Ingredients
For the Brownie Batter
• Unsalted butter – 226 g (1 cup), melted for a rich, creamy base.
• Granulated sugar – 300 g (1 ½ cups) helps achieve the perfect sweetness.
• Brown sugar – 100 g (½ cup), packed to enhance moisture and flavor depth.
• Large eggs – 4, binding the ingredients and adding fluffiness.
• Vanilla extract – 2 teaspoons, for a touch of warmth and richness.
• All-purpose flour – 250 g (2 cups) is the backbone of these delightful brownies.
• Unsweetened cocoa powder – 45 g (½ cup), making these Red Velvet Brownies luxuriously chocolaty.
• Baking powder – 1 teaspoon, providing lift for a soft and chewy texture.
• Salt – 1 teaspoon, balancing the sweetness and enhancing flavors.
• Red food coloring – 1 tablespoon to create that signature vibrant hue.
For the White Chocolate Chips
• White chocolate chips – 170 g (1 cup), or chopped white chocolate, adding a creamy contrast to the rich flavors.
Step‑by‑Step Instructions for Red Velvet Brownies
Step 1: Preheat the Oven and Prepare the Pan
Begin by preheating your oven to 350°F (175°C). While it warms up, take a 9x13-inch baking pan and grease it lightly with butter or cooking spray. Then, line the bottom with parchment paper, allowing some overhang on the sides. This makes it easy to lift your delicious Red Velvet Brownies out of the pan once they’re baked.
Step 2: Mix the Sugars and Butter
In a large mixing bowl, combine 1 cup of melted unsalted butter, 1 ½ cups of granulated sugar, and ½ cup of packed brown sugar. Use a whisk to mix until the mixture is smooth and glossy, about 1-2 minutes. This creates a rich base that will ensure your brownies are both sweet and moist, achieving that luscious texture you crave.
Step 3: Incorporate the Eggs and Vanilla
Next, crack in 4 large eggs, one at a time, stirring well after each addition to fully combine. Add 2 teaspoons of vanilla extract, mixing until everything is smoothly incorporated. This step will enhance the flavor profile of your Red Velvet Brownies, giving them that warm, inviting aroma you’ll love as they bake.
Step 4: Combine Dry Ingredients
In a separate bowl, sift together 2 cups of all-purpose flour, ½ cup of unsweetened cocoa powder, 1 teaspoon of baking powder, and 1 teaspoon of salt. Gradually add these dry ingredients to your wet mixture, stirring gently until just combined. Be careful not to overmix; you want your brownies to be soft and fudgy.
Step 5: Add the Red Food Coloring
Now, it’s time to bring the color into your batter! Mix in 1 tablespoon of red food coloring until the batter achieves a vibrant red hue. This step not only enhances the visual appeal of your Red Velvet Brownies but also balances beautifully with the chocolatey flavor of the cocoa.
Step 6: Fold in the White Chocolate Chips
To add delicious creaminess, gently fold in 1 cup of white chocolate chips into the red batter, distributing them evenly throughout. This will create delightful pockets of melted chocolate in each brownie, enhancing both taste and texture with every bite you take.
Step 7: Pour and Smooth the Batter
Pour the beautifully vibrant brownie batter into your prepared baking pan, spreading it out evenly with a spatula. Make sure the top is smooth and level, ensuring your Red Velvet Brownies bake evenly. The sight of this rich, red batter is sure to excite your taste buds!
Step 8: Bake to Perfection
Place the pan in the preheated oven and bake for 20-25 minutes. Start checking for doneness around the 20-minute mark by inserting a toothpick into the center; it should come out with a few moist crumbs. This indicates your brownies are ready to be taken out, ensuring they remain soft and chewy.
Step 9: Cool and Slice
Once baked, remove the pan from the oven and let the brownies cool in the pan for about 10 minutes. Afterward, use the parchment overhang to gently lift them out, placing them on a wire rack to cool completely. Once cooled, cut into squares, and get ready to relish your homemade Red Velvet Brownies!
Make Ahead Options
These Red Velvet Brownies are perfect for meal prep, allowing you to savor their deliciousness with less fuss! You can prepare the brownie batter up to 24 hours in advance. Simply combine all ingredients as instructed, then store the batter in an airtight container in the refrigerator. When you're ready to bake, just pour it into your prepared pan and bake as directed. To maintain quality, ensure the container is well-sealed to prevent any drying out. These brownies will still be just as delightful and rich, making them an ideal treat for busy weeknights or unexpected guests!
Expert Tips for Red Velvet Brownies
- Perfect Texture: Ensure you don't overmix the batter; this keeps your Red Velvet Brownies soft and chewy instead of cakey.
- Color Check: Make sure to mix the red food coloring well to achieve that vibrant hue throughout the batter.
- Doneness Test: When checking for doneness, remember that moist crumbs on the toothpick indicate perfection, not a clean pick!
- Cooling Time: Let the brownies cool in the pan for the recommended time to avoid them crumbling when cutting.
- Storage Tips: Store leftover brownies in an airtight container at room temperature, which helps maintain their delightful moistness.
Red Velvet Brownies Variations
Feel free to switch things up and make these Red Velvet Brownies your own masterpiece—let your creativity shine!
-
Gluten-Free: Substitute with a 1:1 gluten-free flour blend for a delightful treat without the gluten.
-
Dark Chocolate: Swap white chocolate chips for dark chocolate chunks to add a richer, bolder flavor that chocolate lovers will adore. Envelop yourself in that luscious essence as you take a bite.
-
Nutty Surprise: Add 1 cup of chopped walnuts or pecans for a crunchy texture that beautifully contrasts the soft brownie base.
-
Minty Fresh: Incorporate ½ teaspoon of peppermint extract in place of vanilla for a festive brownie with a refreshing twist, perfect for holiday gatherings!
-
Vegan-Friendly: Replace eggs with ¼ cup of applesauce for each egg and use plant-based butter, making these brownies just as gooey and scrumptious without any animal products.
-
Orange Zest: Grate in some orange zest before baking to introduce a bright, citrusy note that plays wonderfully with the rich cocoa flavor. The citrus aroma will add an uplifting energy to your kitchen!
-
Extra Chocolatey: Fold in an additional ½ cup of unsweetened cocoa powder for a deeper, more intense chocolate flavor that's sure to satisfy your cravings.
-
Spicy Kick: Add a pinch of cayenne pepper to the batter for a warm, spicy surprise that elevates the sweetness and keeps things interesting.
What to Serve with Red Velvet Brownies?
The delightful sweetness and rich texture of these brownies invite a variety of complementary flavors to create a memorable meal experience.
- Vanilla Ice Cream: A scoop of creamy vanilla ice cream melts perfectly over warm brownies, enhancing their richness and offering a contrasting chill.
- Fresh Berries: Juicy strawberries or raspberries add freshness and a burst of tartness that beautifully balances the decadent sweetness.
- Chocolate Ganache: Drizzling warm chocolate ganache adds another layer of chocolatey goodness, making each bite even more indulgent and luxurious.
- Milk: A glass of chilled milk pairs wonderfully, offering simplicity and comfort that complements the brownies without overpowering their flavors.
- Coffee: A strong cup of coffee or espresso is the perfect way to enhance the richness of the brownies, making them an ideal afternoon treat.
- Cream Cheese Frosting: Spreading a light layer of cream cheese frosting elevates the flavor profile, echoing the classic red velvet cake essence.
- Semi-Sweet Chocolate Chips: Sprinkle some extra chocolate chips on top before baking, creating a delightful melty texture that chocolate lovers will adore.
- Mint Tea: A refreshing mint tea can cleanse your palate, offering a bright contrast to the rich, chocolaty depth of the brownies.
Each of these accompaniments will deepen the experience of enjoying your homemade Red Velvet Brownies, turning a simple dessert into an unforgettable treat!
How to Store and Freeze Red Velvet Brownies
Room Temperature: Keep your Red Velvet Brownies in an airtight container at room temperature for up to 3 days to maintain their soft texture and delicious flavor.
Fridge: If you wish to extend freshness, store them in the refrigerator for up to 1 week. Just be sure to wrap them in plastic wrap to prevent drying out.
Freezer: For longer storage, freeze your brownies in a single layer wrapped tightly in plastic wrap, followed by a layer of aluminum foil. They’ll stay fresh for up to 3 months.
Reheating: When ready to enjoy, thaw frozen brownies overnight in the fridge, then warm them in the microwave for 10-15 seconds to restore their delightful melty goodness.
Red Velvet Brownies Recipe FAQs
What type of cocoa powder should I use for Red Velvet Brownies?
I recommend using unsweetened cocoa powder for your Red Velvet Brownies. It creates that rich, chocolatey flavor without the added sweetness, perfectly balancing the overall taste. If you’re looking for a more intense chocolate flavor, you can opt for Dutch-processed cocoa, but keep in mind it may slightly alter the color of your brownies.
How do I know when my brownies are done baking?
To check for doneness, insert a toothpick into the center of your brownies after 20 minutes of baking. You want it to come out with a few moist crumbs clinging to it; this indicates they are baked to perfection. If the toothpick comes out with wet batter, continue baking for another 2-3 minutes, then check again. Remember, slightly underbaked brownies are often fudgier and more indulgent!
Can I store leftover Red Velvet Brownies in the fridge?
Absolutely! You can store your leftover Red Velvet Brownies in an airtight container in the refrigerator for up to one week. Just be sure to wrap them well to prevent them from drying out. When you're ready to indulge, you can enjoy them cold, or warm them in the microwave for a few seconds to revive that melty chocolate bliss!
How do I freeze Red Velvet Brownies?
Freezing your Red Velvet Brownies is a great way to enjoy them later! Start by letting them cool completely. Then, wrap the brownies tightly in plastic wrap, ensuring no air is trapped inside. For extra protection, wrap them again in aluminum foil. Store them in the freezer for up to 3 months. When you’re ready to enjoy them, thaw the brownies in the fridge overnight, and then heat them for 10-15 seconds in the microwave to regain their fudgy texture.
Are there any dietary considerations I should be aware of for this recipe?
Yes, these Red Velvet Brownies contain common allergens such as eggs, gluten (from all-purpose flour), and dairy (from butter and chocolate). If you have dietary restrictions, consider substituting butter with a dairy-free alternative, replacing eggs with flax eggs (1 tablespoon ground flaxseed + 2.5 tablespoons water per egg), and using gluten-free flour blends. Just be aware that these substitutions may change the texture slightly, but they can be just as delicious!
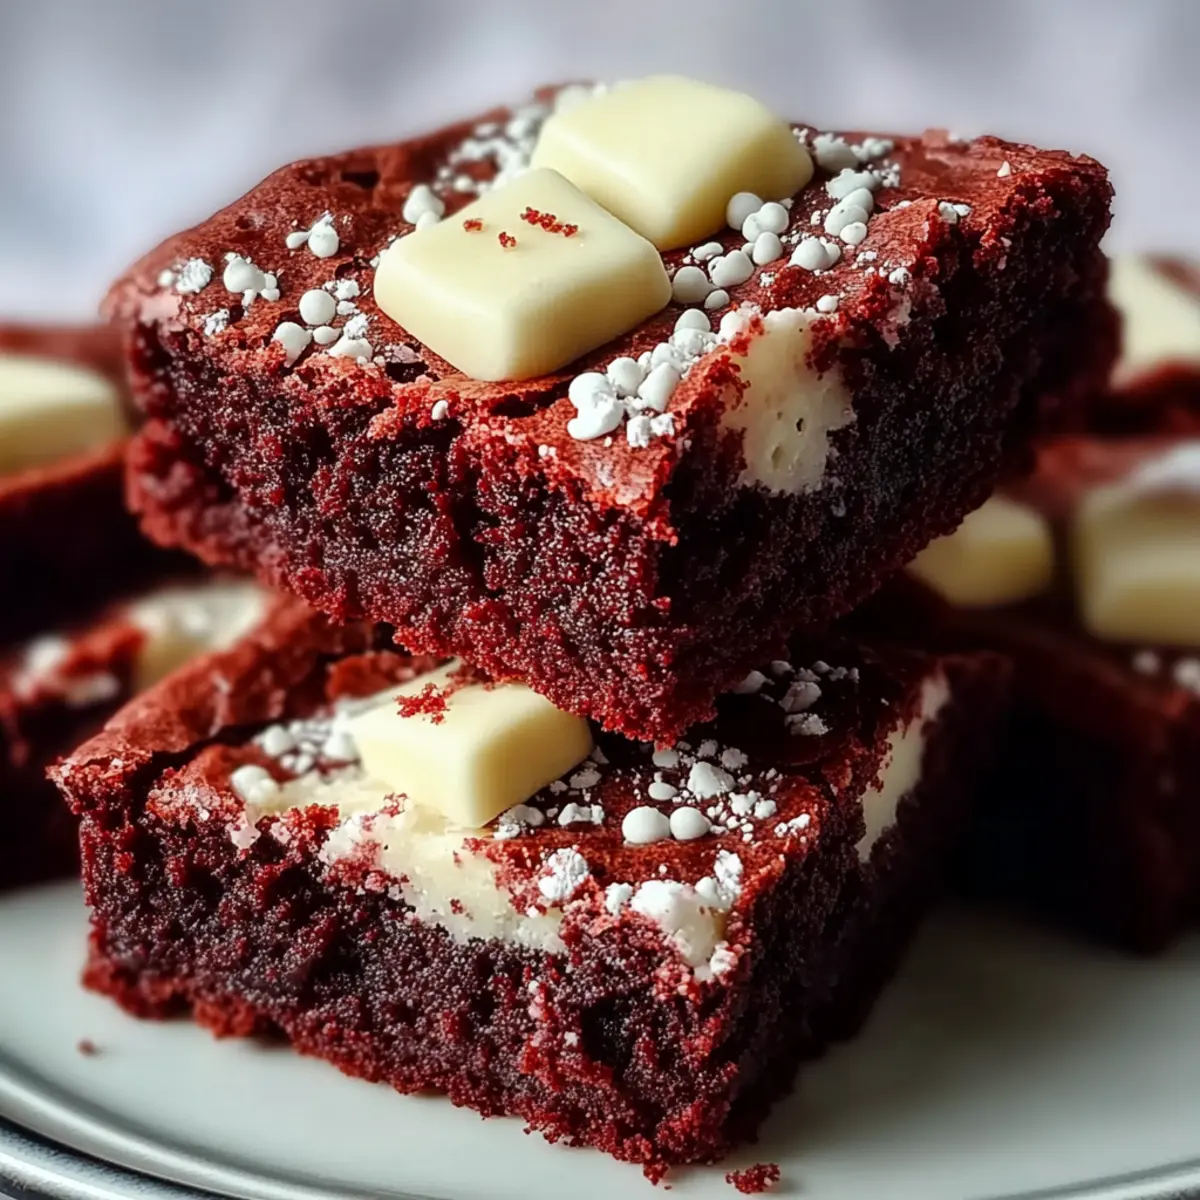
Irresistibly Soft Red Velvet Brownies with White Chocolate Chips
Ingredients
Equipment
Method
- Preheat your oven to 350°F (175°C) and prepare a 9x13-inch baking pan by greasing it and lining with parchment paper.
- In a mixing bowl, combine melted unsalted butter, granulated sugar, and brown sugar, whisk until smooth and glossy.
- Incorporate eggs one at a time, mixing well after each addition, along with vanilla extract.
- In a separate bowl, sift together flour, cocoa powder, baking powder, and salt, then gradually mix into wet ingredients.
- Mix in red food coloring until the batter is vibrantly red.
- Fold in white chocolate chips, distributing them evenly through the batter.
- Pour the batter into the prepared pan and smooth the top.
- Bake for 20-25 minutes, checking for doneness with a toothpick.
- Cool the brownies in the pan for 10 minutes then transfer to a wire rack to cool completely before cutting into squares.


Leave a Reply