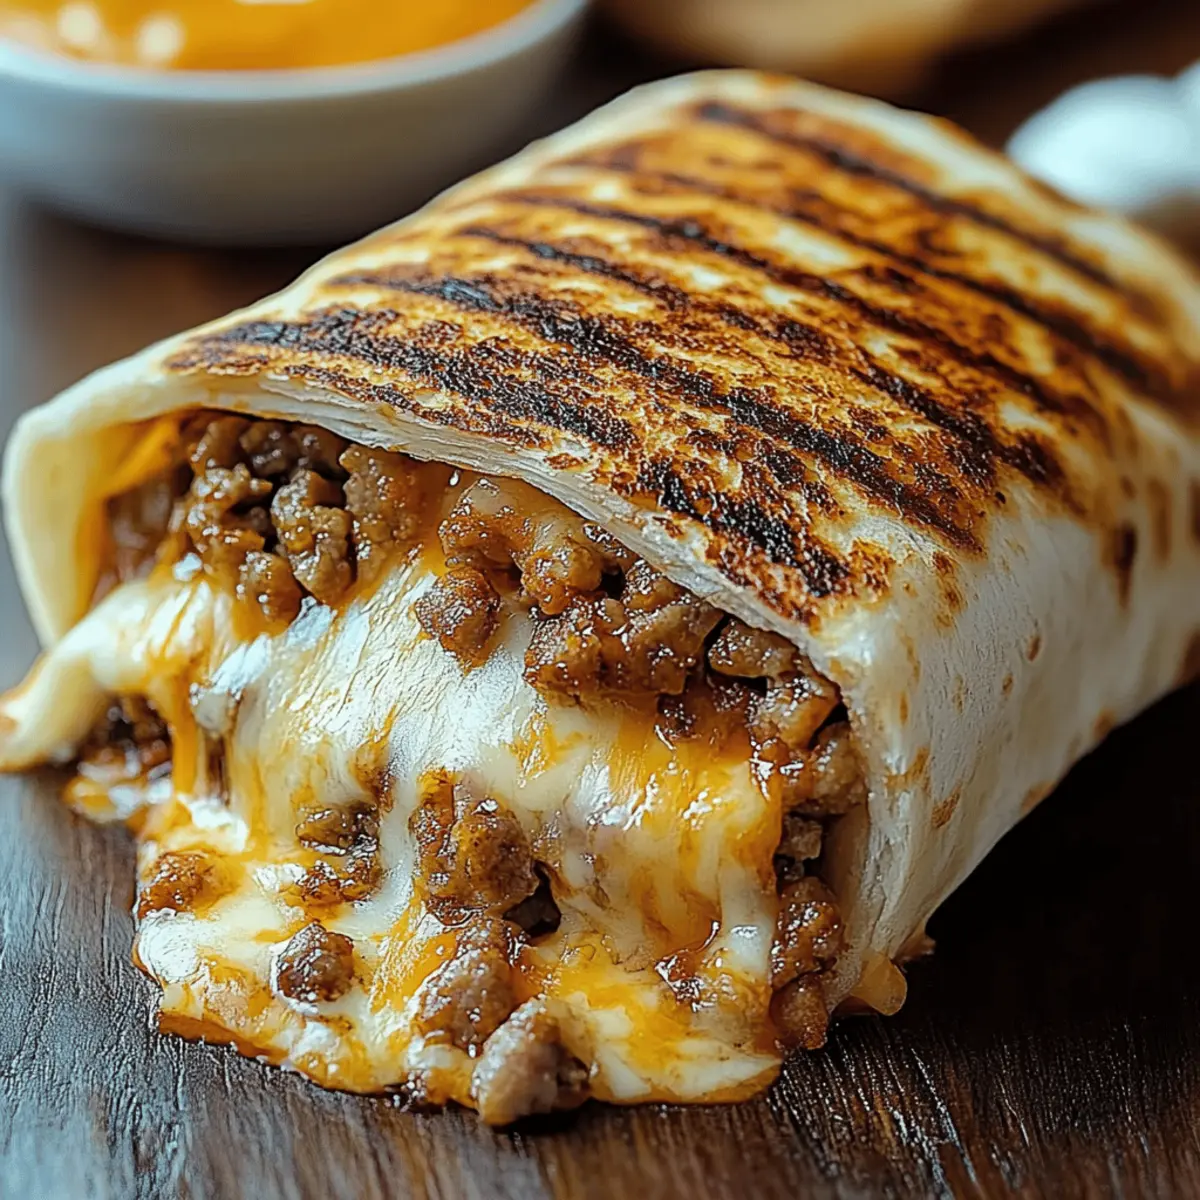
As I stood in my kitchen, the savory aroma of sizzling ground beef filled the air, transporting me straight to a cozy taco joint I once loved. That moment sparked the creation of my Grilled Cheese Burrito, a fusion that combines the cheesy indulgence of a classic grilled cheese with the fun, handheld joy of a burrito. In just 25 minutes, you can whip up this fantastic dish that's not only a crowd-pleaser but also a perfect solution for those busy weeknights. With its satisfying blend of creamy cheeses and zesty taco-seasoned beef, this recipe comes together quickly, ensuring that you can savor homemade goodness without the fast food guilt. Are you ready to dive into this delicious culinary adventure?
Why is this Grilled Cheese Burrito special?
Flavor Explosion: The combination of taco-seasoned beef and creamy nacho cheese creates a delightful melange that tantalizes your taste buds.
Quick & Easy: Whip this up in just 25 minutes—perfect for busy weeknights when you crave something homemade.
Crowd-Pleasing: Whether it's dinner with family or a fun gathering with friends, these burritos are sure to impress everyone at the table.
Endless Customization: Feel free to add your favorite ingredients like black beans or jalapeños—make it your own!
Comfort Food Redefined: This Grilled Cheese Burrito is the ultimate fusion of cheesy goodness and hearty ingredients that will keep you coming back for more. For more variations, check out my Customizations.
Grilled Cheese Burrito Ingredients
For the Filling
- Ground beef – A rich, savory base that pairs perfectly with the zesty taco seasoning.
- Taco seasoning – Adds an irresistible Mexican flair and depth of flavor to the meat.
- Cooked white rice – Offers a hearty texture and balances the richness of the other ingredients.
- Sour cream – A cooling ingredient that adds creaminess and offsets the spice.
- Nacho cheese sauce – For that gooey, melty goodness that makes every bite irresistible.
- Chipotle sauce – Introduces a smoky kick that elevates the flavor profile.
For the Cheesy Goodness
- Shredded cheddar cheese – Brings sharp flavor and a classic cheesy texture that enhances the burrito.
- Shredded mozzarella – Melts beautifully, adding stretchiness and a mild flavor.
For Assembly
- Large flour tortillas – Provides a soft and sturdy wrap to hold all the delicious fillings together.
- Butter or oil – Essential for grilling, ensuring a crispy, golden-brown crust.
Enjoy the ultimate Grilled Cheese Burrito experience that will have you relishing homemade flavors in no time!
Step‑by‑Step Instructions for Grilled Cheese Burrito
Step 1: Cook the Ground Beef
Begin by browning 1 pound of ground beef in a skillet over medium heat, breaking it up as it cooks, which should take about 5-7 minutes. Once the beef is no longer pink, drain excess grease, then stir in a packet of taco seasoning along with ¼ cup of water. Let it simmer for another 5 minutes until the mixture thickens, releasing a savory aroma that hints at the delicious Grilled Cheese Burrito ahead.
Step 2: Prepare the Tortillas
While the beef is simmering, take 4 large flour tortillas and warm them up for flexibility. This can be done in a dry skillet over low heat for about 30 seconds per side or briefly in the microwave wrapped in a damp paper towel for about 20 seconds. Warm tortillas ensure easy wrapping around your flavorful fillings, setting the stage for your Grilled Cheese Burrito.
Step 3: Assemble the Burritos
Lay one warm tortilla flat on a clean surface. Spoon in a generous layer of cooked white rice and top it with your seasoned beef. Add nacho cheese sauce, a drizzle of chipotle sauce, and a dollop of sour cream. Finish with a sprinkle of shredded cheddar and mozzarella cheeses. This delicious layering is crucial to create the perfect flavor balance in your Grilled Cheese Burrito.
Step 4: Grill the Burritos
Heat a clean skillet over medium heat and sprinkle 2 tablespoons of shredded cheese into the skillet, letting it melt and form a crispy base. Carefully place your assembled burrito seam-side down on top of the melted cheese. Cook for about 3-4 minutes until the cheese forms a beautiful, golden crust.
Step 5: Flip and Finish
Gently flip the burrito using a spatula, ensuring the melted cheese forms a crispy crust on both sides. Cook the second side for another 3-4 minutes, until the burrito is toasted to perfection and the cheese within is melty and gooey. The aroma will be irresistible as you finalize your Grilled Cheese Burrito.
Step 6: Serve and Savor
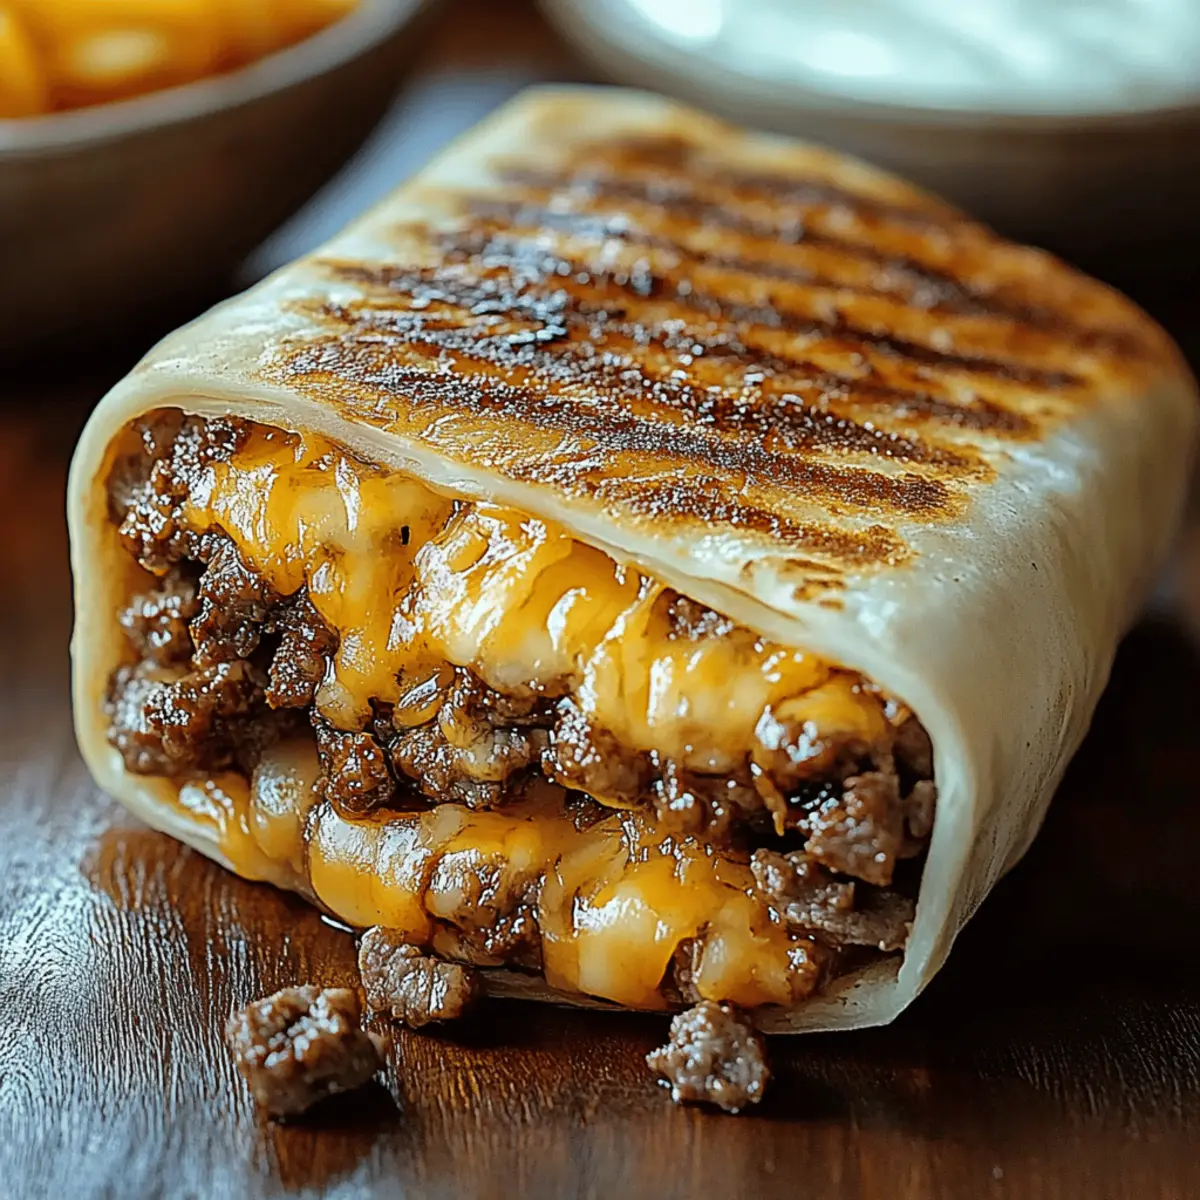
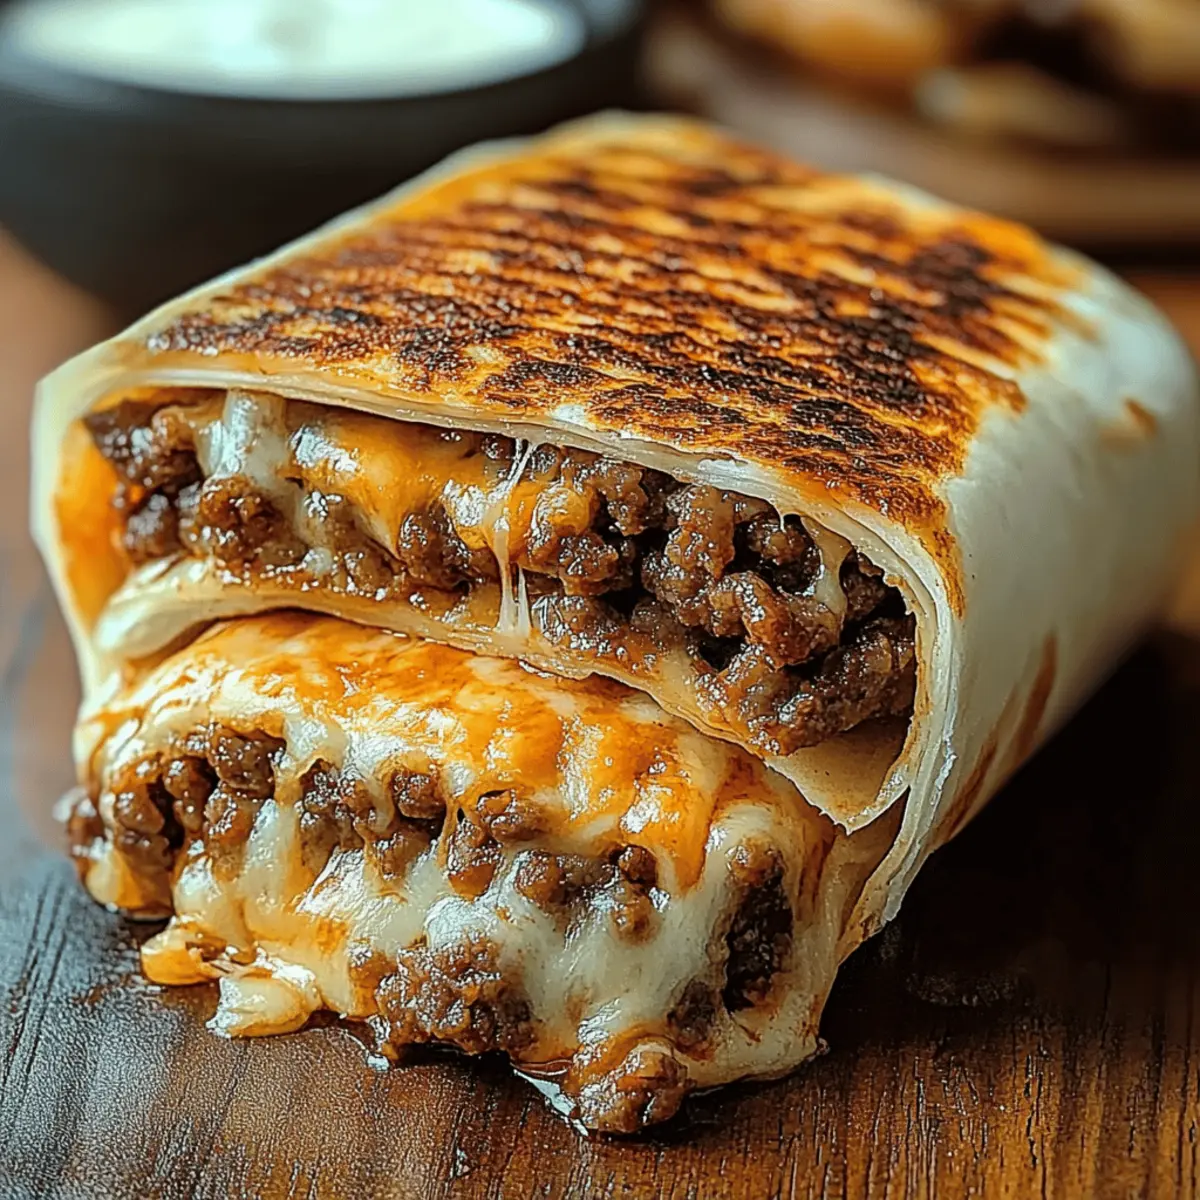
Once both sides are grilled to a delightful crisp, remove the burrito from the skillet and let it rest for a minute. Cut it in half to reveal the cheesy, hearty filling. Serve your Grilled Cheese Burrito warm, and enjoy every savory bite of this comforting dish that brings the best of cheese and burritos together!
Expert Tips for Grilled Cheese Burrito
Perfect Tortilla Texture: Always warm your tortillas before assembling; this prevents tearing and helps them wrap easily around the filling.
Flavor Balance: Don't skimp on the taco seasoning; it’s the star of your Grilled Cheese Burrito! A generous amount elevates all the flavors.
Crispy Crust: Use enough cheese when grilling—two tablespoons per side creates that irresistible crispy crust. Too little may leave you with a soggy burrito.
Don’t Overfill: While it’s tempting to load up your burrito, keep fillings moderate. Overfilling can lead to messy wraps and difficult grilling.
Experiment with Fillings: Feel free to customize your Grilled Cheese Burrito by adding ingredients like black beans or jalapeños for extra flavor and texture.
How to Store and Freeze Grilled Cheese Burrito
Fridge: Store leftover Grilled Cheese Burritos in an airtight container for up to 3 days. This helps keep them fresh and flavorful while preventing moisture loss.
Freezer: Wrap each burrito individually in plastic wrap and aluminum foil, then freeze for up to 2 months. This prevents freezer burn and allows for quick reheating later.
Reheating: Reheat gently on the stovetop for a crispy texture, or place in the microwave for 60–90 seconds if you're short on time. Enjoy that melty cheese all over again!
Grilled Cheese Burrito Variations
Get ready to unleash your creativity and make this Grilled Cheese Burrito truly yours with these fun twists!
-
Vegetarian: Substitute ground beef with black beans or lentils for a hearty plant-based option. This variation maintains the rich texture and flavor while being meat-free.
-
Spicy Kick: Add sliced jalapeños or a sprinkle of crushed red pepper flakes for an extra layer of heat. This minor tweak can transform your burrito into a blazing fiesta!
-
Creamy Dream: Swap the sour cream for guacamole or Greek yogurt for a luscious touch that complements the grilled goodness beautifully.
-
Tex-Mex Fusion: Incorporate corn and diced bell peppers inside your burrito for added sweetness and crunch. This colorful addition not only enhances flavor but also makes it a feast for the eyes!
-
Dairy-Free: Use dairy-free cheese and sour cream alternatives to craft a delicious vegan burrito without sacrificing taste. You can enjoy the same cheesy goodness in a healthier way!
-
Tex-Mex Cheese Blend: Experiment with a blend of cheeses, like pepper jack and queso fresco, for that quintessential cheesy experience with a hint of zest.
-
Crunchy Texture: For extra crunch, top with crushed tortilla chips before wrapping. This delightful twist adds a satisfying crunch with every bite.
Consider these variations an adventure waiting to be explored! The possibilities are endless, and each option can lead to a whole new Grilled Cheese Burrito experience. Don't forget to check out my tips on Expert Tips for Grilled Cheese Burrito and discover ways to enhance your cooking journey!
Make Ahead Options
These Grilled Cheese Burritos are a fantastic choice for meal prep enthusiasts! You can prepare the seasoned beef and rice mixture up to 3 days in advance, storing it in an airtight container in the refrigerator to maintain freshness. Additionally, you can warm the tortillas and assemble the burritos, then wrap them tightly in plastic wrap and refrigerate for up to 24 hours before grilling. When you're ready to serve, simply heat a skillet, grill each burrito until golden brown, and enjoy a quick, restaurant-quality meal with minimal effort. This way, you save precious time and ensure that your Grilled Cheese Burrito remains just as delicious and satisfying!
What to Serve with Grilled Cheese Burrito
Imagine a cozy table set for dinner, where vibrant flavors and textures mingle to create a delightful feast for family and friends.
- Zesty Guacamole: A creamy, avocado-based dip that adds a refreshing contrast to the hearty burrito.
- Spicy Salsa: The tangy kick of salsa enhances each bite, making the experience even more vibrant and delicious.
- Crispy Nachos: Topped with cheese and jalapeños, these crunchy bites are perfect for sharing and complement the burrito's flavors.
- Mexican Street Corn: Sweet and smoky, this dish offers a delightful crunch. Its sweet corn kernels balance the burrito's savory spices.
- Garden Salad: A light, crisp salad with fresh vegetables adds a refreshing element, bringing balance to the meal's richness.
- Melon Agua Fresca: This sweet and refreshing drink echoes the fruity elements of Mexican cuisine, washing down the burrito beautifully.
- Churros with Chocolate Sauce: For dessert, these crispy, sweet treats bring a satisfying finish and a touch of nostalgia to your meal.
- Cilantro Lime Rice: Light and fluffy, this herbed rice acts as a perfect side dish, complementing the spices in the burrito while keeping the meal cohesive.
Grilled Cheese Burrito Recipe FAQs
How do I select the right ingredients for my Grilled Cheese Burrito?
Absolutely! For the best flavor, choose fresh ground beef without excessive fat for a well-balanced texture. When selecting cheese, opt for blocks of cheddar and mozzarella to shred yourself—this ensures a better melt. I often recommend using flour tortillas that are soft, pliable, and without dark spots to avoid a crumbly wrap.
What is the best way to store leftover Grilled Cheese Burritos?
Store your leftover Grilled Cheese Burritos in an airtight container in the fridge for up to 3 days. This will help maintain their flavor and keep them from drying out. If possible, let them cool to room temperature before sealing to avoid condensation, which can make the tortillas soggy.
Can I freeze Grilled Cheese Burritos?
Absolutely! To freeze, wrap each burrito tightly in plastic wrap followed by aluminum foil. This double-wrapping prevents freezer burn and allows them to stay fresh for up to 2 months. When you’re ready to enjoy them again, simply thaw in the fridge overnight and reheat on the stovetop for the best crispy results.
What should I do if my burritos are coming apart while grilling?
If your burritos are falling apart, it might be due to overfilling. I recommend that you stick to a moderate amount of filling—around 1 cup total per burrito—so they hold together better when grilling. Also, ensure that your tortillas are warmed before assembling; this makes them more pliable and less likely to tear.
Are there any dietary considerations I should be aware of when making these burritos?
Very! If you're preparing Grilled Cheese Burritos for those with dietary restrictions, consider using lean ground turkey or beef. Additionally, you can substitute dairy-free cheese for a vegan option. Always check the taco seasoning and sauces to ensure they meet your dietary needs, as some may contain allergens.
Can I customize the filling in my Grilled Cheese Burrito?
The more the merrier! Feel free to add ingredients like black beans, corn, or diced jalapeños for extra flavor and texture. Experimenting with different proteins—like shredded chicken or pulled pork—can also create exciting variations, keeping your burritos fresh and enjoyable every time.
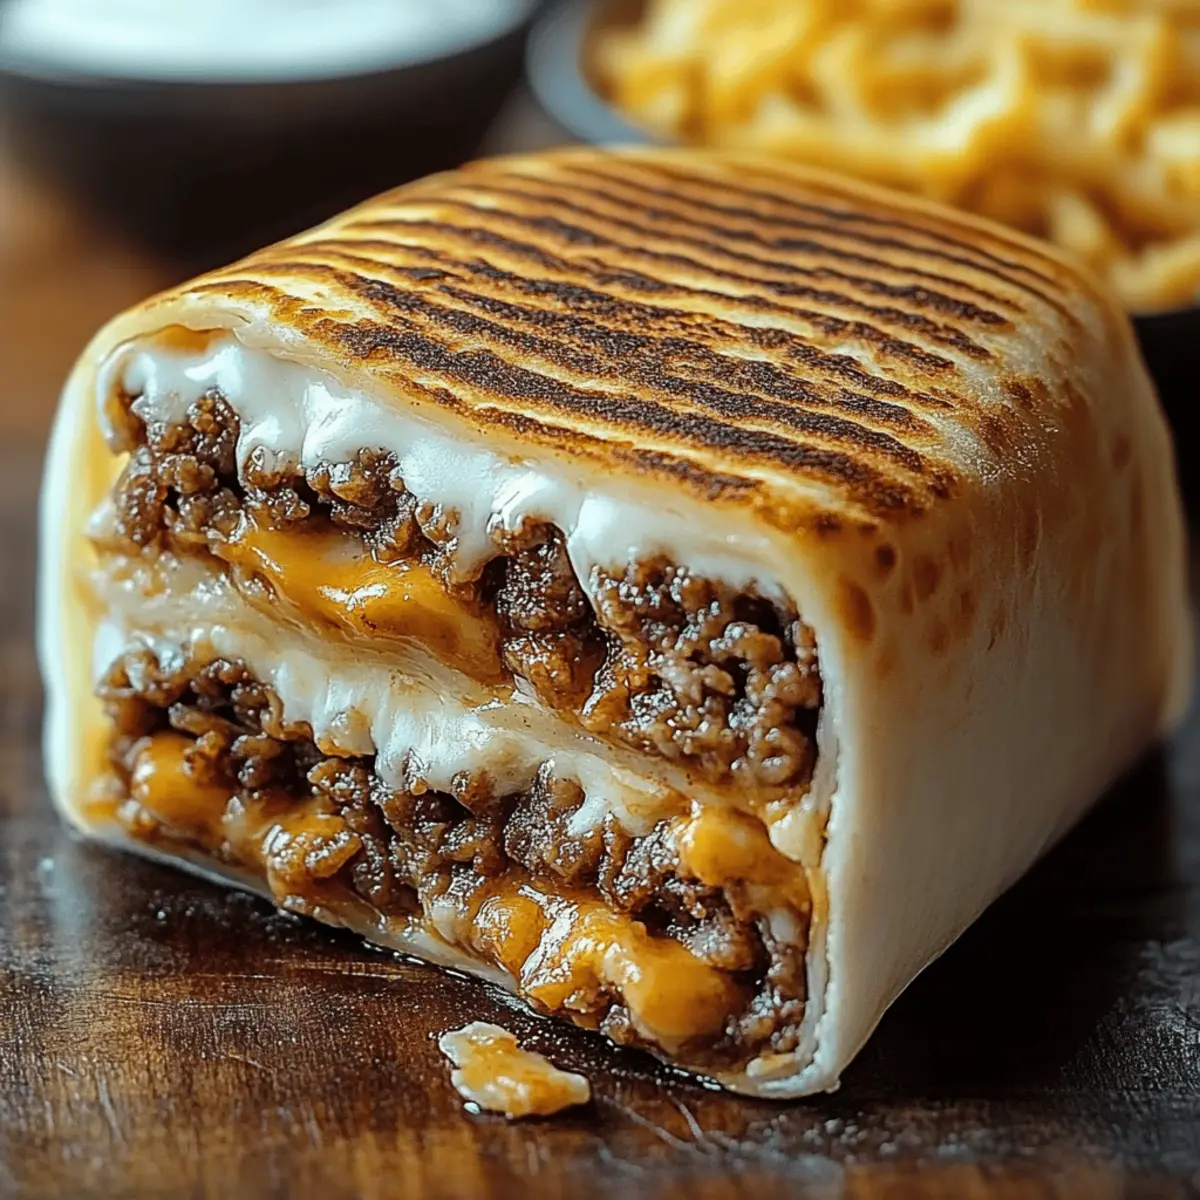
Ultimate Grilled Cheese Burrito: Crispy Meets Cheesy Goodness
Ingredients
Equipment
Method
- Begin by browning ground beef in a skillet over medium heat for about 5-7 minutes. Once the beef is no longer pink, drain excess grease, then stir in taco seasoning along with water. Let it simmer for another 5 minutes.
- Warm large flour tortillas in a dry skillet over low heat for about 30 seconds per side or briefly in the microwave wrapped in a damp paper towel for about 20 seconds.
- Lay one warm tortilla flat, spoon in a layer of cooked white rice, top with seasoned beef, nacho cheese sauce, chipotle sauce, and sour cream. Sprinkle with shredded cheddar and mozzarella cheeses.
- Heat a clean skillet over medium heat, sprinkle shredded cheese into the skillet, letting it melt. Place the assembled burrito seam-side down on top of melted cheese and cook for about 3-4 minutes.
- Gently flip the burrito using a spatula and cook the second side for another 3-4 minutes, until toasted and melty.
- Remove the burrito from the skillet, let it rest for a minute, then cut it in half and serve warm.

Leave a Reply