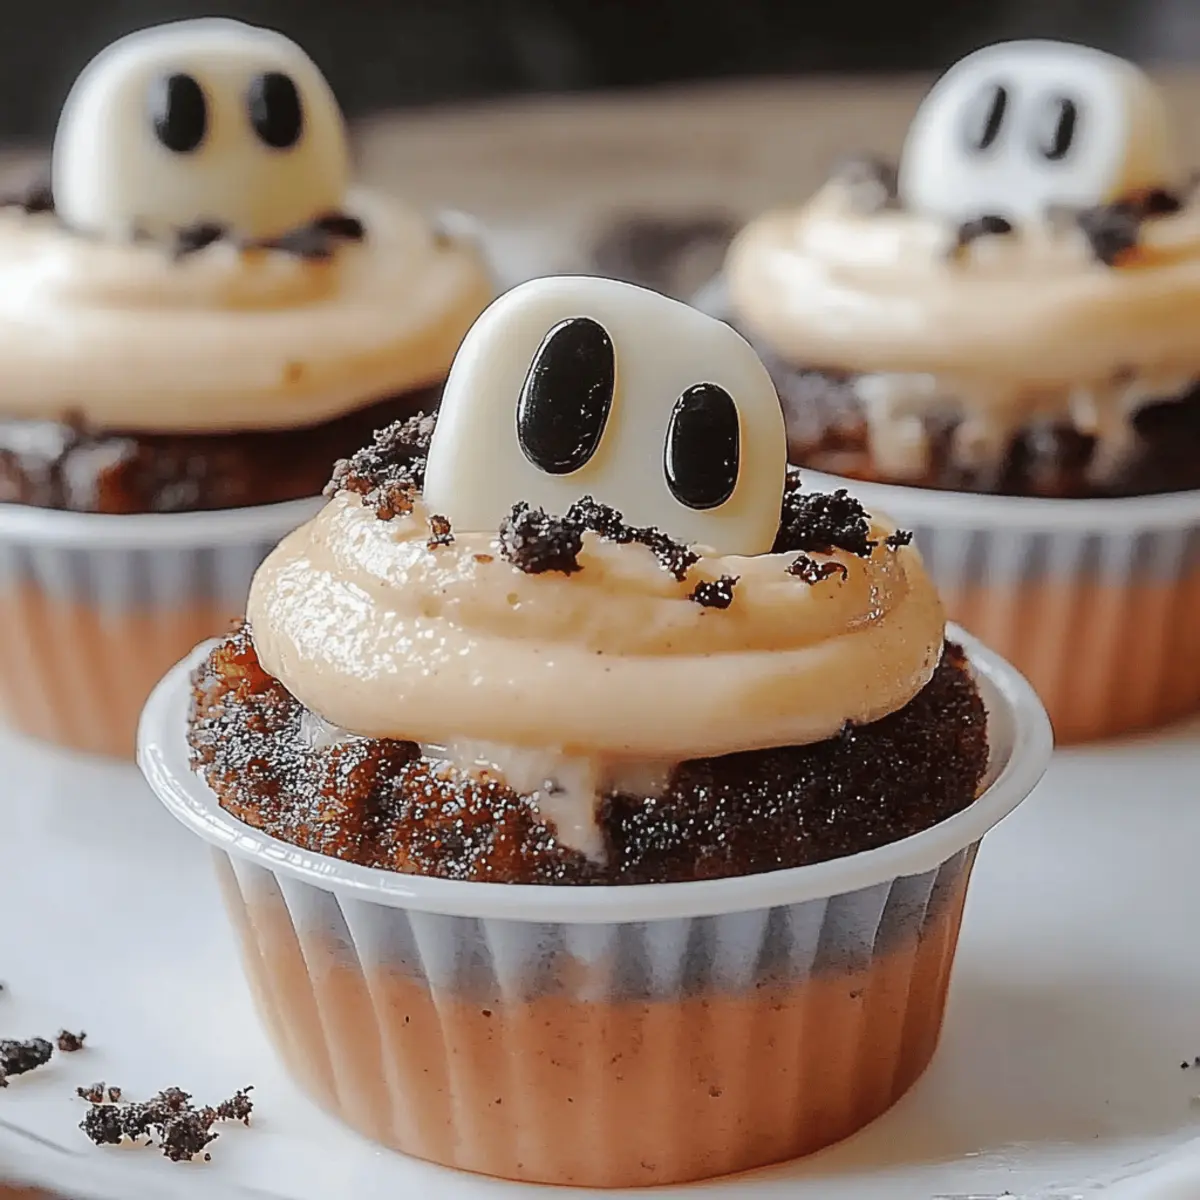
As I anxiously peeked into the oven, the scent of chocolate chip cookie dough filled the air, transporting me back to childhood baking sessions with my mom. Today’s adventure is all about creating Graveyard Pudding Cookie Cups—an irresistible twist on traditional treats that are perfect for spooky season or just for fun! These delightful cookie cups are not only easy to whip up but also make for an eye-catching dessert that’ll have everyone raving. With a mix of creamy vanilla pudding and playful gummy worms, they strike the perfect balance between nostalgia and creativity. Plus, they're a simple solution for anyone tired of fast food and seeking a homemade touch. Curious about how to turn a classic cookie into a playful masterpiece? Let’s dive in!
Why are Graveyard Pudding Cookie Cups a hit?
Delightful Presentation: These spooky treats are a feast for the eyes, turning any gathering into a festive celebration. Easy to Make: With just a few ingredients and simple steps, you'll whip up a crowd-pleaser in no time. Nostalgic Flavor: Combining chocolate chip cookies and creamy vanilla pudding brings a sense of comfort to every bite. Fun for All Ages: Kids and adults alike will love the interactive toppings like gummy worms and candy eyeballs, making them perfect for parties or family nights. Looking to save time in the kitchen? These can be prepped ahead of time and served fresh out of the fridge! Get ready to impress with these delightful Graveyard Pudding Cookie Cups that everyone will enjoy!
Graveyard Pudding Cookie Cups Ingredients
For the Cookie Cups
• Chocolate chip cookie dough – Use store-bought for a quick option or make your own for an extra personal touch.
For the Pudding Filling
• Vanilla pudding mix – This creamy mix provides a delicious contrast to the cookie's chewy texture.
• Whole milk – Essential for achieving the right consistency when whisking with the pudding mix.
For the Toppings
• Gummy worms – These fun and colorful treats add a playful twist to your Graveyard Pudding Cookie Cups.
• Candy eyeballs – Perfect for creating an eerie look, making your dessert as fun to look at as it is to eat!
Step‑by‑Step Instructions for Graveyard Pudding Cookie Cups
Step 1: Preheat the Oven
Begin by preheating your oven to 350°F (175°C). While the oven warms up, line a muffin tin with parchment paper to ensure easy removal of your cookie cups later. The parchment will help create a perfect shape and provide a lovely texture for your Graveyard Pudding Cookie Cups.
Step 2: Shape the Cookie Dough
Grab your chocolate chip cookie dough and scoop tablespoon-sized portions into the prepared muffin tin. Gently press each portion into the bottom and up the sides of the molds to create little wells. This extra step ensures the cookie cups hold a generous amount of pudding later on.
Step 3: Bake the Cookie Cups
Place the muffin tin in the preheated oven and bake for 10-12 minutes, or until the edges are golden brown and the centers are slightly soft. Keep an eye on them in the last few minutes; they should have a delightful golden hue, indicating your Graveyard Pudding Cookie Cups are almost ready.
Step 4: Cool the Cookie Cups
Once the cookie cups are baked to perfection, remove the tin from the oven and let it cool for a few minutes. Carefully transfer the cups onto a wire rack to cool completely. This cooling step is crucial, as hot cookie cups could melt the pudding filling.
Step 5: Prepare the Pudding Filling
In a medium bowl, whisk together the vanilla pudding mix and whole milk according to the package instructions, usually for about 2-3 minutes. The mixture should thicken beautifully, creating a creamy filling that will bring your Graveyard Pudding Cookie Cups to life. Set the mixture aside for a moment.
Step 6: Fill the Cookie Cups
Once the cookie cups are completely cool, it's time to fill them! Spoon the thickened vanilla pudding generously into each cookie cup, heaping them high for a playful presentation. The creamy filling adds a delicious contrast to the chewy cookie base, making each bite a treat.
Step 7: Decorate the Cookies
Embrace the Halloween spirit by decorating each filled cookie cup with gummy worms and candy eyeballs. Let your creativity flow as you place the colorful toppings atop the pudding, transforming your Graveyard Pudding Cookie Cups into a spooky yet fun dessert perfect for any gathering.
Step 8: Chill and Serve
After decorating, place the completed Graveyard Pudding Cookie Cups in the fridge for at least 30 minutes. Chilling enhances the flavors and sets the pudding nicely, making for a refreshing treat. When ready to serve, simply pull them out and watch everyone delight in these festive, spooky desserts!
How to Store and Freeze Graveyard Pudding Cookie Cups
Fridge: Keep your assembled Graveyard Pudding Cookie Cups in an airtight container in the refrigerator for up to 3 days. This ensures they stay fresh and the pudding maintains its creamy texture.
Freezer: For longer storage, these cookie cups can be frozen without the pudding. Store the baked cookie cups in a freezer-safe container for up to 2 months. Thaw before filling!
Reheating: If you've frozen the cookie cups, simply thaw them in the fridge overnight. Avoid reheating in the microwave, as it may alter the texture.
Assembly Tip: If preparing ahead, store the cookie cups and pudding separately to maintain freshness. Fill them just before serving for the best experience!
Expert Tips for Graveyard Pudding Cookie Cups
-
Use Fresh Ingredients: Ensure your cookie dough and pudding mix are fresh for the best flavor and texture in your Graveyard Pudding Cookie Cups.
-
Prevent Overbaking: Watch your cookie cups closely in the oven. Remove them when the edges are golden; they will continue to cook slightly as they cool.
-
Chill for Best Texture: Let your cookie cups chill after filling them with pudding. This step ensures a perfect balance between creamy filling and chewy cookie.
-
Creative Decorations: Don't hold back on the toppings! Get creative with sprinkles, or even chocolate spiders for a dramatic effect, enhancing the spooky presentation.
-
Perfect Portioning: Use a cookie scoop for evenly sized dough portions. This ensures that all your Graveyard Pudding Cookie Cups bake uniformly, making for a great-looking dessert.
What to Serve with Graveyard Pudding Cookie Cups
Create a festive spread that complements the fun, spooky vibes of this delightful dessert.
-
Spooky Fruit Salad: A mix of seasonal fruits like oranges, apples, and blackberries add refreshing brightness and a pop of color to your dessert table. Consider tossing in some ghost-shaped marshmallows for extra fun!
-
Pumpkin Soup: The creamy, savory flavor of pumpkin soup creates a warm contrast to the sweet cookie cups, making for a balanced meal that's ideal for chilly evenings. Garnish with a sprinkle of nutmeg for added warmth.
-
Caramel Popcorn: Crunchy, sweet caramel popcorn provides a delightful textural contrast to the creamy pudding. It’s an easy snack to prepare in bulk and adds a fun crunch to the gathering.
-
Chocolate Milk: For a nostalgic drink pairing, serve chilled chocolate milk. Its rich, velvety texture perfectly complements the sweetness of the cookie cups, while also tempting those young at heart.
-
Gingerbread Cookies: Embrace the season's flavors with gingerbread cookies. Their spiced sweetness creates a great duo with the chocolate chip cookie cups, and they're perfect for decorating alongside your spooky treats.
-
Mummy Hot Dogs: Fun and easy to make, these delightful mummy hot dogs can satisfy any savory cravings while keeping the festive spirit alive. Wrap crescent dough around hot dogs and bake until golden for a playful touch.
-
Witch’s Brew Punch: A refreshing, fruity punch made with green apple soda and lime sherbet adds a fizzy kick to your feast. Serve it in a cauldron for an extra touch of whimsy!
-
Ghostly Cheesecake Bites: Mini cheesecake bites topped with ghostly whipped cream bring a creamy texture to contrast the chewy cookie cups, with their delightful richness enhancing the dessert experience.
These pairings not only enhance the allure of your Graveyard Pudding Cookie Cups but also create a memorable feast for all!
Make Ahead Options
These Graveyard Pudding Cookie Cups are perfect for meal prep, allowing you to enjoy a festive treat without the last-minute rush! You can prepare the cookie cups up to 24 hours in advance; simply bake them, let them cool completely, and store them in an airtight container at room temperature to maintain their chewy texture. The pudding filling can also be mixed ahead of time and refrigerated for up to 3 days. Just be sure to whisk it well before filling the cookies to keep it smooth. When you're ready to serve, fill the cooled cookie cups with the pudding, decorate with gummy worms and candy eyeballs, and enjoy a delightful, spooky dessert that's just as delicious as if made fresh!
Graveyard Pudding Cookie Cups Variations
Elevate your Graveyard Pudding Cookie Cups with these delightful twists that will tickle your taste buds!
-
Gluten-Free: Substitute gluten-free cookie dough for a celiac-friendly treat that everyone can enjoy without missing out.
-
Chocolate Pudding: Swap out vanilla pudding mix for rich chocolate pudding for an indulgent chocolate lover's dream! The extra cocoa brings a delightful depth of flavor.
-
Nutty Texture: Add crushed nuts like walnuts or pecans to the cookie dough for a delightful crunch that complements the smooth pudding beautifully.
-
Fruit Topping: Replace gummy worms with diced fruit such as strawberries or bananas to give your dessert a fresh, fruity twist. This adds a burst of color and natural sweetness to each cup!
-
Vegan-Friendly: For a plant-based version, use dairy-free cookie dough and swap the pudding mix with coconut milk mixed with plant-based thickener. Indulge in a creamy treat that’s kind to the planet!
-
Spicy Kick: Add a pinch of cayenne or cinnamon to the cookie dough for a subtle heat that contrasts perfectly with the sweet pudding. It’s a unique twist that may surprise your guests!
-
Layered Delight: Create a layered version by alternating cookie crumbs and pudding in jars for stunning visual appeal. Your guests will love digging into this layered masterpiece!
-
Extra Toppings: Experiment with sprinkles, caramel sauce, or even crushed candy bars on top for a dessert that goes above and beyond the ordinary. These additions invite a festive flair that everyone will adore!
Your kitchen is the canvas—let your creativity run wild with these variations and serve up some unforgettable Graveyard Pudding Cookie Cups! And for more fun ideas, check out our guide on How to Serve Spooky Treats at Halloween.
Graveyard Pudding Cookie Cups Recipe FAQs
What type of chocolate chip cookie dough should I use?
Absolutely! You can use either store-bought chocolate chip cookie dough for convenience or make your own for that special homemade touch. If you're making it from scratch, let it chill for about 30 minutes to achieve the best texture when shaping the cookie cups.
How should I store the Graveyard Pudding Cookie Cups?
Keep your assembled Graveyard Pudding Cookie Cups in an airtight container in the refrigerator and enjoy them for up to 3 days. This storage method keeps them fresh while ensuring the pudding remains creamy. Just remember to avoid stacking them to prevent any mess!
Can I freeze the Graveyard Pudding Cookie Cups?
Yes, but it's best to freeze them without the pudding filling. To freeze, store the baked cookie cups in a freezer-safe container, separating layers with parchment paper, for up to 2 months. When you're ready to enjoy them, simply thaw them in the fridge overnight, fill with pudding, and decorate!
What are some common issues I might encounter while making these cookie cups?
One of the most common issues is overbaking the cookie cups. Keep an eye on them in the oven, and take them out when they're golden at the edges but still slightly soft in the center. They will firm up nicely as they cool. If they collapse, it may be due to the dough being too warm when pressed into the tins; chill it slightly beforehand for firmer cups.
Are these cookie cups suitable for children with allergies?
Great question! These Graveyard Pudding Cookie Cups contain gluten and dairy due to the cookie dough and pudding mix. For a gluten-free version, seek out cookie dough or pudding alternatives. Always check all labels for potential allergens if you're serving children with specific dietary needs.
How can I enhance the spooky theme of my cookie cups?
You can have so much fun decorating! Consider adding chocolate spiders, sprinkle with edible glitter, or use different colored pudding for more vibrant and creative effects. Get the kids involved—they'll love helping with the toppings to elevate the Halloween spirit!
Spooktacular Graveyard Pudding Cookie Cups for Halloween Fun
Ingredients
Equipment
Method
- Preheat your oven to 350°F (175°C) and line a muffin tin with parchment paper.
- Scoop tablespoon-sized portions of cookie dough into the muffin tin and press into the sides.
- Bake for 10-12 minutes until edges are golden brown and centers are slightly soft.
- Let the cookie cups cool for a few minutes before transferring to a wire rack to cool completely.
- Whisk together vanilla pudding mix and whole milk for about 2-3 minutes until thickened.
- Fill each cooled cookie cup generously with the thickened vanilla pudding.
- Decorate with gummy worms and candy eyeballs for a spooky effect.
- Chill in the fridge for at least 30 minutes before serving.


Leave a Reply