As I sifted through seasonal favorites, the vibrant green of Halloween treats caught my eye—especially these Frankenstein Mini Cheesecakes. The idea of infusing an iconic dessert with a quirky spin promises not just a delightful visual surprise, but also a chance to unleash my creativity in the kitchen. With their quick prep time and ability to please everyone at gatherings, these mini desserts are perfect for all ages. Imagine your friends and family giggling as they dive into these adorably spooky bites. So, are you ready to whip up your own tasty monsters? Let’s dive into this fun recipe!
Why are Frankenstein Mini Cheesecakes so fun?
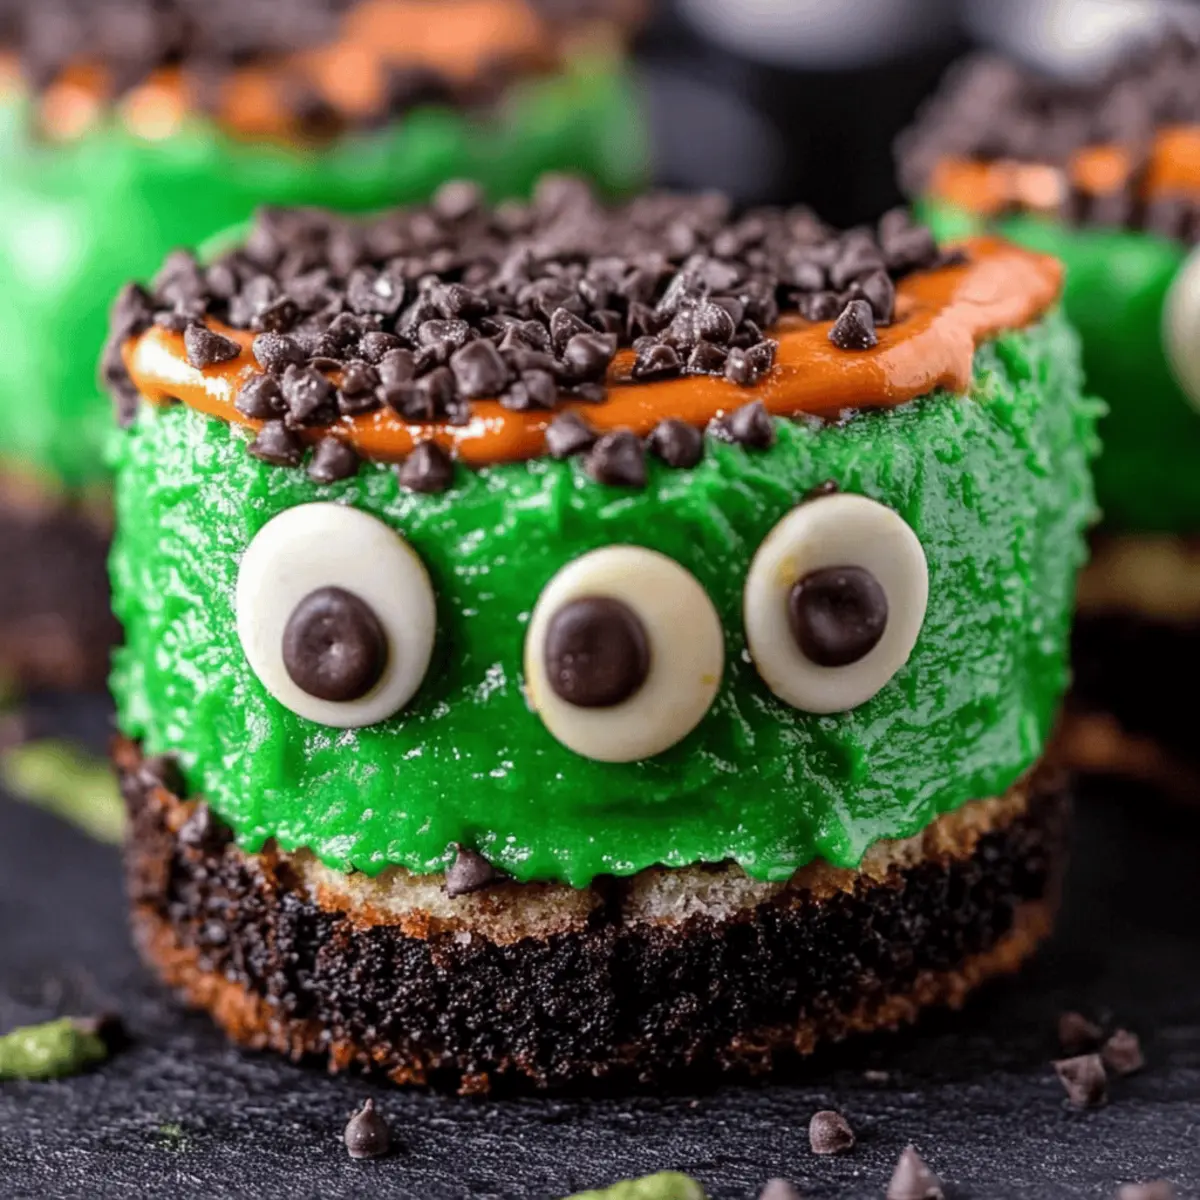
Delightful and whimsical, these Frankenstein Mini Cheesecakes are the perfect Halloween treat that will charm guests of all ages. Quick to make, they require just 15 minutes of prep, leaving you ample time to focus on the fun decorations! Unique with their vibrant green hue and quirky edible eyes, these treats bring an exciting surprise to your dessert table. Crowd-pleasing flavors blend the richness of cheesecake with a fun visual appeal that will have everyone smiling. For more Halloween fun, explore additional spooky treats like our Halloween Ghost Cupcakes.
Frankenstein Mini Cheesecakes Ingredients
For the Cheesecake Base
• 16 ounces cream cheese – Ensure it's softened for easy blending to achieve that smooth texture.
• 1 cup sugar – This balances the tartness of the cream cheese beautifully.
• 3 eggs – They add richness and structure to the cheesecake.
• 2 tablespoons flour – Helps to firm up the cheesecake, giving it that perfect bite.
• 1 ½ teaspoons vanilla – A dash of vanilla enhances the flavors and adds warmth.
For the Green Color & Crust
• 20 drops green food coloring – This fun addition creates that iconic Frankenstein hue.
• 24 OREO cookies, crushed – The chocolaty base adds a delightful contrast to the creamy filling.
• 2 tablespoons butter, melted – Binding the crushed cookies together for a sturdy crust.
For the Decorations
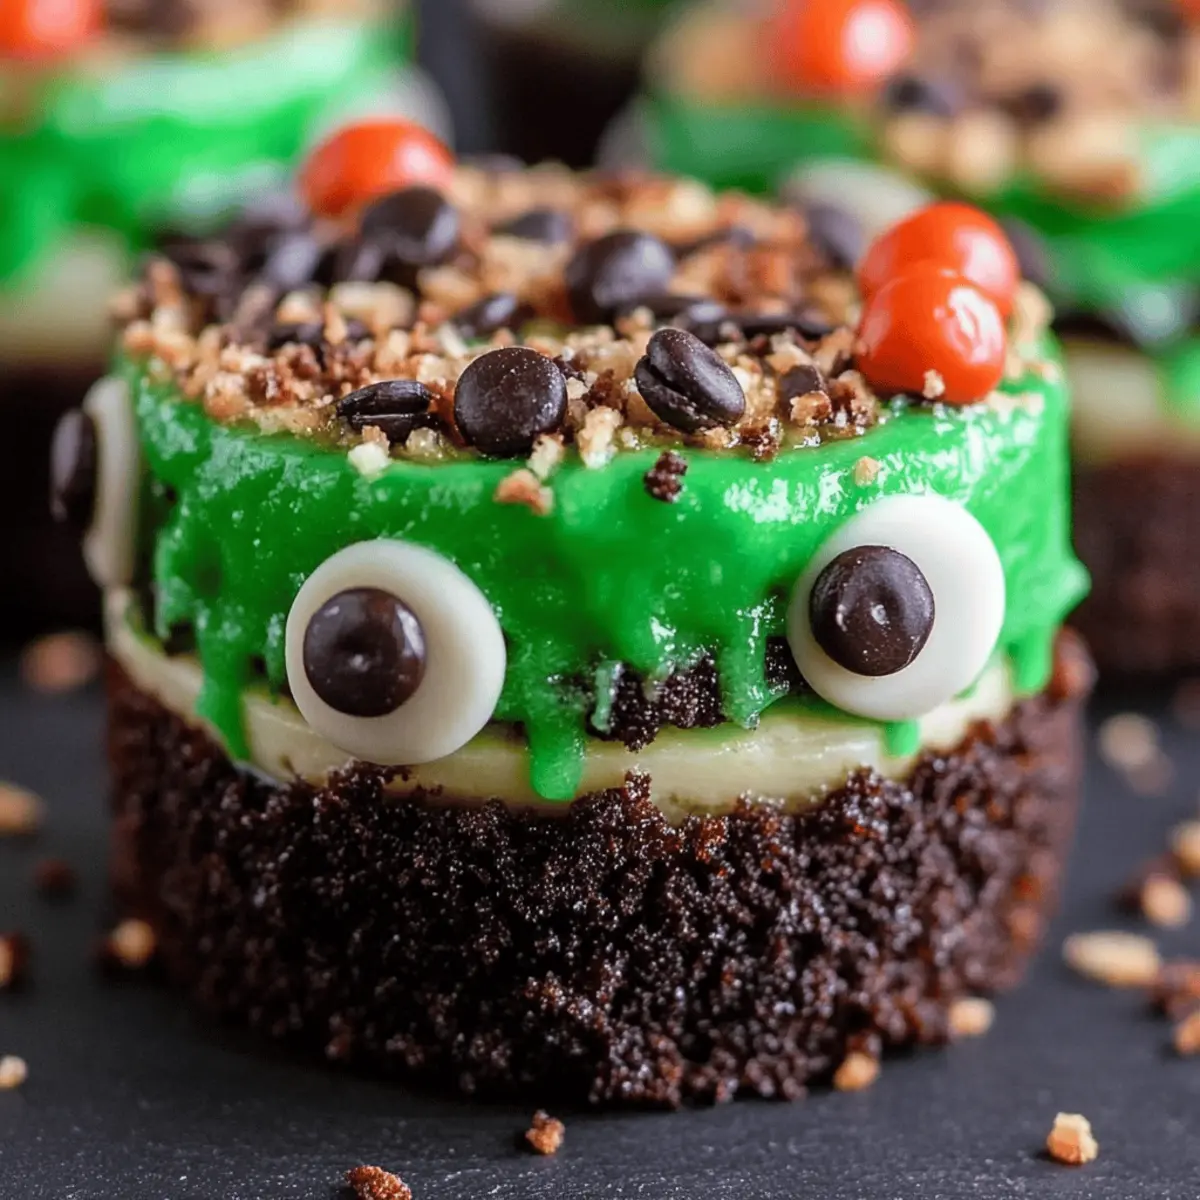
• 32 edible eyes – These quirky touches make your mini cheesecakes truly come to life!
• 1 cup chocolate chips, melted – Perfect for dipping and adding a luscious, sweet coating.
• 1 cup chocolate sprinkles – For that extra festive touch and a delightful crunch.
• 32 chocolate chips – To craft spooky facial features on your mini masterpieces.
Prepare to enchant your friends and family with these whimsical Frankenstein Mini Cheesecakes that are not just a treat for the taste buds but a feast for the eyes too!
Step‑by‑Step Instructions for Frankenstein Mini Cheesecakes
Step 1: Preheat the Oven
Begin by preheating your oven to 350°F (175°C). This ensures a perfectly baked crust for your Frankenstein Mini Cheesecakes. While the oven heats, gather all your ingredients and equipment, including a mini cheesecake pan, mixing bowls, and a tamper for creating your crust.
Step 2: Prepare the Cheesecake Crust
Melt 2 tablespoons of butter in a microwave-safe bowl, then combine it with 24 crushed OREO cookies in a mixing bowl. Stir well to ensure that the crumbs are thoroughly coated and hold together. This mixture forms a sweet, chocolatey crust that will perfectly complement your creamy filling.
Step 3: Form the Crust in the Pan
Using your hands, form the cookie mixture into 1-inch balls, then place each ball into the cups of the mini cheesecake pan. With a tamper, firmly press the cookie balls into the bottom of each cup, creating an even layer for your cheesecakes to sit on. Make sure each crust is compact and well-formed for stability.
Step 4: Mix the Cheesecake Filling
In a separate mixing bowl, beat together the softened cream cheese, 1 cup of sugar, 3 eggs, and 1 ½ teaspoons of vanilla until the mixture is smooth and creamy, which should take about 2-3 minutes. This will create a rich base for your Frankenstein Mini Cheesecakes that everyone will love.
Step 5: Incorporate the Flour
Gradually add 2 tablespoons of flour into the cream cheese mixture, mixing until just combined. This addition helps to firm your cheesecakes while baking, ensuring they have a delightful texture. Scrape the sides of the bowl to make sure everything is mixed well without any lumps.
Step 6: Add the Green Color
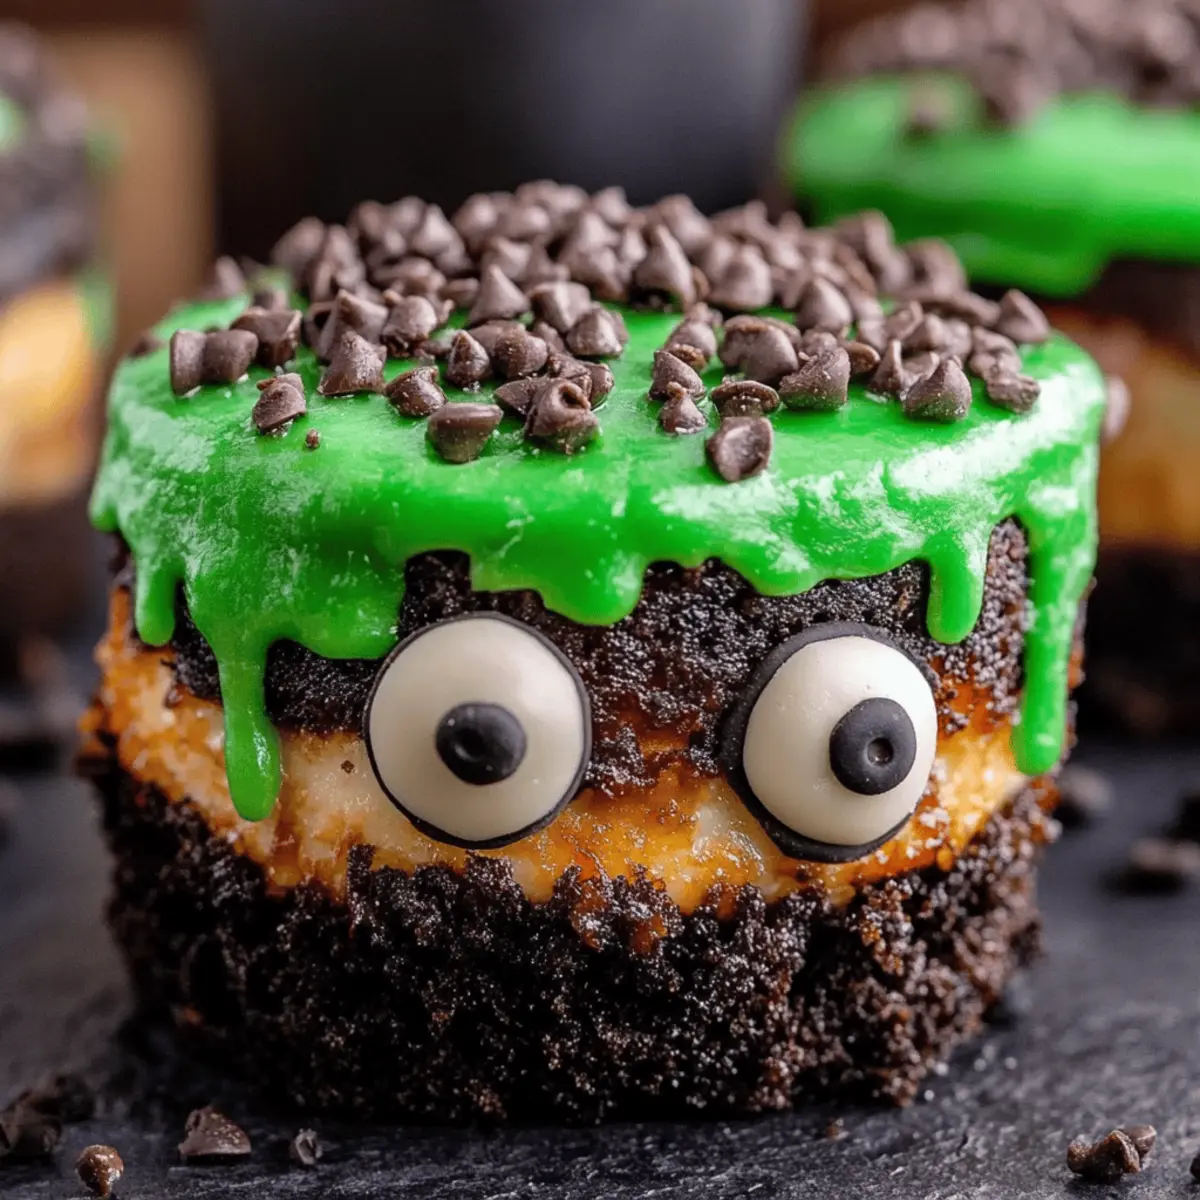
Now, it's time to add 20 drops of green food coloring to your cheesecake mixture. Stir until the color is evenly distributed, and you’ve achieved the iconic Frankenstein hue. This vibrant color will make your mini cheesecakes visually appealing and perfectly festive for Halloween.
Step 7: Fill the Cheesecake Cups
Pour the green cheesecake mixture evenly over the prepared crusts in the mini cheesecake pan, filling each cup almost to the top. This creamy layer will rise slightly as it bakes, creating deliciously thick mini cheesecakes. Be careful not to overfill to avoid spilling during baking.
Step 8: Bake the Cheesecakes
Carefully place the mini cheesecake pan into your preheated oven and bake for approximately 15 minutes. Keep an eye on them, and they should be set but slightly jiggly in the center when they are done. This will ensure a smooth and creamy texture that melts in your mouth.
Step 9: Cool the Cheesecakes
Once baked, remove the pan from the oven and set it aside to cool completely at room temperature for about an hour. Afterward, transfer the pan to the refrigerator for at least another hour. Chilling helps the cheesecakes to fully set and enhances their creamy texture.
Step 10: Remove from the Pan
When the cheesecakes are completely cool, carefully remove them from the mini cheesecake pan. Gently pinch the sides of the pan or use a small knife to loosen them. They should pop out easily, ready for the final decorating touches to bring your Frankenstein Mini Cheesecakes to life.
Step 11: Decorate with Chocolate and Sprinkles
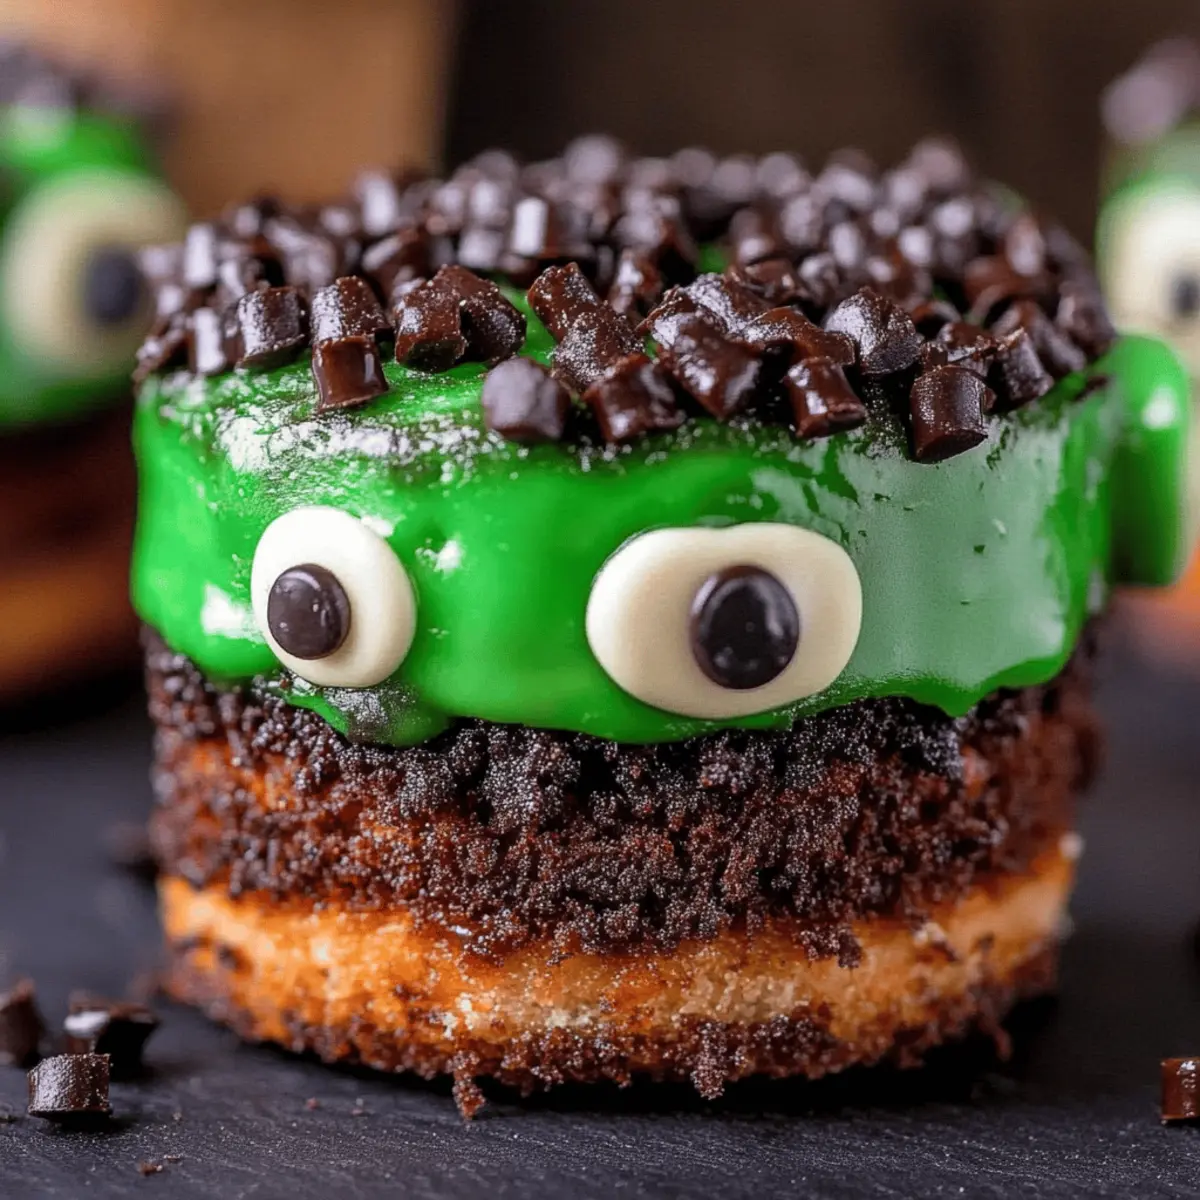
Dip the top of each cheesecake into the melted chocolate, ensuring a nice coating, then immediately roll them in chocolate sprinkles for an extra touch of festivity. This step adds a delightful crunch and a delicious chocolate flavor to your mini masterpieces.
Step 12: Create Faces and Attach Eyes
Using the remaining melted chocolate, pipe out spooky faces and features onto each cheesecake. Finally, attach edible eyes to the cheesecakes by using a small dot of melted chocolate as glue. These whimsical details will complete your Frankenstein Mini Cheesecakes, making them irresistibly fun!
Tips for the Best Frankenstein Mini Cheesecakes
-
Room Temperature Ingredients: Make sure your cream cheese is softened at room temperature. This helps achieve a smooth and creamy filling for your Frankenstein Mini Cheesecakes.
-
Don’t Overmix: When adding flour to the cheesecake mixture, mix just until combined. Overmixing can lead to a dense texture, which you want to avoid for that light and fluffy cheesecake.
-
Watch the Baking Time: Keep an eye on your cheesecakes while they bake. They're done when the centers are slightly jiggly but not liquid. This ensures a creamy texture after cooling.
-
Cool Completely: Allow the cheesecakes to cool at room temperature before chilling. This step is crucial for achieving that perfect texture—rushing can lead to cracks or uneven consistency.
-
Fun Decorating: Get creative with the faces! Use different candies or chocolate to personalize your Frankenstein Mini Cheesecakes, making them even more fun for your guests.
What to Serve with Frankenstein Mini Cheesecakes?
Indulging in these whimsical mini cheesecakes is like inviting trick-or-treat magic into your dessert table. Pair them with delightful accompaniments for a spooktacular feast!
-
Crispy Apple Slices: Their sweetness balances the rich cheesecake, adding a fresh crunch to each bite. Dipped in caramel, they become an irresistible treat!
-
Ghostly Marshmallow Pops: These fun, marshmallow treats skewered on sticks bring a touch of whimsy, making the perfect additional dessert to your Halloween spread.
-
Chocolate Ice Cream: A scoop of creamy chocolate ice cream complements the flavors of the mini cheesecakes, making your dessert even more decadent.
-
Pumpkin Spice Latte: The warm spices of this beloved drink bring comforting autumn flavors to your festive dessert theme, perfect for sipping alongside the cheesecakes.
-
Ginger Snap Cookies: Their spicy crunch pairs wonderfully with the creamy, sweet cheesecakes, creating a delightful contrast that will leave everyone wanting more.
-
Spooky Fruit Salad: Combining seasonal fruits like oranges, grapes, and blackberries adds a refreshing and colorful touch, perfectly balancing the sweetness of the cheesecakes.
-
Monster Milkshakes: Blend chocolate or vanilla ice cream with milk, topped with whipped cream and colorful sprinkles for an eye-catching drink that matches the fun theme.
-
Festive Pudding Cups: Layer chocolate or vanilla pudding with crushed cookies for a simple, yet satisfying dessert that gives everyone a reason to smile.
With these delightful pairings, your feast featuring Frankenstein Mini Cheesecakes will truly stand out, leaving lasting memories with every spooky bite!
How to Store and Freeze Frankenstein Mini Cheesecakes
Fridge: Store your Frankenstein Mini Cheesecakes in an airtight container for up to 5 days. This will keep them fresh and delicious while you enjoy them, ensuring they maintain their creamy texture.
Freezer: If you want to extend their shelf life, these mini cheesecakes can be frozen for up to 2 months. Wrap each cheesecake individually in plastic wrap and place them in a freezer bag to prevent freezer burn.
Thawing: To enjoy frozen cheesecakes, simply transfer them to the fridge overnight to thaw. This method preserves the flavor and texture beautifully, making them perfect for a last-minute treat!
Reheating: There's no need to reheat these cheesecakes; they are best enjoyed cold, straight from the fridge! Enjoy the charming appeal of your Frankenstein Mini Cheesecakes at any time.
Make Ahead Options
These Frankenstein Mini Cheesecakes are perfect for meal prep, saving you time during those busy Halloween festivities! You can prepare the crust and cheesecake filling up to 24 hours in advance. Simply crush the OREO cookies and mix with melted butter, then store the crust in an airtight container in the refrigerator. The cheesecake mixture can also be made ahead and refrigerated in a separate container. When you're ready to bake, follow the recipe instructions by filling the prepared crusts, baking for 15 minutes, and cooling as directed. This approach ensures your mini cheesecakes remain just as delicious, delightful, and visually appealing, allowing you to enjoy more time with family and friends!
Frankenstein Mini Cheesecakes Variations
Get ready to personalize these delightful mini cheesecakes to match your taste and dietary preferences!
-
Gluten-Free: Substitute crushed gluten-free cookies for the crust. This way, even those with gluten sensitivities can join in the fun.
-
Dairy-Free: Swap cream cheese for a dairy-free alternative and use coconut cream instead for a luscious filling that still captures the cheesecake essence.
-
Flavor Boost: Add a pinch of cinnamon or nutmeg to the cheesecake filling for a warm, spicy twist that perfectly complements the rich sweetness.
-
Extra Texture: Fold in crushed nuts or toffee bits into the cheesecake mixture before baking, bringing a delightful crunch to each bite.
-
Chocolate Lovers: Use dark chocolate for dipping and decoration to amp up the chocolate flavor, perfect for those who can't get enough of it!
-
Spooky Heat: Mix in a teaspoon of chili powder or cayenne pepper to the cheesecake batter for a surprising kick that balances the sweetness beautifully.
-
Fruit-Filled: Incorporate a layer of fruit preserves or pureed berries into the cheesecake filling for a fruity surprise. This adds a lovely tartness that contrasts well with the creaminess.
-
Mini Monster Mix: Get creative with toppers! Use gummy worms or candy corn as decorations, making these cheesecakes not just delicious but also visually appealing for Halloween gatherings.
Feel free to experiment and make these Frankenstein Mini Cheesecakes uniquely yours, and if you're looking for more Halloween-themed desserts, check out our Halloween Ghost Cupcakes for another spook-tacular treat!
Frankenstein Mini Cheesecakes Recipe FAQs
How do I choose ripe ingredients for my Frankenstein Mini Cheesecakes?
Absolutely! For the cream cheese, make sure it's freshly opened and softened to room temperature for the smoothest texture. When picking eggs, look for ones that have a clean shell and a recent sell-by date. Since color isn’t an issue with this recipe, you can focus less on the appearance and more on freshness!
How should I store my Frankenstein Mini Cheesecakes?
To keep your mini cheesecakes fresh, store them in an airtight container in the fridge for up to 5 days. Make sure to allow them to cool completely before sealing them to prevent condensation, which could affect their texture.
Can I freeze the Frankenstein Mini Cheesecakes?
Very! To freeze, wrap each cheesecake individually in plastic wrap and place them in a freezer bag. They’ll stay fresh for up to 2 months. When you’re ready to enjoy them, just transfer to the fridge overnight to thaw. They’ll taste just as good as freshly made when you take that first bite!
What should I do if my cheesecake cracks during baking?
Don’t worry; it happens! If your cheesecakes crack, it may be due to overbaking or mixing. Just bake them until the center is slightly jiggly; this will ensure they remain creamy. If cracks still occur, you can decorate creatively to hide them—use ample melted chocolate and sprinkles on top!
Are these cheesecakes safe for pets or allergies?
The Frankenstein Mini Cheesecakes contain ingredients that are not safe for pets, particularly chocolate and sugar. If you're serving them to guests with allergies, make sure to inform them about the presence of cream cheese, eggs, and any other specific allergens like gluten from the OREO cookies. Always check for dietary needs beforehand!
Deliciously Fun Frankenstein Mini Cheesecakes for Halloween
Ingredients
Equipment
Method
- Preheat your oven to 350°F (175°C).
- Melt 2 tablespoons of butter and combine it with 24 crushed OREO cookies.
- Form the cookie mixture into 1-inch balls and press into mini cheesecake cups.
- Beat together the softened cream cheese, sugar, eggs, and vanilla until smooth.
- Gradually add flour into the mixture, mixing until just combined.
- Add 20 drops of green food coloring and stir until evenly distributed.
- Pour the green cheesecake mixture over the prepared crusts.
- Bake for approximately 15 minutes until slightly jiggly in the center.
- Cool the cheesecakes completely at room temperature, then refrigerate for at least an hour.
- Carefully remove the cheesecakes from the pan.
- Dip each cheesecake into melted chocolate and roll in chocolate sprinkles.
- Pipe out spooky faces on each cheesecake and attach edible eyes.


Leave a Reply