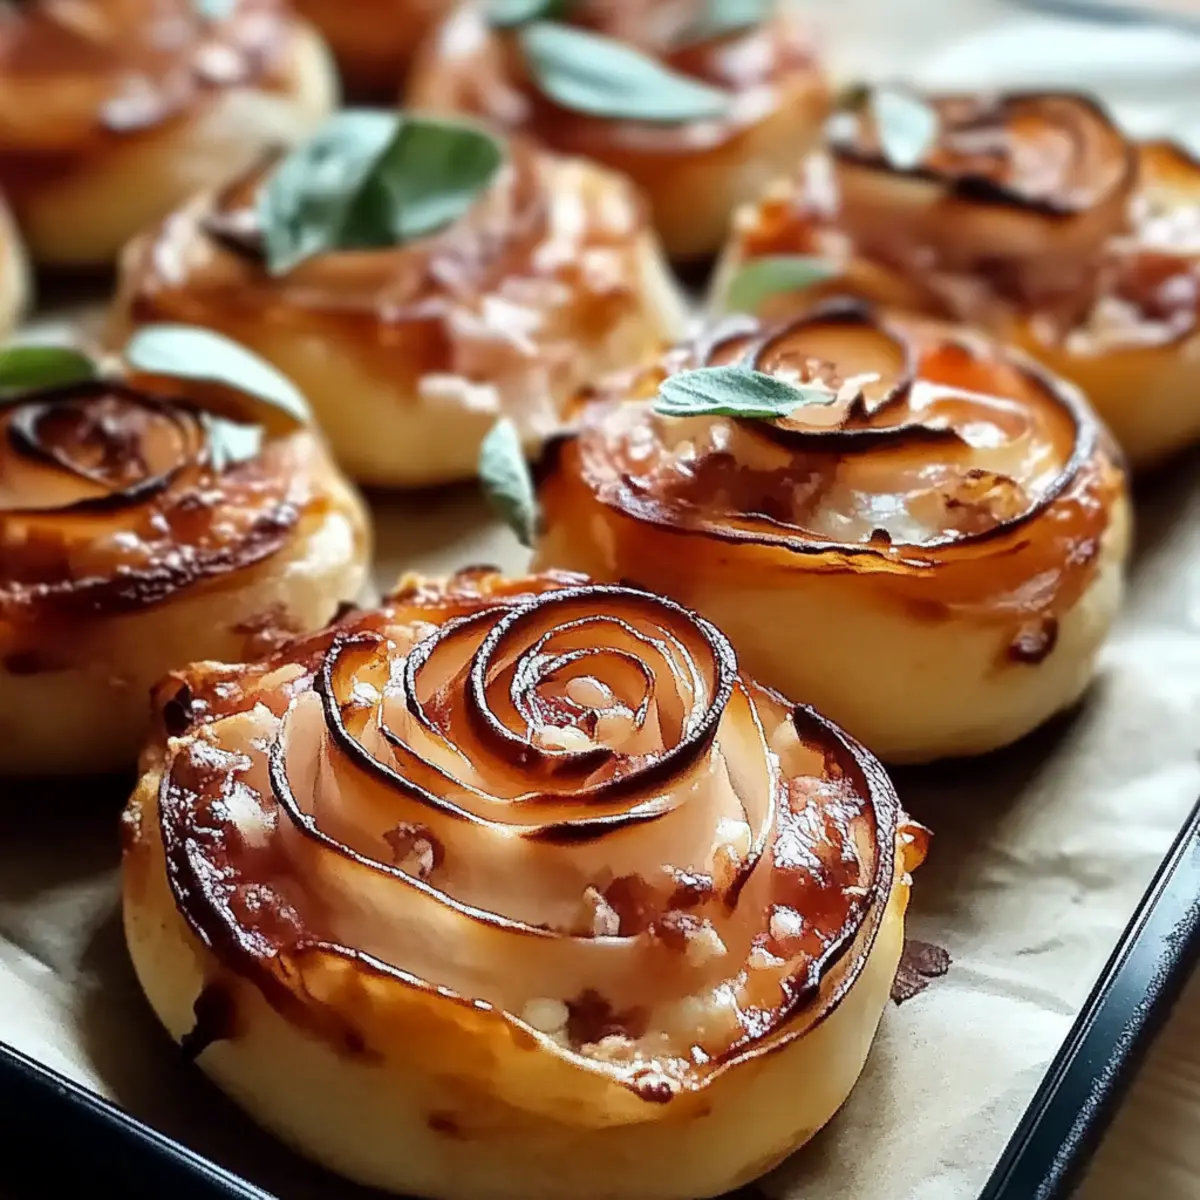
As the aroma of freshly baked dough wafts through my kitchen, I can't help but smile at the delightful transformation in front of me. Today, I’m excited to share my recipe for Pizza Roses, a fun and unique twist on traditional pizza that’s as visually stunning as it is delicious. Not only are these savory bites perfect for impressing guests at your next gathering, but they also come together in just about 40 minutes—ideal for a quick weeknight treat or a cozy family dinner. With layers of gooey cheese, zesty pepperoni, and a fragrant blend of Italian herbs, these Pizza Roses are sure to become a new favorite in your home. Are you ready to roll up your sleeves and create something irresistibly delicious? Let's dive in!
Why Are Pizza Roses So Irresistible?
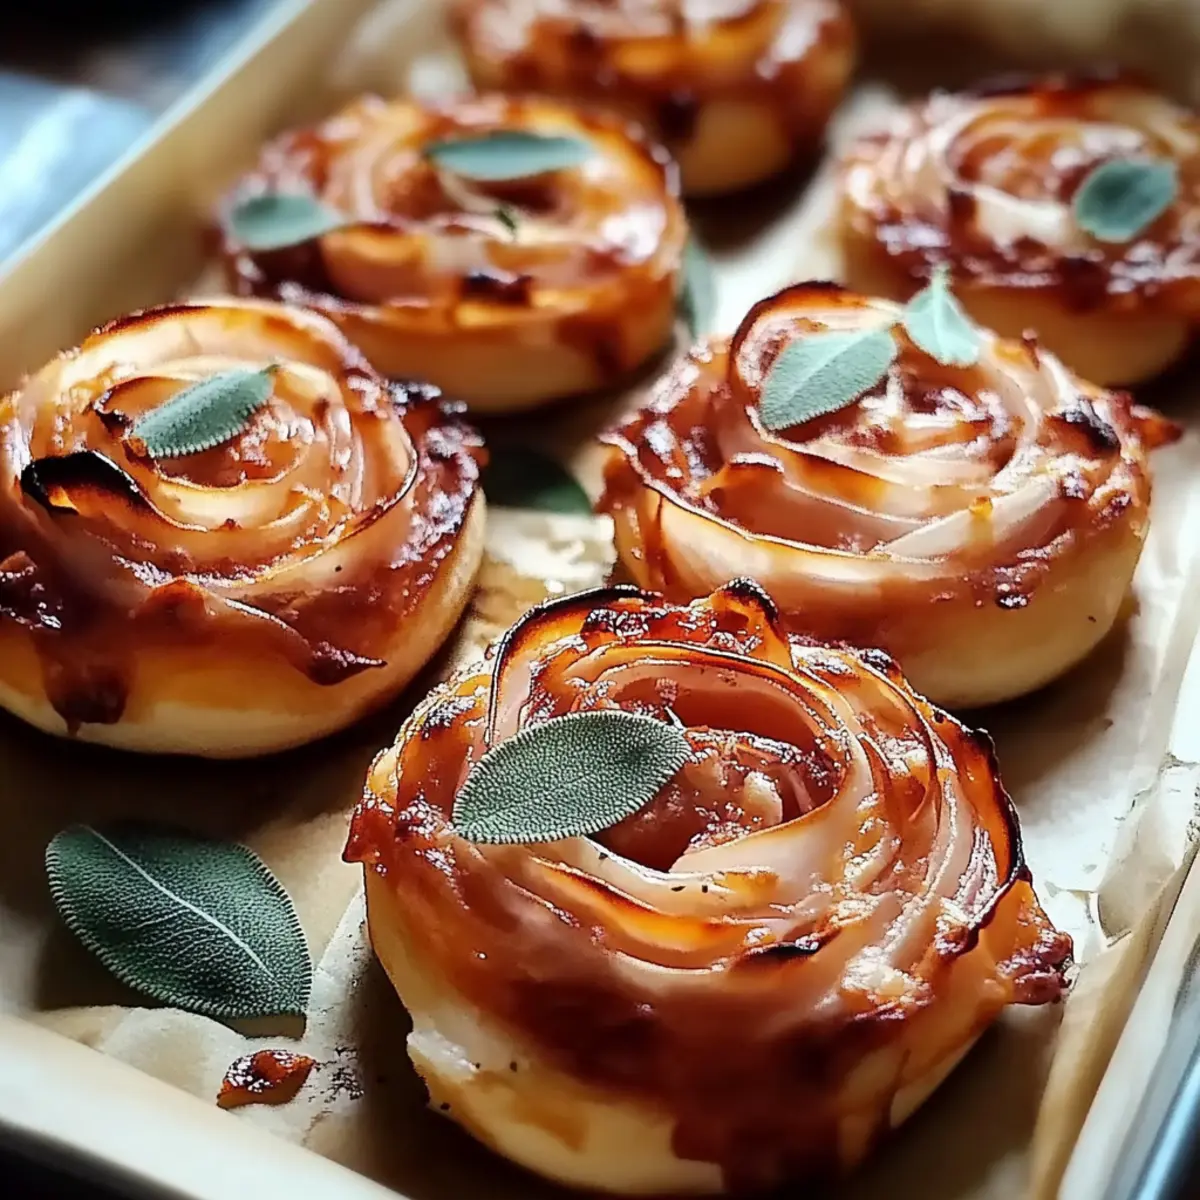
Visual Delight: These pizza roses are not only delicious but also stunningly beautiful, making them perfect for any occasion.
Easy to Make: Simple ingredients and straightforward steps ensure that even novice cooks can create these impressive bites.
Versatile Filling Options: While the classic pepperoni and cheese are delightful, feel free to customize with your favorite toppings—think veggies or different cheeses!
Time-Saving Treat: Ready in just 40 minutes, they’re the perfect response to fast-food boredom and ideal for busy weeknights.
Crowd-Pleasing Appeal: Whether for a party or family dinner, these pizza roses are sure to be a hit with everyone, turning heads and tempting taste buds!
Fun to Create: Rolling up these pizza strips is not just cooking; it’s a fun activity that can involve the whole family, transforming dinner into a delightful experience.
Pizza Roses Ingredients
For the Filling
• Pizza sauce – a flavorful base that gives your Pizza Roses a delightful tang.
• Shredded mozzarella cheese – it melts beautifully and adds that gooey goodness we all love in pizza!
• Sliced pepperoni – this classic topping infuses your roses with a savory richness and a touch of spice.
• Italian seasoning – a fragrant blend that elevates the flavor profile, bringing a taste of Italy to your plate.
For the Rose Assembly
• Olive oil – brimming with flavor, it helps achieve a golden crust while adding a silky finish to the tops.
• Garlic powder – a hint of this aromatic spice rounds out the flavor, enhancing the overall taste experience.
• Pizza dough – the canvas for your creation; use store-bought for convenience or make your own for a personal touch!
Step‑by‑Step Instructions for Pizza Roses
Step 1: Preheat the Oven
Start by preheating your oven to 375°F (190°C) to ensure it’s hot and ready for those delicious Pizza Roses. This temperature will help achieve that golden-brown crust that we all love. Meanwhile, gather your tools: a rolling pin, a cutting board, and a greased muffin tin to hold your lovely creations.
Step 2: Roll Out the Dough
On a lightly floured surface, roll out the pizza dough into a large rectangle, approximately ¼ inch thick. Ensure the surface is well-floured to prevent sticking. The dough should be pliable and soft—this will make it easier to roll up later. Take your time to achieve a nice even thickness.
Step 3: Spread the Sauce
Once your dough is rolled out, generously spread the pizza sauce evenly over the surface. Use a spatula for a smooth application, ensuring that it covers the dough right to the edges. The sauce will provide a flavorful base for your Pizza Roses and add that delicious tang we crave.
Step 4: Add the Cheese
Next, sprinkle a generous layer of shredded mozzarella cheese over the sauce. Aim for an even distribution, making sure every bit of sauce is covered. This cheesy layer is essential for that gooey, melty goodness in each bite of your Pizza Roses, so don't be shy with the cheese!
Step 5: Layer the Pepperoni
Now it’s time to add the sliced pepperoni. Distribute the pepperoni over the cheese, placing the slices nicely and evenly. This classic topping not only enhances the flavor but also adds a bit of spice to your Pizza Roses, making them even more enticing.
Step 6: Prepare the Dough for Rolling
Fold the dough lengthwise into strips, about 2 inches wide. This folding technique will create our rose shape when rolled. Ensure that the edges align for a neat finish. When you look at the dough, it should resemble an accordion-style fold, perfect for a beautiful presentation.
Step 7: Roll into Roses
Cut the folded strips into smaller pieces, approximately 2-3 inches long, if desired. Start rolling each piece from one end into a tight spiral shape to form each rose. As you roll, make sure to tuck the filling in, creating a visually appealing and delicious Pizza Rose with each twist.
Step 8: Place in Muffin Tin
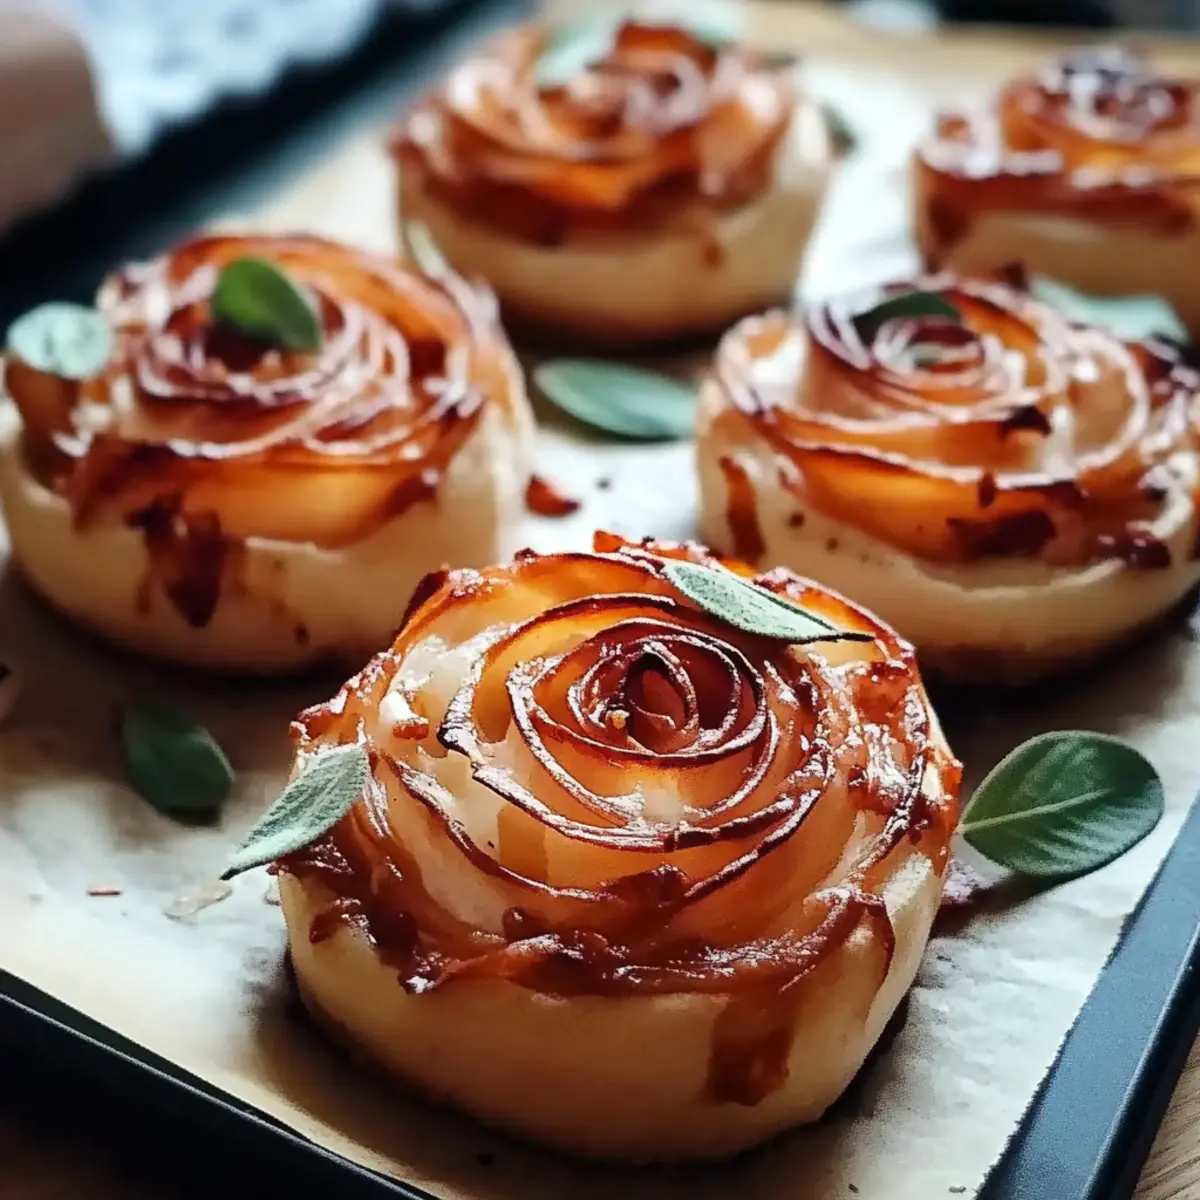
Gently place each rolled Pizza Rose into the greased muffin tin. This will help them maintain their shape while baking and encourage a lovely golden color. Arrange them snugly, as they will puff up a bit during baking, creating a stunning floral presentation that's sure to impress.
Step 9: Season the Tops
Brush the tops of the Pizza Roses lightly with olive oil, ensuring an inviting golden finish. Then, sprinkle with Italian seasoning and garlic powder to enhance the flavor profile. These seasonings will provide that delightful aroma and taste, making your Pizza Roses irresistible.
Step 10: Bake to Perfection
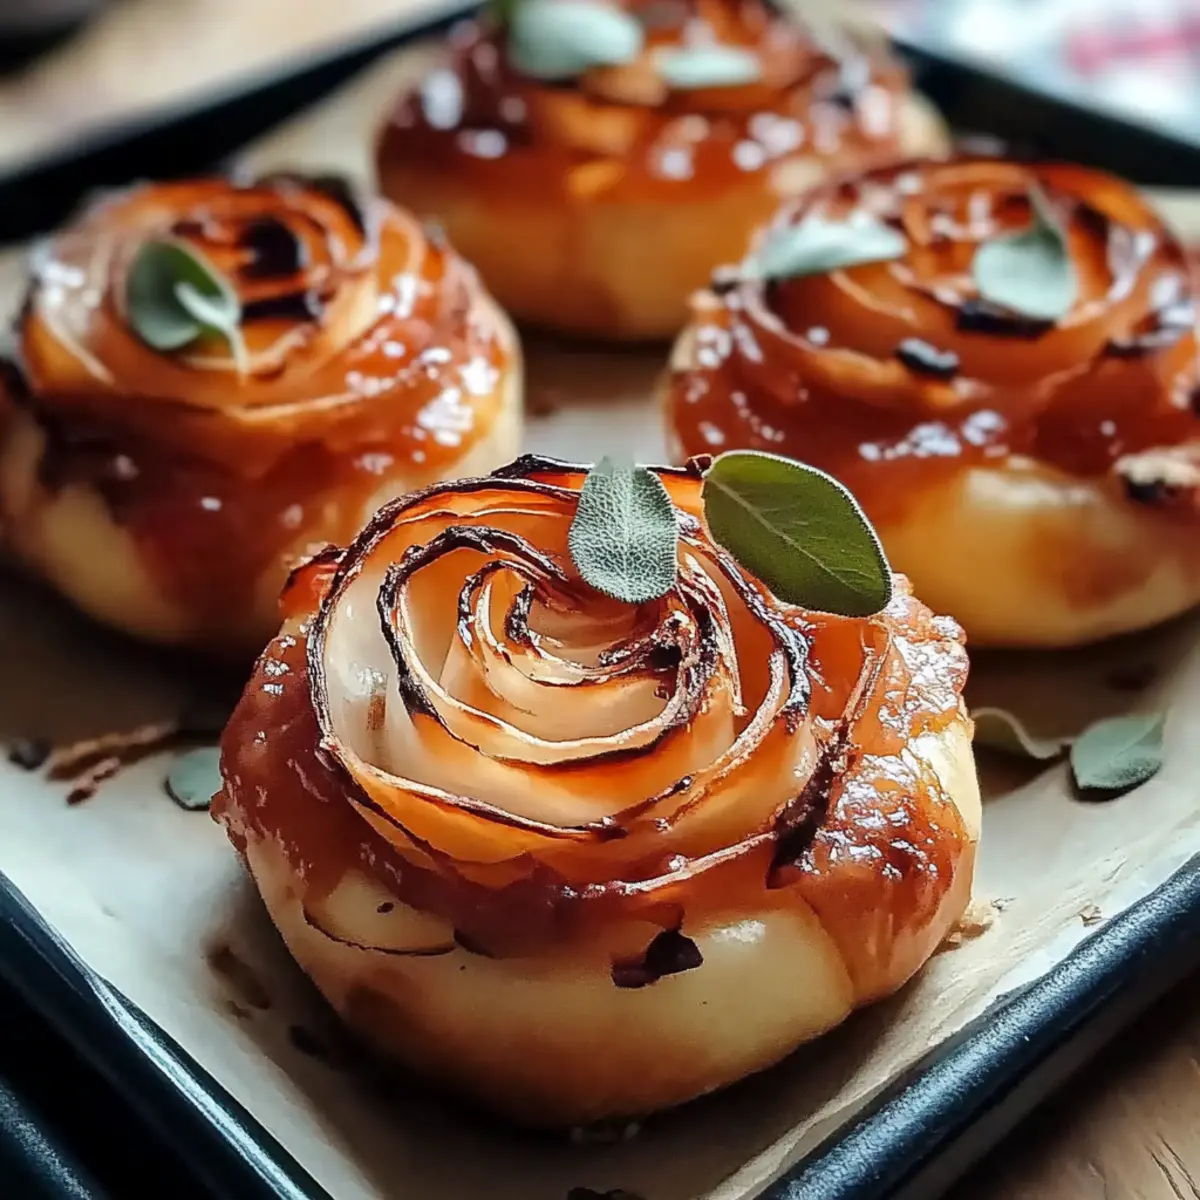
Place the muffin tin in the preheated oven and bake for 20-25 minutes. Keep an eye on them as they cook; they’re ready when they turn golden brown and the cheese is bubbly. This is the moment when your kitchen will fill with the mouthwatering scent of savory pizza!
Step 11: Cool and Serve
After baking, carefully remove the Pizza Roses from the oven and let them cool for a few minutes in the tin. Gently extract them, allowing them to breathe and settle. Serve warm on a platter, and watch as your family and friends delight in these beautiful, tasty treats!
Make Ahead Options
These Pizza Roses are perfect for busy home cooks looking to streamline meal prep! You can prepare the dough and assemble the roses up to 24 hours in advance. To do this, roll and shape the Pizza Roses, then place them in the greased muffin tin, cover them tightly with plastic wrap, and refrigerate. This will keep them fresh and prevent browning. When you're ready to bake, simply brush the tops with olive oil and season as directed, then pop them in the oven for a quick bake. Enjoy the convenience of ready-to-bake Pizza Roses that will turn mealtime into a delightful experience with minimal effort!
How to Store and Freeze Pizza Roses
Fridge: Store leftover Pizza Roses in an airtight container for up to 3 days. This keeps them fresh and ready to enjoy later!
Freezer: To freeze, wrap each cooled rose individually in plastic wrap, then place them in a freezer-safe bag. They’ll stay good for up to 2 months.
Reheating: To reheat, place frozen Pizza Roses in a preheated oven at 350°F (175°C) for about 15-20 minutes or until heated through. Enjoy the gooey goodness all over again!
Room Temperature: If you plan to serve them soon after baking, keep them covered at room temperature for up to 2 hours to maintain freshness.
Expert Tips for Perfect Pizza Roses
• Dough Thickness: Aim for a consistent thickness of about ¼ inch to ensure even baking. Too thick can lead to undercooked centers.
• Filling Variations: Feel free to mix toppings! Use veggies or different cheeses for unique flavors. Just remember not to overload the filling, or they may not roll well.
• Greasing the Tin: Always grease your muffin tin well. This helps the Pizza Roses pop out easily after baking, maintaining their beautiful shape.
• Baking Watch: Keep an eye on them while they bake. Ovens can vary, and you want them golden brown and bubbly—catch that perfect moment!
• Serving Warm: These Pizza Roses are best served warm, so plan to serve them right out of the oven. Their aroma will surely attract everyone to the table!
What to Serve with Pizza Roses
Picture this: a gathering of family and friends, laughter filling the air as delicious food tantalizes their taste buds.
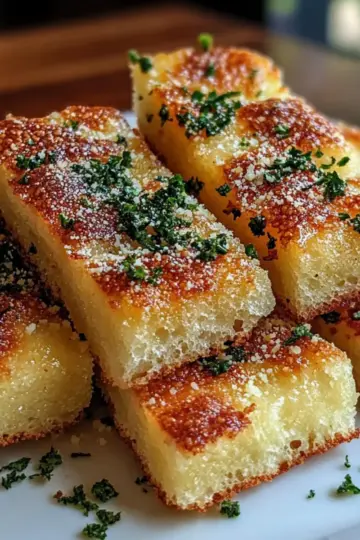
- Garlic Bread: The warm, buttery goodness of garlic bread pairs perfectly, elevating the meal with its comforting aroma and flavor.
- Caesar Salad: A crisp Caesar salad adds freshness and a robust crunch, balancing the richness of the Pizza Roses.
- Marinara Dipping Sauce: Serve alongside a classic marinara for an extra layer of flavor that perfectly complements the cheesy, savory bites.
- Italian Antipasto Platter: Create a colorful spread with olives, cured meats, and cheese to add vibrant flavors and textures that wow every guest.
- Fresh Basil Pesto: This aromatic sauce brings a lightness to the meal, refreshing the palate between the cheesy bites of the Pizza Roses.
- Sparkling Lemonade: Enhance the dining experience with a zesty sparkling lemonade that refreshes the taste buds and adds a fun fizz.
- Tiramisu: End the meal on a sweet note with rich tiramisu, where creamy layers of mascarpone balance the savory flavors beautifully.
- Roasted Veggies: A side of roasted vegetables adds caramelized sweetness and a wholesome feel, making the meal more balanced.
- Wine Pairing: Consider a light red like Chianti; its acidity cuts through the richness while enhancing the Italian flavors beautifully.
Pizza Roses Variations & Substitutions
Feel free to let your creativity shine while preparing these delightful Pizza Roses!
-
Veggie Delight: Substitute pepperoni with your favorite vegetables, like bell peppers or mushrooms, for a fresh twist.
With a medley of colorful veggies, these roses take on a whole new personality, bursting with garden-fresh flavors! -
Cheese Lovers: Experiment by using a mix of cheeses, like provolone or gouda, for a rich, melted texture.
Incorporating multiple cheeses will elevate the taste and give your Pizza Roses an unforgettable cheesy goodness. -
Gluten-Free: Use gluten-free pizza dough for a delightful alternative that everyone can enjoy.
Your gluten-sensitive friends will be delighted with these scrumptious bites that don’t skimp on flavor! -
Spicy Kick: Add jalapeños or crushed red pepper flakes for a spicy twist that will excite your taste buds.
If you crave a little heat, these additions will bring the perfect zing without overpowering the classic flavors. -
Herb Infusion: Mix fresh herbs, such as basil or oregano, into the dough for a fragrant, flavorful experience.
These aromatic additions not only enhance the taste but also create a beautiful aroma while they bake! -
Dairy-Free: Use vegan cheese and pizza dough to make a delicious dairy-free version that everyone can enjoy.
Dairy-free eaters won’t miss out on the fun with this tasty alternative that’s packed with flavor! -
Meat Medley: Combine different meats such as ham, salami, or spicy sausage for a hearty filling.
This combination adds a robust flavor profile that's perfect for meat lovers, making every bite indulgent! -
Sweet Surprise: For a dessert twist, fill pizza dough with Nutella and banana, then bake for a sweet treat.
This unexpected change will delight sweet tooth fans, turning your Pizza Roses into a delightful dessert!
Pizza Roses Recipe FAQs
How do I choose the best ingredients for Pizza Roses?
Absolutely! When selecting pizza sauce, opt for one that’s thick and flavorful, as this will ensure it spreads well without making the dough soggy. For mozzarella cheese, pick a high-quality, low-moisture variety for optimal melt and stretch. When it comes to pepperoni, look for slices that are slightly curled and have a rich, inviting color; they should have a balance of meat and spices for the best flavor.
What’s the best way to store leftover Pizza Roses?
Very! After enjoying your Pizza Roses, let any leftovers cool completely before transferring them to an airtight container. They can be stored in the fridge for up to 3 days. Just be sure to keep them covered to avoid any drying out. I often recommend adding a damp paper towel inside the container to help maintain moisture if you’re worried about them getting too hard.
Can I freeze Pizza Roses? If so, how?
Certainly! To freeze your delicious Pizza Roses, allow them to cool completely first. Individually wrap each rose tightly in plastic wrap, ensuring no air can get in. Then, place them in a freezer-safe bag or container. They can be frozen for up to 2 months. When you're ready to enjoy, simply remove the desired number from the freezer and reheat them directly from frozen!
What should I do if my Pizza Roses don’t hold their shape?
If your Pizza Roses aren’t keeping their shape, don’t worry! It might be due to too much filling or the dough being rolled too loosely. To troubleshoot, make sure when you’re rolling the dough, you’re keeping it tight and compact, tucking in the filling as you go. If you’ve overstuffed them, just gently unroll, remove some filling, and roll them back up.
Are Pizza Roses kid-friendly food?
Absolutely! Pizza Roses are not just delicious but also a wonderful way to get kids involved in cooking. They make for a fun family activity, where children can help with rolling and assembling. Plus, they can customize their own toppings, making them excited to eat their creations. Always check for allergens, especially if you're adding non-traditional ingredients.
How should I season the tops of my Pizza Roses?
The toppings really enhance the flavor! After you've brushed the tops with olive oil, a sprinkle of Italian seasoning and garlic powder adds fantastic zest. If you like a bit of heat, consider adding crushed red pepper flakes or even a sprinkle of grated Parmesan cheese for an extra flavor dimension. Just make sure to distribute evenly for the best taste!
Delicious Pizza Roses: The Perfect Bite-Sized Treat!
Ingredients
Equipment
Method
- Preheat your oven to 375°F (190°C).
- Roll out the pizza dough into a large rectangle, about ¼ inch thick.
- Spread the pizza sauce evenly over the surface of the dough.
- Sprinkle shredded mozzarella cheese evenly over the sauce.
- Layer sliced pepperoni evenly over the cheese.
- Fold the dough lengthwise into strips, about 2 inches wide.
- Cut strips into smaller pieces and roll each into a tight spiral to form roses.
- Place the rolled Pizza Roses into a greased muffin tin.
- Brush the tops with olive oil and sprinkle with Italian seasoning and garlic powder.
- Bake in the preheated oven for 20-25 minutes until golden brown.
- Let cool slightly before removing from the tin and serving warm.


Leave a Reply