The air is crisp, and the leaves are turning; it’s that magical time of year again when spooky decorations and candy corn come out to play. This Halloween, why not add a little whimsy to your festivities with my delightful Halloween Pretzels? These treats are not only incredibly easy to make, but they also serve as a fun project to involve the whole family. In just 15 minutes, you can create a festive snack that’s perfect for parties, and they’re guaranteed to be a hit with both kids and adults alike. Plus, these crunchy, chocolatey creations can easily be customized with your favorite spooky toppings, making them an exciting canvas for your creativity. Ready to whip up a batch and impress your friends? Let's dive into the frightful fun of Halloween Pretzels!
Why Make Halloween Pretzels?
Simplicity: With just a few ingredients and 15 minutes of prep, this recipe is perfect for busy schedules!
Endless Creativity: Customize each pretzel with your choice of candy melts, sprinkles, and toppings. It’s your chance to get creative and impress your guests.
Crowd-Pleasing: Kids and adults will love these festive treats, making them the star of Halloween parties.
Versatile Snacking: Perfect for cozy movie nights, classroom treats, or as Halloween party favors, these pretzels fit any occasion!
Kid-Friendly Fun: Get the whole family involved in decorating; it’s a delightful way to bond during the spooky season.
Try pairing them with a warm mug of hot cocoa or making some easy Halloween treats to create a complete festive feast!
Halloween Pretzel Ingredients
For the Pretzels
• Mini pretzels (twists or rods) – These provide the perfect salty crunch to balance the sweetness of the candy melts.
For the Candy Coating
• Candy melts (white, orange, black) – Use these vibrant colors to bring your Halloween Pretzels to life and add a fun pop of color.
For Decorations
• Halloween sprinkles – Sprinkles are a must for adding that festive flair; go wild with your favorite shapes!
• Candy eyes – These little treats will give your Halloween Pretzels a fun and spooky vibe.
• Crushed Oreos (optional) – Use crushed Oreos for an extra layer of texture and a delicious chocolatey taste.
For Preparation
• Parchment paper – Line your baking sheet with this to ensure easy cleanup and to prevent sticking while your candy sets.
Gather these simple ingredients and get ready to create some truly captivating Halloween Pretzels that will wow your guests!
Step‑by‑Step Instructions for Halloween Pretzels
Step 1: Prepare Your Workspace
Begin by lining a baking sheet with parchment paper, ensuring a smooth surface for your Halloween Pretzels. This will prevent sticking and make cleanup a breeze later on. Having your workspace tidy and organized sets the stage for a delightful cooking experience—just the way we like it!
Step 2: Melt the Candy Coating
In a microwave-safe bowl, heat the candy melts according to the package instructions, typically on medium power for 30 seconds at a time until smooth. Stir the chocolate between intervals to prevent burning; you’re looking for a glossy, melted consistency that flows easily. This colorful candy will coat your pretzels beautifully!
Step 3: Coat the Pretzels
Once your candy melts are ready, it’s time to dip! Hold a mini pretzel over the bowl and dip it into the melted candy, covering it entirely or drizzling it for a fun effect. Allow any excess to drip back into the bowl before placing it on the parchment paper. Repeat this process, coating all pretzels with the festive candy melts.
Step 4: Add Your Toppings
Before the candy sets, get creative and sprinkle Halloween sprinkles, candy eyes, or even crushed Oreos over the melted candy. This is where your Halloween Pretzels come to life! The vibrant colors and fun shapes will make them even more festive, enticing everyone who sees them.
Step 5: Let Them Harden
Allow your decorated Halloween Pretzels to sit at room temperature for about 15 minutes, or until the candy coating is completely hardened. You’ll know they’re ready when the surface feels firm to the touch, ensuring the pretzels are ready for all that sweet and crunchy goodness!
Step 6: Store and Enjoy
Once your Halloween Pretzels are set, carefully transfer them to an airtight container to keep them fresh. These delightful treats are perfect for sharing at parties or enjoying as an after-school snack. You’ve created a fun and delicious treat that captures the spirit of Halloween!
Make Ahead Options
These Halloween Pretzels are perfect for meal prep enthusiasts looking to save time during the hectic holiday season! You can melt your candy coating and dip the pretzels up to 24 hours in advance, letting them cool and harden before storing. Just keep them in an airtight container at room temperature to maintain their crunch and prevent any moisture buildup. When you're ready to serve, simply drizzle with additional melted candy and sprinkle more festive decorations for that fresh look. With this make ahead strategy, your Halloween Pretzels will be just as delicious and eye-catching, allowing you to enjoy more time with family and friends during the celebrations!
How to Store and Freeze Halloween Pretzels
-
Room Temperature: Keep your Halloween Pretzels in an airtight container at room temperature for up to 5 days for optimal freshness and crunch.
-
Fridge: If your home tends to be warm, consider storing them in the fridge for up to a week. Just be aware that the candy coating may become slightly softer.
-
Freezer: For longer storage, freeze your Halloween Pretzels in a single layer on a baking sheet, then transfer to a freezer-safe bag for up to 3 months. Allow them to thaw at room temperature before enjoying.
-
Reheating: There's no need to reheat, as these treats are meant to be enjoyed cold or at room temperature.
Halloween Pretzels Variations
Feel free to tailor these Halloween Pretzels to elevate your festive snacking experience and make each batch uniquely yours!
-
Dark Chocolate: Swap white candy melts for dark chocolate melts for a richer flavor. The combination of salty pretzels and dark chocolate is simply irresistible!
-
Nut-Free: For a nut-free treat, ensure your candy melts and sprinkles are certified nut-free. This way, all your guests can enjoy these festive goodies worry-free.
-
Spicy Twist: Add a pinch of cayenne pepper or chili powder to your melted candy for a delightful surprise. This flavor twist is perfect for those who love a bit of heat!
-
Gluten-Free: Use gluten-free pretzels to make these treats accessible for everyone. They’ll taste just as delicious while being considerate of dietary restrictions.
-
Extra Crunch: For an added layer of texture, sprinkle crushed pretzels or nuts on top before the coating sets. This enhances the crunch factor and creates a beautiful visual.
-
Halloween Themes: Shape your pretzels into spooky designs using Halloween-themed molds for a fun twist. Ghosts, bats, and pumpkins can add a decorative touch to your platter.
-
Caramel Drizzle: After the candy coating sets, drizzle caramel over the top for a luxurious, gooey finish. The sweet-and-salty combo brings a delightful twist to your pretzel experience.
-
Cookie Variation: Instead of pretzels, use large butter cookies as your base. Dip and decorate them just like the pretzels for a sweet alternative that’s equally festive.
Get creative and let your imagination run wild! You might even want to serve these delightful pretzels alongside a steaming cup of hot cocoa or some spooky ghost cupcakes for a complete Halloween treat table.
Expert Tips for Halloween Pretzels
Choose Quality Candy Melts: Opt for high-quality candy melts for better taste and smoother melting. Cheap brands may not melt evenly or taste as good.
Avoid Overheating: When melting candy, heat slowly and stir often. Overheating can cause the melts to seize, making it difficult to coat the pretzels.
Top While Melting: Add sprinkles or candy eyes immediately after dipping while the coating is still wet. If it hardens, toppings won’t stick properly to your Halloween Pretzels.
Use Different Shapes: Don’t be afraid to experiment with different pretzel shapes or sizes; twists, rods, or even chocolate-covered pretzels all work wonderfully!
Storage Matters: Store your Halloween Pretzels in an airtight container to keep them fresh. Avoid humid areas, which can affect the candy coating.
What to Serve with Halloween Pretzels?
Elevate your spooky celebrations with delicious pairings that complete your festive table!
-
Warm Apple Cider: This sweet, spiced drink perfectly complements the sweet-and-salty flavors of your Halloween Pretzels.
-
Pumpkin Spice Cookies: Soft and chewy, these cookies add a cozy, seasonal touch, creating a delightful dessert spread.
-
Ghost-shaped Cheese Balls: Savory cheeses bring a delicious contrast to the sweet pretzels and are fun for the kids to enjoy!
-
Caramel Apple Slices: Tart apples drizzled with sweet caramel offer a refreshing, crunchy balance to the rich pretzels.
-
Caramel Corn: This sweet treat celebrates the essence of fall and is perfect as munching alongside your Halloween Pretzels.
-
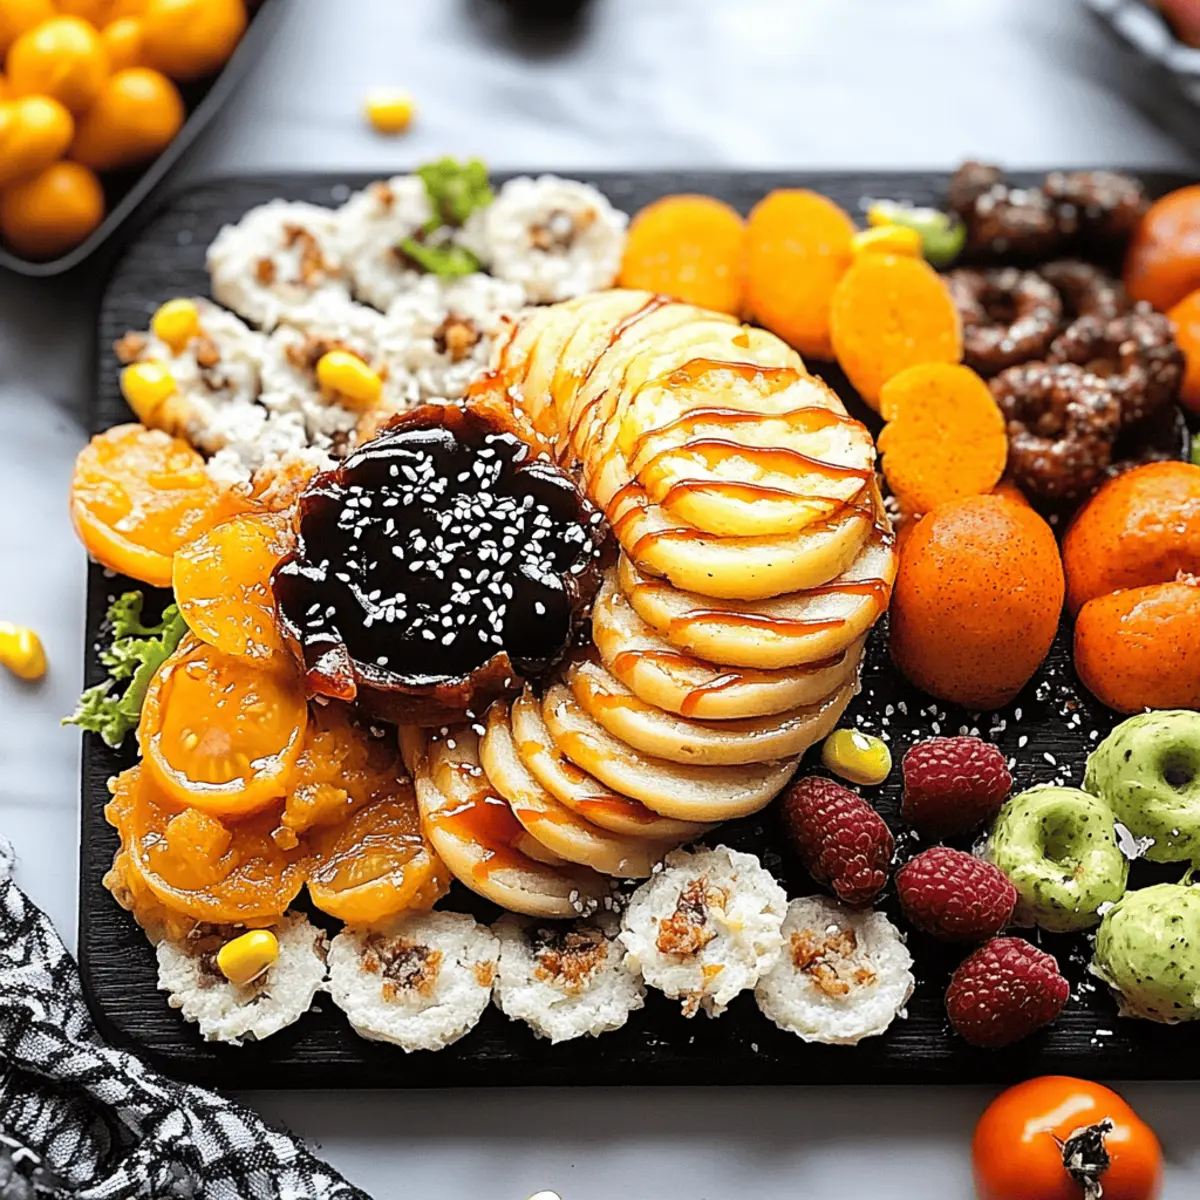
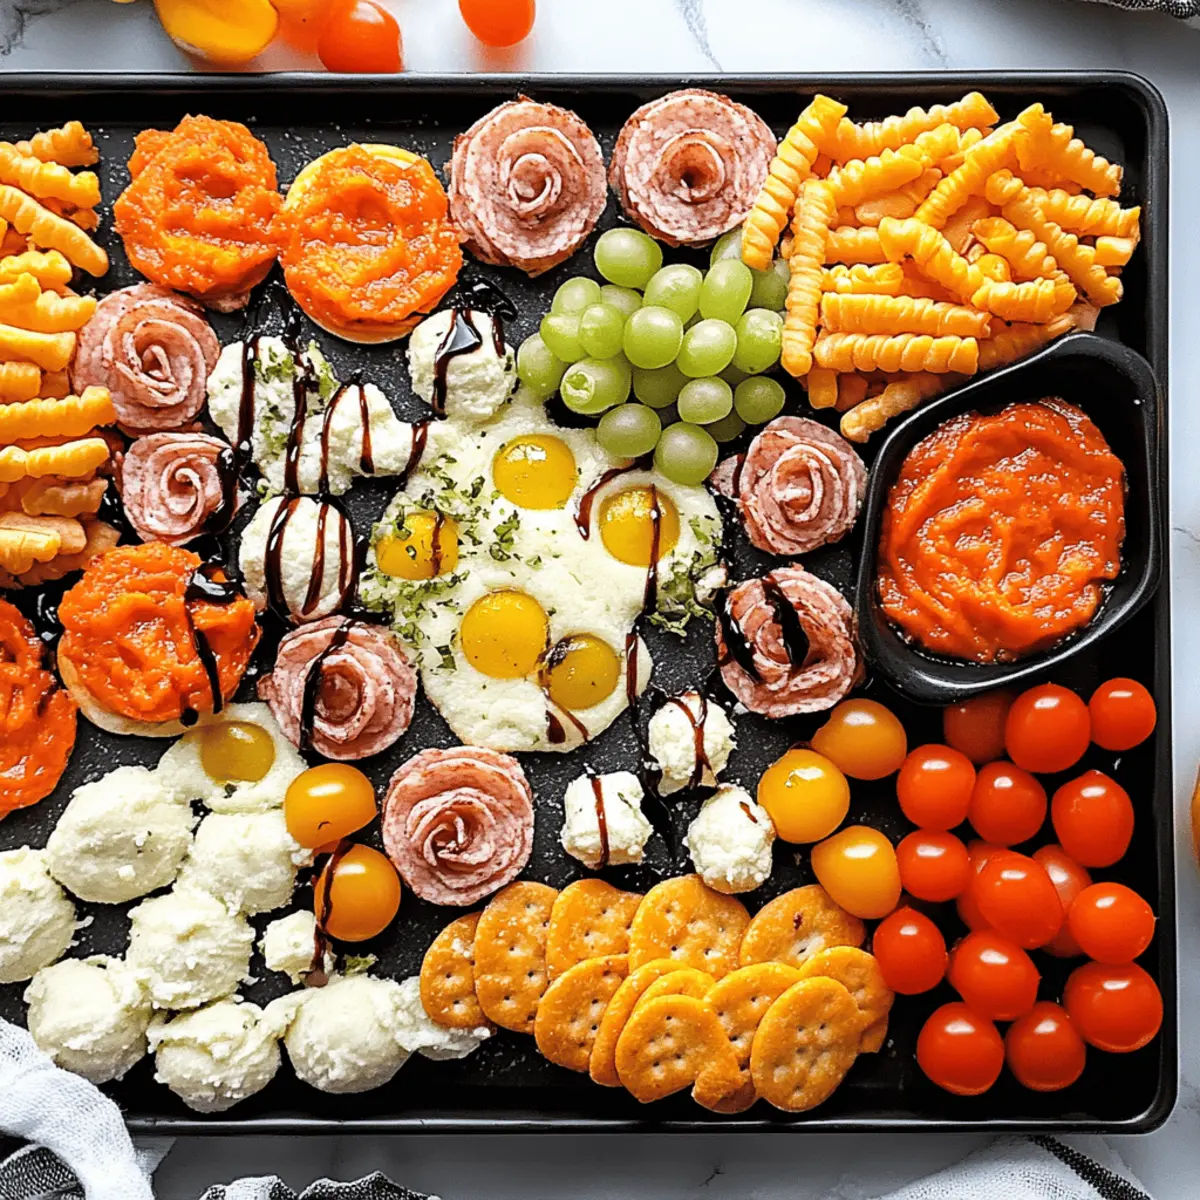
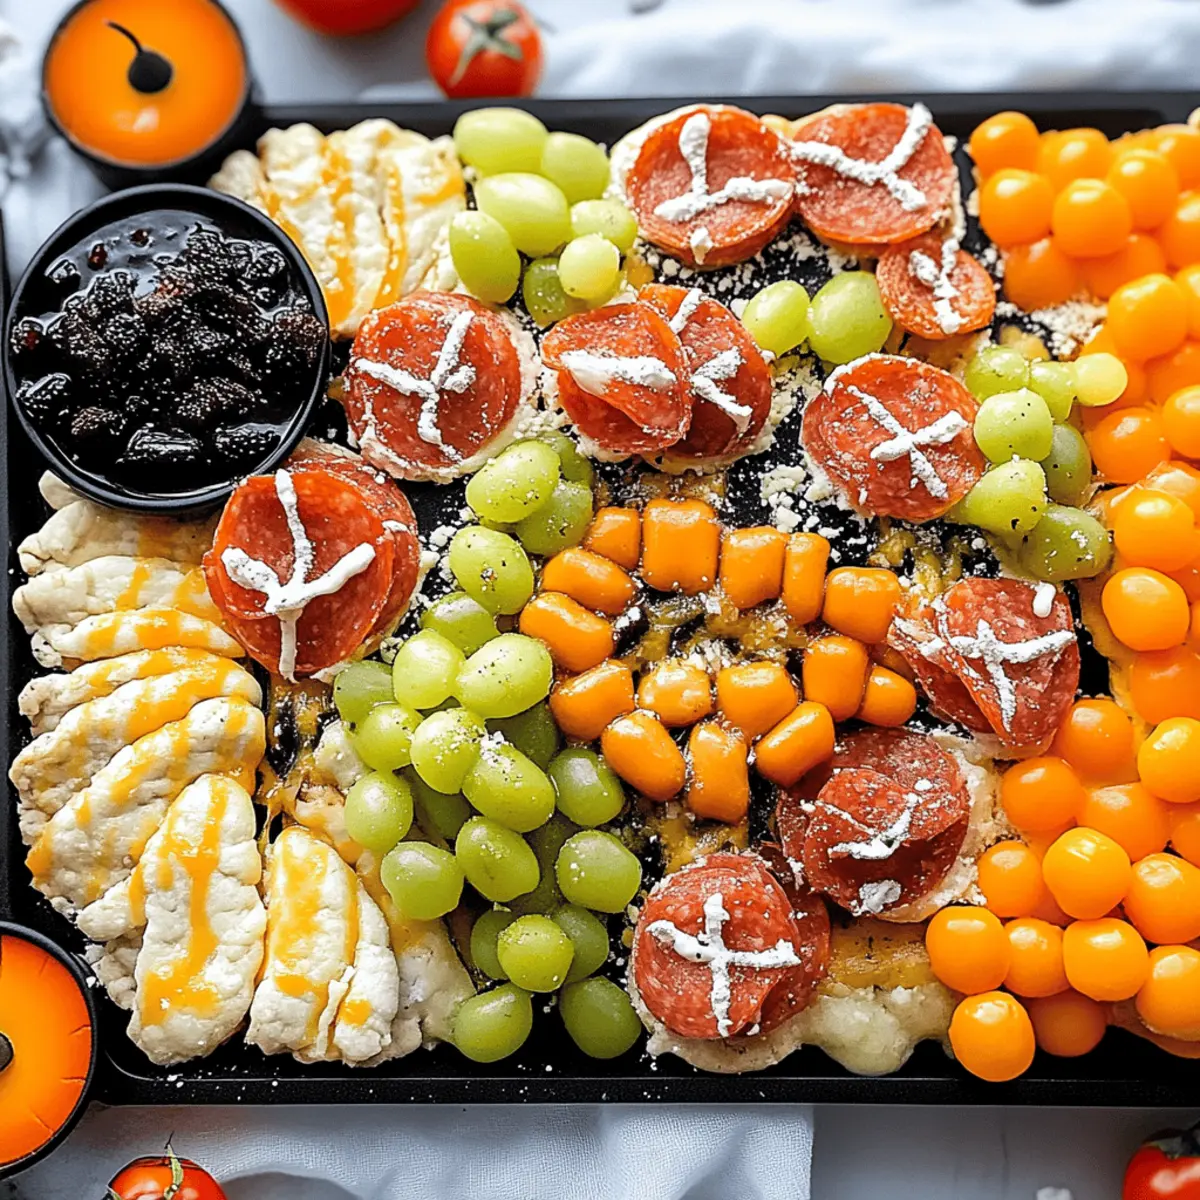
Spooky Charcuterie Board: Include a mix of meats, cheeses, and seasonal fruits to create a vibrant, festive display that’s sure to impress!
-
Chocolate Milkshakes: A creamy, sweet beverage to wash down the pretzels will delight both children and adults at your gathering.
With these fun and delicious pairings, your Halloween Pretzels will take center stage amidst a celebration of flavors and festivity!
Halloween Pretzels Recipe FAQs
How do I choose the best mini pretzels for my Halloween Pretzels?
Absolutely, selecting the right mini pretzels is crucial! Look for ones that are firm and evenly shaped, as they’ll hold up better when dipped in the candy melts. Avoid any that have dark spots or broken pieces, as these could compromise the appearance of your Halloween Pretzels when decorated.
What’s the best way to store Halloween Pretzels?
Store your Halloween Pretzels in an airtight container at room temperature for up to 5 days. If your environment is humid or warm, you might consider keeping them in the fridge for up to a week, but be aware they may become a little softer. Just ensure that the container is tightly sealed!
Can I freeze my Halloween Pretzels, and how?
Yes, you can definitely freeze your Halloween Pretzels! To do this, place them in a single layer on a baking sheet and freeze until solid. Once frozen, transfer them to a freezer-safe bag, ensuring to squeeze out as much air as possible. They will keep well in the freezer for up to 3 months. When you're ready to enjoy them, just let them thaw at room temperature—no need to reheat!
What if my candy melts are not melting properly?
If you encounter issues with your candy melts not melting smoothly, ensure you're heating them at a lower power and stirring frequently to prevent them from seizing up. If they do become thick or start to clump, try adding a teaspoon of vegetable oil to smooth them out for dipping.
Are Halloween Pretzels safe for pets or individuals with allergies?
Halloween Pretzels can pose a risk for pets, particularly because chocolate and certain sprinkles can be harmful. Always keep these treats away from pets. For those with allergies, be mindful of the ingredients in the candy melts, sprinkles, or other toppings you choose to use, as they may contain allergens like dairy, nuts, or gluten. Always check labels and opt for allergy-friendly brands if needed.
How can I customize my Halloween Pretzels for dietary needs?
Very! You can easily personalize your Halloween Pretzels by using dairy-free or vegan candy melts that cater to different dietary restrictions. Additionally, consider using gluten-free pretzels and natural toppings like nuts or dried fruit to enhance flavor and texture while ensuring they align with your dietary preferences.
Delicious Halloween Pretzels That Wow Your Guests
Ingredients
Equipment
Method
- Prepare Your Workspace by lining a baking sheet with parchment paper.
- Melt the Candy Coating by heating candy melts in a microwave-safe bowl.
- Coat the Pretzels by dipping each pretzel into the melted candy.
- Add Your Toppings while the candy is still wet.
- Let Them Harden at room temperature for about 15 minutes.
- Store and Enjoy in an airtight container.


Leave a Reply