
As I stood in my kitchen, a luscious aroma of melted chocolate enveloped me, transporting me to a cozy café in Paris. That’s the magic that inspired my Chocolate Hazelnut Cake Filling, a recipe that turns any dessert into a culinary masterpiece. Not only is it incredibly quick to prepare—ready in just 15 minutes—but it also adds a delightful twist to cakes, fruits, and even a simple slice of toast. The combination of rich chocolate, creamy butter, and crunchy hazelnuts creates an irresistible filling that feels like a warm hug on a plate. Ready to take your baking and snacking to the next level? Let’s dive into this decadent recipe and uncover the joy of homemade indulgence together!
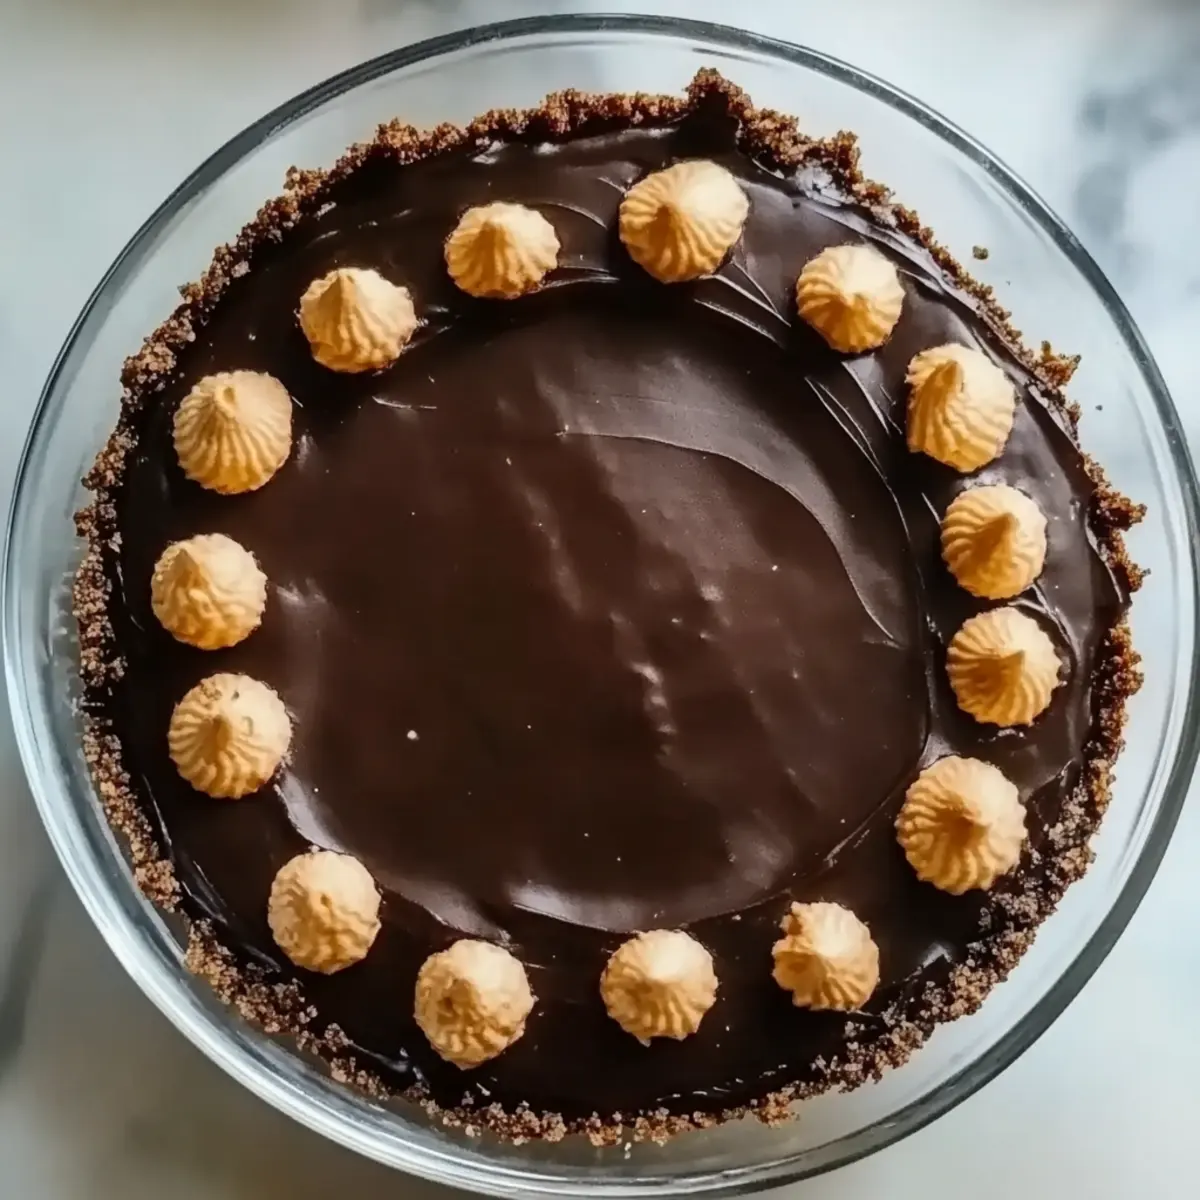
Why is this cake filling a must-try?
Quick Preparation: In just 15 minutes, you can whip up this delightful filling, making it perfect for the busy home cook or chef.
Indulgent Flavor: The combination of rich melted chocolate and crunchy hazelnuts gives every bite a luxurious taste that's hard to resist.
Versatile Use: Whether you're layering it in cakes, dipping fruits, or spreading it on toast, this filling promises to elevate any dish.
Crowd-Pleasing Delight: Its rich flavor and smooth texture will impress family and friends, turning ordinary desserts into spectacular ones.
Simple Ingredients: Using just a few pantry staples, you can create something truly special. If you're curious about other delicious homemade fillings, check out our post on Irresistible Cake Fillings.
Chocolate Hazelnut Cake Filling Ingredients
• Create your own delicious filling today!
For the Base
- Melted chocolate – use bittersweet or semisweet for a richer flavor profile.
- Heavy cream – whip it into the mixture for a luxuriously smooth texture.
- Unsalted butter – ensures the filling is perfectly creamy without extra saltiness.
For the Crunch
- Toasted hazelnuts – their toasty flavor and crunch add delightful contrast to the smooth filling.
Whether you’re making a cake or a quick snack, these ingredients come together to create a sumptuous Chocolate Hazelnut Cake Filling that will surely impress!
Step‑by‑Step Instructions for Chocolate Hazelnut Cake Filling
Step 1: Gather Your Ingredients
Begin by collecting your key ingredients: 1 cup of melted chocolate (bittersweet or semisweet), 1 cup of heavy cream, ½ cup of softened unsalted butter, and ½ cup of chopped toasted hazelnuts. Having everything within reach will streamline the process and make creating your Chocolate Hazelnut Cake Filling a delightful experience.
Step 2: Combine the Base Ingredients
In a medium mixing bowl, combine the melted chocolate, heavy cream, and softened butter. Using a whisk, blend these ingredients together for about 2–3 minutes until the mixture becomes smooth and glossy, creating a luscious base for your filling. Make sure to scrape the sides of the bowl to include any chocolate that might cling to them.
Step 3: Incorporate the Hazelnuts
Once the base is smooth, gently fold in the chopped toasted hazelnuts until they are evenly distributed throughout the mixture. This step adds that irresistible crunch and flavor to your Chocolate Hazelnut Cake Filling. Ensure the hazelnuts are well incorporated, which should take about a minute of careful folding.
Step 4: Allow to Cool
Transfer the mixture into a clean bowl and leave it at room temperature to cool. This cooling process usually takes about 15–20 minutes. Watch for the filling to begin thickening, as this will signify that it's reaching the perfect spreadable consistency to enhance your desserts.
Step 5: Check Consistency
After allowing the filling to cool, check its consistency. It should be thick but still spreadable. If it's too runny for your liking, consider refrigerating it for an additional 10–15 minutes. Keep a close eye on it to achieve that heavenly texture ideal for layering in cakes or spreading on toast.
Step 6: Use Your Filling
Now that your Chocolate Hazelnut Cake Filling is ready, it's time to use it! You can layer it between cakes, dip fresh fruits into it, or simply spread it over warm toast for a decadent treat. The possibilities are endless, so let your creativity shine as you indulge in this rich filling.
Step 7: Store Leftovers Properly
If you have any leftover filling, transfer it to an airtight container. Store it in the refrigerator, where it will keep fresh for up to a week. Remember to reheat it gently in the microwave for 10–15 seconds if you prefer a softer texture when using it again.
Step 8: Reheat When Needed
If you desire to use the filling after refrigerating, simply microwave it in short bursts of 10–15 seconds. This will warm it back up and restore its creamy texture, making it easier to spread or layer as you continue to enjoy your delightful Chocolate Hazelnut Cake Filling.
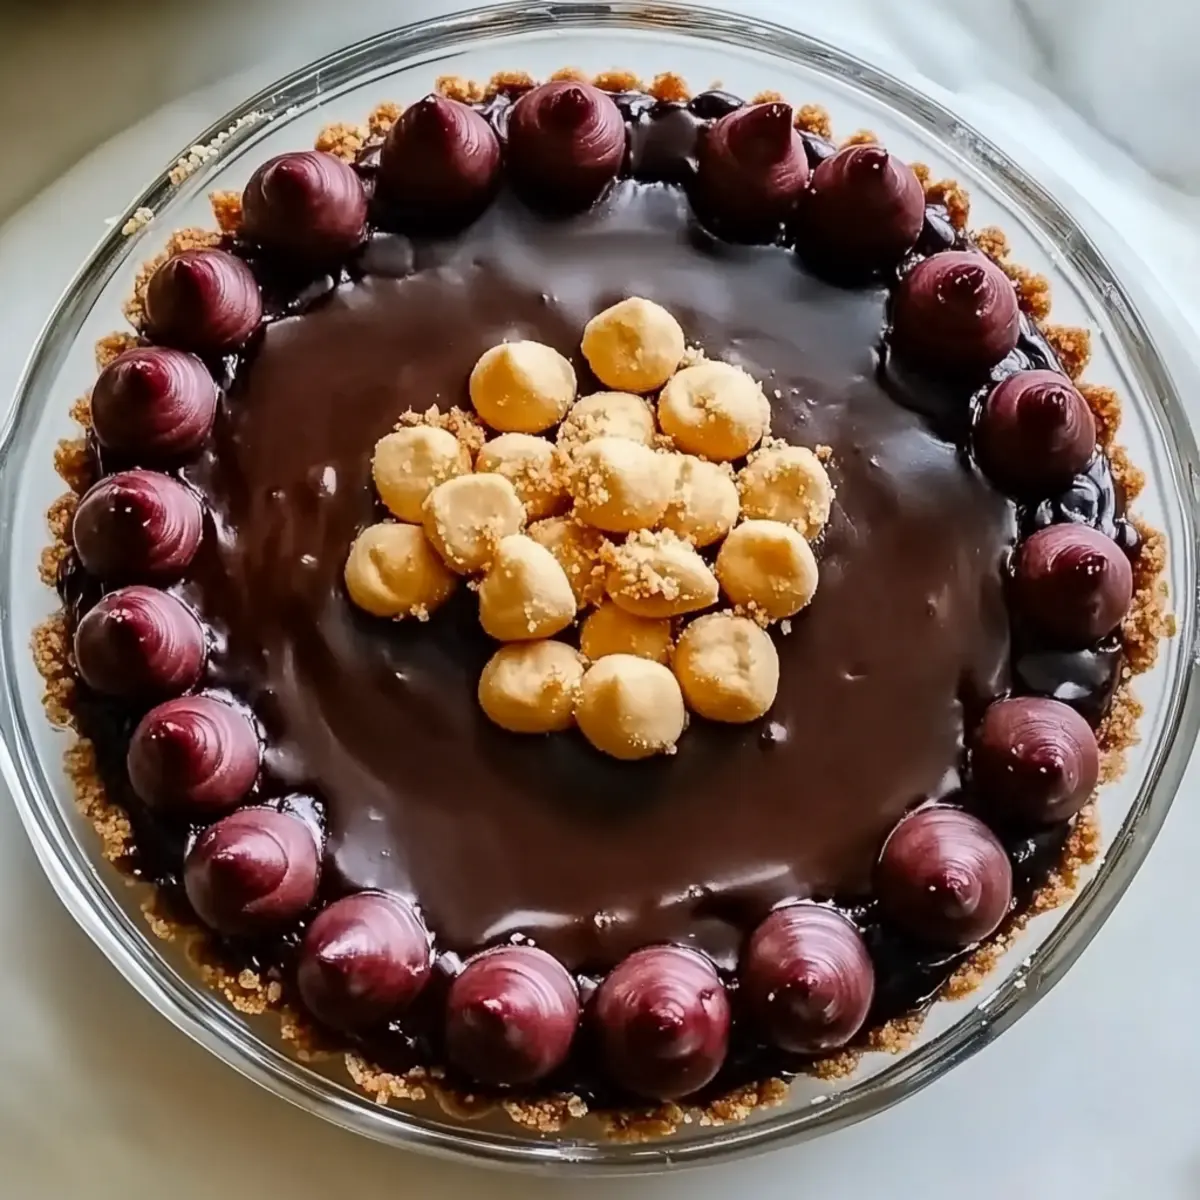
Make Ahead Options
Preparing your Chocolate Hazelnut Cake Filling ahead of time is a marvelous way to save effort on busy days! You can mix together the melted chocolate, heavy cream, softened butter, and toasted hazelnuts up to 24 hours in advance and store the mixture in an airtight container in the refrigerator. This method preserves the flavor and creamy texture, allowing the filling to meld together beautifully over time. When you’re ready to serve, simply let it warm slightly at room temperature for about 10-15 minutes, or microwave it for 10-15 seconds to achieve that luscious spreadable quality again. With these make-ahead tips, you’ll have a delightful filling ready to elevate your desserts with minimal last-minute preparation!
Expert Tips for Chocolate Hazelnut Cake Filling
Consistency Check: Make sure the filling is thick but spreadable; if too runny, refrigerate for 10-15 minutes.
Quality Chocolate: Use high-quality bittersweet or semisweet chocolate for deeper flavor; avoid chocolate chips as they may not melt smoothly.
Nut Preference: To avoid overwhelming crunch, chop hazelnuts finely; you can also substitute with other nuts if desired.
Storage Solution: Use an airtight container to keep leftovers fresh for up to a week; reheat gently for optimal texture when using again.
Temperature Matters: Let the filling cool to room temperature before use; this ensures even spreading on cakes and toast without mess.
Chocolate Hazelnut Cake Filling Variations
Feel free to get creative and customize your Chocolate Hazelnut Cake Filling with these tasty twists!
-
Nut-Free: Replace hazelnuts with sunflower seeds for a crunchy, nut-free option that still delivers texture.
-
Vegan Delight: Use coconut cream in place of heavy cream and vegan butter for a deliciously dairy-free treat everyone will love.
-
Spicy Kick: Add a pinch of cayenne pepper or chili powder to introduce a surprising heat that beautifully complements the chocolate.
-
Flavor Boost: Stir in a teaspoon of instant coffee granules to enhance the chocolate flavor for an espresso-infused experience.
-
Fruit-Fusion: Mix in a handful of finely chopped dried cherries or tart cranberries for a sweet and tangy twist that adds depth.
-
Coconut Lush: Substitute some of the butter with coconut oil and add shredded coconut for a tropical flair that brings sunshine to your desserts.
-
Minty Freshness: Incorporate a few drops of peppermint extract for a refreshing mint chocolate flavor, perfect for special occasions.
-
Caramel Swirl: Drizzle some homemade or store-bought caramel sauce into the filling for a luscious, sweet contrast that’ll delight your taste buds.
With these variations, every batch of Chocolate Hazelnut Cake Filling can be a new adventure! If you're interested in trying more delicious flavors, make sure to check out our article on Delicious Flavor Combinations for Cake Fillings.
What to Serve with Chocolate Hazelnut Cake Filling?
As you indulge in the rich flavors of this delightful filling, complementing it with the right sides can elevate your experience to new heights.
-
Fluffy Vanilla Cake: The lightness of vanilla cake contrasts beautifully with the chocolate hazelnut filling, creating layers of flavor and texture that dance on the palate.
-
Fresh Berries: The tartness of strawberries, raspberries, or blueberries brightens up the dessert, providing a refreshing balance to the creamy richness of the filling.
-
Whipped Cream: A dollop of lightly sweetened whipped cream adds a cloud-like texture that softens the intensity of the chocolate, making each bite feel like a slice of heaven.
-
Nutty Biscotti: These crunchy treats are perfect for dipping into the filling or enjoying alongside it, adding a satisfying crunch that complements the smooth chocolate.
-
Hot Chocolate: Pairing with a warm cup of hot chocolate intensifies the chocolate experience, creating a cozy treat that wraps you in warmth.
-
Ice Cream: A scoop of vanilla or hazelnut ice cream drizzled with the filling brings another layer of creamy delight, turning your dessert into an unforgettable indulgence.
-
Toasted Croissants: The flaky, buttery goodness of a croissant spread with the chocolate hazelnut filling offers a luxurious breakfast or afternoon snack, perfect for satisfying cravings.
-
Chilled Green Tea: A refreshing cup of green tea cleanses the palate, allowing you to fully appreciate the decadent flavors of the filling with each sip.
How to Store and Freeze Chocolate Hazelnut Cake Filling
Fridge: Store your Chocolate Hazelnut Cake Filling in an airtight container in the refrigerator for up to 1 week. This keeps it fresh and ready for your next dessert creation.
Freezer: For longer storage, freeze the filling in a freezer-safe container for up to 3 months. Remember to leave some space at the top, as it will expand when frozen.
Thawing: When you're ready to use the frozen filling, simply transfer it to the fridge for a few hours or overnight. Heat gently in the microwave for 10-15 seconds to restore its spreadable texture.
Reheating: If you prefer your filling warm, microwave in short bursts, stirring in between until you achieve your desired consistency.
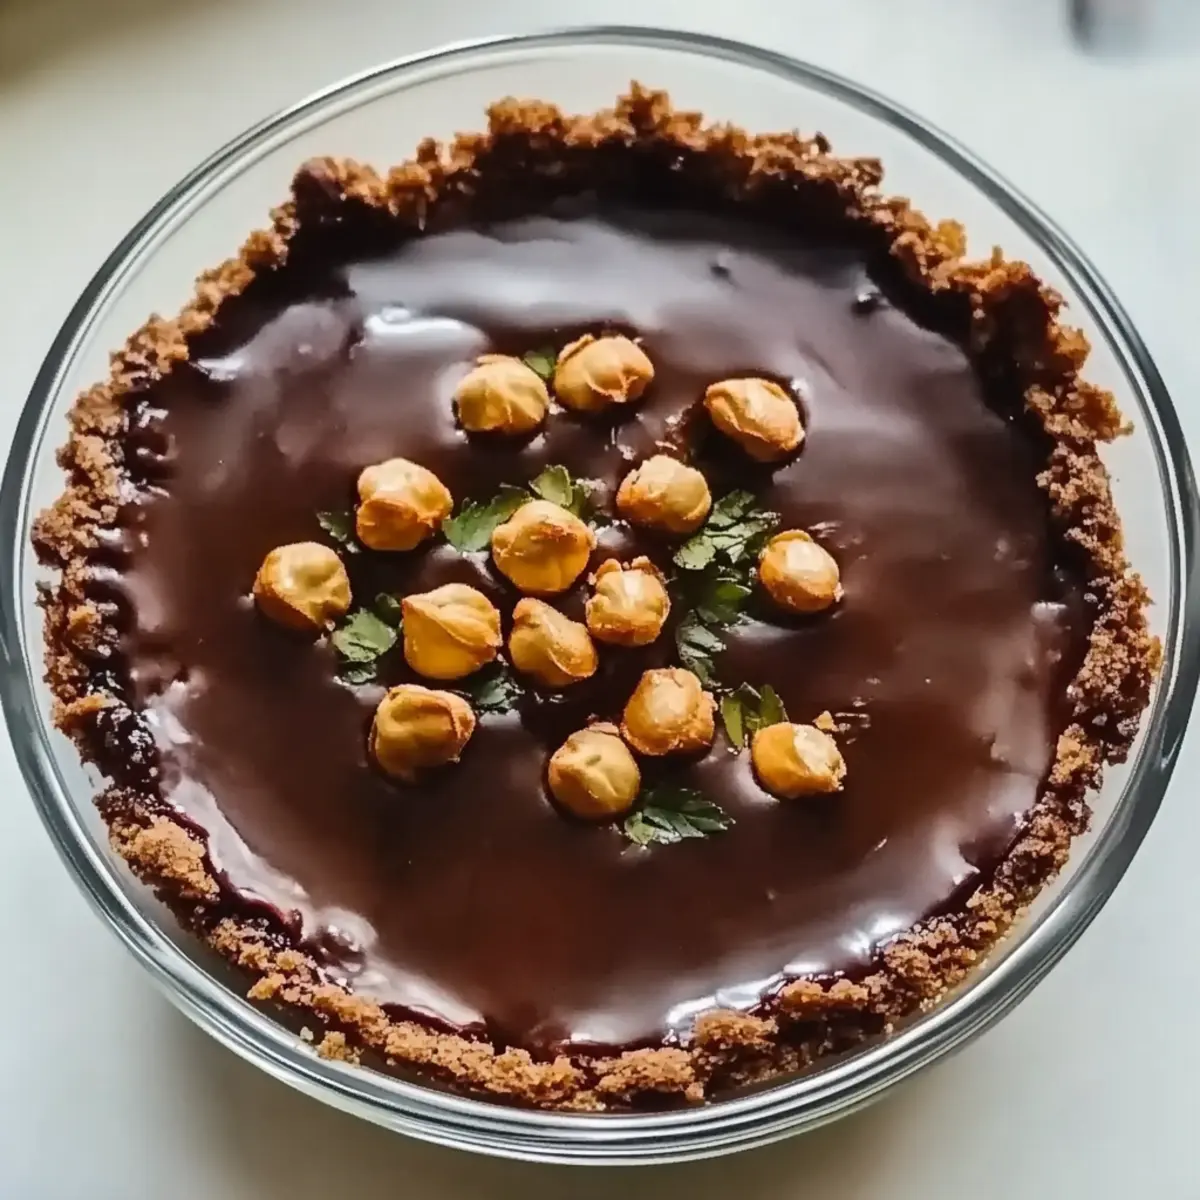
Chocolate Hazelnut Cake Filling Recipe FAQs
What type of chocolate should I use for the filling?
Absolutely! For the best flavor, I recommend using high-quality bittersweet or semisweet chocolate. Avoid chocolate chips as they don’t melt as smoothly and can result in a grainy texture.
How do I know when my hazelnuts are toasted perfectly?
Very! Toast them in a dry skillet over medium heat, stirring frequently, for about 5-7 minutes. You’ll know they’re ready when they become fragrant and slightly golden in color. This enhances their flavor and gives your filling that delightful crunch.
How long can I store the Chocolate Hazelnut Cake Filling?
You can keep your Chocolate Hazelnut Cake Filling in an airtight container in the refrigerator for up to 1 week. Just make sure it's well-sealed to maintain its deliciousness!
Can I freeze the filling for later use?
Definitely! To freeze, pour the filling into a freezer-safe container, leaving a bit of space for expansion (about an inch) as it freezes. It can last up to 3 months in the freezer. When you're ready to use it, simply transfer it to the refrigerator to thaw overnight, and reheat gently in the microwave if necessary.
What do I do if my filling is too runny?
If your filling is too runny, don’t worry! Refrigerate it for 10-15 minutes to help thicken it up. Stir occasionally to check for the right spreadable consistency. If it’s still not thick enough, you can add a bit more melted chocolate to the mixture until you achieve your desired texture.
Is this filling safe for pets or those with allergies?
Very important! Since this filling contains chocolate and nuts, it’s not safe for dogs (or cats) as chocolate can be toxic to them. Additionally, be mindful of nut allergies. You can consider substituting with sunflower seeds for a nut-free option, but always check with those you’re serving to be sure it's safe!
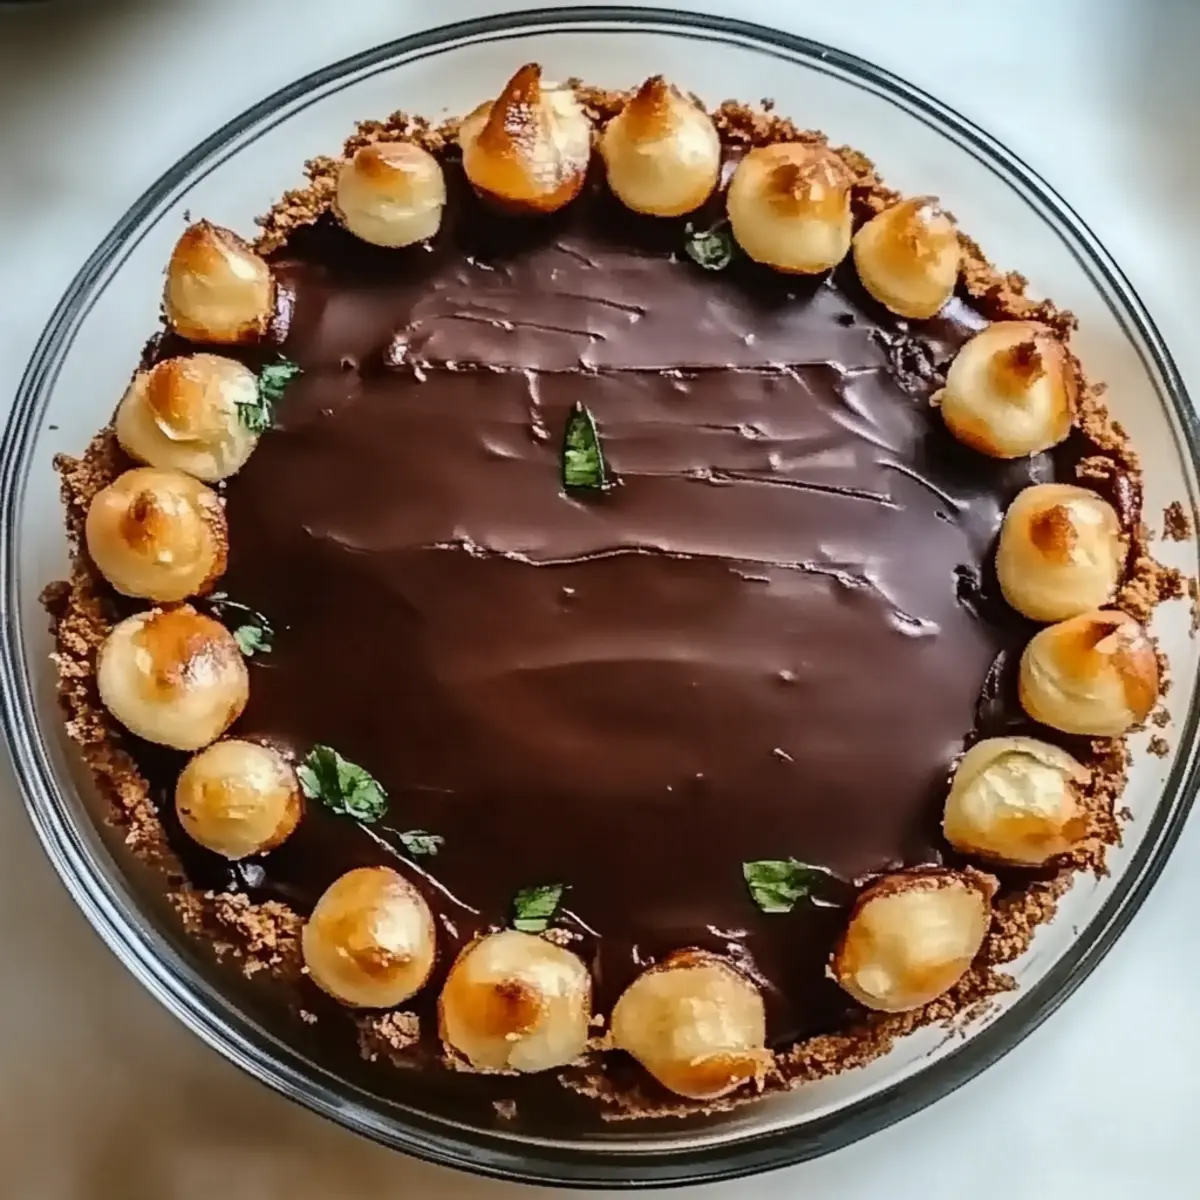
Decadent Chocolate Hazelnut Cake Filling to Elevate Desserts
Ingredients
Equipment
Method
- Gather your ingredients: 1 cup melted chocolate, 1 cup heavy cream, ½ cup softened unsalted butter, and ½ cup chopped toasted hazelnuts.
- Combine the melted chocolate, heavy cream, and softened butter in a mixing bowl. Whisk for 2-3 minutes until smooth.
- Gently fold in the chopped toasted hazelnuts until evenly distributed.
- Transfer the mixture to a clean bowl and let it cool at room temperature for 15-20 minutes.
- Check the consistency; it should be thick but spreadable. If too runny, refrigerate for 10-15 minutes.
- Use the filling to layer between cakes, dip fruits, or spread on toast.
- Store leftovers in an airtight container in the refrigerator for up to a week. Reheat gently if needed.
- If refrigerating the filling, microwave in short bursts of 10-15 seconds to restore its texture.

Leave a Reply