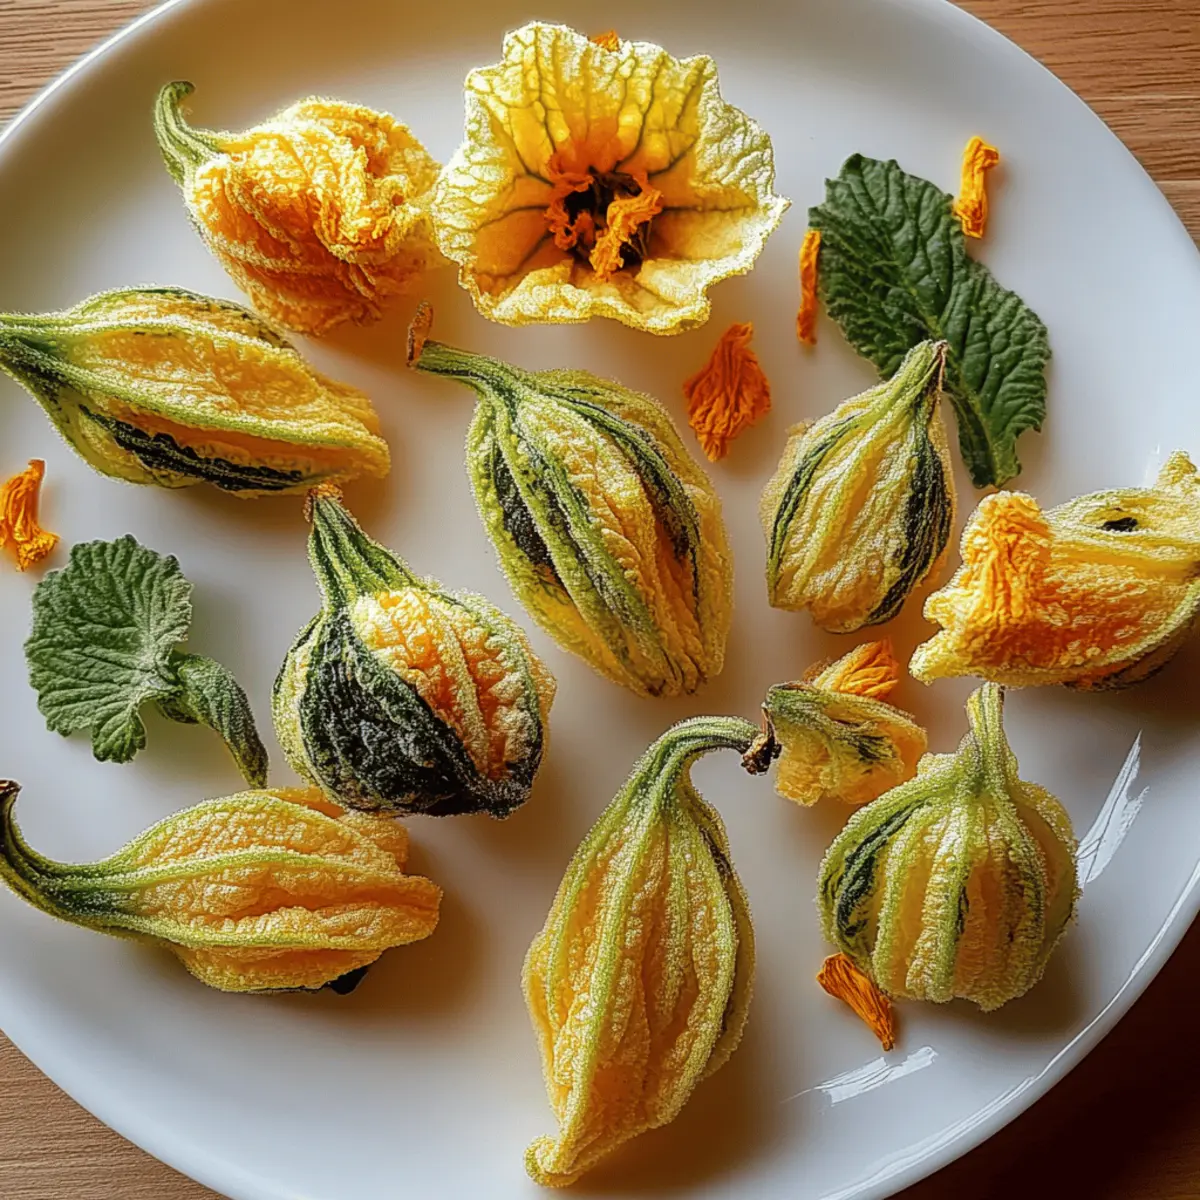
As I wandered through the farmer’s market last weekend, the vibrant orange of fresh pumpkin blossoms caught my eye, whispering sweet culinary possibilities. What’s even better than their beauty? These Healthy Pumpkin Blossoms are a delightful way to elevate your next meal! With just a handful of simple ingredients, you can whip up a dish that not only impresses but also pleases your taste buds, while keeping things light and nourishing. Perfect for busy nights, this quick and easy recipe offers a crispy texture that’s simply irresistible. Plus, they can be served as an appetizer or a fun snack for friends and family. So, are you ready to discover how to turn these delicate blossoms into a scrumptious kitchen triumph? Let’s dive in!
Why are these pumpkin blossoms irresistible?
Crispy, the perfect texture that adds crunch to every bite! Nutritious, made with wholesome chickpea flour, these blossoms are as healthy as they are delicious. Versatile, serve them as an appetizer, snack, or alongside your favorite salad or grilled veggies for a complete meal. Quick and easy, whip them up in just 35 minutes, making it a perfect choice for busy weeknights. For more delightful veggie recipes, check out my Pasta Bake Pumpkin or my Healthy Zucchini Oatmeal. Crowd-pleasing, these crispy wonders are sure to impress family and friends!
Healthy Pumpkin Blossoms Ingredients
• Get ready to create a delightful dish!
For the Batter
- Chickpea flour – a gluten-free alternative that provides a nutty flavor and a delightful crunch.
- Water – helps achieve the right consistency for a smooth batter.
- Olive oil – adds richness and improves the texture of the batter.
- Garlic powder – infuses a savory depth that complements the blossoms beautifully.
- Onion powder – enhances the batter’s flavor profile, making it irresistible.
- Salt – brings all the flavors together for a well-rounded taste.
- Black pepper – adds a subtle kick for those who enjoy a little spice.
- Chili flakes (optional) – for a touch of heat if you’re looking to spice things up!
For Cooking
- Olive oil spray or additional olive oil – ensures a non-stick surface for perfectly crispy blossoms.
For Serving
- Lemon wedges – a refreshing burst of citrus that elevates the flavor of your Healthy Pumpkin Blossoms.
Step‑by‑Step Instructions for Healthy Pumpkin Blossoms
Step 1: Clean the Blossoms
Begin by gently washing the 12 fresh pumpkin blossoms under cold water to remove any dirt. Pat them dry carefully using a kitchen towel, taking care not to bruise the delicate petals. Next, remove the stamens or pistils from within each blossom with your fingers, ensuring they're ready for a delicious coating.
Step 2: Prepare the Batter
In a mixing bowl, combine 1 cup of chickpea flour, 1 cup of water, and 1 tablespoon of olive oil. Add 1 teaspoon each of garlic powder, onion powder, and salt, along with ½ teaspoon of black pepper and optional chili flakes for a kick. Whisk together until the batter is smooth and lump-free, resembling a thick pancake batter, which will beautifully coat the pumpkin blossoms.
Step 3: Preheat the Skillet
Place a non-stick skillet on the stove and preheat it over medium heat. To prevent sticking, lightly grease the skillet with olive oil spray or brush a small amount of olive oil across the surface. You want the skillet to be hot but not smoking, so you can achieve that perfect crispy exterior on your Healthy Pumpkin Blossoms.
Step 4: Coat the Blossoms
Carefully hold each clean pumpkin blossom by its stem and dip it into the prepared batter. Ensure that each blossom is thoroughly coated, allowing the excess batter to drip off back into the bowl. This will help achieve a crunchy texture as they cook, making your Healthy Pumpkin Blossoms irresistible.
Step 5: Cook the Blossoms
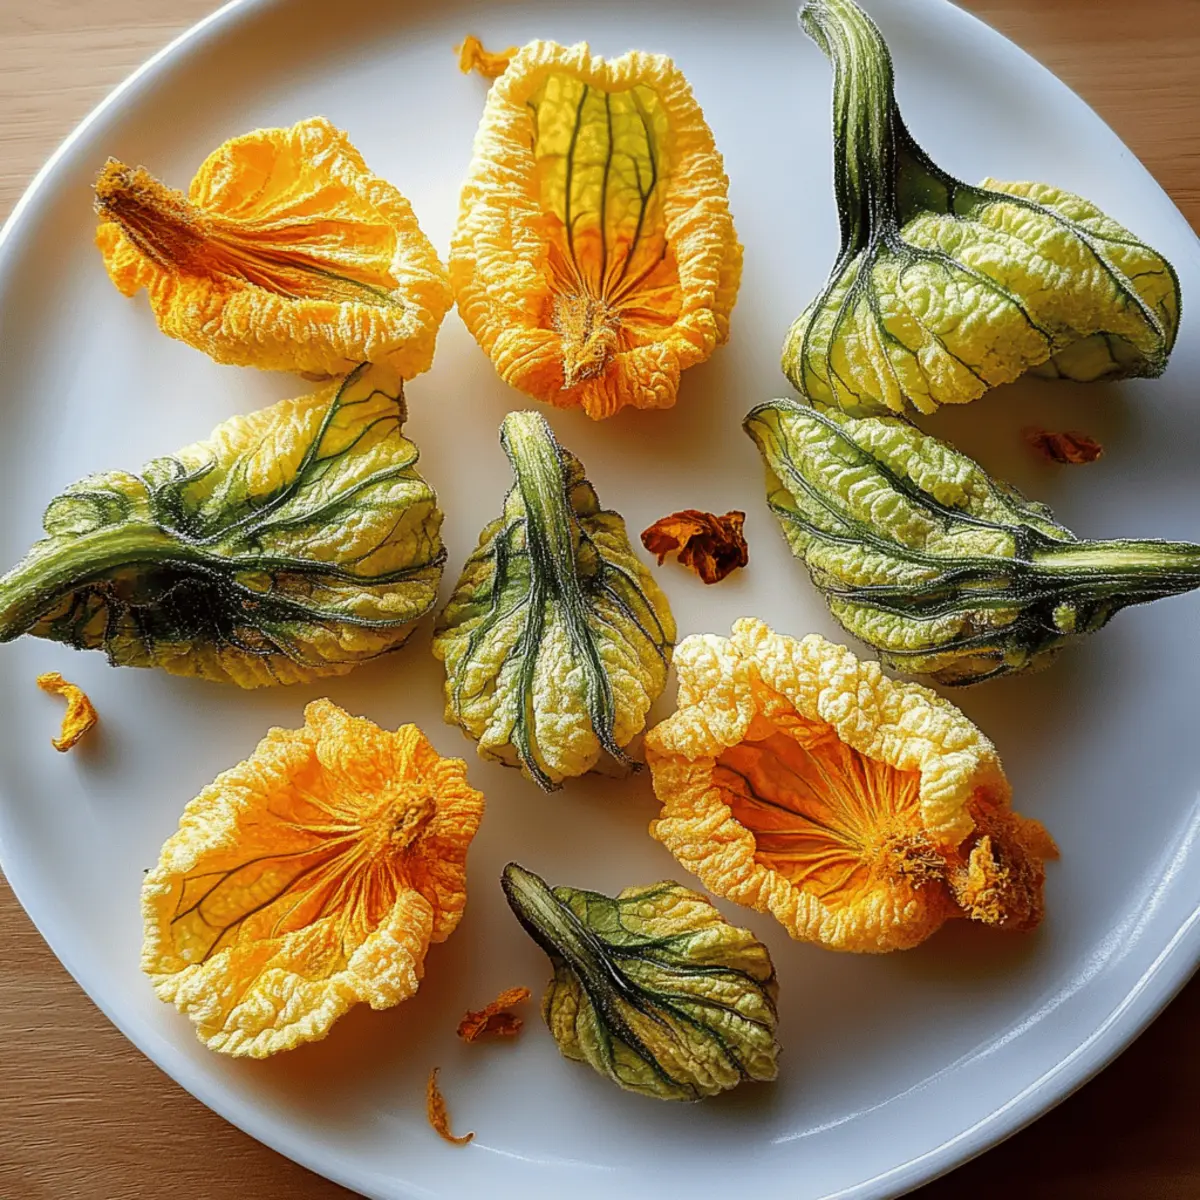
Place the batter-coated blossoms gently onto the hot skillet, making sure not to overcrowd the pan. Cook them for about 3-4 minutes on each side, or until they turn golden brown and crispy. Flip them carefully using a spatula, keeping an eye out for that beautiful crispiness, which indicates they're ready to come off the heat.
Step 6: Drain and Serve
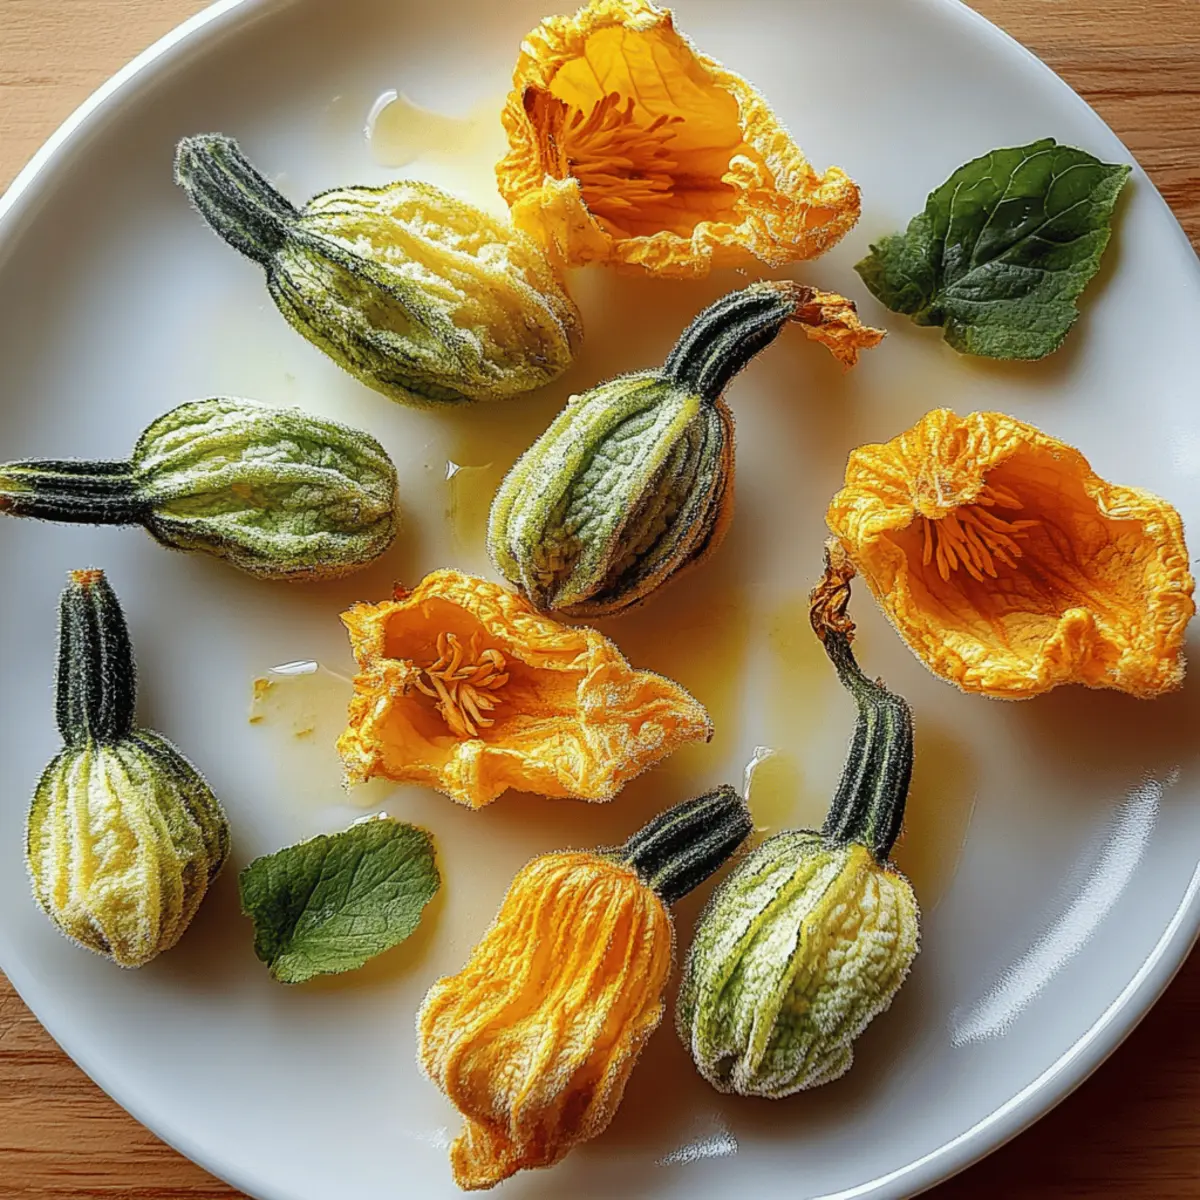
Once your Healthy Pumpkin Blossoms are golden and crispy, carefully remove them from the skillet and place them on a plate lined with paper towels to drain any excess oil. This step keeps them light and crunchy! Serve them warm with lemon wedges on the side for a zesty kick, and get ready to enjoy a deliciously unique dish.
Tips for the Best Healthy Pumpkin Blossoms
-
Freshness Matters: Use freshly picked pumpkin blossoms for the best flavor and texture. Wilting or damaged flowers can result in a less appetizing dish.
-
Batter Consistency: Make sure your batter is smooth and thick enough to coat the blossoms evenly. A lumpy batter will lead to uneven cooking and texture.
-
Don’t Overcrowd: When cooking, avoid overcrowding the skillet. Give each blossom enough room to crisp up nicely without steaming.
-
Watch the Heat: Maintain a medium heat to prevent burning the batter. Too high a temperature can cause the outside to burn while the inside remains uncooked.
-
Serve Immediately: Healthy Pumpkin Blossoms are best enjoyed fresh and hot. They tend to lose their crispness quickly, so serve them right after cooking for the best experience.
Healthy Pumpkin Blossoms Variations
Feel free to explore and customize these healthy pumpkin blossoms to create flavors that resonate with you!
-
Gluten-Free: Substitute chickpea flour with a gluten-free all-purpose blend for a tasty twist suitable for gluten-sensitive eaters.
-
Herb-Infused: Add fresh herbs such as basil or parsley to the batter for a fragrant and vibrant boost in flavor. Herbs not only elevate the taste but also add a burst of color!
-
Stuffed Blossoms: Fill each pumpkin blossom with a mixture of ricotta cheese, spinach, and herbs before dipping in batter. Your guests will be pleasantly surprised by this delightful surprise inside!
-
Spicy Kick: Increase the chili flakes to ½ teaspoon or add a dash of hot sauce to your batter for those who crave a little more heat. But, beware! This fiery update can take your dish to a whole new level of bold.
-
Cheesy Goodness: Fold some grated cheese, like mozzarella or parmesan, into the batter for an oozy, mouthwatering cheesy layer. Just imagine the melty goodness as you take that first bite!
-
Baked Version: For a lighter option, bake the blossoms in a preheated oven at 400°F (200°C) on a parchment-lined tray. Spray them lightly with olive oil and enjoy a healthier alternative without losing out on crunch.
-
Zesty Marinade: Marinate the blossoms in lemon juice and zest before battering for a bright, citrusy flavor boost. The added kick from the zest beautifully complements the dish.
-
Savory Dipping Sauce: Serve with a cilantro-lime yogurt or a tangy tahini sauce for an extra layer of flavor with every crispy bite. Dips make everything more fun, don't you think?
For more cooking inspiration, consider trying out a savory Pumpkin Pie or the cozy flavors of my Pasta Bake Pumpkin. Enjoy experimenting!
Make Ahead Options
These Healthy Pumpkin Blossoms are perfect for meal prep! You can prepare the batter up to 24 hours in advance by mixing together the chickpea flour, water, olive oil, and seasonings, then storing it in an airtight container in the refrigerator. To maintain the batter's quality, give it a quick whisk before using, as it may thicken slightly. You can also clean and prep the pumpkin blossoms a day before (just store them in a sealed container lined with a damp paper towel to keep them fresh). When you’re ready to cook, simply dip the blossoms in the batter and fry them for a couple of minutes per side, achieving that crispy texture that’s just as delicious as if you made them fresh!
Storage Tips for Healthy Pumpkin Blossoms
Fridge: Store leftover cooked Healthy Pumpkin Blossoms in an airtight container for up to 2 days. This helps retain their flavor and prevents them from drying out.
Reheating: When ready to enjoy, reheat the blossoms in a preheated oven at 350°F (175°C) for about 10-15 minutes. This will help restore their delicious crispiness for a satisfying bite.
Freezer: If you'd like to freeze them, do so before cooking! Place the dipped (but uncooked) blossoms on a baking sheet to freeze individually, then transfer them to a sealed bag for up to 2 months. Cook directly from frozen, adding a couple of extra minutes to the cooking time.
What to Serve with Healthy Pumpkin Blossoms?
Elevate your dining experience with complementary flavors and textures that harmonize beautifully with your delightful blossoms.
-
Creamy Vegan Dip: A cashew-based herb dip offers a luscious texture and coolness, enhancing the crispy exterior of the blossoms.
-
Fresh Tomato Salsa: This zesty salsa brings a burst of freshness, perfectly balancing the rich, savory notes of the batter.
-
Herbed Quinoa Salad: Light, fluffy quinoa mixed with fresh herbs adds a nutty flavor and nutritional boost that pairs wonderfully with the pumpkin blossoms.
-
Grilled Vegetables: Charred veggies like zucchini and bell peppers contribute texture and sweetness, making each bite a vibrant delight.
-
Light Green Salad: A simple salad with mixed greens, avocado, and a citrus vinaigrette adds a refreshing crunch that complements the crispy batter.
-
Chilled Sparkling Water: A glass of bubbly water with lemon or mint accents enhances the refreshing experience, making it a perfect choice for warm days.
-
Chardonnay or Sauvignon Blanc: A chilled white wine cuts through the richness, adding elegance to your meal while enhancing the flavors of the pumpkin blossoms.
-
Coconut Sorbet: For dessert, a light coconut sorbet offers a sweet, refreshing finish, leaving your palate delighted after the crispy treat.
Healthy Pumpkin Blossoms Recipe FAQs
How do I choose the best pumpkin blossoms?
Absolutely! When selecting pumpkin blossoms, look for those that are vibrant in color and not wilted or damaged. Fresh blossoms should feel firm and have no dark spots or browning. Try to pick them in the morning when they are fully open, as this is when they are at their freshest and most flavorful.
How should I store leftover Healthy Pumpkin Blossoms?
To keep your leftovers fresh, store the cooked Healthy Pumpkin Blossoms in an airtight container in the fridge for up to 2 days. Make sure to place a paper towel in the container to absorb any moisture, helping retain their crispiness. When you're ready to enjoy them again, simply reheat in a preheated oven at 350°F (175°C) for about 10-15 minutes.
Can I freeze Healthy Pumpkin Blossoms?
Yes, you can freeze them, but it's best to do so before cooking! After dipping the pumpkin blossoms in the batter, lay them flat on a baking sheet lined with parchment paper and freeze until solid. Once frozen, transfer them to a resealable freezer bag, where they can be stored for up to 2 months. To cook from frozen, simply increase the cooking time by a few minutes until they are golden brown and crispy.
What if my batter is too thick or too thin?
No worries! If your batter is too thick, simply add a tiny bit of water—around a tablespoon at a time—until you reach a smooth, pourable consistency. If it’s too thin, sprinkle in a little more chickpea flour until you achieve that thick pancake-like batter. This will help ensure that the blossoms are equally coated for that perfect crispy texture!
Are pumpkin blossoms safe for pets?
Pumpkin blossoms are generally safe for pets, but always take care to introduce any new food in moderation. Keep in mind that while they’re non-toxic, the batter and any additional spices may not be suitable for all animals. If your pet has any specific allergies or dietary restrictions, it’s always best to consult with your veterinarian before sharing any human food.
Can I adapt this recipe for dietary restrictions?
Very much so! You can easily make the Healthy Pumpkin Blossoms gluten-free by ensuring your chickpea flour is certified gluten-free. Additionally, those who follow a low-sodium diet can reduce the salt in the batter or omit it completely for a healthier alternative. Feel free to substitute spices based on your preference, or omit chili flakes for a milder flavor!
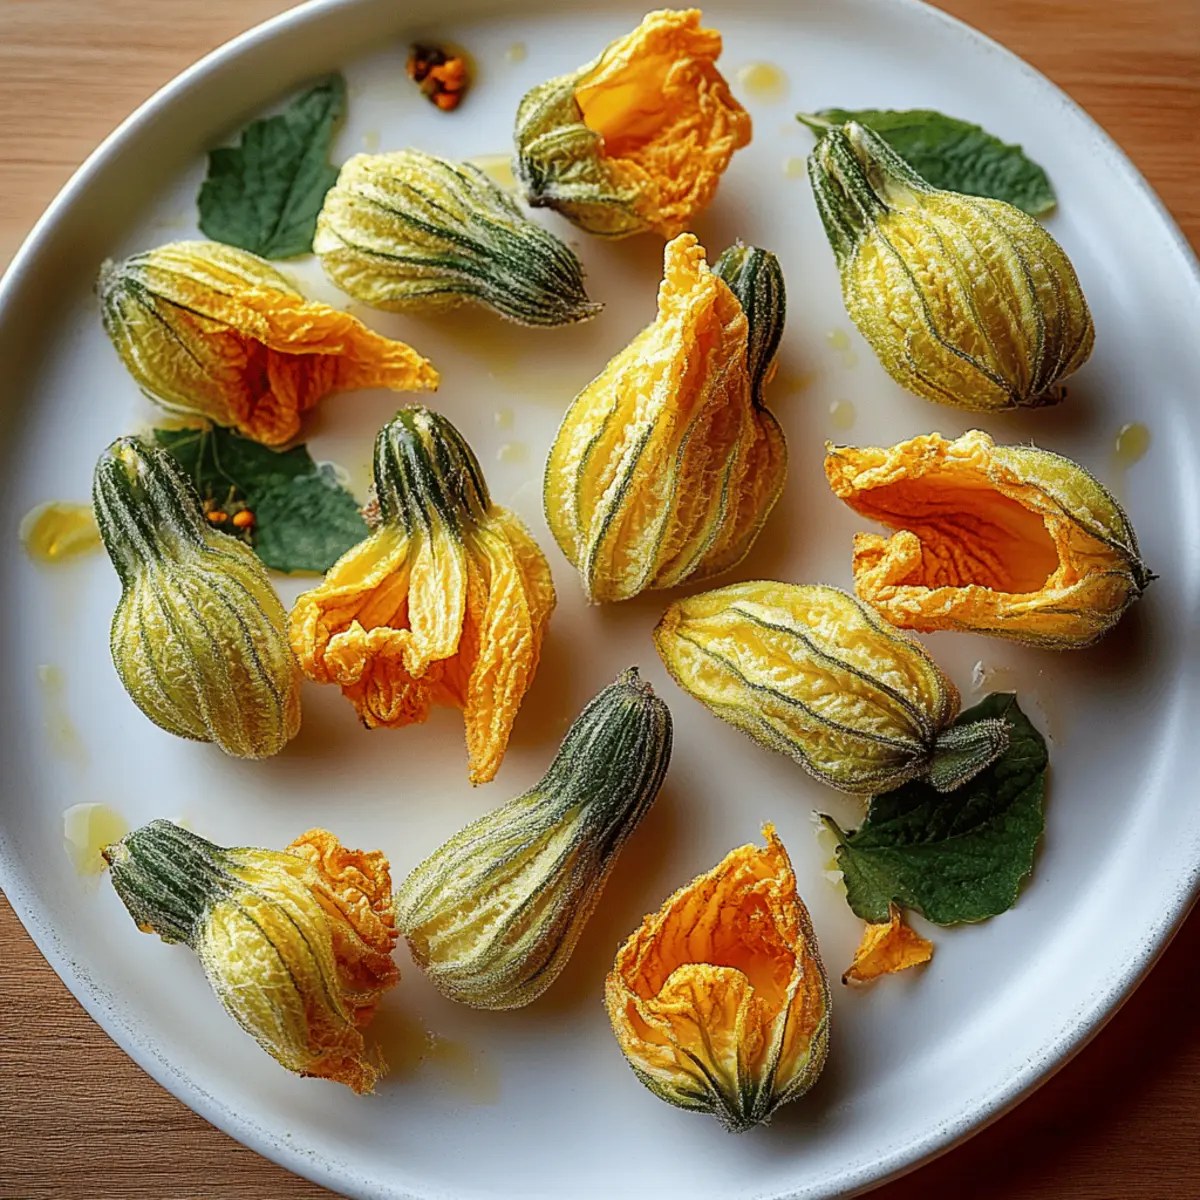
Crispy Healthy Pumpkin Blossoms with Zesty Lemon Twist
Ingredients
Equipment
Method
- Clean the Blossoms: Gently wash 12 fresh pumpkin blossoms under cold water. Pat them dry and remove the stamens.
- Prepare the Batter: In a mixing bowl, combine chickpea flour, water, olive oil, garlic powder, onion powder, salt, black pepper, and chili flakes. Whisk until smooth.
- Preheat the Skillet: Preheat a non-stick skillet over medium heat and lightly grease it with olive oil.
- Coat the Blossoms: Dip each blossom into the batter ensuring it's thoroughly coated.
- Cook the Blossoms: Place the coated blossoms in the skillet and cook for 3-4 minutes on each side until golden brown.
- Drain and Serve: Remove the blossoms from skillet, drain on paper towels, and serve warm with lemon wedges.

Leave a Reply