As I rummaged through my kitchen one evening, I stumbled upon a quirky silicone skull mold I had tucked away—an unsuspecting treasure just waiting to be brought to life. I couldn't resist the idea of turning simple mini mozzarella balls into a spooky and fun party treat: Mozzarella Cheese Skulls. This recipe is not just about creativity; it's a quick and delightful way to elevate your snacking game while impressing friends and family with an eye-catching presentation. With only a handful of ingredients and a mere 10 minutes in the oven, you’ll have a frightfully fun appetizer that is sure to be a hit at any gathering. Who knew cheese could be this entertaining? Are you ready to transform your next get-together into a cheesy adventure?
Why Are Mozzarella Cheese Skulls So Fun?
Unique Presentation: Transform ordinary cheese into spooky skulls that are perfect for Halloween or any fun gathering.
Quick and Easy: With just 10 minutes of cooking, this recipe is a true time-saver for busy cooks.
Crowd-Pleasing Snack: Kids and adults alike will be enchanted by these playful bites, making them a must-have for parties.
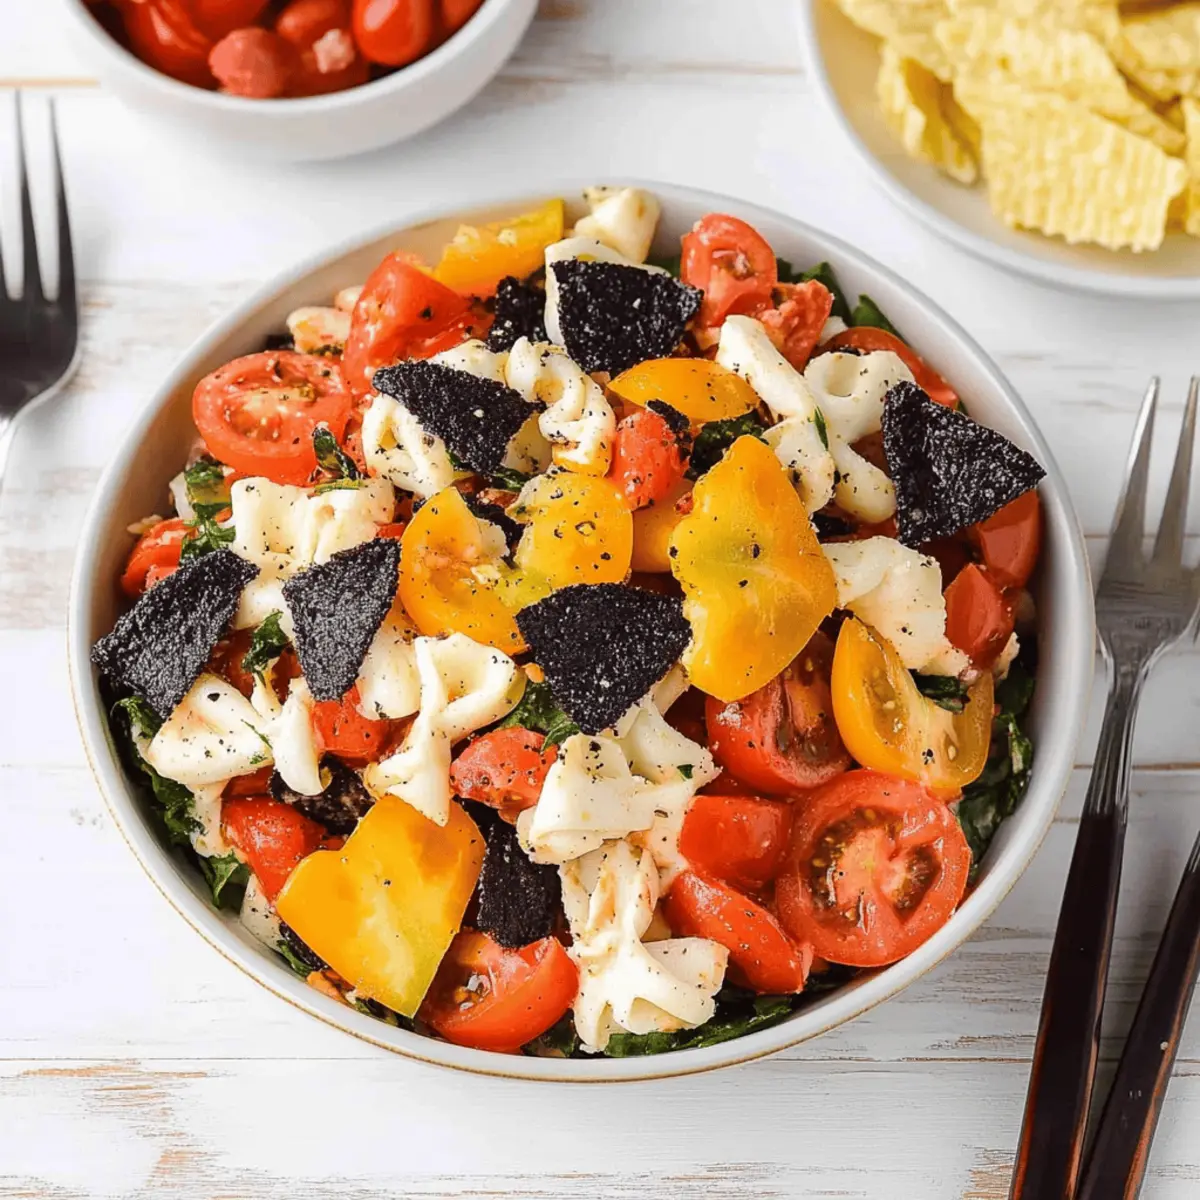
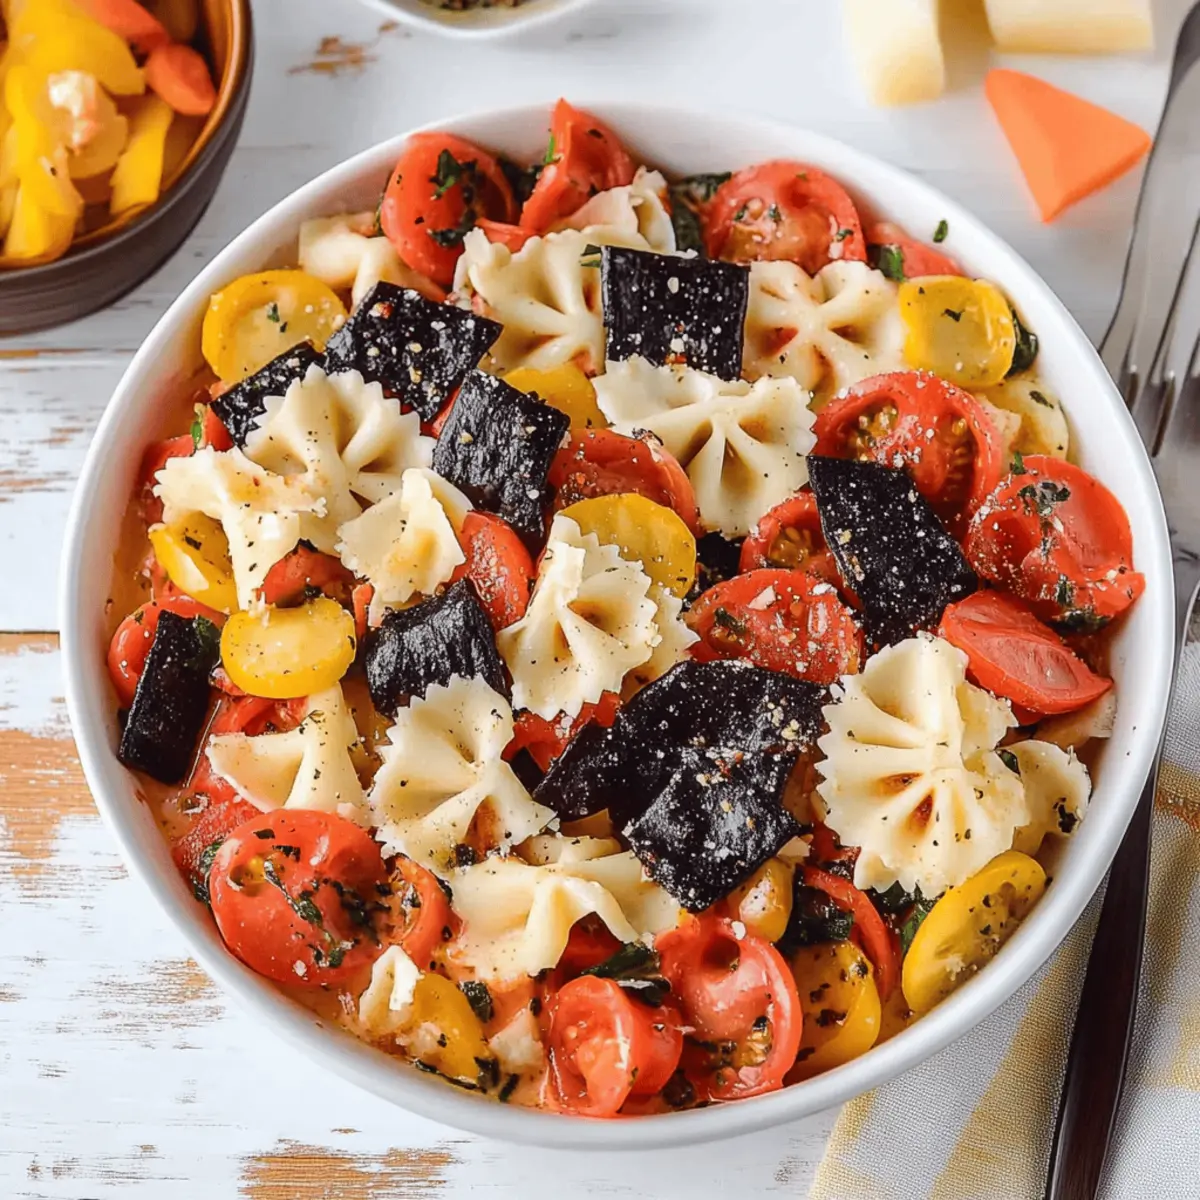
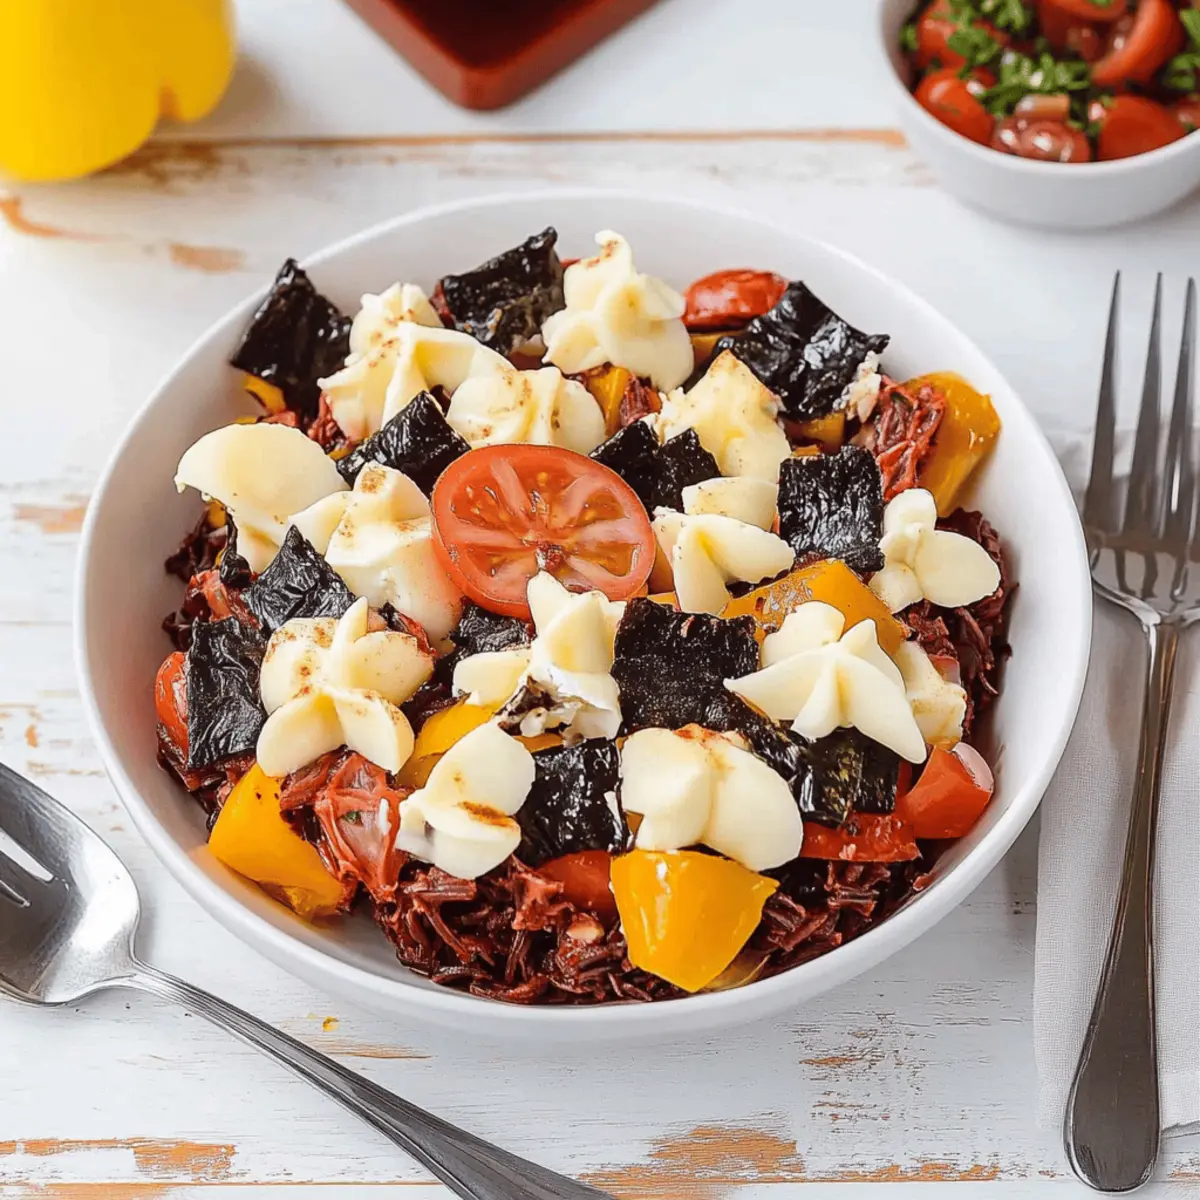
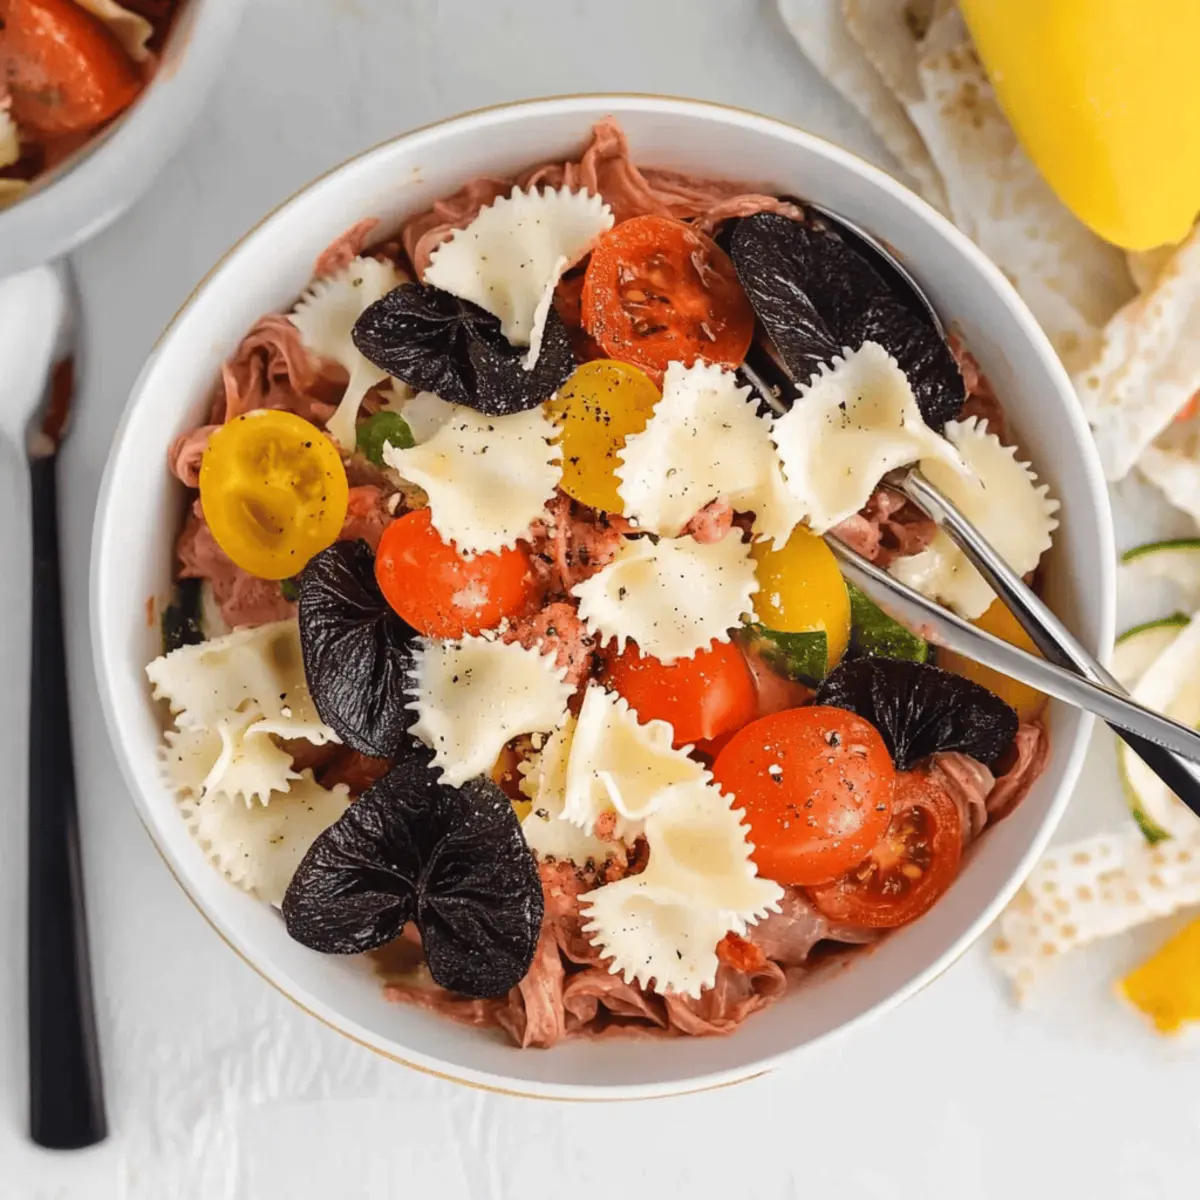
Versatile Usage: Serve them as appetizers, mix them into salads, or add them to cheese boards for an eye-catching touch.
Minimal Ingredients: Using only mini mozzarella balls and a silicone mold, you can whip these up in no time—nobody will believe how easy they are! For more fun and spooky ideas, check out my post on easy Halloween treats that will spice up your festivities!
Mozzarella Cheese Skulls Ingredients
For the Skulls
- Mini mozzarella balls (ciliegine) – These bite-sized treasures become delightfully spooky when molded!
- Silicone skull mold – Essential for creating that fun skull shape; it’s easy to use and makes unmolding a breeze!
Embrace the creativity of crafting your own Mozzarella Cheese Skulls with these simple ingredients that guarantee both fun and flavor!
Step‑by‑Step Instructions for Mozzarella Cheese Skulls
Step 1: Preheat and Prepare
Begin by preheating your oven to 350°F (175°C). While it warms up, take each mini mozzarella ball and gently blot them with a paper towel to remove excess moisture. This will ensure a better texture in your final Mozzarella Cheese Skulls. Once done, place one mozzarella ball into each cavity of your silicone skull mold, ready for baking.
Step 2: Bake the Mozzarella
Now that your mozzarella balls are in the mold, carefully place it in the preheated oven. Bake them for 8 to 10 minutes, observing as they soften and begin to slightly spread. You want them warm and just soft enough for molding, but be careful not to overbake them. This step is crucial for achieving the perfect shape for your spooky Mozzarella Cheese Skulls.
Step 3: Mold and Blot
After baking, remove the mold from the oven and grab a spoon. Gently press the softened mozzarella into the shape of the skull mold using the back of the spoon. Take care to blot off any additional moisture that may have formed during baking. This step ensures that your Mozzarella Cheese Skulls hold their shape beautifully.
Step 4: Cool and Unmold
Finally, let the molded mozzarella cool down in the silicone mold for about 10 minutes in the refrigerator. This cooling period helps the cheese firm up, making it easier to unmold. Once cooled, gently press from the bottom of the mold or flex the silicone to release your delightful Mozzarella Cheese Skulls, and there you have it—a fun and spooky treat!
How to Store and Freeze Mozzarella Cheese Skulls
Fridge: Store leftover Mozzarella Cheese Skulls in an airtight container in the refrigerator for up to 3 days to maintain their freshness and flavor.
Freezer: If you’d like to make these spooky snacks ahead of time, freeze them in a single layer on a baking sheet for about an hour, then transfer to a freezer-safe bag or container for up to 2 months.
Reheating: To enjoy your frozen Mozzarella Cheese Skulls, simply thaw them in the fridge overnight and warm in the oven at 350°F for 5-7 minutes before serving.
Mozzarella Cheese Skulls Variations
Customize your Mozzarella Cheese Skulls to make them truly your own—let's get creative in the kitchen!
-
Herbed Twist: Sprinkle dried herbs such as oregano or basil on mozzarella before baking for a flavorful boost. These fragrant additions will enhance the cheesy goodness and give each skull a delightful twist that everyone will love.
-
Spicy Kick: Add red pepper flakes to the molten cheese for a spicy version, perfect for heat lovers. The subtle heat complements the creamy mozzarella beautifully, creating an exciting contrast that keeps your guests coming back for more!
-
Colorful Skulls: Paint your mozzarella with edible food coloring before baking for a vibrant display. Use color gels to create stunning shades and add a festive charm to your skulls, making them even more enticing for Halloween parties or themed gatherings.
-
Vegetarian Delights: Layer in some roasted bell peppers or olives for added texture and flavor. These colorful veggies not only enhance the appearance but also provide a savory crunch that contrasts beautifully with the creamy cheese.
-
Gourmet Grains: Serve atop a bed of flavored couscous or quinoa for a complete dish. This wholesome addition rounds out your snack into a satisfying appetizer, transforming your fun treats into a gourmet delight.
-
Cheese Medley: Combine different cheese types, like feta or pepper jack, for interesting flavors. Mixing textures will make your Mozzarella Cheese Skulls an unforgettable sensation that will amaze everyone at your gathering.
-
Sweet Skulls: Drizzle a bit of honey or fig jam over the cooled skulls for a surprising sweet-and-salty combo. This unexpected twist will add a delicious contrast that will make your guests wonder what your secret ingredient is!
-
Dipping Options: Serve with various dips like marinara, pesto, or tzatziki for an interactive snack experience. Guests will delight in dipping each skull and tasting the melty goodness with these fabulous accompaniments.
For more exciting ways to enhance your dishes, don’t miss my blog on stylish cheese board arrangements or check out playful Halloween snacks to impress even the pickiest eaters!
Expert Tips for Mozzarella Cheese Skulls
- Proper Moisture Management: Blotting the mozzarella balls is key. Excess moisture can prevent them from taking the skull shape properly during baking.
- Watch the Timer: Keep a close eye on the cheese while it bakes. Overbaking can lead to rubbery textures instead of the soft, moldable cheese we want for these Mozzarella Cheese Skulls.
- Use Quality Ingredients: Selecting fresh, high-quality mozzarella will enhance the flavor and texture, making your spooky snacks even more delightful.
- Flex Your Mold: When unmolding, gently flex the silicone mold. This helps the cheese release easily without losing its shape.
- Experiment with Flavors: Feel free to sprinkle herbs or spices onto the mozzarella before baking to add an extra layer of flavor to your Mozzarella Cheese Skulls!
What to Serve with Mozzarella Cheese Skulls?
Looking to create a complete and captivating spread that pairs beautifully with these fun and spooky bites?
- Garlic Bread: The warm, buttery garlic flavor complements the cheesy skulls perfectly while providing a satisfying crunch.
- Mixed Green Salad: A light, fresh salad with a tangy vinaigrette adds balance, cutting through the richness of the cheese.
- Spicy Marinara Sauce: Serve these mozzarella delights with a rich, zesty marinara for a fun dipping experience that kids will love.
- Stuffed Peppers: Colorful stuffed peppers bring a hearty, flavorful side that matches the playful theme and adds a pop of nutrition.
- Olive Tapenade: This briny, savory spread enhances the cheesy flavor of the skulls, inviting guests to explore delicious contrasts.
- Apple Slices with Honey: For dessert, sweet apple slices drizzled with honey offer a refreshing and light conclusion to your feast.
- Sparkling Cider: This bubbly drink elevates the atmosphere with a fun, festive flair that pairs wonderfully with the snack's playful spirit.
- Roasted Vegetables: A medley of roasted veggies provides vibrant colors and flavors that beautifully complement the playful theme of your table.
- Cheese Platter: An assortment of additional cheeses creates a delightful charcuterie experience, perfect for pairing with your spooky creations.
Make Ahead Options
These Mozzarella Cheese Skulls are perfect for meal prep enthusiasts! You can prepare the mozzarella balls in advance by placing them in the silicone skull mold and keeping them in the refrigerator for up to 24 hours before baking. Simply follow the initial steps of blotting the cheese and molding them into shape, then cover the mold tightly to prevent moisture loss. When you’re ready to enjoy these spooky snacks, preheat your oven and bake as directed. This way, you’ll save valuable time on busy days while still serving an impressively fun treat that tastes just as delicious!
Mozzarella Cheese Skulls Recipe FAQs
How do I select the right mozzarella balls?
Absolutely! Look for fresh mini mozzarella balls (ciliegine) that are firm and free from dark spots or excess moisture. If you're at the store, check the expiration date and choose the ones with a bounce—they'll yield a better texture in your Mozzarella Cheese Skulls.
What’s the best way to store leftover Mozzarella Cheese Skulls?
To keep your delicious Mozzarella Cheese Skulls fresh, place them in an airtight container in the refrigerator. They’ll stay tasty for up to 3 days. Just make sure to separate layers with parchment paper if you stack them to prevent sticking.
Can I freeze Mozzarella Cheese Skulls? How?
Definitely! Freezing is a fantastic option. First, lay your Mozzarella Cheese Skulls in a single layer on a baking sheet, then pop them in the freezer for about an hour. Once they’re frozen solid, transfer them to a freezer-safe bag or container—make sure to label it! They can stay good for up to 2 months.
What’s the best way to reheat frozen Mozzarella Cheese Skulls?
To reheat, simply thaw the frozen Mozzarella Cheese Skulls in the fridge overnight. When you're ready to enjoy them, preheat your oven to 350°F (175°C) and warm the cheese skulls for about 5-7 minutes until they're heated through and oozy again.
Are Mozzarella Cheese Skulls safe for pets?
While mozzarella isn’t toxic to pets, it's important to remember that certain cheeses may cause digestive upset. It's best to avoid giving your furry friends these Mozzarella Cheese Skulls, especially since the added ingredients or seasonings may not be suitable for them.
Can I use different cheese varieties?
Very! If you want to experiment, feel free to mix in other cheeses like cheddar or gouda. However, keep in mind that the texture may vary. Use grated varieties instead for better melting properties, and ensure they’re still moist enough to mold in the skull shape!
Craft Spooky Mozzarella Cheese Skulls for Fun Snacks
Ingredients
Equipment
Method
- Preheat your oven to 350°F (175°C) and blot mini mozzarella balls with a paper towel to remove excess moisture. Place them in the silicone skull mold.
- Bake the mozzarella in the preheated oven for 8 to 10 minutes until soft but not overbaked.
- Press the softened mozzarella into the skull mold using the back of a spoon, blotting off any additional moisture.
- Cool the molded mozzarella in the refrigerator for about 10 minutes before unmolding.


Leave a Reply