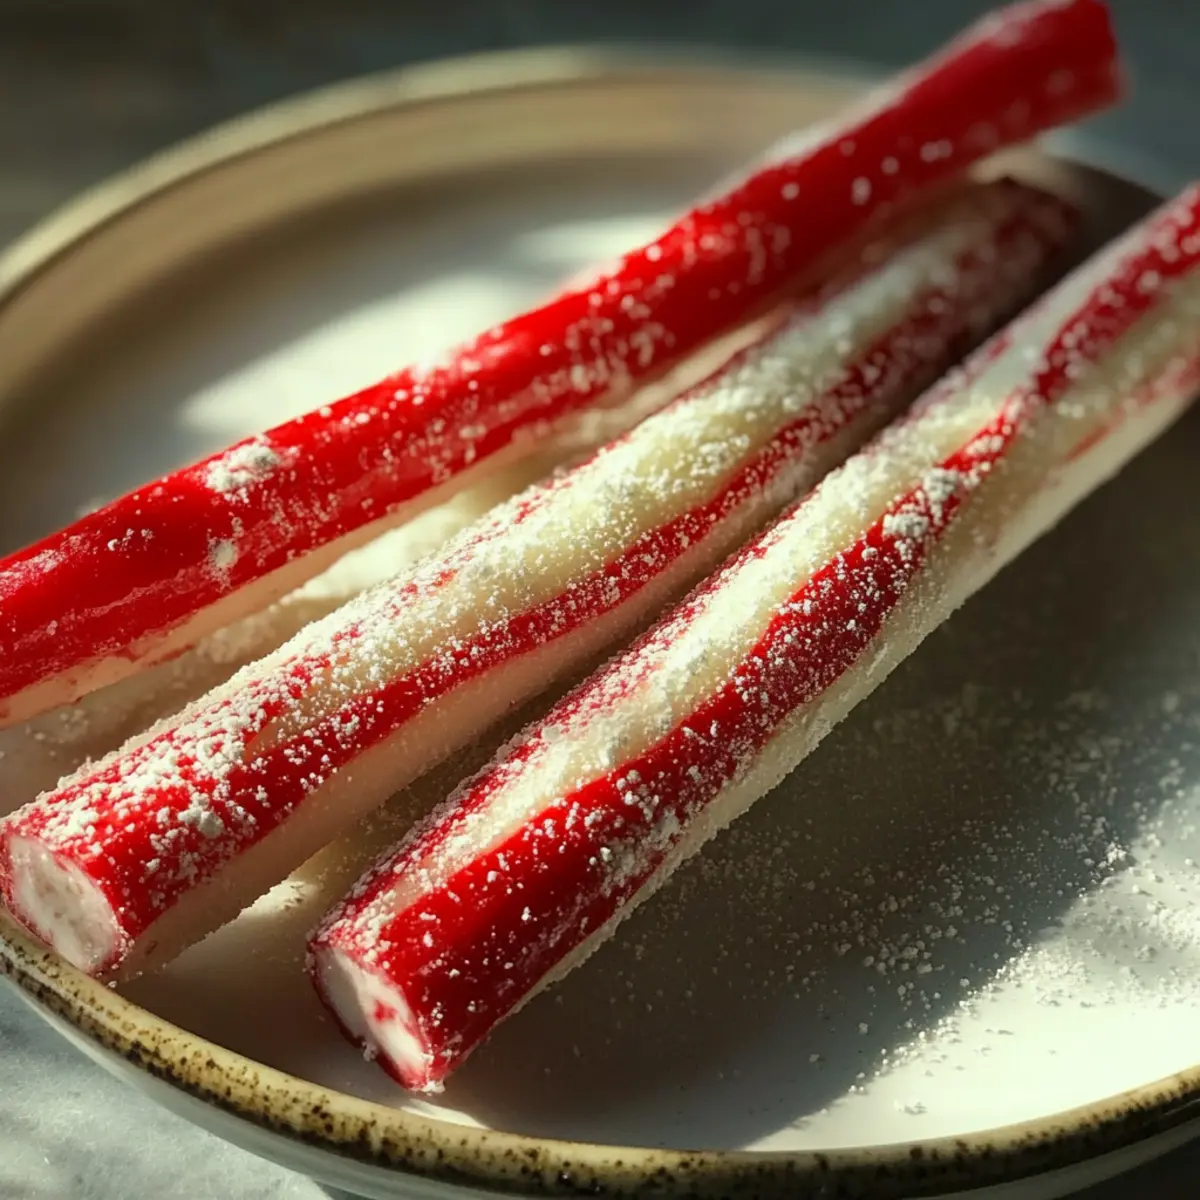
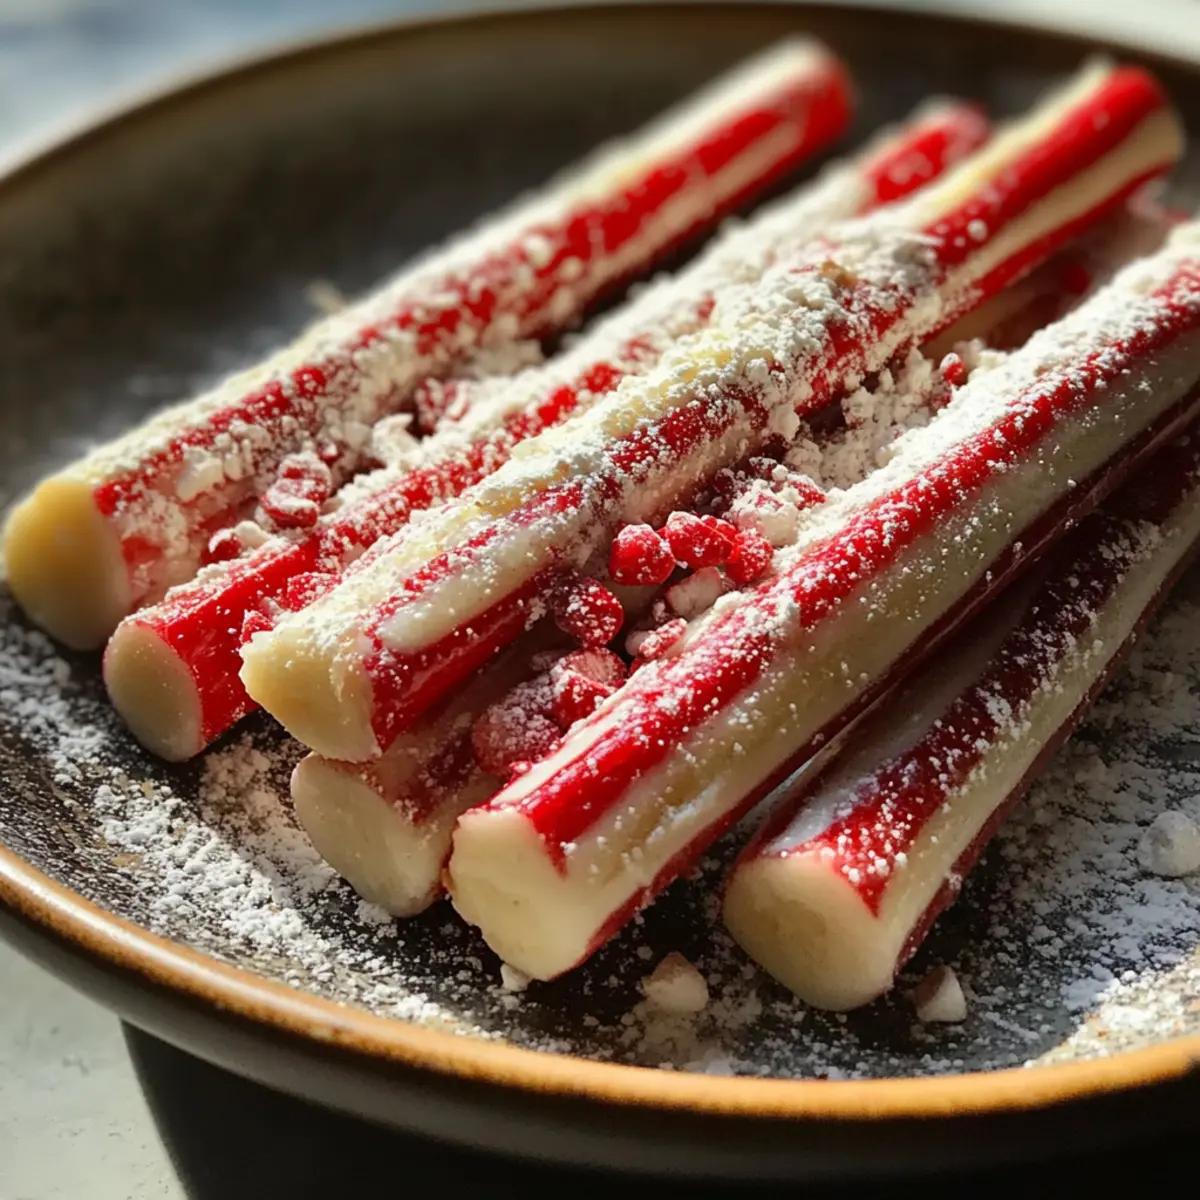
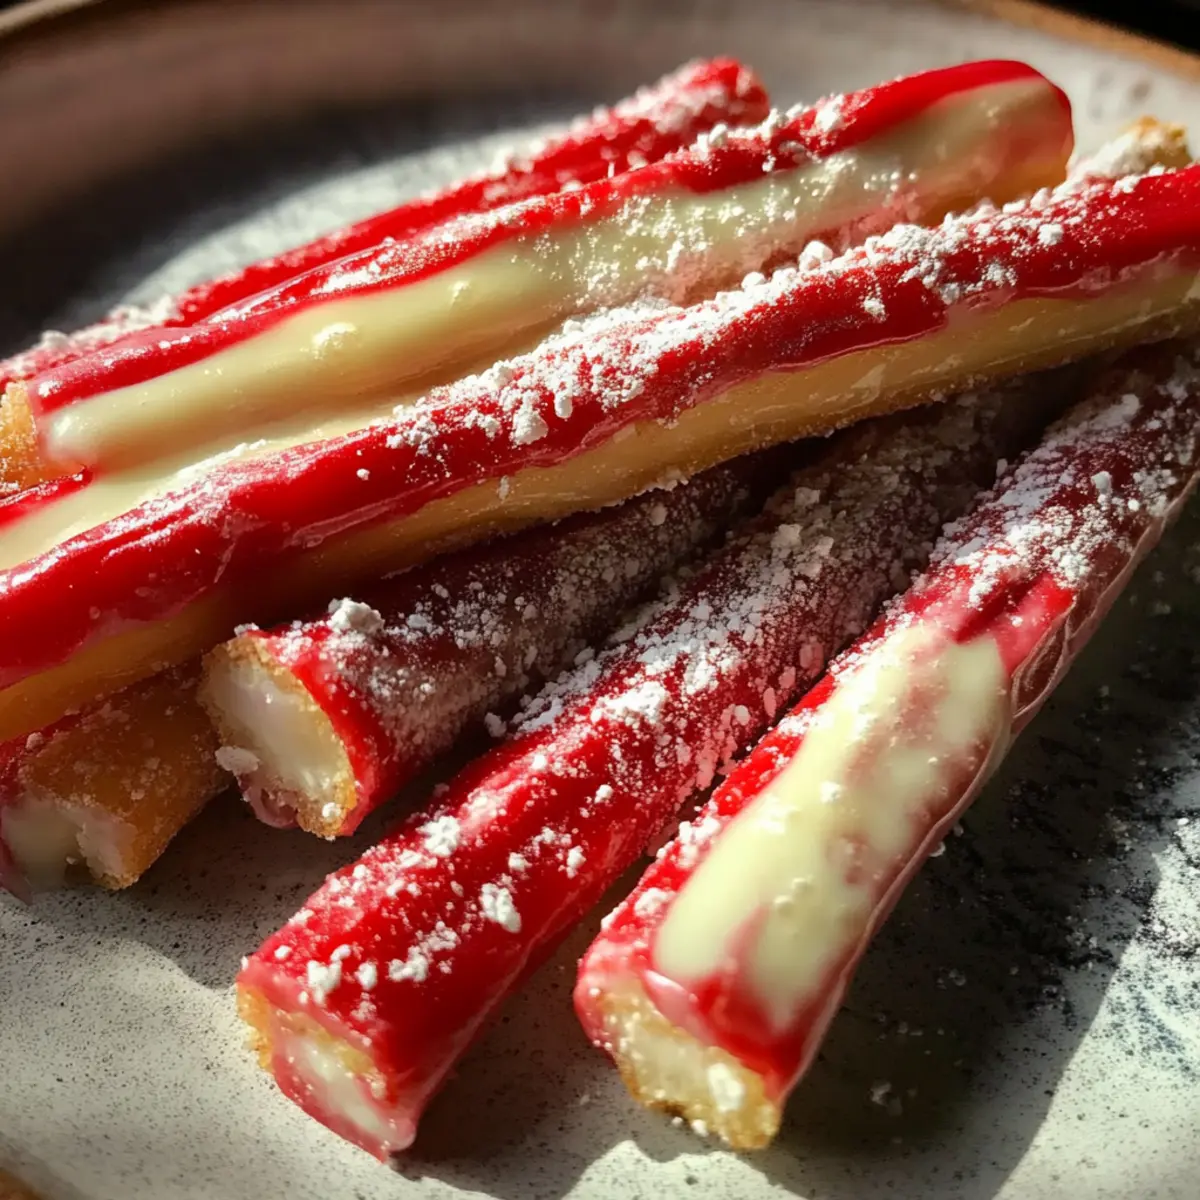
As I stood in the kitchen, the sweet scent of melting sugar filled the air, instantly transporting me to those cherished holiday moments from my childhood. One of my favorite seasonal treats, Christmas Peppermint Sticks, brings an undeniable joy, and the best part? Making them at home is a delightful experience that’s both fun and surprisingly easy! With just a few ingredients, those colorful swirls of peppermint can become a centerpiece for your holiday sweets or a personal indulgence. Not only do these homemade sticks serve as a charming gift or party favor, but they also evoke the spirit of the season with every bite. Ready to conjure up a bit of magic in your kitchen? Let’s dive into the easy steps for crafting these festive delights!
Why make your own Christmas Peppermint Sticks?
Joyful Tradition: Crafting your own peppermint sticks brings nostalgia and warmth to the holiday season. Simple Ingredients: With just a handful of pantry staples, you can create these delightful treats. Endless Customization: Play with colors and shapes to make each batch uniquely yours. Perfect Gifts: Share homemade sweet treats that will impress friends and family, or keep them all for yourself! Fun to Make: Involve the kids for a hands-on holiday experience that promises laughter and memories. Embrace the spirit of the season with every colorful twist and turn!
Christmas Peppermint Sticks Ingredients
For the Candy Mixture
• Granulated sugar – This is the main ingredient that creates the base for your delicious Christmas Peppermint Sticks.
• Light corn syrup – It helps to give the candy its smooth texture and prevents crystallization.
• Water – This is essential for dissolving the sugar so your mixture can come together easily.
For Flavor and Color
• Peppermint extract – Adds that classic cool, minty flavor that makes these sticks oh-so-special.
• Red food coloring – This is used to give one half of your candy that festive holiday hue!
• White food coloring – Helps maintain a vibrant contrast against the red for stunning visual appeal.
For Dusting
• Powdered sugar – A light dusting on your work surface prevents your candy from sticking, ensuring it looks pristine.
Now, with these Christmas Peppermint Sticks ingredients in hand, you're all set to create a batch of joy and sweetness that will fill your home with holiday spirit!
Step‑by‑Step Instructions for Christmas Peppermint Sticks
Step 1: Prepare Your Surface
Begin by preparing a clean surface for your Christmas Peppermint Sticks. Dust it lightly with powdered sugar to create a non-stick workspace for your candy. This step is essential to ensure that your sticks come off easily once cooled, so make sure the surface is fully covered.
Step 2: Combine Ingredients
In a medium saucepan, combine 2 cups of granulated sugar, ½ cup of light corn syrup, and ½ cup of water. Stir the mixture over medium heat until the sugar has completely dissolved, which should take about 5 minutes. Keep an eye on the bubbling mixture as it transforms into a syrupy consistency.
Step 3: Bring to a Boil
Once the sugar is dissolved, stop stirring and bring the mixture to a boil. Use a candy thermometer and monitor the temperature closely; you want it to reach 260°F, the hard-ball stage. This step can take about 10 minutes, and you'll see the mixture become a clear syrup.
Step 4: Let it Rest
Carefully remove the saucepan from the heat and let it sit for about 5 minutes without stirring. During this time, the bubbling will subside, and the mixture will become slightly firmer as it begins to cool.
Step 5: Add Peppermint Extract
After letting it rest, stir in 1 teaspoon of peppermint extract. Be cautious as the mixture may bubble up significantly upon contact with the extract. This step is where your Christmas Peppermint Sticks get their delightful flavor that fills your kitchen with a festive aroma.
Step 6: Divide and Color
Divide the candy mixture evenly into two bowls. Add ¼ teaspoon of red food coloring to one bowl and ¼ teaspoon of white food coloring to the other. Stir each mixture until the colors are fully incorporated, creating a vibrant contrast that will make your peppermint sticks visually stunning.
Step 7: Cool the Mixture
Allow the candy mixtures to cool for about 10-15 minutes until they are safe to handle. At this stage, they should be pliable but not too hot. This is crucial for the next steps, where you will shape the candy into delightful peppermint sticks.
Step 8: Prepare to Shape
Lightly grease your hands with vegetable oil to prevent sticking. Take one color of the cooled candy mixture and start to stretch and pull it gently until it becomes glossy and smooth. Repeat this process with the other color, ensuring both mixtures are equally prepared for shaping.
Step 9: Twist the Colors
Begin twisting the two colors together by rolling them into ropes. Alternating between red and white, you’ll create lovely swirls. This is where the fun happens; let your creativity flow as you form these colorful ropes that will adorn your Christmas Peppermint Sticks!
Step 10: Cut into Pieces
Once you have your twisted ropes, cut them into 6-inch pieces. As you cut, you can pinch the ends to create a hook shape for your peppermint sticks if desired. This playful shaping adds a charming touch to your homemade treats.
Step 11: Cool Completely
Carefully place the peppermint sticks on the prepared surface to cool completely for about 30 minutes. During this time, they will harden into the perfect shape, ready for gifting or enjoying as a sweet seasonal treat.
Step 12: Final Touches
Once the peppermint sticks have completely cooled, sprinkle additional powdered sugar over them to prevent sticking. This final touch not only keeps them looking pristine but also enhances their sweet, festive appeal, making your Christmas Peppermint Sticks irresistible.

What to Serve with Christmas Peppermint Sticks?
Elevate your holiday treat experience with these delightful pairings that enhance the joy of your homemade creations.
-
Rich Hot Chocolate: The creamy, rich cocoa perfectly complements the refreshing peppermint, creating a classic winter delight. Nothing warms the soul quite like a cozy mug alongside these candy treats.
-
Gingerbread Cookies: With their spicy aroma and sweet edges, these cookies echo the festive spirit and balance the cool minty flavor of peppermint sticks beautifully.
-
Vanilla Ice Cream: This simple yet indulgent dessert pairs wonderfully with the sticks, offering a creamy contrast that melts in your mouth. Drizzle a bit of chocolate sauce for an extra touch of decadence.
-
Festive Fruit Salad: A mix of seasonal fruits like oranges, pomegranates, and apples adds a fresh, juicy contrast to the sugary sticks. This light option keeps things balanced and refreshing.
-
Spiced Cider: Warm, spiced apple cider fills the air with holiday fragrance, enhancing the peppermint flavor while providing a comforting drink to cozily sip.
-
Chocolate Dipped Pretzels: The crunch and saltiness of pretzels dipped in chocolate create a lovely contrast to the sweet peppermint, giving a delightful texture and flavor combination.
-
Eggnog: This rich, creamy holiday classic offers a luscious drink that warms the spirit and pairs perfectly with the coolness of your peppermint sticks for a festive treat.
-
Marshmallow Fluff: A dollop of sweet, fluffy marshmallow provides a fun and gooey complement to peppermint sticks, making for a nostalgic and playful pairing during the holidays.
How to Store and Freeze Christmas Peppermint Sticks
Room Temperature: Store your Christmas Peppermint Sticks in an airtight container at room temperature for up to 2 weeks to maintain their freshness and prevent sticking.
Fridge: If you live in a warm climate, keep them in the fridge for up to 1 month. Just remember to let them sit at room temperature for about 10 minutes before enjoying for the best texture.
Freezer: For longer storage, you can freeze the sticks in a freezer-safe bag for up to 3 months. Just make sure they're dusted with powdered sugar to prevent them from sticking together.
Reheating: When ready to enjoy, simply remove from the fridge or freezer and allow them to come to room temperature. There’s no need to reheat; just unwrap and savor the peppermint goodness!
Christmas Peppermint Sticks Variations
Feel free to play with flavors and colors while creating your Christmas Peppermint Sticks—they're your canvas of holiday cheer!
-
Dairy-Free: Substitute light corn syrup with agave syrup for a smooth texture without any dairy ingredients. This option retains that delightful sweetness while being entirely plant-based.
-
Bold Peppermint: Increase to 1.5 teaspoons of peppermint extract to elevate the minty flavor. This extra kick will leave your taste buds dancing with holiday spirit!
-
Chocolate Drizzle: Melt dark or white chocolate and drizzle it over your finished sticks for a decadent touch. Pairing peppermint with chocolate creates a delightful contrast that’s sure to impress.
-
Spicy Twist: Add a pinch of cayenne or chili powder to the candy mixture for a surprising heat. This unique blend brings an exciting twist to your traditional peppermint sticks!
-
Colorful Swirls: Use multiple colors of food coloring to create a rainbow effect in your sticks. The swirling hues will be a delightful visual treat, making them even more festive!
-
Nutty Flavor: Incorporate a dash of almond or hazelnut extract to add a savory note that complements the sweetness. This subtle flavor shift can transform your peppermint sticks into a gourmet delight.
-
Candy Cane Crumble Topping: Crush up candy canes and sprinkle them on the sticks before they cool completely. This adds an extra crunch while enhancing the peppermint flavor even further.
-
Fruit-Flavored: Swap out the peppermint extract for fruit extracts like strawberry or raspberry for a fruity variation. It’s a fun way to mix up the traditional flavors, perfect for adventurous taste buds!
By incorporating these variations, you can create a lineup of whimsical Christmas Peppermint Sticks that your friends and family will adore. Whether for gifts or as festive treats, there are endless ways to shape your holiday spirit!
Make Ahead Options
These Christmas Peppermint Sticks are perfect for busy holiday planning! You can prepare the candy mixture up to 24 hours in advance by following the first six steps and then refrigerating it in an airtight container. When you're ready to shape your sticks, simply let the mixture sit at room temperature for about 10-15 minutes until pliable. Additionally, if you want to make the sticks themselves ahead of time, they can be stored in a cool, dry place for up to 3 days. To maintain their quality, ensure they are well dusted with powdered sugar to prevent sticking. When it's time to serve or gift, simply enjoy these delightful treats just as delicious as the day you made them!
Helpful Tricks for Christmas Peppermint Sticks
-
Use a Candy Thermometer: Ensure accurate temperature measurement to achieve the perfect hard-ball stage at 260°F, preventing a sticky or overly hard candy.
-
Color Mixing Technique: Stir food coloring gently but thoroughly to guarantee even color distribution, creating strikingly beautiful Christmas Peppermint Sticks.
-
Cool Handling: Allow the candy to cool just enough before handling—approximately 10-15 minutes—so it's pliable yet cool enough to prevent burns.
-
Grease Your Hands: Lightly oil your hands before working with the candy to avoid sticking, making it easier to twist and shape your peppermint sticks.
-
Twist with Care: When intermingling colors, be gentle to maintain a marbled effect, which enhances the visual appeal of your homemade peppermint treats.
Christmas Peppermint Sticks Recipe FAQs
How do I select the right ingredients for making Christmas Peppermint Sticks?
Absolutely! For the best results, ensure your granulated sugar is fresh and not clumpy, as this can impact the final texture. Choose light corn syrup over dark syrup, as it provides a smoother finish. Always check the peppermint extract quality to ensure it has strong, natural flavor—your candy will taste all the better for it!
What is the best way to store Christmas Peppermint Sticks?
Very good question! The best way to store your Christmas Peppermint Sticks is in an airtight container at room temperature for about 2 weeks. However, if you’re in a warmer climate, keeping them in the fridge can help maintain their freshness for up to 1 month. Be sure to let them sit out for about 10 minutes before enjoying for the best texture!
Can Christmas Peppermint Sticks be frozen, and how do I do it?
Certainly! To freeze your sticks, place them in a freezer-safe bag, making sure they're dusted with powdered sugar to prevent them from sticking together. You can keep them in the freezer for up to 3 months. When you're ready to enjoy, take them out and let them come to room temperature—no need to reheat, just savor the peppermint goodness!
What should I do if my candy mixture crystallizes while cooking?
Don't worry, it happens to the best of us! If you notice your candy mixture crystallizing, it's important to avoid stirring once it begins to boil. If it has already crystallized, one trick is to add a small amount of water and gently reheat over low heat, stirring until it dissolves again. A clean saucepan and utensils can help minimize this issue.
Are Christmas Peppermint Sticks safe for pets or people with allergies?
Great concern! Generally, the ingredients in Christmas Peppermint Sticks are safe for humans, but be mindful of food coloring and any allergies in your household. Peppermint can be toxic to pets, especially dogs, so it’s best not to share these treats with your furry friends. If you have allergy concerns, consider using natural food colorings or skip them altogether for a simple white candy.
Craft Irresistible Christmas Peppermint Sticks at Home
Ingredients
Equipment
Method
- Prepare a clean surface for the peppermint sticks by dusting it lightly with powdered sugar.
- Combine 2 cups of granulated sugar, ½ cup of light corn syrup, and ½ cup of water in a medium saucepan.
- Bring the mixture to a boil until it reaches 260°F using a candy thermometer.
- Remove from heat and let the mixture rest for about 5 minutes.
- Stir in 1 teaspoon of peppermint extract carefully.
- Divide the candy mixture into two bowls and add food coloring to each.
- Allow the mixtures to cool for 10-15 minutes.
- Grease your hands and stretch each color until glossy.
- Twist the two colors together to form ropes.
- Cut the twisted ropes into 6-inch pieces.
- Place the sticks on the prepared surface to cool completely for about 30 minutes.
- Sprinkle additional powdered sugar over the sticks to prevent sticking.


Leave a Reply