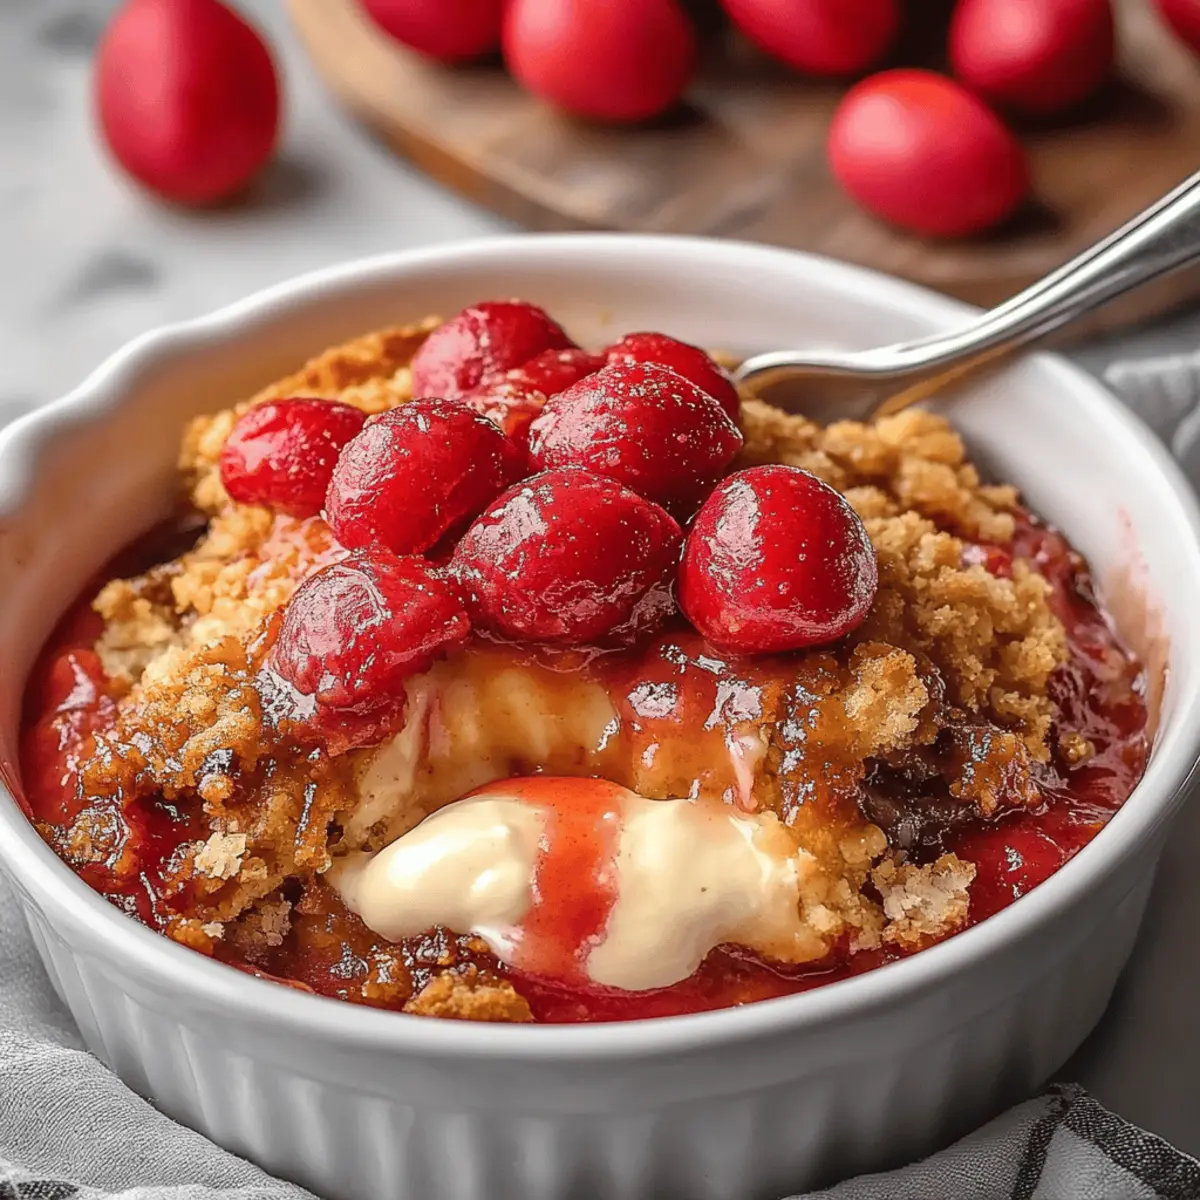
The sweet, warm aroma of cherry crumble wafted through my kitchen, instantly transporting me back to summer afternoons spent picking the juiciest cherries with my grandmother. This Homemade Cherry Crumble is not only a delightful rush of nostalgia but a versatile dessert that lets you swap in your favorite fruits as the seasons change. With quick prep time and gluten-free options available, this recipe fits perfectly into any busy schedule while still delivering that classic homemade comfort. Whether you're seeking a cozy dessert for family gatherings or a simple treat just for you, this crumble is sure to impress. Is there a fruit you’re dreaming of transforming into heavenly layers of buttery goodness? Let's dive in!
Why Is Cherry Crumble So Irresistible?
Nostalgic Comfort: Reminiscing about summer days, this cherry crumble captures the essence of homemade warmth.
Versatile Delight: Feel free to get creative! This recipe allows for various fruits, making every crumble uniquely delicious.
Quick Preparation: With just a 20-minute prep time, you can savor this delightful dessert without spending hours in the kitchen.
Gluten-Free Option: Don’t worry if you or your guests are gluten-sensitive; this crumble can easily adapt to accommodate everyone.
Crowd-Pleasing Flavor: Rich cherry flavor paired with a crunchy topping makes it a guaranteed hit at gatherings or a sweet treat for yourself! Give our Gluten-Free Cherry Crumble recipe a try for even more fulfilling options!
Ingredients
Cherry Crumble Ingredients
• Discover the essentials for a perfect Cherry Crumble!
For the Filling
- 21 oz cherry pie filling – this is the star of the dish, providing that deliciously sweet and tart flavor.
- 1 cup granulated sugar – balances the tartness of the cherries, but feel free to adjust to your taste!
- 3 tablespoons cornstarch – thickens the filling, ensuring it’s not too runny.
- 1 teaspoon lemon juice – adds a zing that brightens the cherry flavor.
- 1 teaspoon vanilla extract – enhances the overall sweetness and fragrance.
For the Crumble Topping
- 1 cup all-purpose flour – forms the base of the topping; for gluten-free, substitute with gluten-free flour.
- ½ cup rolled oats – adds texture and chewiness to the crumble.
- ½ cup brown sugar – gives a rich, molasses-like flavor that pairs beautifully with cherries.
- ½ teaspoon cinnamon – adds warmth and coziness, elevating every bite.
- ¼ teaspoon salt – balances the sweetness and enhances flavors.
- ½ cup cold cubed butter – provides that rich, crumbly texture; make sure it's cold for the best results!
With these simple ingredients, you’re just a few steps away from indulging in a heartwarming Cherry Crumble that will have everyone coming back for seconds!
Step‑by‑Step Instructions for Cherry Crumble
Step 1: Preheat and Prepare
Preheat your oven to 375°F (190°C) to create a warm baking environment for your cherry crumble. While the oven heats, lightly grease an 8x8-inch baking dish to ensure your delicious dessert won’t stick. This step is essential for achieving that perfect crispy topping as it bakes.
Step 2: Make the Cherry Filling
In a large mixing bowl, combine the cherry pie filling, granulated sugar, cornstarch, lemon juice, and vanilla extract. Use a spatula to mix until everything is thoroughly combined, ensuring the cherries are well-coated and the sugar and cornstarch are evenly distributed. This flavorful filling will create the warm, gooey base for your cherry crumble.
Step 3: Prepare the Crumble Topping
In a separate bowl, whisk together the all-purpose flour, rolled oats, brown sugar, cinnamon, and salt. Add the cold cubed butter to the mixture and use a pastry cutter or your fingertips to blend until the mixture resembles coarse crumbs with tiny pea-sized pieces of butter visible. This will form that irresistible crunchy topping.
Step 4: Assemble the Crumble
Pour the cherry filling into the prepared baking dish, spreading it evenly across the bottom. Then, sprinkle the crumble topping generously over the cherries, making sure to cover them completely. This layering ensures that every bite of the cherry crumble is filled with flavor and texture, inviting everyone in your home to dig in.
Step 5: Bake to Perfection
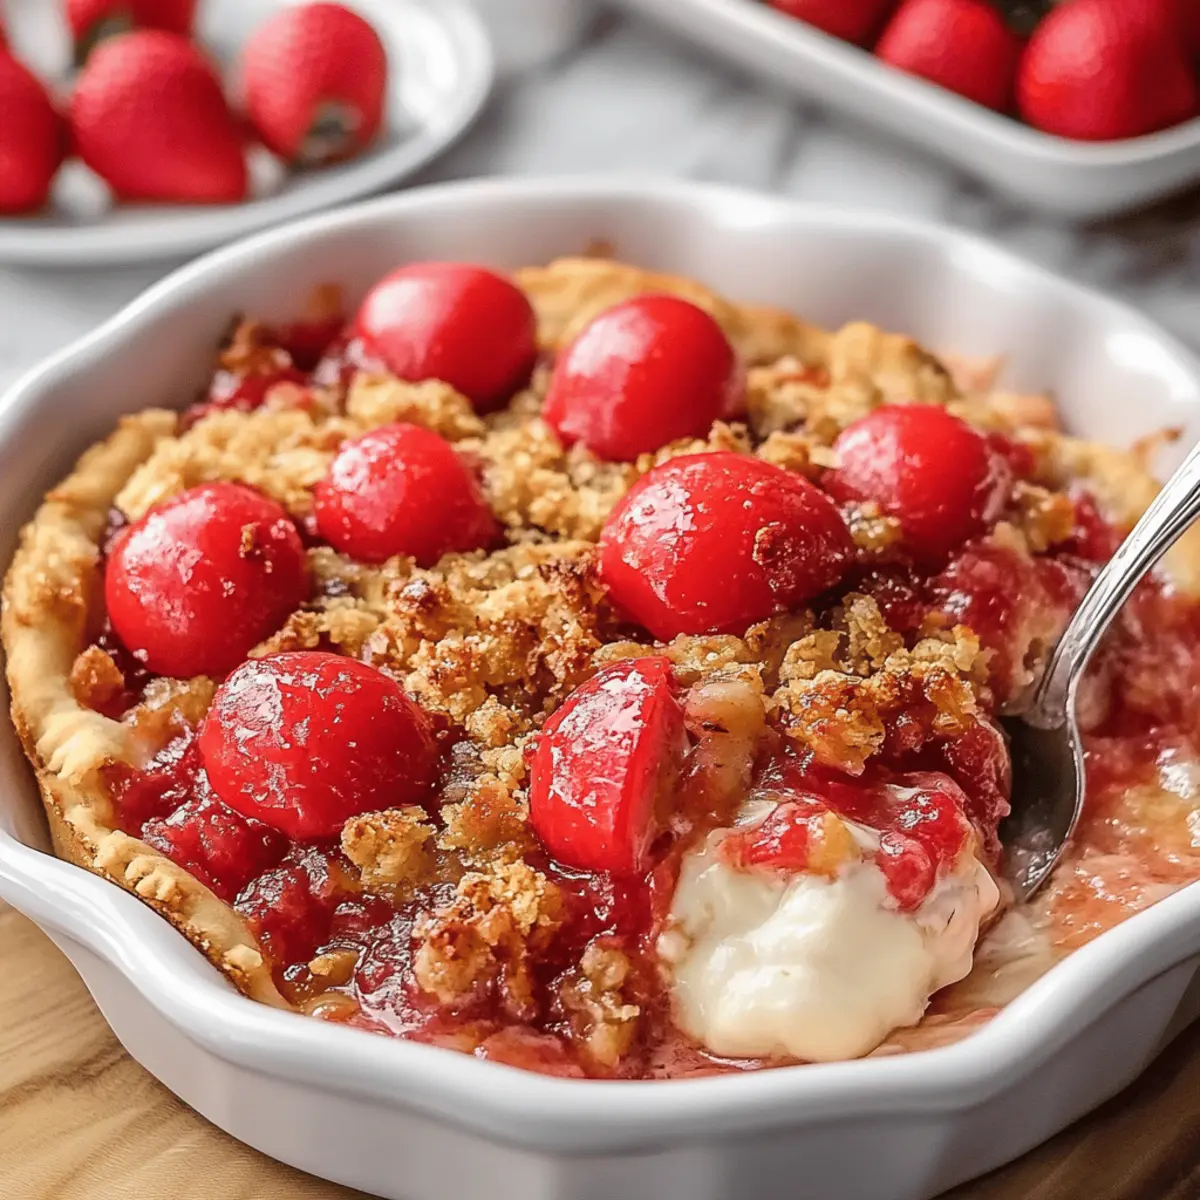
Place the assembled cherry crumble in the preheated oven and bake for approximately 50-60 minutes. Keep an eye on it; the filling should start to bubble around the edges, while the topping will turn a lovely golden brown. This visual cue means your cherry crumble is nearly ready to tantalize your taste buds!
Step 6: Cool and Serve
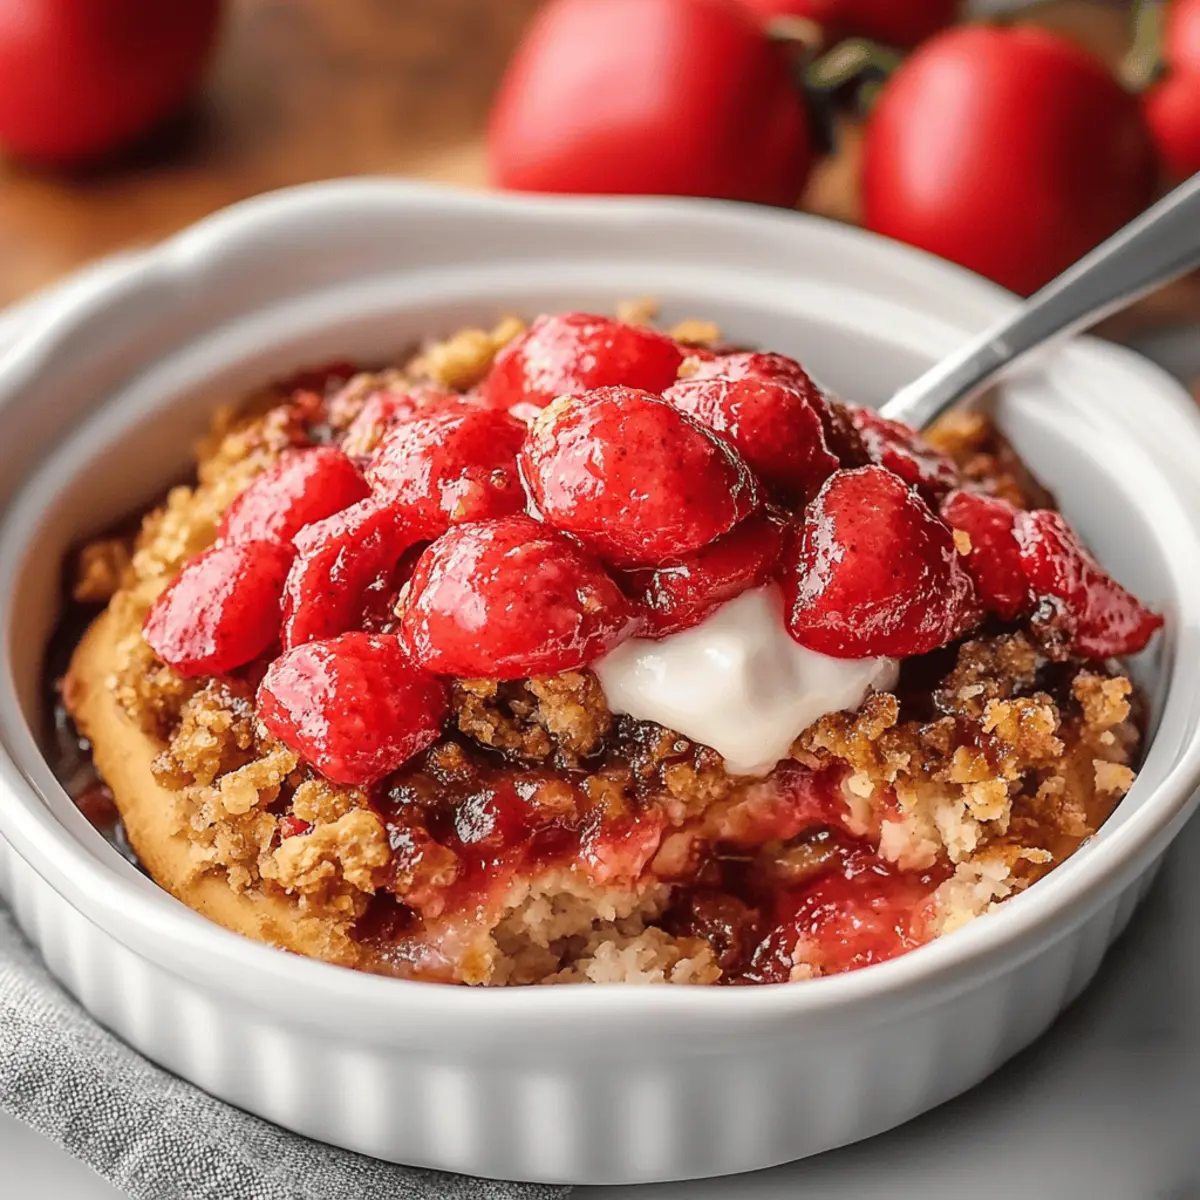
Once baked, remove the cherry crumble from the oven and allow it to cool for about 10 minutes. This short cooling time makes it easier to serve and allows the filling to set slightly. Indulge in your delightful cherry crumble warm or at room temperature, perhaps accompanied by a scoop of vanilla ice cream or a dollop of whipped cream for an extra special touch!
Expert Tips for Cherry Crumble
Perfect Texture: Use cold butter: Ensure your butter is cold and cubed for that perfect crumbly topping; room-temperature butter will make it too greasy.
Sweetness Balance: Adjust sugar: Taste your cherry filling before baking and adjust sugar if necessary; the sweetness can vary depending on the pie filling you use.
Fruit Variations: Get creative: This cherry crumble recipe can accommodate various fruits; feel free to substitute with peaches, blueberries, or apples for new flavors.
Avoid Soggy Bottom: Use cornstarch: Don’t skip the cornstarch; it thickens the filling and prevents a watery bottom layer, keeping your crumble crisp.
Check for Doneness: Visual cues: Look for bubbling filling and a golden-brown topping to ensure your cherry crumble is perfectly baked and ready to serve.
Make Ahead Options
These Homemade Cherry Crumble options are perfect for busy weeknights or when you need to entertain without stress. You can prepare the cherry filling up to 24 hours in advance; simply combine the cherry pie filling, sugar, cornstarch, lemon juice, and vanilla extract in an airtight container and refrigerate. Additionally, the crumble topping can be made up to 3 days ahead; just mix it, store it in a sealed bag, and refrigerate it until you’re ready to use it. When it’s time to bake, simply layer the filling in your baking dish, sprinkle the crumble on top, and enjoy restaurant-quality results with minimal effort! Remember, this delightful dessert is just as delicious when prepped ahead!
What to Serve with Homemade Cherry Crumble
The warm, buttery scent of cherry crumble invites an array of delightful accompaniments to create a perfect meal experience.
-
Vanilla Ice Cream: A classic pairing, the creamy sweetness balances the tartness of the cherries, enhancing each bite delightfully.
-
Whipped Cream: Light and airy, whipped cream adds a luxurious touch and complements the crumble’s texture perfectly, making every forkful indulgent.
-
Fresh Berries: A side of mixed berries provides a burst of freshness and acidity, which cuts through the richness of the dessert, refreshing your palate.
-
Hot Coffee: The robust flavor of coffee contrasts beautifully with the sweetness of the crumble, providing a warm, cozy complement to the dessert time.
-
Mint Tea: A soothing cup of mint tea can cleanse the palate, enhancing the overall experience with its light, refreshing notes that rejuvenate after sweet bites.
-
Chocolate Sauce: Drizzling warm chocolate sauce over the crumble adds a rich, decadent twist, making your dessert feel extra indulgent and special.
-
Crème Fraîche: This tangy and rich dairy treat pairs well with the sweet cherry filling, elevating the flavors while providing a delightful creaminess.
Whether it's a scoop of ice cream or a cup of coffee, these pairings will take your cherry crumble experience to new heights!
Cherry Crumble Variations & Substitutions
Feel free to explore these delightful twists and swaps to personalize your cherry crumble experience!
- Dairy-Free: Use coconut oil instead of butter for a creamy texture with a hint of tropical flavor.
- Gluten-Free: Substitute all-purpose flour with almond flour or a gluten-free blend for a crumbly delight everyone can enjoy.
- Fruit Fusion: Swap out cherries for delicious apples or peaches; each fruit brings a unique sweetness!
- Nutty Boost: Add chopped walnuts or pecans to the crumble topping for extra crunch and depth of flavor.
- Cinnamon Spice: Enhance the warmth by incorporating nutmeg or cardamom into the crumble mixture for a fragrant twist.
- Chocolate Drizzle: Elevate your dessert by drizzling melted dark chocolate over the baked crumble for an indulgent finish.
- Maple Sweetness: Replace brown sugar with pure maple syrup in the topping for a richer, caramel-like flavor.
- Heat Factor: For those who love a kick, sprinkle in a pinch of cayenne pepper for a surprising warm finish.
With these variations, each spoonful you savor can take you on a sweet, adventurous journey! Whether you’re sticking with the classic cherry or trying something new, your homemade crumble will be bursting with personality.
How to Store and Freeze Cherry Crumble
Fridge: Store any leftover cherry crumble in an airtight container for up to 3 days to maintain freshness and moisture.
Freezer: For longer storage, wrap the cooled cherry crumble tightly in plastic wrap and then aluminum foil. It can be frozen for up to 3 months.
Reheating: To reheat, place individual portions in the microwave for 30-60 seconds or warm in the oven at 350°F (175°C) for about 10-15 minutes, until heated through.
Serving Tips: Thaw overnight in the fridge before heating for optimal texture, and enjoy with a scoop of ice cream or a drizzle of cream for that comforting dessert experience!
Homemade Cherry Crumble Recipe FAQs
How do I select ripe cherries for my crumble?
Absolutely! If you're using fresh cherries, look for ones that are plump, shiny, and have a deep red color. Avoid any with dark spots all over, as they may be overripe or spoiled. If you’re using canned pie filling, opt for high-quality brands that list whole cherries rather than pieces for the best flavor.
How should I store leftover cherry crumble?
Very good question! Leftover cherry crumble can be stored in an airtight container in the fridge for up to 3 days. If you want to preserve it longer, wrap it tightly in plastic wrap followed by aluminum foil, and you can freeze it for up to 3 months!
Can I freeze cherry crumble?
Of course! To freeze your cherry crumble, follow these steps: First, allow it to cool completely. Once cooled, wrap it tightly in plastic wrap, then in aluminum foil to prevent freezer burn. You want it snug! For best results, label it with the date, so you know how long it's been stored. When you’re ready to enjoy it, simply thaw in the fridge overnight before reheating.
What can I do if the crumble topping becomes too soggy?
Absolutely, to prevent a soggy topping, ensure you're using cold butter and incorporating it until the mixture resembles coarse crumbs—this helps keep it crispy. If your topping does turn out soggy, you can try placing it back in the oven at 350°F (175°C) for an additional 10-15 minutes if it hasn’t been served yet, which should help it crisp up a bit more.
Are there any gluten-free options for this cherry crumble?
Yes, indeed! Simply substitute the all-purpose flour with a gluten-free flour blend, such as almond flour or a store-bought gluten-free flour mix. Ensure that all other ingredients you choose, especially the oats, are certified gluten-free to avoid cross-contamination. This way, you can enjoy this delightful cherry crumble worry-free!
Can I use fruits other than cherries in this recipe?
Absolutely! This crumble recipe is incredibly versatile. You can easily swap out the cherry pie filling for your favorite fruits, like blueberries, raspberries, or even peaches. Just ensure the fruits are ripe and sweet, adjusting the sugar level to taste, and you’ll have a delightful fruit crumble tailored to your preference!

Delicious Cherry Crumble: Your New Favorite Comfort Dessert
Ingredients
Equipment
Method
- Preheat your oven to 375°F (190°C) and lightly grease an 8x8-inch baking dish.
- In a large mixing bowl, combine cherry pie filling, granulated sugar, cornstarch, lemon juice, and vanilla extract and mix until well combined.
- In another bowl, whisk together all-purpose flour, rolled oats, brown sugar, cinnamon, and salt. Add cold cubed butter and blend until the mixture resembles coarse crumbs.
- Pour the cherry filling into the prepared baking dish and spread evenly. Sprinkle the crumble topping generously over the cherries.
- Bake in the preheated oven for 50-60 minutes until the filling bubbles and the topping is golden brown.
- Remove from the oven and allow to cool for about 10 minutes before serving warm or at room temperature.


Leave a Reply