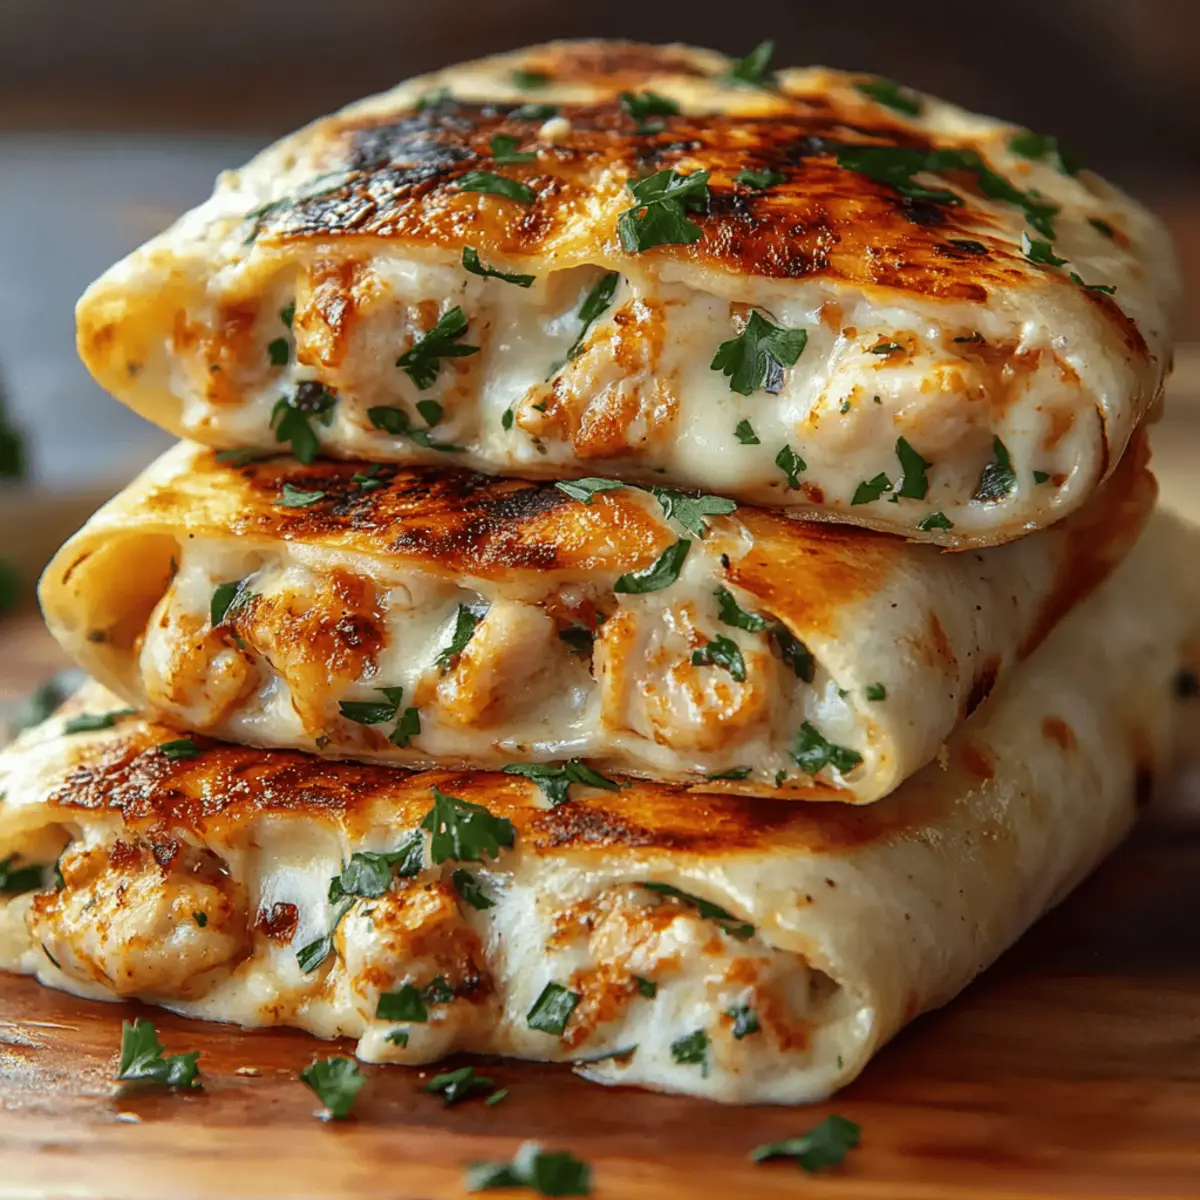
As I stood in my kitchen, the invigorating aroma of sautéing garlic enveloped me, instantly whisking me away to my favorite cozy Italian trattoria. That warm feeling inspired today’s recipe: Cheesy Garlic Chicken Wraps. This dish is a delightful blend of creamy cheese and tender chicken, all wrapped in a crispy tortilla. What’s even better? It comes together in just about 15 minutes, making it the perfect solution for those busy weeknights when you crave a homemade meal without the fuss. Not only do these wraps please even the pickiest eaters, but they also provide a fun, interactive dining experience for family and friends. Ready to transform your weeknight dinner routine into a flavorful fiesta? Let’s dive in!
Why Are These Wraps a Must-Try?
Simplicity: With just a handful of ingredients and a quick 15-minute prep time, these wraps are all about ease and convenience.
Flavor Explosion: The tantalizing blend of garlic, mozzarella, and cheddar creates a rich taste that will have everyone coming back for seconds.
Versatile Delight: Stuff them with your favorites, like roasted veggies from our Garlic Roasted Vegetables or spice it up with some jalapeños; the possibilities are endless!
Crowd-Pleaser: Perfect for family dinners or gatherings, these wraps are sure to satisfy all ages, making mealtime exciting and fun.
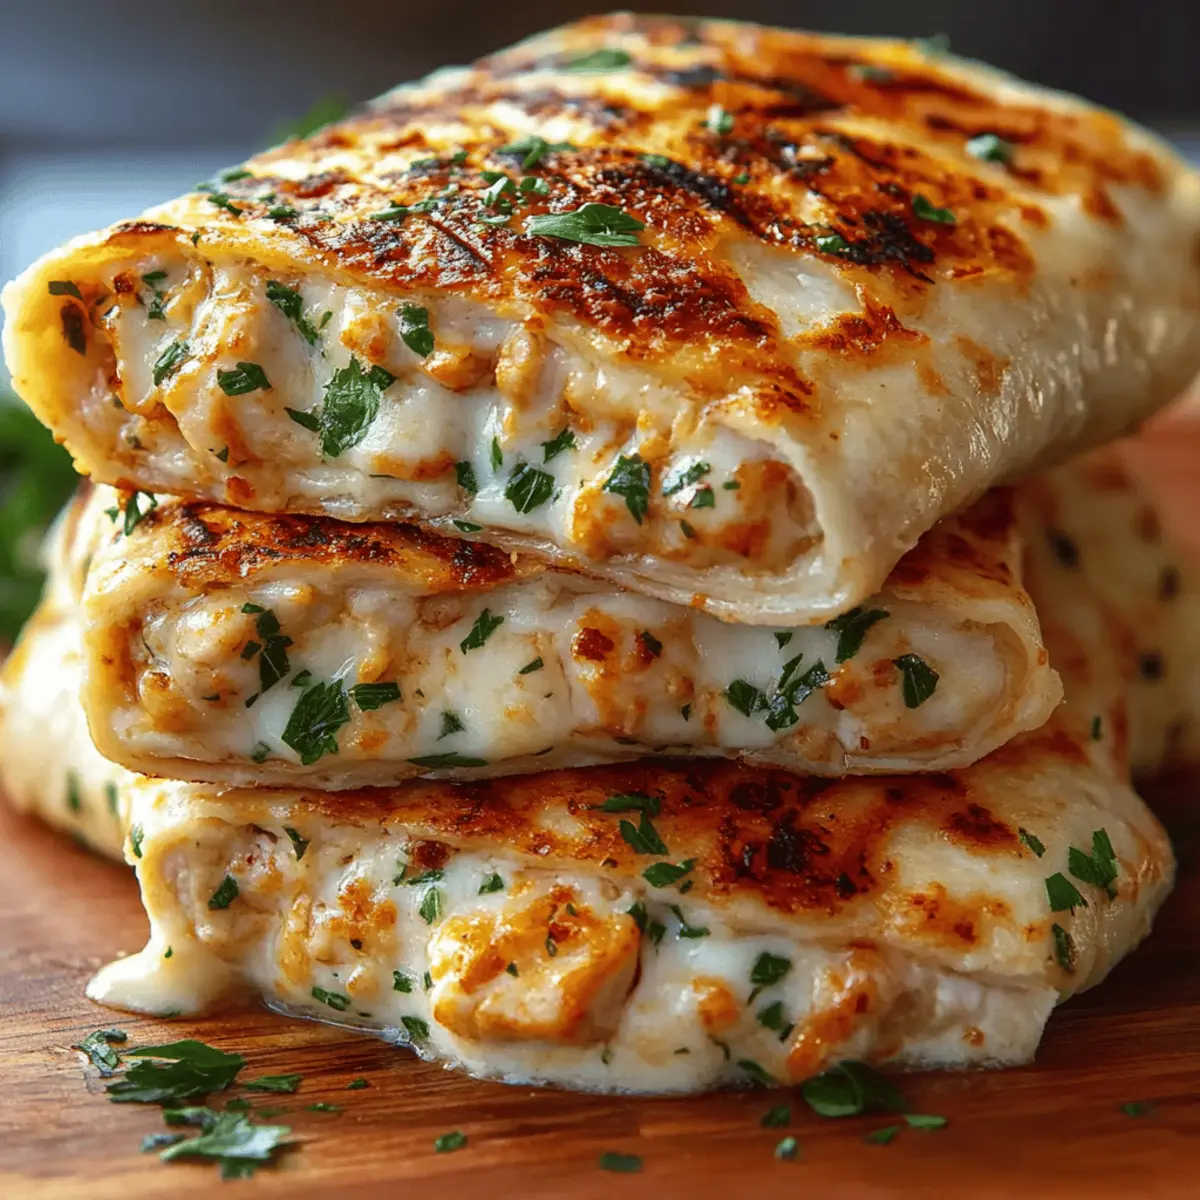
Comfort Food at Its Best: Combine the classic flavors of cheesy garlic chicken with a crispy tortilla for a warm hug in every bite.
Cheesy Garlic Chicken Ingredients
These Cheesy Garlic Chicken Wraps are a delightful treat full of flavor!
For the Filling
• Cooked chicken – 2 cups, diced; use leftovers for a quick prep.
• Olive oil – 2 tablespoons; enhances flavor while sautéing.
• Garlic – 3 cloves, minced; the star ingredient that adds irresistible aroma.
• Mozzarella cheese – 1 cup, shredded; gives that gooey, melty texture.
• Cheddar cheese – 1 cup, shredded; adds a delightful sharpness.
For the Wraps
• Flour tortillas – 4 large; soft and pliable for easy rolling.
• Butter – 2 tablespoons; for that golden, crispy finish as you cook.
• Salt – to taste; season to enhance the flavors.
• Pepper – to taste; adds warmth and depth.
• Chopped parsley – for garnish (optional); freshens up the dish beautifully.
Enjoy bursting flavors and a satisfying meal with these Cheesy Garlic Chicken Wraps!
Step‑by‑Step Instructions for Cheesy Garlic Chicken Wraps
Step 1: Prepare the Chicken
Begin by cooking your diced chicken if it’s not already cooked. Season it lightly with salt and pepper, then bake at 375°F for about 20-25 minutes, sauté in a skillet over medium heat for around 5-7 minutes, or grill until golden brown. Once cooked, dice the chicken into bite-sized pieces and set aside to infuse the flavors later.
Step 2: Sauté the Garlic
In a medium-sized skillet, warm 2 tablespoons of olive oil over medium heat. Add 3 cloves of minced garlic to the pan and sauté for 30 seconds to 1 minute, until the garlic turns golden and fragrant. Keep an eye on it to avoid burning, as that can create a bitter taste. The delicious aroma will fill your kitchen!
Step 3: Combine Chicken and Garlic
Once the garlic is fragrant, toss the diced chicken into the skillet. Stir well to evenly coat the chicken with the garlicky oil, allowing it to absorb that irresistible flavor for about 2-3 minutes. Enjoy the mingling scents of garlic and chicken—this is the beauty of your Cheesy Garlic Chicken coming together!
Step 4: Add the Cheeses
Remove the skillet from heat and while the chicken mixture is still hot, stir in 1 cup of shredded mozzarella and 1 cup of shredded cheddar cheese. The residual heat will help melt the cheeses, creating a creamy texture that binds all the flavors together beautifully. Mix until the cheese is well-incorporated and gooey.
Step 5: Assemble the Wraps
Lay a large flour tortilla flat on a clean surface. Spoon a generous portion of the cheesy garlic chicken mixture in the center of the tortilla. Carefully fold in the sides and roll tightly like a burrito, ensuring that the filling is securely wrapped inside. Repeat this step for all four tortillas.
Step 6: Cook the Wraps
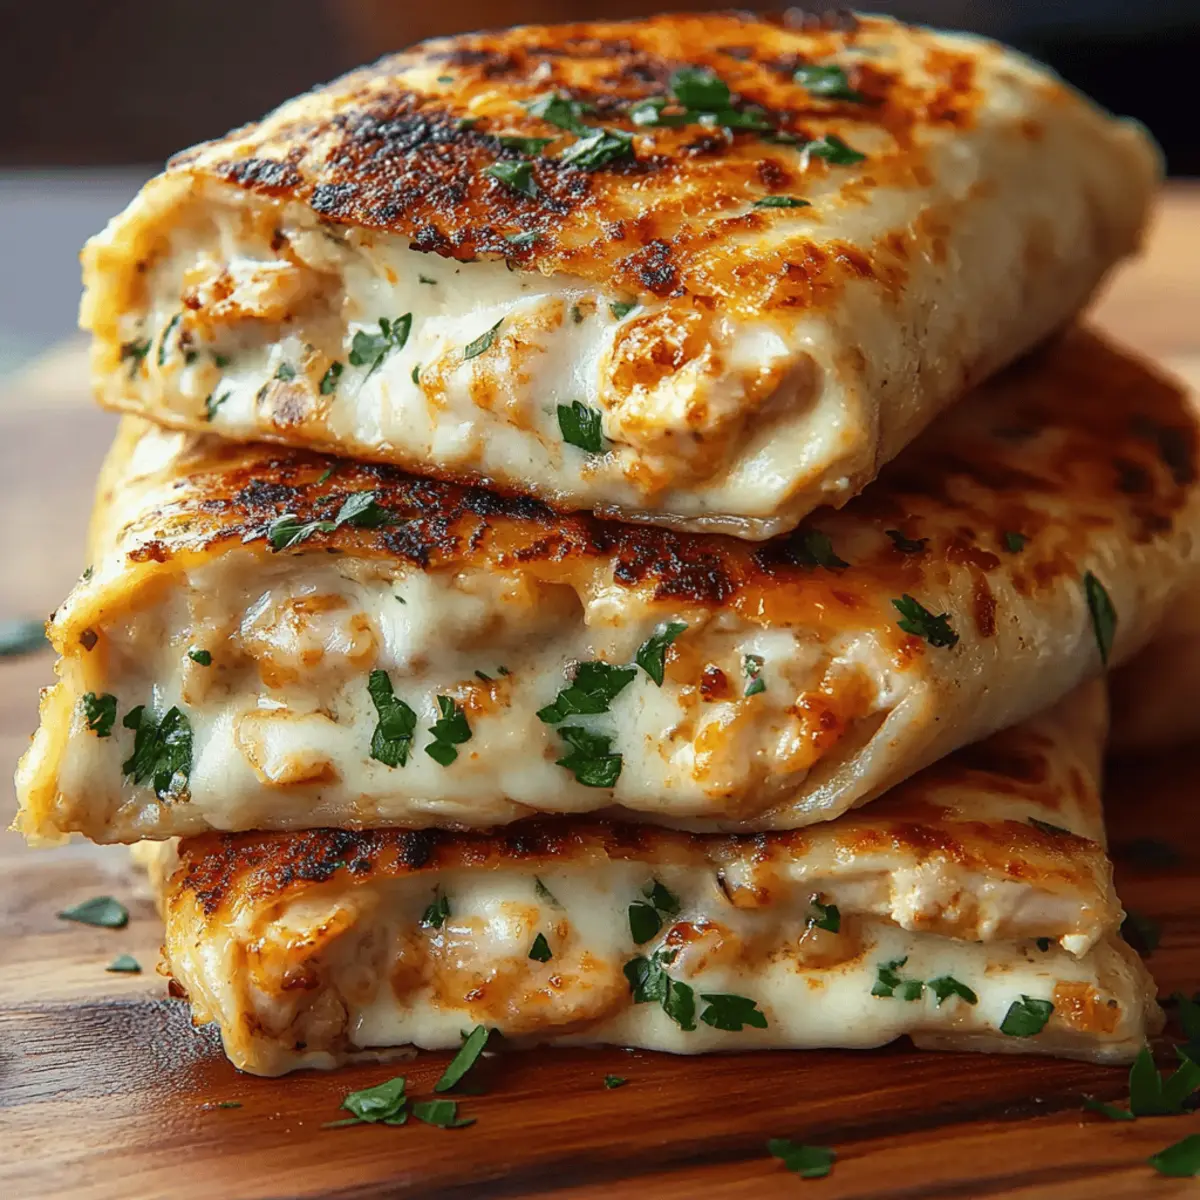
In the same skillet, melt 2 tablespoons of butter over medium heat. Once melted, place your wraps seam-side down into the skillet and press gently. Cook each wrap for about 2-3 minutes until the bottom is golden brown and crispy. Use tongs to flip them carefully to avoid spilling any filling, and cook the other side.
Step 7: Rest and Slice
After all the wraps are cooked to a beautiful golden crisp, remove them from the skillet. Let them rest for 1-2 minutes on a cutting board before slicing. This brief resting period allows the melted cheese to settle, making them easier to cut.
Step 8: Garnish and Serve
If desired, sprinkle chopped parsley over the tops of your Cheesy Garlic Chicken Wraps for a pop of color and freshness. Serve warm and watch as your family or friends delight in this comforting dish, perfect for any occasion!
Make Ahead Options
These Cheesy Garlic Chicken Wraps are perfect for busy home cooks looking to save time during the week! You can prepare the cheesy garlic chicken filling up to 24 hours in advance. Simply cook and combine the chicken, garlic, and cheeses, then let it cool before refrigerating it in an airtight container. Additionally, you can assemble the wraps without cooking them and store them in the fridge for up to 3 days; just be sure to separate layers with parchment paper to prevent sticking. When ready to serve, simply pan-fry the wraps as directed, ensuring each side gets that glorious golden crust. This way, you’ll enjoy delicious, homemade comfort food with minimal effort!
Cheesy Garlic Chicken Variations
Feel free to play with these delicious twists to truly make this recipe your own!
-
Dairy-Free: Substitute the cheeses with nut-based cheese alternatives to keep it creamy and delicious. They melt beautifully and make the wraps just as satisfying!
-
Spicy Kick: Add sliced jalapeños or red pepper flakes to the garlic and oil for an extra layer of heat. The spicy notes will create a delightful contrast to the creamy chicken and cheese.
-
Herbed Up: Mix in fresh herbs like basil or oregano for an aromatic twist that elevates the overall flavor profile. It adds a fragrant and fresh taste that’s simply irresistible!
-
Veggie Boost: Add roasted or sautéed veggies like bell peppers or zucchini into the filling for added nutrition and texture. They bring a colorful crunch that makes each bite exciting. Enjoy a healthy spin that doesn’t compromise on flavor!
-
Whole Wheat Tortillas: Use whole wheat or spinach tortillas for a healthier wrap option. They provide a nutty flavor and beautiful color, plus they’re loaded with extra nutrients!
-
Buffalo Chicken: For a tangy and fiery kick, toss the chicken with buffalo sauce before filling the wraps. These spicy, cheesy delights make for an exceptional meal that’s a fun twist on the original!
-
Mushroom Medley: Add sautéed mushrooms for an earthy flavor that complements the cheesy garlic filling. The mushrooms provide a hearty texture that will satisfy all your savory cravings. Just think about that umami goodness!
-
BBQ Flare: Swap out the garlic oil for barbecue sauce to create a sweet and tangy barbecue chicken wrap. This unexpected spin will surprise your taste buds with a delightful barbecue flavor! You could even serve them alongside our creamy mushroom chicken for a hearty dinner spread!
Expert Tips for Cheesy Garlic Chicken Wraps
Use Leftover Chicken: Save time by using leftover rotisserie chicken for the filling, making prep even quicker.
Watch the Garlic: Sauté the garlic just until golden; burning it can create an unpleasant bitterness in your wraps.
Cheese Balance: Use a mix of mozzarella and cheddar for ideal creaminess and flavor depth; don’t skip on the cheese!
Roll Tightly: Ensure you roll the tortillas tightly to prevent spills while cooking, keeping all that delicious cheesy garlic chicken inside.
Let Them Rest: Allow the wraps to rest after cooking so the melted cheese can set, making them easier to slice and serve.
How to Store and Freeze Cheesy Garlic Chicken
Room Temperature: Store any leftover wraps at room temperature for up to 2 hours; find a cool, dry spot to keep them fresh.
Fridge: Place wrapped cheesy garlic chicken in an airtight container and refrigerate for up to 3 days; reheat in a skillet to restore crispiness.
Freezer: For longer storage, freeze unwrapped wraps in a single layer, then transfer to a freezer-safe bag for up to 3 months; reheat from frozen in the oven or microwave.
Reheating: When ready to enjoy, reheat in a skillet or oven until warmed through; this helps keep that golden, crispy texture intact.
What to Serve with Cheesy Garlic Chicken Wraps
These delightful wraps are just the beginning of a cozy meal that will warm your heart and fill your stomach.
-
Crispy French Fries: The crunch of golden fries pairs perfectly with the cheesy wraps, adding a fun texture contrast to each bite.
-
Garden Salad: Fresh greens tossed with a light vinaigrette cleanses the palate and balances the richness of the cheesy garlic chicken.
-
Roasted Veggies: Colorful roasted seasonal vegetables provide a sweet and savory counterpart, enhancing the overall flavor experience.
-
Guacamole: Creamy, zesty guacamole brings a burst of freshness that complements the wraps beautifully—perfect for dipping!
-
Cold Beer: A crisp lager or pale ale brings a refreshing balance, making each delicious bite of the cheesy garlic chicken even more enjoyable.
-
Chocolate Chip Cookies: For dessert, warm cookies add a sweet ending to your meal, turning dinner into a delightful family affair!
Cheesy Garlic Chicken Wraps Recipe FAQs
How do I choose the best chicken for my wraps?
Absolutely! For the best flavor and texture in your Cheesy Garlic Chicken Wraps, use cooked chicken that's tender and moist. If you're using raw chicken, look for breasts or thighs that are firm and pink without any dark spots. For convenience, leftover rotisserie chicken works wonderfully and saves time in the kitchen.
How should I store leftover Cheesy Garlic Chicken Wraps?
Placed in an airtight container in the refrigerator, your wraps can last up to 3 days. Reheat them in a skillet over medium heat with a dash of oil for about 2-3 minutes on each side, restoring that delightful crispness that makes them so irresistible!
Can I freeze these wraps?
Yes! To freeze, firstly, assemble your wraps but leave them unbrowned. Lay them in a single layer on a baking sheet and freeze for 1-2 hours until solid. Then, transfer them to a freezer-safe bag and store for up to 3 months. When ready to enjoy, simply reheat them directly from frozen in a preheated oven at 375°F for about 20-25 minutes, or until warmed through.
What should I do if my wraps are falling apart when I cook them?
Very! If your wraps are spilling out while flipping, it might be due to overfilling or not rolling them tightly enough. Ensure to gather less filling and tightly fold in the sides before rolling. If you’re using a generous amount of cheese, that can also help bind everything together while cooking!
Are these wraps suitable for my kids?
Absolutely! These Cheesy Garlic Chicken Wraps are perfect for kids since they're easy to eat and the cheesy flavor is a definite crowd-pleaser. You can even sneak in some veggies for added nutrition without them noticing too much. Just chop finely and mix in with the chicken!
Is there an allergen concern I should know about?
Yes! If anyone in your household has allergies, check all ingredients carefully. The tortillas contain gluten, and the cheeses may contain dairy allergens. For dairy-free versions, try using plant-based cheese options and gluten-free tortillas to keep the joy of these wraps accessible to everyone.

Cheesy Garlic Chicken Wraps for Ultimate Comfort Food Bliss
Ingredients
Equipment
Method
- Begin by cooking your diced chicken if it’s not already cooked. Season lightly with salt and pepper, then bake or sauté.
- In a skillet, warm olive oil over medium heat. Add minced garlic and sauté until golden.
- Toss the diced chicken into the skillet after the garlic is fragrant.
- Remove skillet from heat and stir in shredded mozzarella and cheddar until melted.
- Lay a tortilla flat, fill with chicken mixture, and roll tightly.
- Melt butter in the skillet and cook wraps seam-side down until golden brown.
- Let wraps rest for 1-2 minutes, then slice.
- Garnish with parsley if desired and serve warm.
Leave a Reply