As I sifted through my pantry, the rich aroma of cocoa stirred memories of cozy evenings spent baking with loved ones. That's when the urge to whip up some delightful Mummy Brownies struck me. These charming treats not only bring the fun of Halloween to your kitchen but also serve as a delectable crowd-pleaser, perfect for both kids and adults alike. With just 15 minutes of prep and a simple baking process, you can indulge in fudgy goodness that’s sure to impress. Plus, their playful decoration makes them a hit at any gathering! Curious about how to transform your baking into seasonal magic? Let’s dive into this spooktacular recipe!
Why Are Mummy Brownies a Must-Bake?
Irresistible fun: These Mummy Brownies are not just a dessert; they're a playful delight that brings joy to any occasion!
Fudgy texture: The rich cocoa base creates a moist, chocolatey experience that's unlike any other brownie you've tried.
Quick and easy: With only 15 minutes of prep, you’ll have freshly baked brownies ready in no time—perfect for busy bakers!
Perfectly festive: Their unique mummy-like decoration makes them an eye-catching centerpiece for Halloween parties or family gatherings.
Versatile option: Want to please everyone? This recipe can be easily adapted for gluten-free diets by swapping in a gluten-free flour blend. They’re a spooky treat the whole family will love!
For more delicious ideas, don’t forget to check out easy Halloween treats or explore similar chocolate dessert recipes!
Mummy Brownies Ingredients
For the Brownie Batter
• Unsweetened cocoa powder – Essential for that deep chocolate flavor that defines Mummy Brownies.
• Granulated sugar – Provides sweetness to balance the rich cocoa taste.
• All-purpose flour – Gives structure to these fudgy brownies; feel free to substitute with a gluten-free flour blend if needed.
• Large eggs – Bind the ingredients and create a lovely, gooey texture.
• Unsalted butter (melted) – Adds richness and moisture, enhancing the overall flavor of the brownies.
For the Decoration
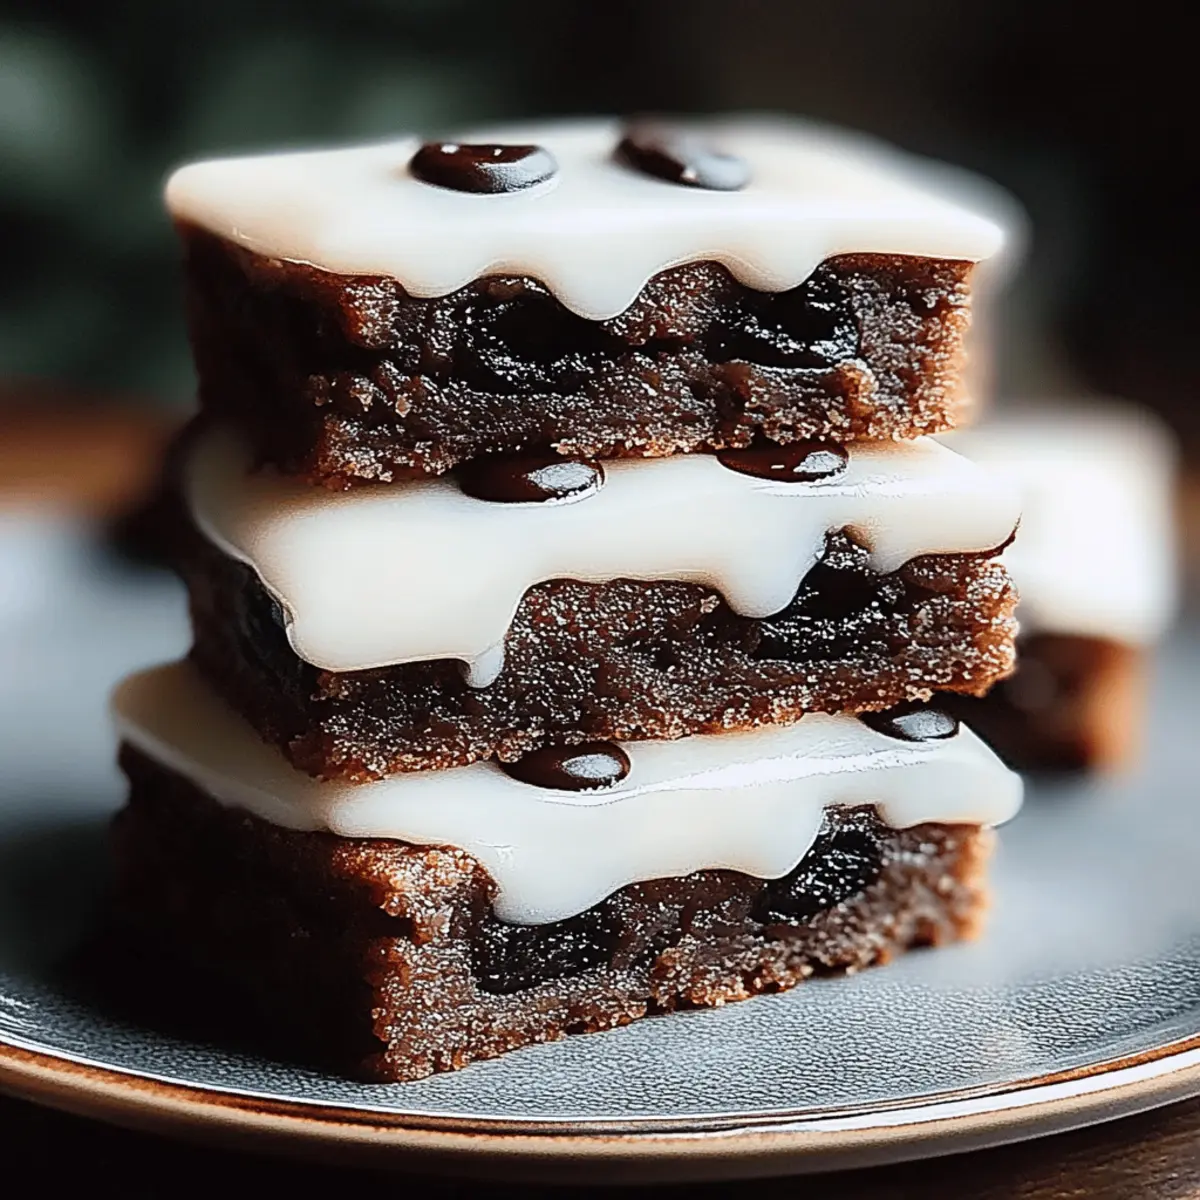
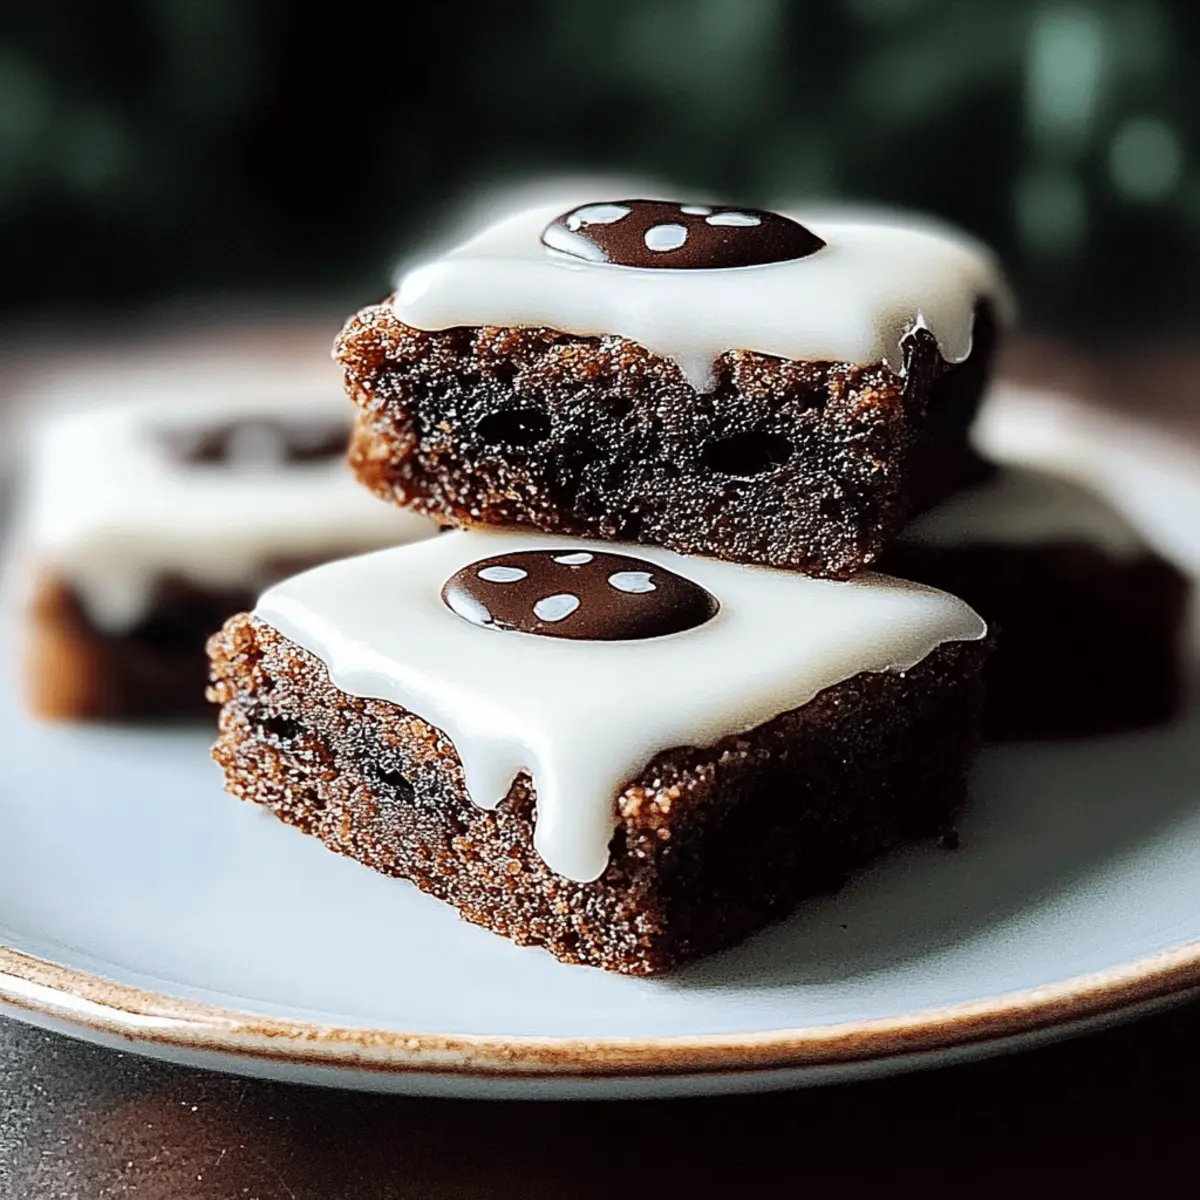
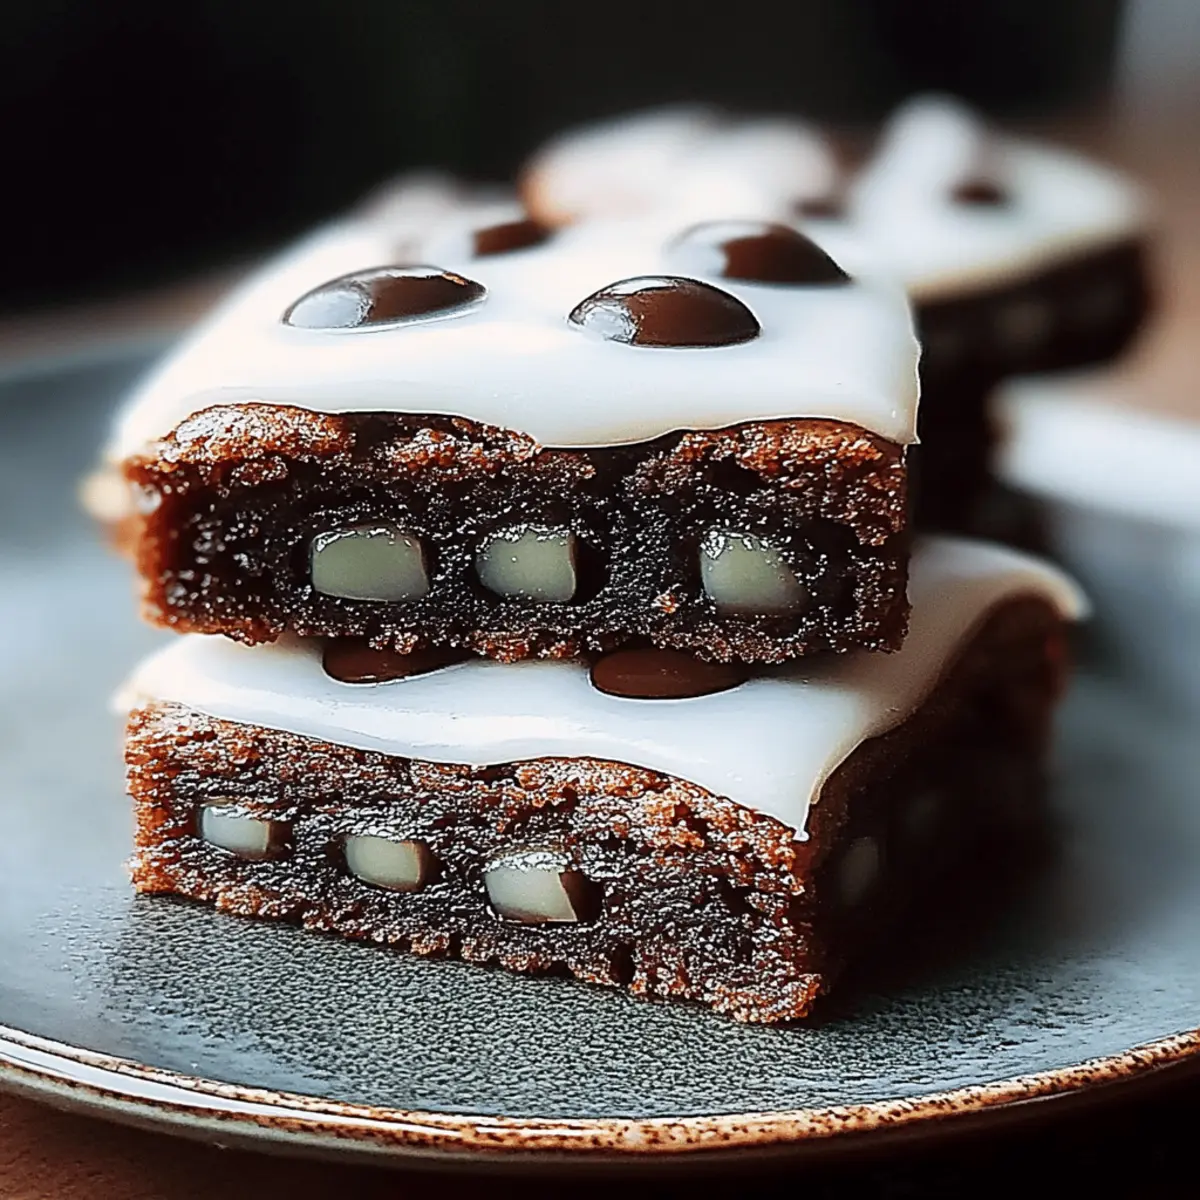
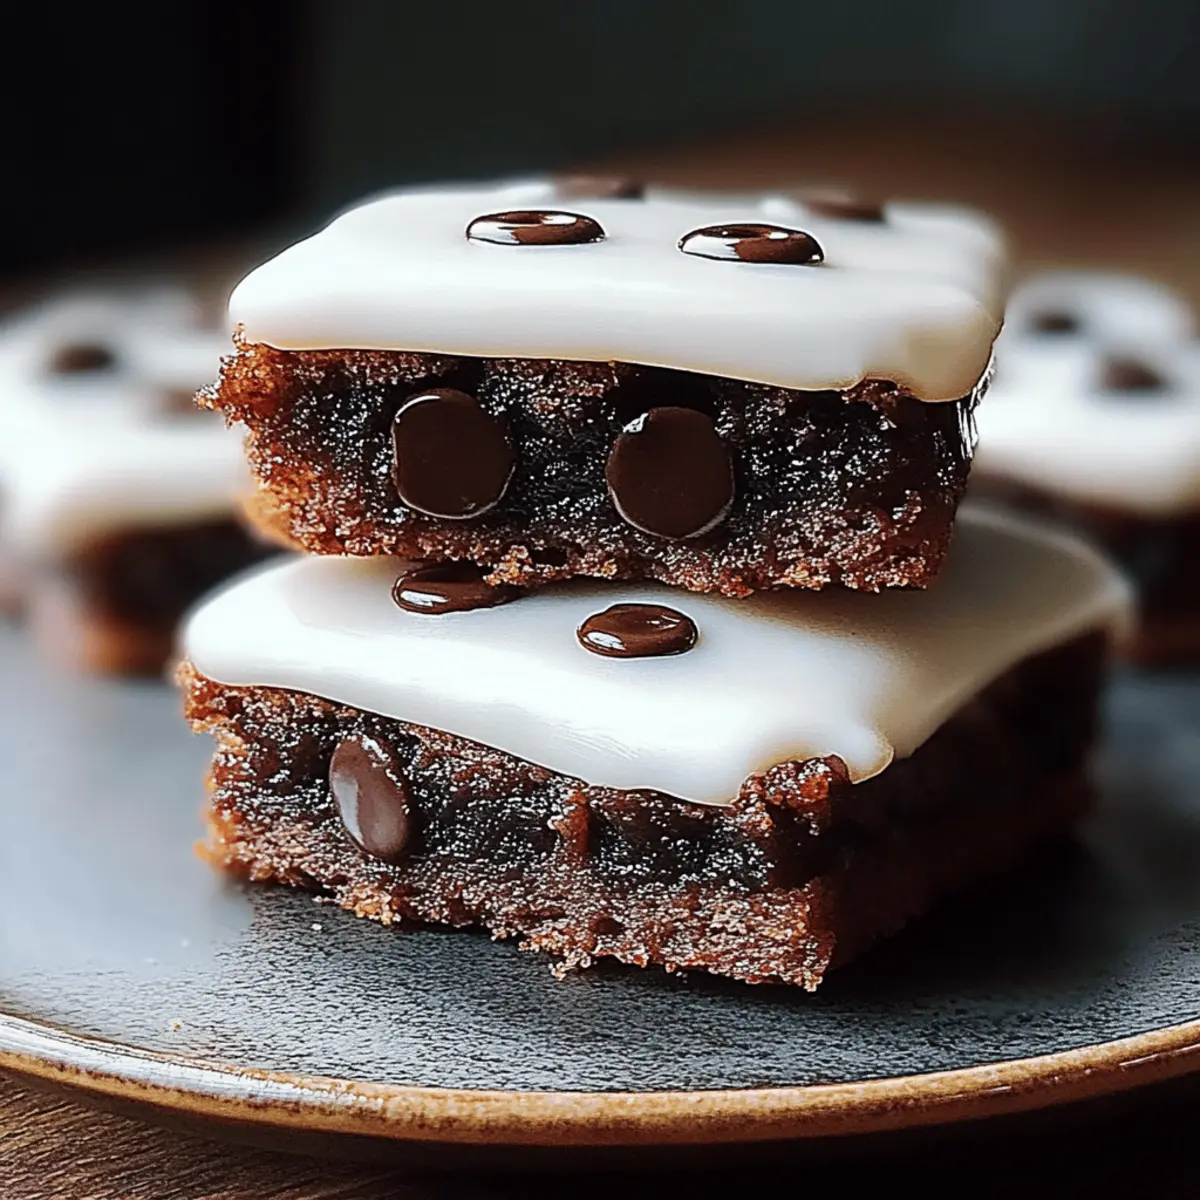
• White icing – Perfect for creating mummy wrappings; get creative with zigzag patterns!
Now that you have your ingredients ready, let’s move on to the fun part—baking and decorating your Mummy Brownies!
Step‑by‑Step Instructions for Mummy Brownies
Step 1: Preheat and Prepare
Begin by preheating your oven to 350°F (175°C). While it warms, grease a baking pan with a light coat of butter or line it with parchment paper for easy removal. This ensures your delightful Mummy Brownies won’t stick, allowing for a smooth baking experience.
Step 2: Mix Dry Ingredients
In a large mixing bowl, whisk together the cocoa powder, granulated sugar, flour, and a pinch of salt. The combination of these dry ingredients creates the foundation for your rich and fudgy Mummy Brownies. Make sure they are well-blended, as this will enhance the texture and flavor of your brownies.
Step 3: Prepare Wet Ingredients
Melt the unsalted butter in a separate microwave-safe bowl, then allow it to cool slightly. Once it’s warm, add in the large eggs and mix until the mixture is smooth and cohesive. This crucial step ensures that your brownies have a rich and creamy consistency, essential for the fudgy experience.
Step 4: Combine Wet and Dry Mixtures
Pour the wet mixture into the bowl of dry ingredients. Gently stir them together until just combined—be careful not to overmix, as this will keep your Mummy Brownies delightfully fudgy. The batter should look thick and luscious, with a rich chocolate color coming through beautifully.
Step 5: Bake Your Brownies
Spread the brownie batter evenly into the prepared baking pan, smoothing the top with a spatula. Place it in the preheated oven and bake for 25 to 30 minutes. You’ll know they’re ready when a toothpick inserted comes out with a few moist crumbs—this indicates that they retain their moist, fudgy texture.
Step 6: Cool and Decorate
Once baked, remove the pan from the oven and let your Mummy Brownies cool completely in the pan on a wire rack. After they’ve cooled, cut them into squares. Grab your white icing and get creative, decorating the brownies in zigzag patterns to mimic mummy wrappings, then add small candies for adorable eyes.
Mummy Brownies Variations & Substitutions
Feel free to customize your Mummy Brownies to suit your taste and dietary preferences; the possibilities are endless!
-
Dairy-Free: Swap out the unsalted butter for a plant-based butter or coconut oil for a dairy-free treat. You can still enjoy that rich flavor without the dairy!
-
Nutty Twist: Add ½ cup of finely chopped nuts like walnuts or pecans into the brownie batter. This unexpected crunch will elevate your Mummy Brownies with a delightful texture.
-
Minty Fresh: Incorporate a teaspoon of peppermint extract into the wet mixture. The fresh mint will add a fun twist that complements the chocolate beautifully.
-
Extra Chocolatey: Mix in ½ cup of chocolate chips into the batter for a fudgier experience, adding a gooey surprise with every bite.
-
Spicy Kick: Introduce a pinch of cayenne pepper or ground cinnamon to the dry ingredients for an intriguing heat that contrasts with the sweetness. Your taste buds will thank you for this bold flavor!
-
Gluten-Free: Simply replace the all-purpose flour with a gluten-free flour blend. This minor swap allows everyone to enjoy these festive brownies without sacrificing taste.
-
Caramel Surprise: Drizzle caramel sauce over the brownie batter before baking. This will create a lovely marbled effect and an irresistible gooey center.
-
Fruity Flair: Fold in ½ cup of chopped dried fruit like cranberries or cherries for a burst of flavor that brings a touch of tartness to your sweet brownies.
For more creative ideas, be sure to check out easy Halloween treats for additional festive inspiration, or discover a variety of chocolate dessert recipes to satisfy your sweet cravings!
What to Serve with Mummy Brownies?
Indulge in a delightful spread that complements the rich decadence of these whimsical treats.
-
Vanilla Ice Cream: A scoop of creamy vanilla ice cream balances the chocolate intensity, adding a cool, velvety contrast that melts in your mouth.
-
Fresh Fruit Salad: Bright, juicy fruits like strawberries and oranges provide a refreshing burst, cutting through the fudginess with their natural sweetness.
-
Whipped Cream: Fluffy whipped cream adds a light, airy element that pairs beautifully with the dense brownie texture. A dollop on top enhances every bite!
-
Pumpkin Spice Latte: Embrace the season with a warm, spiced beverage that echoes the cozy bakery vibes. Its aromatic flavors meld delightfully with the brownies’ richness.
-
Chocolate Sauce Drizzle: For chocolate lovers, an extra drizzle of warm chocolate sauce over the Mummy Brownies amplifies their fudgy heaven. It’s an indulgent touch that takes them to the next level.
-
Caramel Corn: Crispy, sweet caramel corn adds a playful crunch that contrasts wonderfully with the soft brownies, creating a fun snacking experience.
-
Cinnamon Sugar Puffs: Lightly dusted pastry puffs with cinnamon sugar introduce a warm, nostalgic flavor that resonates with the Mummy Brownies' festive spirit.
-
Milkshake: A rich chocolate milkshake creates a delightful pairing, bringing nostalgia while washing down the brownies seamlessly for a creamy treat.
Expert Tips for Mummy Brownies
-
Measure Accurately: Use a kitchen scale for precision, especially with flour and cocoa powder, to ensure the perfect fudgy texture in your Mummy Brownies.
-
Don't Overmix: Gently fold the wet and dry ingredients just until combined. Overmixing can lead to denser brownies rather than the desired moist, fudgy result.
-
Check Ovens: Every oven is different! Keep an eye on your Mummy Brownies towards the end of the baking time. Remove them when a toothpick comes out with a few moist crumbs.
-
Cool Properly: Allow the brownies to cool completely before cutting. This helps maintain their shape and makes decorating easier!
-
Be Creative: Don't hesitate to get imaginative with your icing designs! Different patterns can add extra fun and flair to your Mummy Brownies, making them a hit at gatherings.
How to Store and Freeze Mummy Brownies
Room Temperature: Store your Mummy Brownies in an airtight container at room temperature for up to 3 days to maintain their fudginess.
Fridge: For a longer shelf life, you can refrigerate them; they will stay fresh for up to a week, though they may dry out slightly.
Freezer: If you have leftovers, freeze Mummy Brownies for up to two months. Wrap them well in plastic wrap and place them in a freezer-safe bag or container.
Thawing: When you're ready to enjoy your Mummy Brownies again, thaw them at room temperature or gently warm in the microwave for a few seconds to restore their delightful texture.
Make Ahead Options
These Mummy Brownies are ideal for busy home cooks looking to save time during the week! You can prepare the brownie batter up to 24 hours in advance by mixing the dry ingredients and storing them in an airtight container at room temperature. For the wet ingredients, just melt the butter and mix it with the eggs, then refrigerate (this prevents any unwanted solidification) until you’re ready to bake. When you’re ready to enjoy these treats, simply combine the wet and dry mixtures, bake, and decorate as usual! This approach ensures your Mummy Brownies remain just as fudgy and delicious, ready to impress your family or guests without last-minute stress.
Mummy Brownies Recipe FAQs
How do I choose ripe ingredients for Mummy Brownies?
Absolutely! While Mummy Brownies primarily use pantry staples, it’s essential to select high-quality ingredients. Look for fresh, large eggs with smooth shells, and choose good-quality unsweetened cocoa powder for the best flavor. The granulated sugar should be dry and free from clumps, indicating freshness.
How should I store leftover Mummy Brownies?
After baking, store your Mummy Brownies in an airtight container at room temperature for up to 3 days. If you wish to keep them longer, refrigerate them for up to a week, but they might dry out slightly. Adding a slice of bread to the container can help keep them moist!
Can I freeze Mummy Brownies, and how?
Very! To freeze Mummy Brownies, wrap each square individually in plastic wrap, ensuring it's airtight. Then, place them in a freezer-safe container or bag. They’ll keep well for up to two months. When you’re ready to enjoy, simply thaw them at room temperature for about 1-2 hours or microwave them for a few seconds until soft.
What should I do if my brownies come out dry?
If your Mummy Brownies turn out dry, it might be due to overbaking or overmixing the batter. Always keep an eye on them towards the end of baking; take them out when a toothpick inserted shows a few moist crumbs. If you find yourself with dry brownies in hand, try serving them warmed with a scoop of ice cream or a drizzle of chocolate sauce to boost moisture and flavor.
Are Mummy Brownies suitable for those with gluten allergies?
Yes! To cater to gluten-free diets, you can substitute all-purpose flour with a gluten-free flour blend. Make sure all other ingredients—like baking powder and cocoa powder—are certified gluten-free. This way, everyone can enjoy these lovely, fudgy treats without worry. The more the merrier!
Decadent Mummy Brownies for a Spooktacular Treat
Ingredients
Equipment
Method
- Preheat your oven to 350°F (175°C) and grease a baking pan.
- In a large mixing bowl, whisk together cocoa powder, sugar, flour, and a pinch of salt.
- Melt the unsalted butter, let it cool, then mix in the eggs until smooth.
- Combine the wet and dry ingredients until just mixed; do not overmix.
- Spread the batter into the baking pan and bake for 25 to 30 minutes.
- Let the brownies cool completely, cut into squares, and decorate with icing.


Leave a Reply