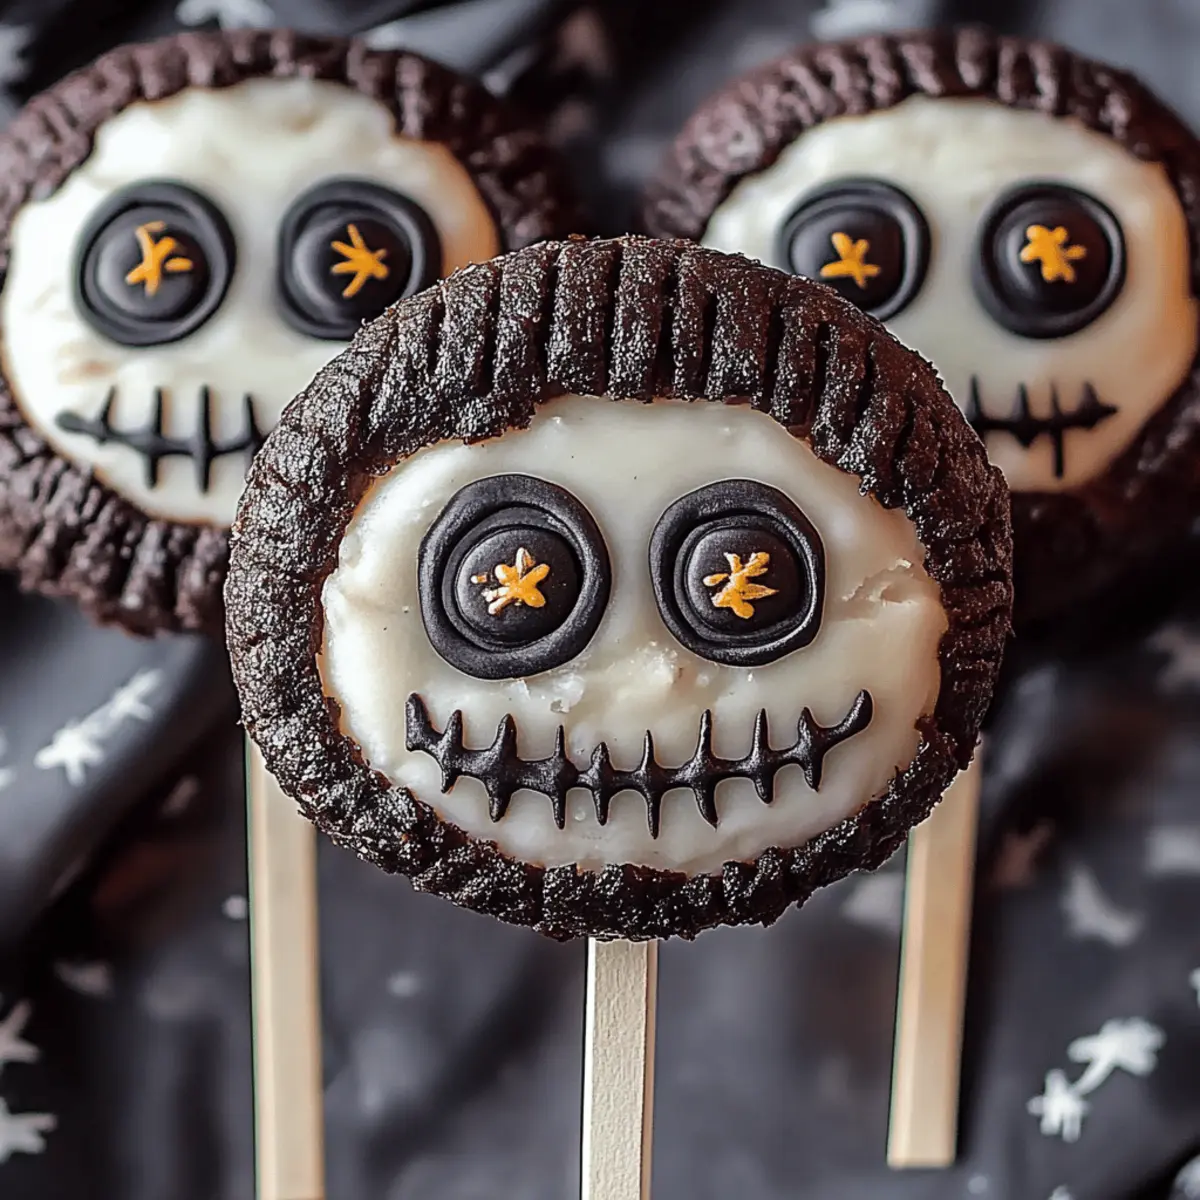
As the leaves turn crispy and Halloween whispers around the corner, I find myself diving back into the whimsical world of treats that bring a smile to both kids and adults alike. These Jack Skellington Oreo Pops are not just a delightful way to celebrate the season; they’re a fun and easy dessert that transforms classic Oreos into charming novelties. The best part? They come together in just 30 minutes, making them the ideal addition to any spooky gathering, and because they’re no-bake, you won’t even break a sweat! So why not channel your inner artist and let’s create these festive pops that are sure to make your Halloween extra special? Ready to bring some magic to your kitchen?
Why Are Jack Skellington Oreo Pops Irresistible?
Easy to Make: With just 30 minutes of total time, you can whip up these delightful treats without the hassle of complicated steps.
Adorable Presentation: These Jack Skellington Oreo Pops are not only a whimsical dessert, but they also serve as eye-catching decorations for your Halloween party that everyone will admire.
Customizable: Use your creativity to add different sprinkles or even mix flavors into the Oreo mixture, making each pop uniquely yours.
Perfect for Any Occasion: Whether it’s Halloween, a classroom party, or a spooky movie night, these pops are great for gatherings with family and friends. Why not team them up with other fun treats like pumpkin spice muffins for an unforgettable dessert table?
Family Fun Activity: Get the kids involved in decorating – it’s a wonderful way to bond while enjoying some creative time in the kitchen!
Crowd Favorite: Rich chocolate paired with creamy, sweet Oreo filling makes these pops an irresistible hit that will keep everyone coming back for more!
Jack Skellington Oreo Pops Ingredients
For the Oreo Base
• Oreo cookies – a classic that provides the delicious chocolatey base for these spooky pops.
• Cream cheese – contributes to a rich and creamy texture that binds the mixture perfectly.
For Coating
• Black chocolate melts – ideal for giving that spooky, elegant coating to our treats.
• White chocolate melts – use this to create Jack's iconic face features with a perfect contrast.
For Assembly
• Popsicle sticks – sturdy enough to hold your Oreo pops while they're being enjoyed.
• Halloween-themed decorative sprinkles – adds a festive flair that makes these treats even more fun and appealing.
These Jack Skellington Oreo Pops are sure to be a hit at your Halloween festivities!
Step‑by‑Step Instructions for Jack Skellington Oreo Pops
Step 1: Crush the Oreos
Begin by crushing 1 package of Oreo cookies into fine crumbs using a food processor or a rolling pin. This process should take about 5 minutes. You want a texture that resembles sand; finer crumbs will help bind the mixture well. Once crushed, set the crumbs aside, ready to be mixed with cream cheese.
Step 2: Mix the Ingredients
In a mixing bowl, combine the crushed Oreo crumbs with 8 ounces of softened cream cheese. Use a spatula or spoon to blend them thoroughly until the mixture is smooth and well incorporated. This should take around 2-3 minutes, ensuring there are no dry clumps. The resulting dough should feel comfortable to mold and stick together easily.
Step 3: Form the Pops
Roll the Oreo-cream cheese mixture into 1-inch balls and place them on a parchment-lined baking sheet. This step should yield approximately 10 pops. Make sure they are evenly shaped so they look nice once decorated. Once all the balls are formed, place the baking sheet in the freezer for 30 minutes to chill and firm up.
Step 4: Melt the Chocolate
While the pops chill, melt 1 cup of black chocolate melts according to the package instructions. Typically, this involves microwaving in short increments (15-30 seconds), stirring between each until smooth. The melted chocolate should have a glossy finish and be fluid enough for coating the pops effectively.
Step 5: Assemble the Pops
Once the Oreo balls are firm, remove them from the freezer. Carefully insert popsicle sticks into each ball, pushing them about halfway through. Next, dip each pop into the melted black chocolate, ensuring they are evenly coated. Hold the stick to let excess chocolate drip off before placing them back on the parchment.
Step 6: Decorate the Pops
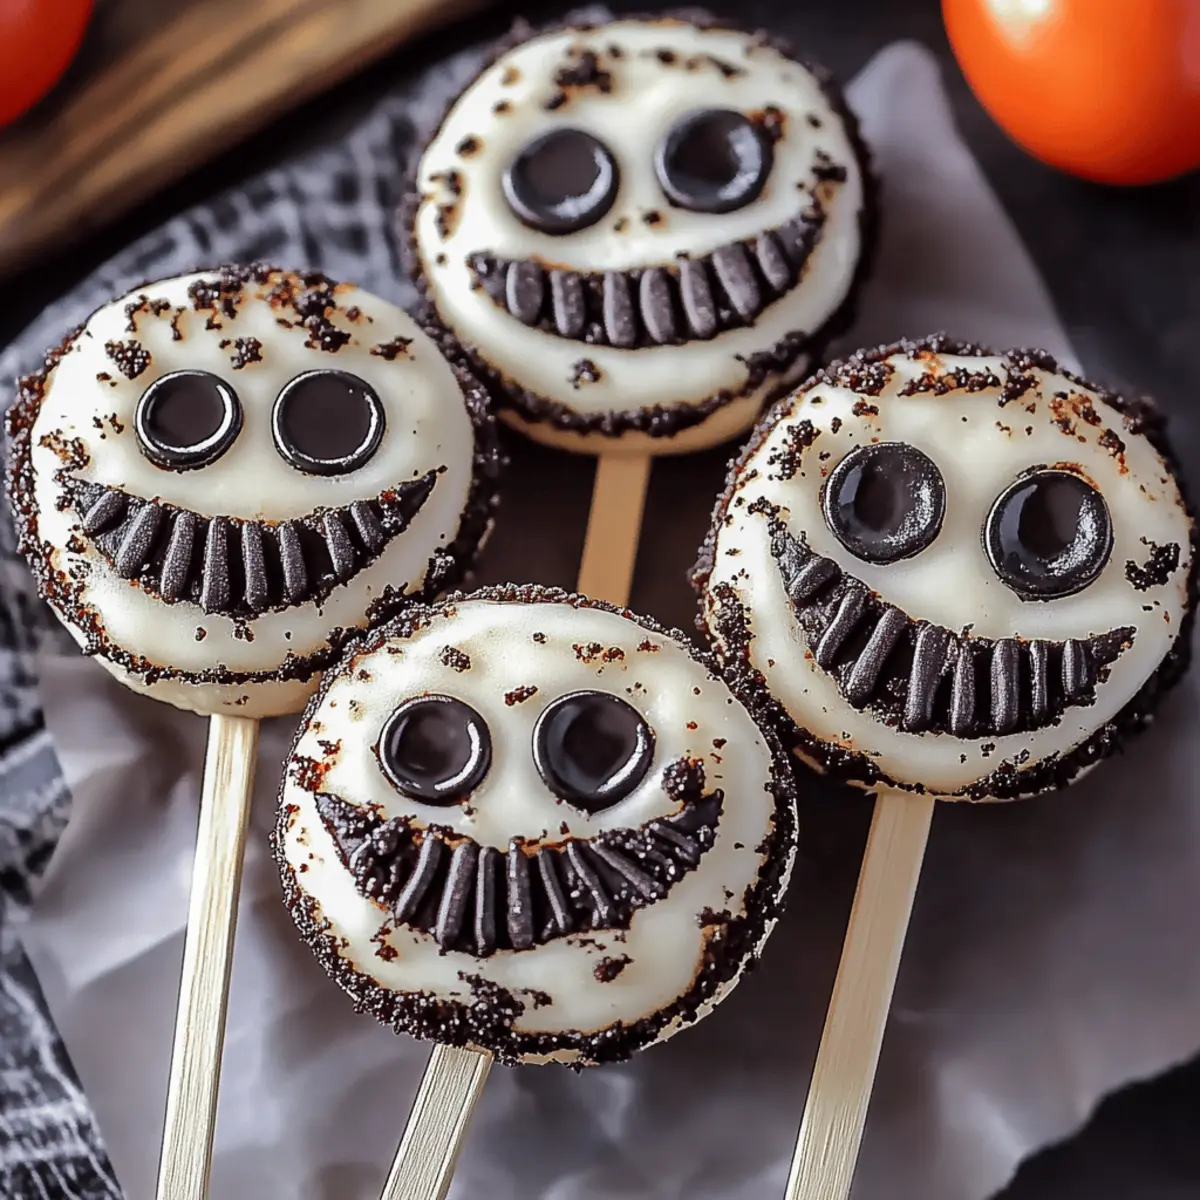
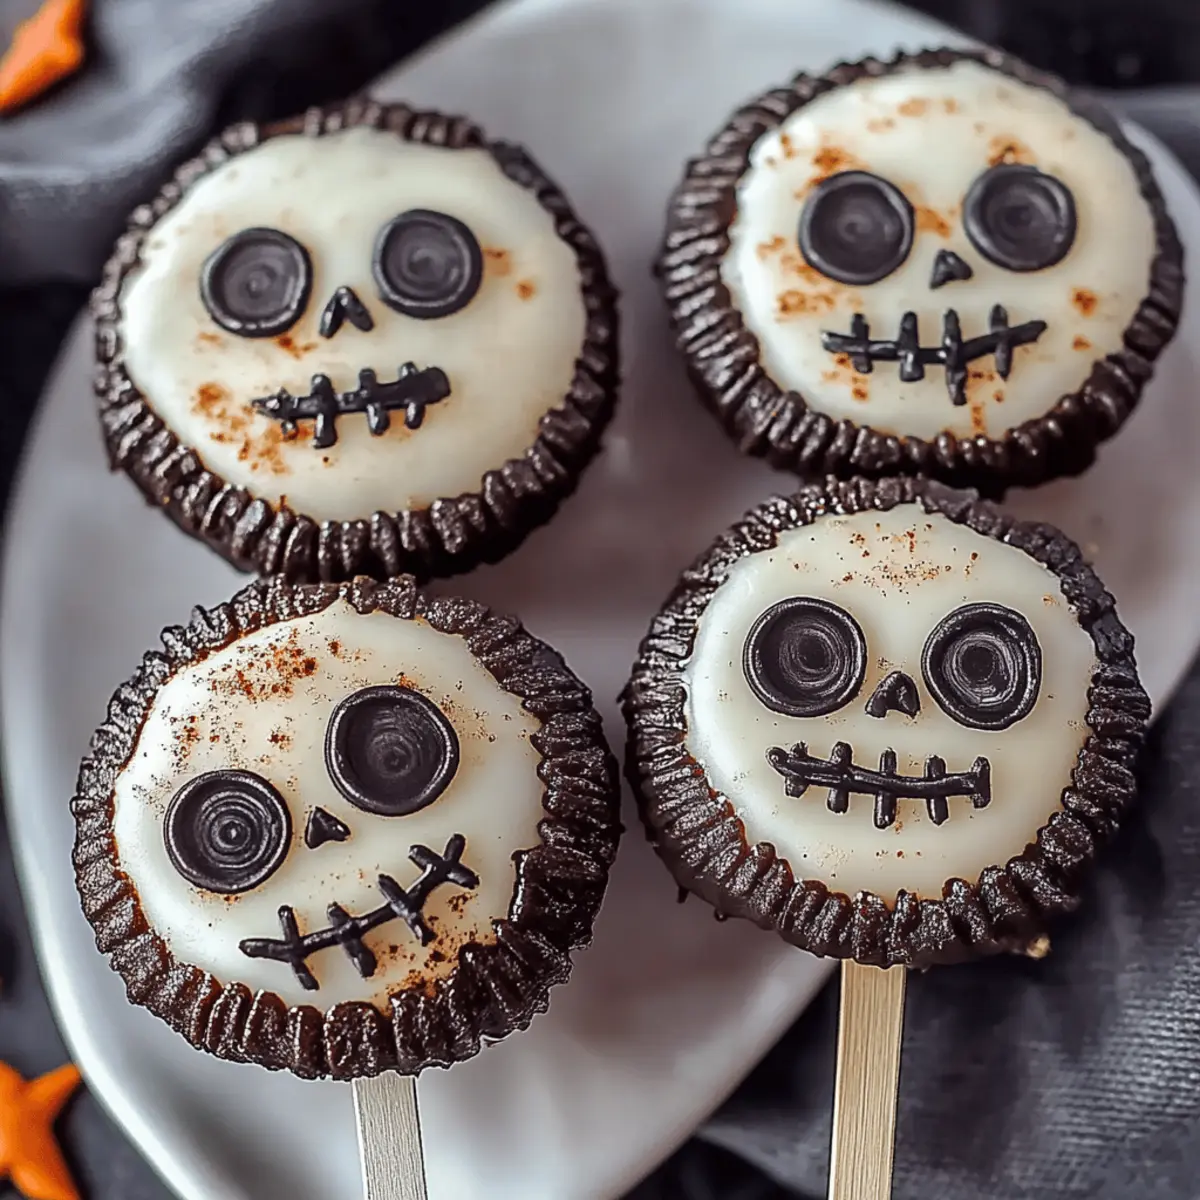
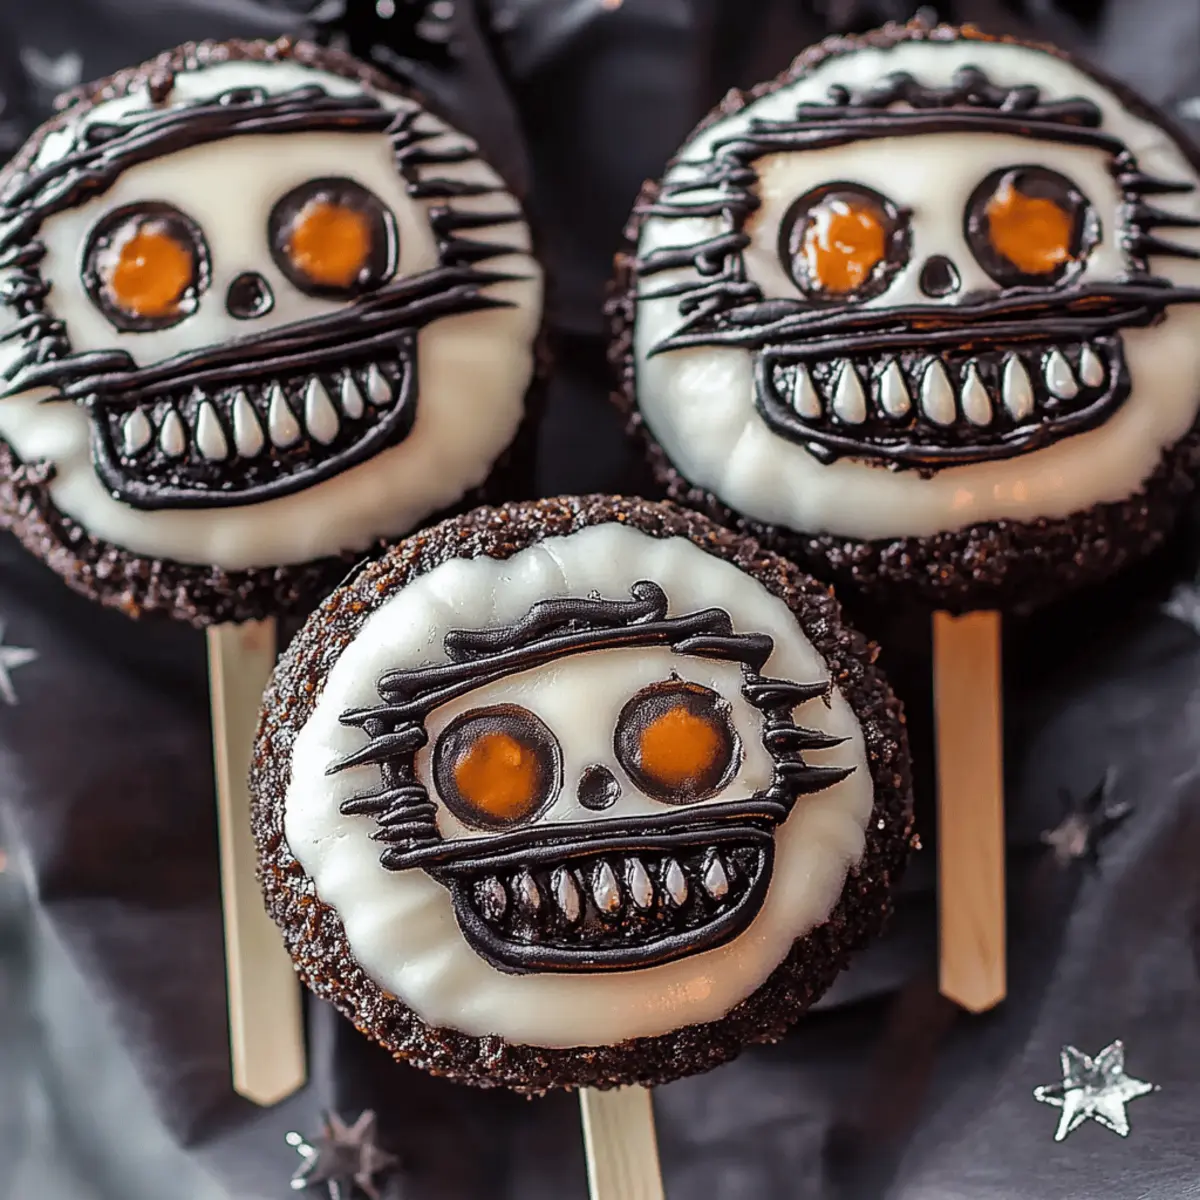
Before the black chocolate sets, sprinkle Halloween-themed decorations on top to add a festive flair. Alternatively, melt white chocolate and use it to pipe Jack's face features onto the pops for an adorable touch. Let your creativity shine!
Step 7: Let Them Set
Once decorated, place the chocolate-coated pops on the parchment paper again. Allow them to sit at room temperature until the chocolate is completely firm, which usually takes about 10-15 minutes. You can also refrigerate them for quicker setting if desired.
These Jack Skellington Oreo Pops are now ready to delight at your Halloween gatherings!
Make Ahead Options
These Jack Skellington Oreo Pops are a dream for busy home cooks looking to save time! You can prepare the Oreo-cream cheese mixture and roll it into balls up to 24 hours in advance; just store them in an airtight container in the refrigerator. When you’re ready to serve, simply dip the chilled pops into melted chocolate and decorate with sprinkles or Jack's face features. To maintain their quality, ensure the pops are properly covered and allow them to sit at room temperature before serving for the best texture. With these make-ahead options, you’ll have more time to enjoy your spooky celebration without any last-minute hassle!
How to Store and Freeze Jack Skellington Oreo Pops
Fridge: Store your Jack Skellington Oreo Pops in an airtight container in the fridge for up to 5 days. They'll stay fresh and delightful for snacking!
Freezer: For longer storage, place the pops in a single layer in a freezer-safe container, separated by parchment paper. They can be frozen for up to 3 months.
Thawing: When ready to enjoy, simply transfer the desired number of pops to the fridge for a few hours to thaw. Avoid microwaving, as it can affect the texture.
Reheating: If the chocolate hardens upon thawing, let the pops sit at room temperature for 10-15 minutes before enjoying to soften slightly while keeping their yummy flavor intact.
What to Serve with Jack Skellington Oreo Pops
As you prepare for the Halloween festivities, consider these delightful pairings that will elevate your spooky celebration to the next level!
-
Spooky Punch: A refreshing, fruity punch adds a playful touch and counters the richness of the Oreo pops, keeping guests happy and hydrated.
-
Ghostly Cupcakes: Light and fluffy vanilla cupcakes adorned with ghostly meringue frosting are the perfect sweet companions, both in flavor and fun presentation.
-
Pumpkin Spice Muffins: Their warm spices complement the chocolate in the Oreo pops, creating a cozy autumnal vibe everyone will appreciate.
-
Caramel Corn: Crunchy and sweet, this treat provides a delightful contrast of textures to the creamy Oreo pops, making it a festive snack for guests to enjoy.
-
Crispy Apple Slices: Tart and sweet apple slices with a touch of caramel dip offer a refreshing crunch, balancing the richness of the dessert.
-
Hot Chocolate Bar: Create a cozy station with whipped cream, marshmallows, and sprinkles, where guests can indulge in warm chocolate sips alongside their Oreo pops.
-
Fluffy Marshmallow Treats: These soft, chewy delights play nicely with the chocolatey pops, making for a fun dessert duo that kids will love!
With these pairings, your celebration will be a hit, and you’ll create cherished memories full of laughter and joy.
Jack Skellington Oreo Pops Variations
Get creative and explore a world of possibilities with these delightful pops!
- Gluten-Free: Use gluten-free Oreo cookies to ensure everyone can enjoy these spooky treats.
- Nut-Free: Opt for nut-free chocolate melts to safely share these pops with friends who have nut allergies.
- Vegan-Friendly: Substitute cream cheese with vegan cream cheese and use dairy-free chocolate melts for a plant-based option.
- Flavor Boost: Add a teaspoon of peppermint extract or almond extract to the cream cheese mixture for a fun flavor twist.
Imagine the delightful scents wafting through your kitchen as you infuse these pops with unique flavors! - Texture Add-on: Incorporate a handful of crushed nuts or rice crispy cereal into the Oreo mixture for a crunchy surprise.
- Spice It Up: Add a pinch of cayenne pepper or chili powder to the melted chocolate for a deliciously unexpected heat.
- Fruity Twist: Mix in some finely chopped dried fruits like cranberries or cherries into the Oreo mixture for added sweetness.
- Decorative Variations: Instead of Halloween sprinkles, use edible glitter or colored drizzles to customize your pops to match any theme!
With these fun variations, you can make your Jack Skellington Oreo Pops a crowd-pleasing sensation at any gathering. Why not pair them with other festive desserts, like spooky cupcakes, for an unforgettable Halloween treat?
Expert Tips for Jack Skellington Oreo Pops
Bite-Sized Balls: Make sure your Oreo-cream cheese mixture is evenly rolled into 1-inch balls for consistent coating and presentation.
Chill Time: Don't skip the freezing step! Allow the pops to chill thoroughly to ensure they hold their shape when coating in chocolate.
Melt with Care: Melt the chocolate in small increments to prevent scorching; overcooked chocolate can become clumpy and hard to work with.
Decorate Quickly: Work swiftly after dipping in chocolate to sprinkle decorations or pipe Jack's face; the chocolate sets fast.
Storage Tips: Keep your Jack Skellington Oreo Pops in an airtight container in the fridge, so they stay fresh and delightful for longer.
Creating these Jack Skellington Oreo Pops is more than just a recipe; it’s a way to indulge in a little Halloween magic!
Jack Skellington Oreo Pops Recipe FAQs
How do I choose the best Oreo cookies for this recipe?
Absolutely! Look for Oreo cookies that have no visible damage or broken pieces in the package. Fresh Oreos usually have a smooth, unblemished surface. If you find ones with dark spots or damage, they may not crush well and could affect the taste.
What's the best way to store leftover Jack Skellington Oreo Pops?
For optimal freshness, keep your Jack Skellington Oreo Pops in an airtight container in the fridge for up to 5 days. This will maintain their delicious taste and texture, making them a perfect treat for snacking throughout the week!
Can I freeze Jack Skellington Oreo Pops, and how do I do it correctly?
Absolutely, freezing is a great option! To freeze your pops, place them in a single layer in a freezer-safe container, ensuring each pop is separated by parchment paper to prevent sticking. They can be enjoyed for up to 3 months. When ready to eat, move them to the fridge for a couple of hours to thaw completely—no microwaving needed!
What should I do if the chocolate coating is clumpy or thick?
Very! If your melted chocolate is clumpy or thick, this could mean it was overheated. Try adding a small amount of vegetable oil or shortening and stir until smooth. If you plan to re-melt chocolate, do so in 15-30 second increments to avoid scorching.
Are there any dietary considerations for making these Oreo pops?
Definitely! If you or your guests have dietary restrictions, be sure to check the labels on the ingredients for allergens, especially the chocolate melts and cream cheese. For a dairy-free version, you can use dairy-free cream cheese and chocolate melts, allowing everyone to join in the Halloween fun.
Can I make these in advance for a party?
Of course! You can make Jack Skellington Oreo Pops up to 2 days in advance. Just store them in the fridge until you're ready to serve. This way, you'll have more time to enjoy the party and less time worrying about dessert preparations!
Delightful Jack Skellington Oreo Pops for Halloween Fun
Ingredients
Equipment
Method
- Crush the Oreos into fine crumbs using a food processor or rolling pin. Set aside.
- In a mixing bowl, combine the crushed Oreo crumbs with cream cheese and mix until smooth.
- Roll the Oreo-cream cheese mixture into 1-inch balls and place them on a parchment-lined baking sheet.
- Melt black chocolate melts as per package instructions and dip pops into melted chocolate for coating.
- Insert popsicle sticks into each ball and let excess chocolate drip off before placing back on parchment.
- Sprinkle Halloween decorations or pipe white chocolate onto pops before chocolate sets.
- Let pops sit at room temperature until chocolate is firm, or refrigerate for faster setting.


Leave a Reply