As I stood in my kitchen, the scent of freshly baked pastries wafted through the air, transporting me to cozy autumn afternoons in a quaint European café. Today, I'm excited to share my take on the delightful Karpatka Cake, a charming pastry that perfectly balances creamy custard and flaky golden layers. Not only is this recipe a showstopper for gatherings, but it also brings a slice of nostalgia to your table with every bite. Plus, it’s surprisingly easy to make, allowing you to impress your loved ones without the fuss. Gather your ingredients, and let’s create something truly heavenly together. What flavor memories do you hope this cake will inspire?
Why is Karpatka Cake so special?
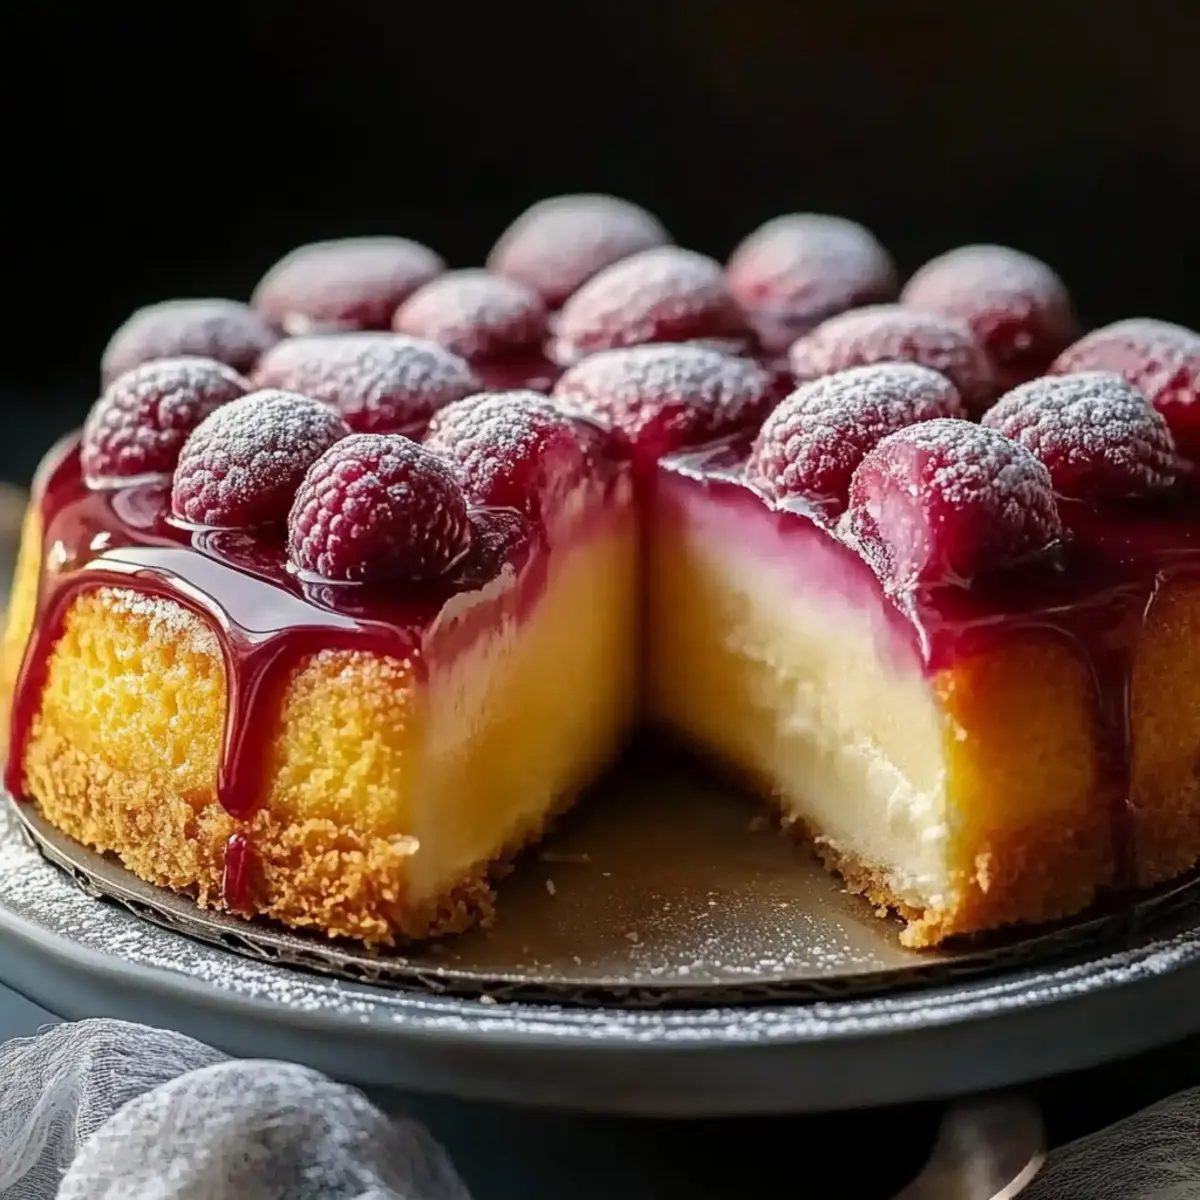
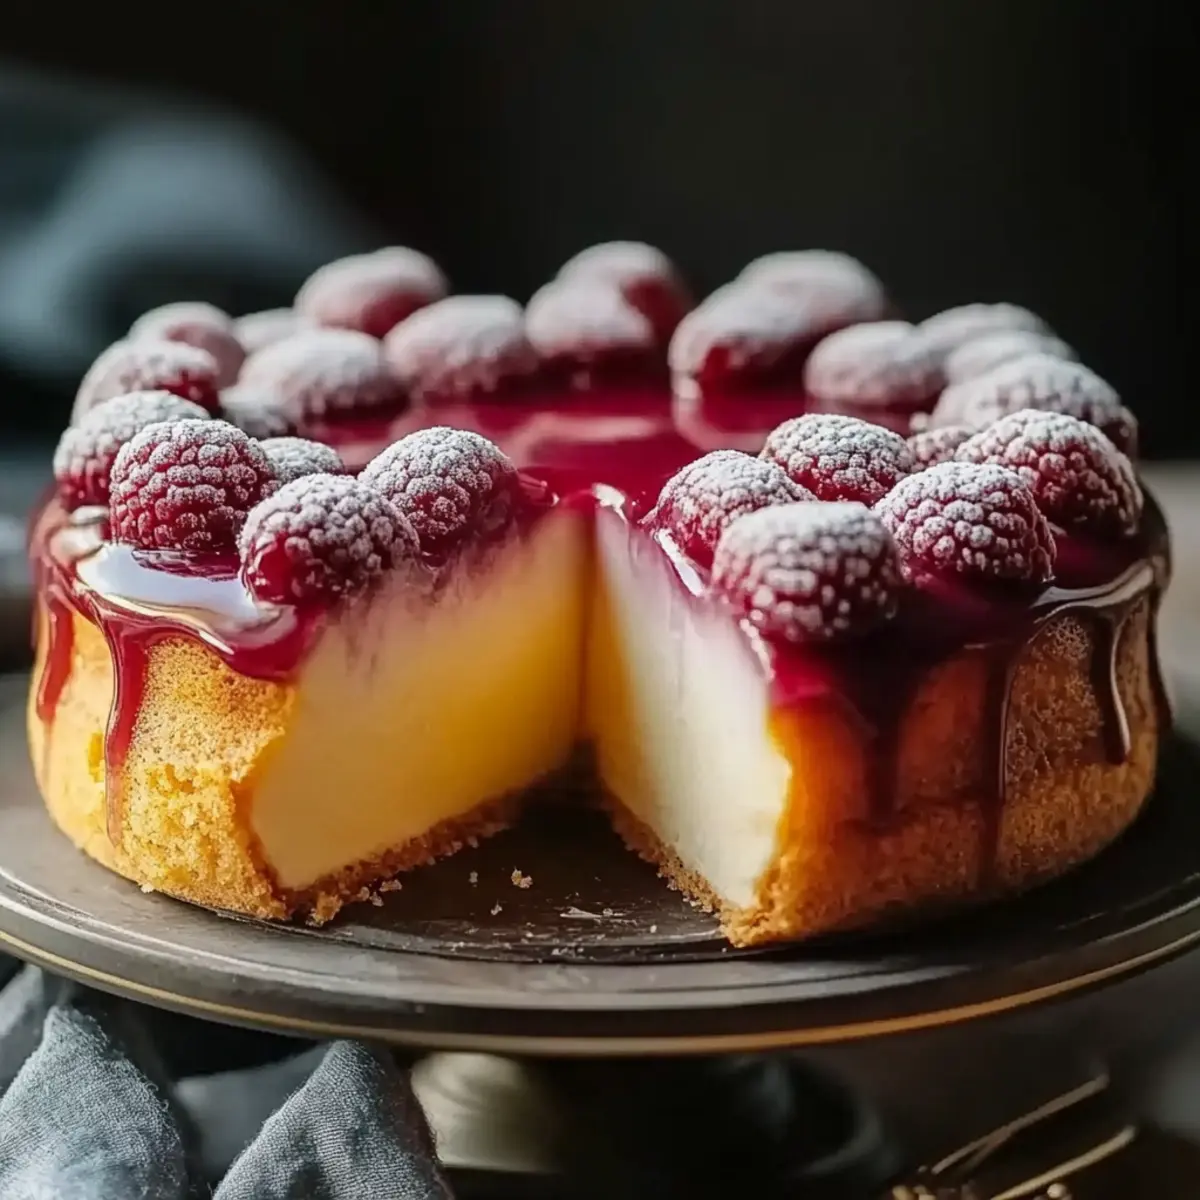
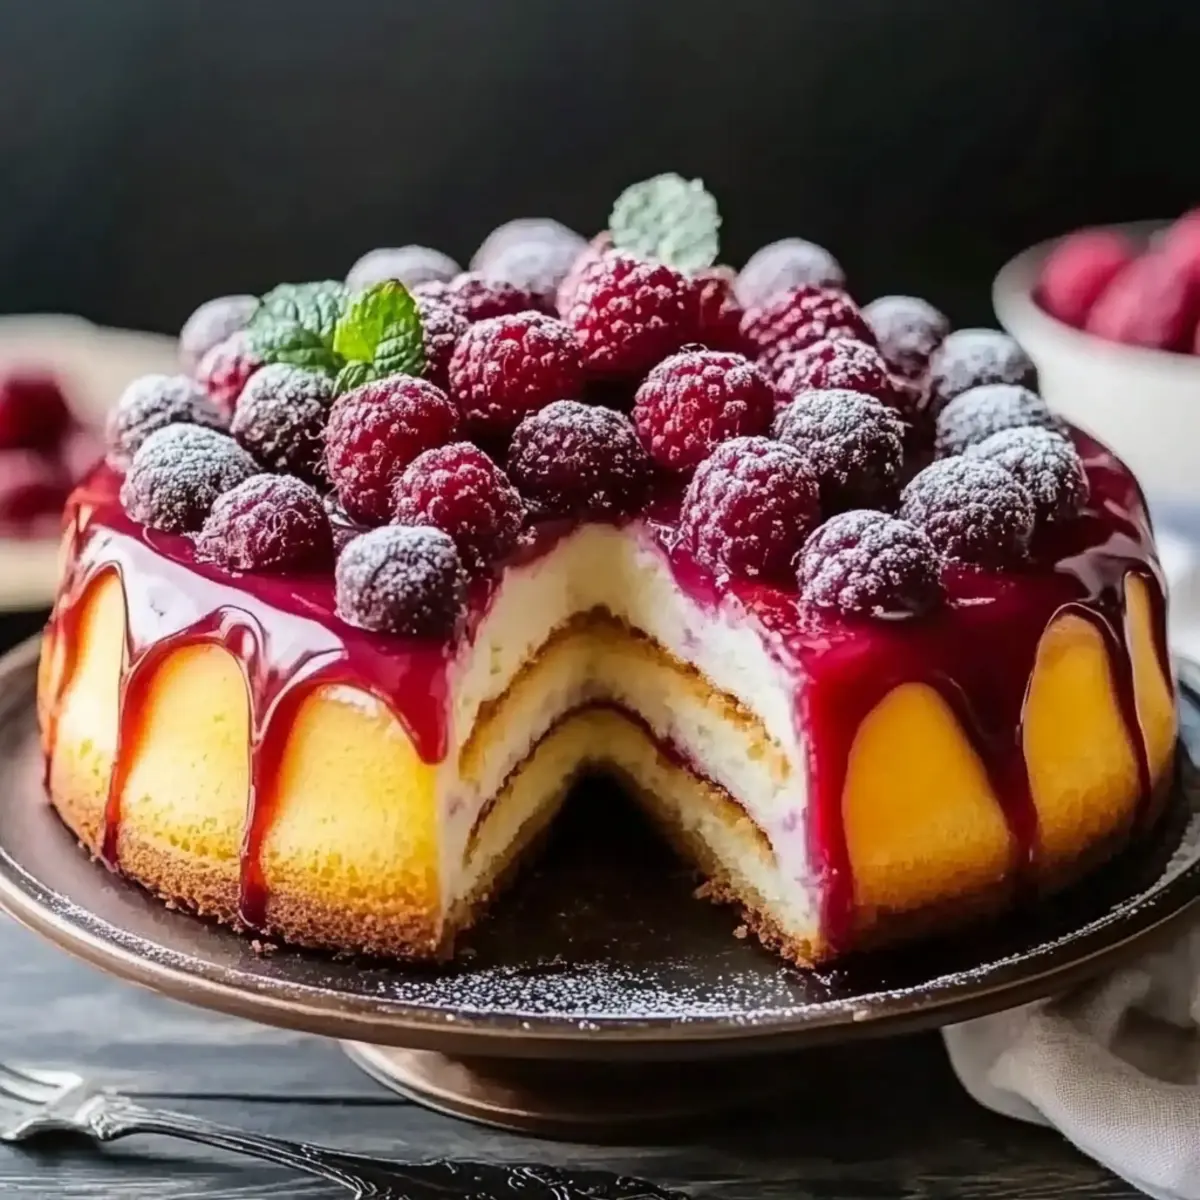
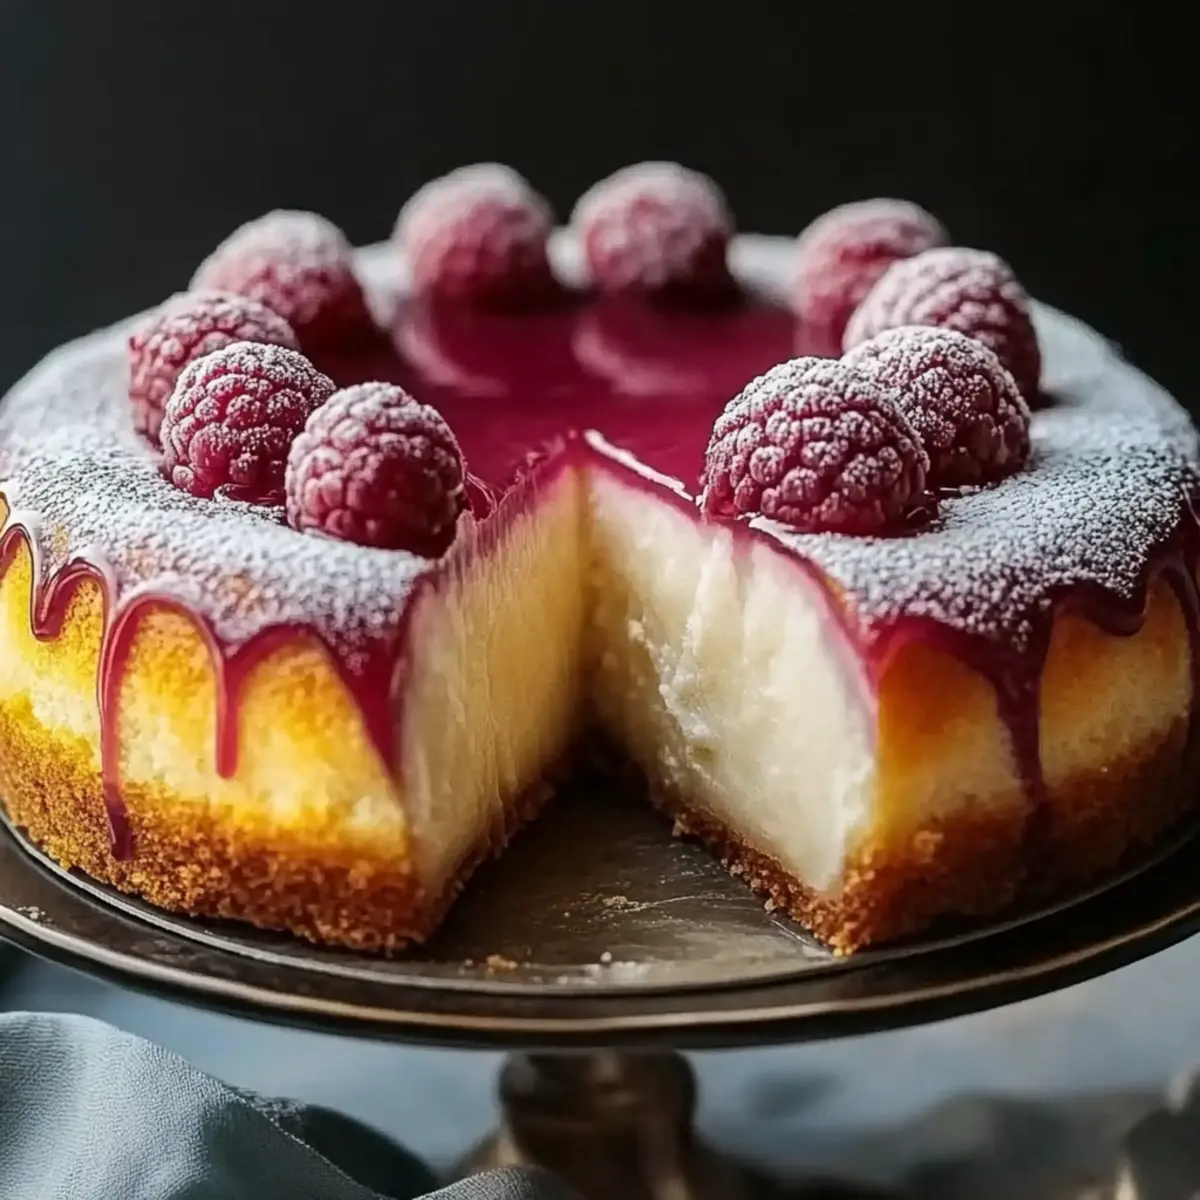
Heavenly Layers: This dessert features a stunning contrast between the crispy pastry and the silky custard filling, creating a mouthwatering experience with every bite.
Easy to Make: With a straightforward process, even beginners can take on this recipe with ease, and impress family and friends during gatherings.
Versatile Delight: Enjoy it as a festive treat or an afternoon snack; the Karpatka Cake fits every occasion perfectly!
Nostalgic Flavors: It brings memories of European cafés right to your kitchen, making each slice a journey into scrumptious tradition.
Impressive Presentation: Your friends will be amazed at your baking skills, all without requiring any elaborate decorating techniques. Feel free to explore more delightful variations of homemade desserts in my other posts on classic pastries!
Karpatka Cake Ingredients
• Let's gather everything you need for this delightful Karpatka Cake!
For the Pastry
- All-purpose flour – this forms the base of our flaky layers, providing texture and stability.
- Unsalted butter – offers richness and flavor; feel free to substitute with margarine if needed.
- Water – helps to create steam during baking, which is essential for the puffiness of the pastry.
- Large eggs – contribute to the structure and moisture of the dough, ensuring a delightful rise.
For the Custard Filling
- Whole milk – this creamy base makes the custard rich; you can use almond milk for a dairy-free version.
- Granulated sugar – adds sweetness to balance the flavors; adjust to taste if you prefer a less sweet custard.
- Cornstarch – acts as a thickening agent, helping the custard achieve a creamy texture.
- Granulated sugar (for the custard) – enhances the richness of the custard, complementing the creamy layers beautifully.
- Vanilla extract – provides a lovely aromatic flavor; always choose pure vanilla extract for the best taste.
Optional Decoration
- Heavy cream – whip this up for a delightful garnish on top; it adds a luscious finish to your cake.
Now that we’ve got our ingredients ready, let’s move on to creating this creamy dream dessert!
Step‑by‑Step Instructions for Karpatka Cake
Step 1: Preheat the Oven
Start by preheating your oven to 400°F (200°C). This ensures that your Karpatka Cake bakes evenly right from the start. While the oven is warming up, gather your ingredients so you're ready to create the delicious pastry.
Step 2: Prepare the Dough
In a medium saucepan, combine 1 cup of water with ½ cup of unsalted butter, bringing it to a rolling boil. Once boiling, quickly add 1 cup of all-purpose flour all at once, stirring vigorously until the mixture forms a cohesive ball that pulls away from the sides of the pan. This should take about 2–3 minutes. Remove from heat and let it cool slightly.
Step 3: Incorporate the Eggs
Add 4 large eggs to the cooled dough one at a time, mixing thoroughly after each addition. You want each egg to be fully incorporated before adding the next, resulting in a smooth, glossy pastry dough. This step is crucial for achieving the perfect rise in your Karpatka Cake.
Step 4: Spread the Dough
Grease a baking dish and evenly spread the pastry dough into it, smoothing the surface with a spatula. Make sure to fill the dish completely, as this will form the two layers of your cake. Bake in the preheated oven for 20-25 minutes or until the top is golden brown and puffy.
Step 5: Cool the Pastry
Once baked, remove the pastry from the oven and allow it to cool in the baking dish. The golden top should be firm to the touch but slightly springy. This cooling period is essential before adding the custard filling, allowing the layers to set perfectly.
Step 6: Prepare the Custard
In another saucepan, heat 2 cups of whole milk, ½ cup of granulated sugar, and 2 tablespoons of cornstarch over medium heat. Stir continuously until the mixture thickens, about 5–7 minutes. You’ll know it’s ready when it coats the back of a spoon and has a velvety texture, creating the rich filling for your Karpatka Cake.
Step 7: Flavor the Custard
Once thickened, remove the saucepan from the heat and stir in 2 teaspoons of vanilla extract, enhancing the custard's flavor. Allow the custard mixture to cool to room temperature; this will help it maintain the right consistency when layered between the pastry.
Step 8: Assemble the Cake
Once both the pastry and custard have cooled, carefully split the pastry into two equal layers. Using a sharp knife, gently slice through the center. Place one layer on a serving platter and spread the custard mixture generously over the top, ensuring an even layer that fills the spaces perfectly.
Step 9: Finish the Cake
Carefully place the second layer of pastry on top of the custard. This creates the iconic layers of the Karpatka Cake. For added flair, you can dust the top with powdered sugar or whip some heavy cream for a decorative garnish, if desired.
Step 10: Chill Before Serving
Finally, cover your assembled Karpatka Cake and chill it in the refrigerator for at least 1 hour before serving. This allows the layers to meld beautifully and makes slicing easier, giving you that perfect creamy dream dessert when it's time to delight your guests.
How to Store and Freeze Karpatka Cake
Fridge: Store your Karpatka Cake in the refrigerator, covered with plastic wrap or in an airtight container, for up to 3 days to maintain its delicious flavors and texture.
Freezer: For longer storage, wrap slices of the cake tightly in plastic wrap and aluminum foil, then freeze for up to 2 months. Thaw in the fridge overnight before enjoying.
Reheating: If desired, you can serve it chilled or gently rewarm individual slices in the microwave for about 10-15 seconds. Enjoy the creamy goodness of your custard-filled dessert!
Make Ahead Options
These Heavenly Karpatka Cake layers are perfect for busy cooks looking to save time without sacrificing flavor! You can prepare the pastry and custard filling up to 24 hours in advance. To do this, simply bake the pastry layers, allow them to cool completely, and store in an airtight container in the refrigerator. For the custard, let it cool to room temperature before covering it tightly and refrigerating it as well. When you're ready to serve, just assemble the cake by layering the custard between the pastry, chill for at least 1 hour before slicing, and enjoy your delightful treat—just as heavenly as if made fresh!
Expert Tips for Karpatka Cake
-
Perfect Puffiness: Ensure your water and butter mixture reaches a rolling boil before adding the flour. This is key for the pastry to rise beautifully.
-
Egg Incorporation: Beat in the eggs one at a time, ensuring each is fully mixed in. This helps create that airy structure that makes your Karpatka Cake light and fluffy.
-
Cooling Time: Don’t skip the cooling steps! Allowing the pastry and custard to cool properly ensures they set beautifully and slice cleanly.
-
Layering Success: Use a sharp knife to carefully slice the pastry in half. A smooth cut will keep the layers neat and prevent crumbling.
-
Chill Before Serving: Refrigerating the cake for at least an hour after assembly allows the flavors to meld, making for a creamier and more delicious dessert.
What to Serve with Heavenly Karpatka Cake
The perfect treat deserves an equally delightful meal to accompany it, enhancing your dining experience to new heights.
-
Fresh Berries: Juicy strawberries or raspberries add a burst of freshness, cutting through the richness of the cake beautifully. Their vibrant color also makes your dessert plate pop!
-
Whipped Cream: Lightly sweetened whipped cream complements the cake's creamy layers, offering a fluffy texture that harmonizes perfectly with every bite.
-
Coffee: A strong cup of coffee enhances the flavors of the Karpatka cake, making it an uplifting pairing that energizes your dessert moment.
-
Chocolate Sauce: Drizzling warm chocolate sauce over the cake creates a decadent experience, introducing a rich contrast that any chocolate lover will adore.
-
Mint Tea: The refreshing notes of mint tea provide a herbal contrast that can cleanse the palate after enjoying a slice of this rich dessert.
-
Ice Cream: Vanilla or caramel ice cream can elevate your dessert experience, adding a creamy and cool contrast to the warm layers of the Karpatka Cake.
-
Fruit Compote: A homemade fruit compote, like berry or peach, brings a sweet-tart element, making each bite feel vibrant and fresh.
-
Nuts: Toasted almonds or walnuts add a delightful crunch, enhancing the texture contrast while providing a nutty flavor that plays well with the soft custard.
Karpatka Cake Variations & Substitutions
Feel free to personalize your Karpatka Cake experience with these delightful twists and swaps that will tantalize your taste buds!
-
Gluten-Free: Use a 1:1 gluten-free flour blend for a similar texture without the gluten. Your cake will still be heavenly and delicious!
-
Dairy-Free: Swap the milk for almond or coconut milk and replace the butter with a plant-based margarine. You'll enjoy a creamy custard without the dairy!
-
Sweetener Swap: Try using honey or maple syrup in place of granulated sugar for a natural sweetness. Just remember to adjust your liquid ratios slightly.
-
Flavor Boost: Add a tablespoon of orange or lemon zest to your custard for a refreshing zing that elevates the flavor profile beautifully.
-
Nutty Crunch: Fold chopped almonds or hazelnuts into the custard before layering for an irresistible crunch. This added texture will make each bite even more delightful!
-
Chocolate Delight: Incorporate melted dark chocolate into the custard for a rich and decadent chocolate version of the classic Karpatka Cake.
-
Berry Infusion: Layer fresh berries like raspberries or strawberries between the pastry and custard for a fruity twist; this adds brightness and natural sweetness.
-
Spica Twist: Add a pinch of cinnamon or nutmeg into the custard for a warm, aromatic touch that complements the creamy filling wonderfully.
Feel free to explore more delicious ideas, like classic panna cotta, to satisfy your longing for rich desserts while you experiment with your Karpatka Cake!
Karpatka Cake Recipe FAQs
How do I choose ripe ingredients for my Karpatka Cake?
Absolutely! For the best flavor in your custard, choose whole milk that’s fresh and ideally not close to its expiration date. Always look for butter that is firm and cold; this guarantees a fluffy pastry. Eggs should be large and at room temperature for improved integration into the dough, which helps achieve that perfect rise.
What is the best way to store my Karpatka Cake?
Very simple! Store your Karpatka Cake in the refrigerator, covered with plastic wrap or in an airtight container, for up to 3 days. This preserves the rich flavors and keeps the pastry from becoming soggy. If you're like me and want to savor it longer, wrap slices tightly in plastic wrap and aluminum foil, then freeze them for up to 2 months.
Can I freeze the Karpatka Cake, and how do I do it?
Absolutely! To freeze your Karpatka Cake, first slice it into portions. Wrap each slice tightly in plastic wrap, then place them in a resealable freezer bag, making sure to remove as much air as possible. For the best results, consume them within 2 months. When you're ready to enjoy, simply thaw in the fridge overnight for the best texture and flavor.
What should I do if the pastry is too dry or tough?
Don’t fret! If your pastry turns out too dry or hard, ensure you’ve measured your ingredients accurately. Adding a bit of extra water during mixing can help, as can checking your oven temperature—too high could lead to dryness. Remember, the pastry should be golden brown and spring back when lightly touched, indicating it’s perfectly baked.
Are there any dietary considerations for the Karpatka Cake?
Yes, indeed! If you or your guests have dietary restrictions, consider using almond milk or coconut milk to make the custard dairy-free. For allergies, be cautious with eggs; there are egg replacers available. Always double-check your ingredients, especially the baking staples, to avoid any allergens.
How can I make my Karpatka Cake extra special?
The more the merrier! To elevate your Karpatka Cake, consider adding a touch of zest, such as lemon or orange, to the custard for a burst of flavor. Whipped heavy cream is a fantastic addition for those who want a luxurious touch on top. Dusting the finished cake with powdered sugar or chocolate shavings before serving can also create a stunning presentation.
Karpatka Cake: Indulge in This Creamy Dream Dessert
Ingredients
Equipment
Method
- Preheat your oven to 400°F (200°C).
- In a medium saucepan, combine 1 cup of water with ½ cup of unsalted butter and bring to a rolling boil.
- Quickly add 1 cup of all-purpose flour all at once, stirring vigorously until a cohesive dough forms.
- Add 4 large eggs to the dough one at a time, mixing thoroughly after each addition.
- Grease a baking dish and spread the pastry dough into it, smoothing the surface.
- Bake in the preheated oven for 20-25 minutes until golden brown and puffy.
- Remove the pastry from the oven and allow it to cool in the baking dish.
- In another saucepan, heat 2 cups of whole milk, ½ cup of granulated sugar, and 2 tablespoons of cornstarch until thickened.
- Stir in 2 teaspoons of vanilla extract and let cool to room temperature.
- Carefully split the pastry into two equal layers and spread the custard mixture over one layer.
- Place the second layer of pastry on top and chill for at least 1 hour before serving.


Leave a Reply