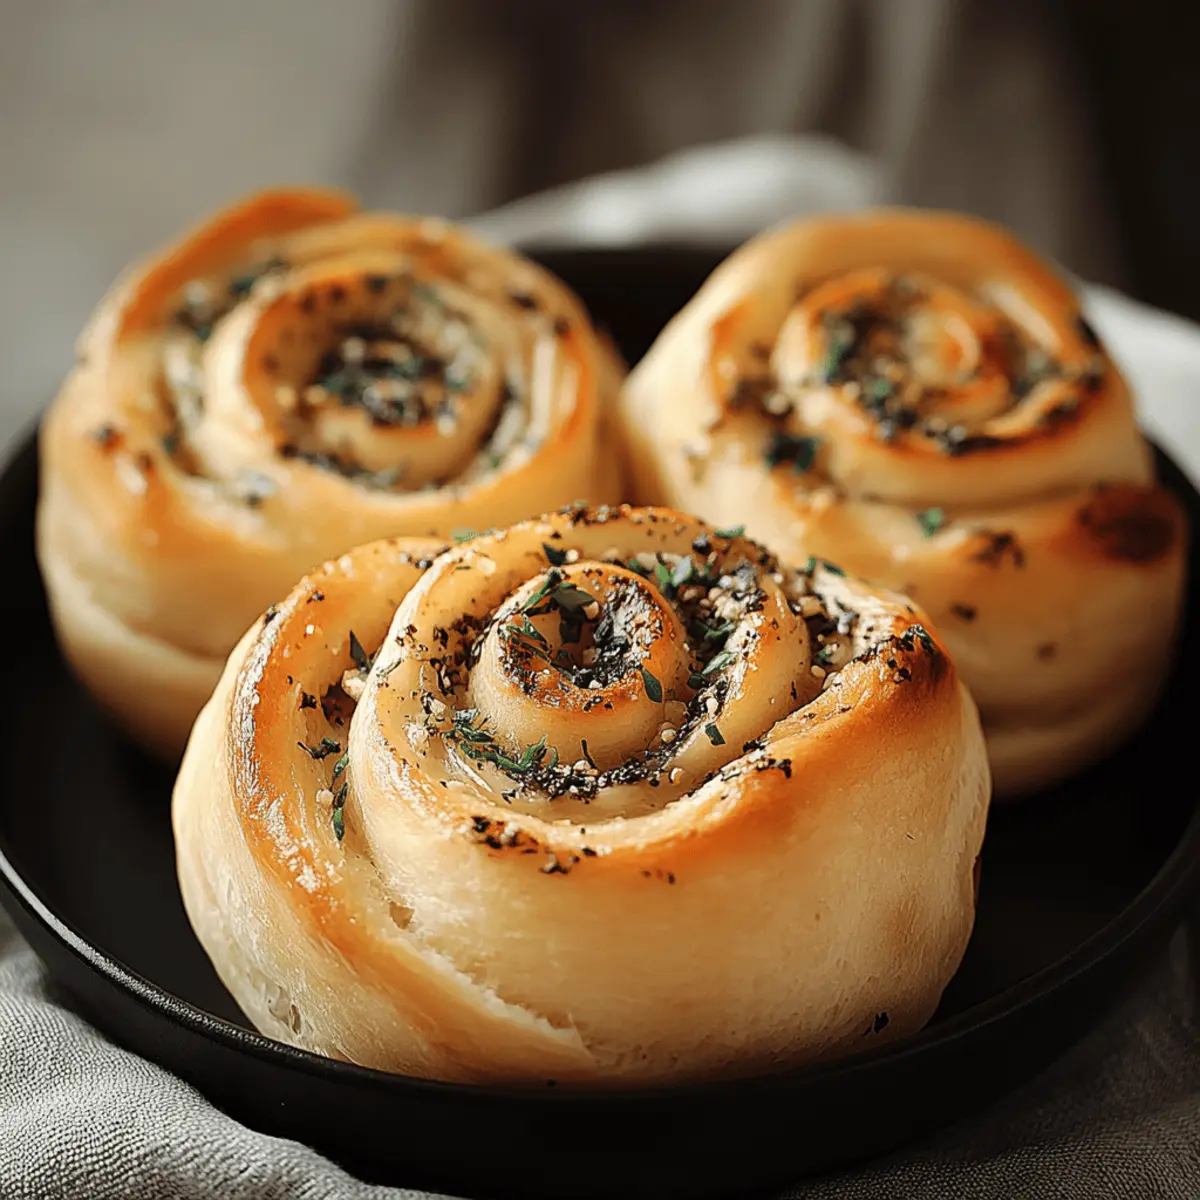
As I pulled apart a warm Garlic-Swirl Roll, the delightful aroma of garlic and melted butter filled the kitchen, wrapping me in a comforting embrace. There’s something truly magical about homemade bread—especially when it swirls with garlicky goodness! This recipe not only brings that bakery-fresh experience to your home but also makes it a breeze to whip up for gatherings or cozy family dinners. With a simple dough that’s easy to work with, and the perfect blend of flavors, these rolls will quickly become a staple in your kitchen repertoire. Plus, they freeze beautifully, allowing you to enjoy a taste of warmth and comfort whenever you crave it. Are you ready to take your baking game to the next level and fill your home with irresistible scents?
Why Are Garlic-Swirl Rolls So Irresistible?
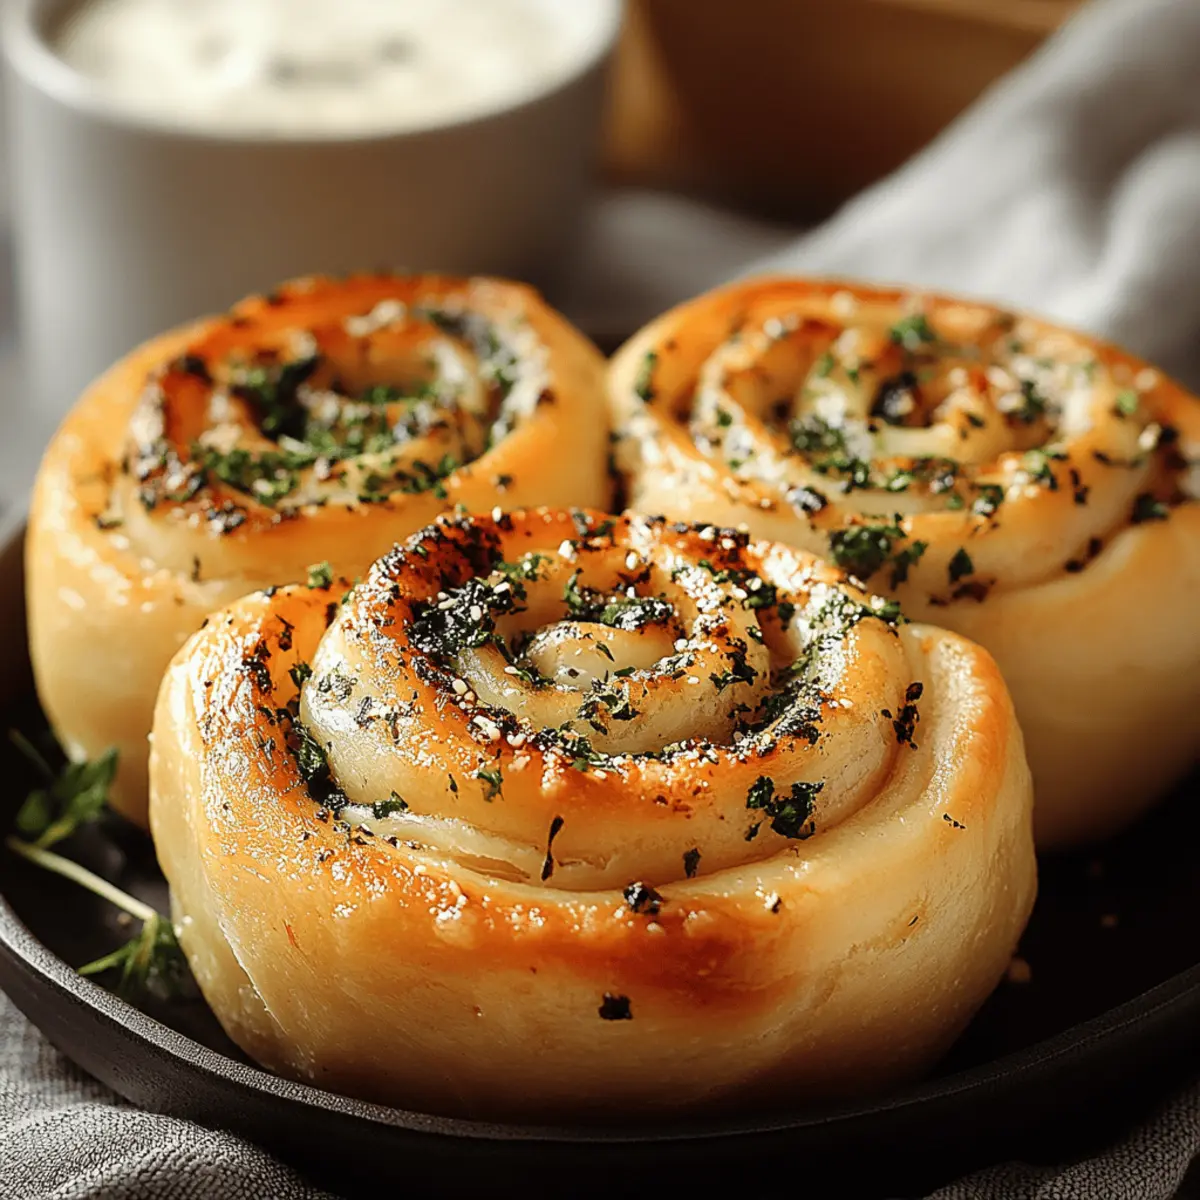
Soft, Buttery Texture: Each bite of these rolls melts in your mouth, thanks to the perfectly soft dough.
Aromatic Garlic Bliss: The rich garlic flavor elevates the simple rolls to a new level, making them a standout at any meal.
Versatile Side Dish: Whether paired with a hearty soup or served alongside a fresh salad, these rolls complement a variety of dishes splendidly.
Easy-to-Follow Steps: With just a handful of ingredients and straightforward instructions, even novice bakers can create this homemade delight.
Freezer-Friendly: Make a batch and freeze extras to have warm, comforting rolls ready whenever the cravings hit.
Elevate your dinner experience and impress your guests with these delightful Garlic-Swirl Rolls, turning any ordinary meal into a special occasion!
Garlic Swirl Rolls Ingredients
For the Dough
- All-purpose flour – a versatile base that creates the perfect soft texture for your rolls.
- Active dry yeast – ensures the dough rises beautifully, giving the rolls that light and airy quality.
- Sugar – adds a touch of sweetness to balance the savory garlic flavor.
- Salt – enhances the overall taste and strengthens the dough structure.
- Warm milk – creates a tender crumb, adding richness to the rolls.
- Butter – provides that irresistible buttery goodness, making each bite melt in your mouth.
- Egg – enriches the dough and helps bind all the ingredients together.
For the Garlic Filling
- Garlic cloves – fresh minced garlic infuses each roll with a robust flavor that’s simply irresistible.
- Softened butter – allows for easy spreadability, ensuring every swirl is packed with buttery garlic goodness.
- Parsley – adds a fresh note that beautifully complements the savory filling.
- Grated cheese (optional) – for those who love extra flavor, cheese takes these Garlic Swirl Rolls to an indulgent level.
These Garlic Swirl Rolls are not just a treat; they’re a warm embrace for the soul, ready to elevate any dining experience. Happy baking!
Step‑by‑Step Instructions for Garlic Swirl Rolls
Step 1: Prepare the Dough
In a large mixing bowl, combine 4 cups of all-purpose flour, 2 tablespoons of sugar, and 1 teaspoon of salt. In a separate bowl, dissolve 2 teaspoons of active dry yeast in 1 cup of warm milk (about 110°F) and let it sit for 5 minutes until frothy. Gradually add the yeast mixture, 1 beaten egg, and 4 tablespoons of melted butter to the flour mix, stirring until a soft dough forms. Knead for about 8-10 minutes until smooth and elastic.
Step 2: Allow the Dough to Rise
Place the kneaded dough in a greased bowl, cover it with a clean kitchen towel, and let it rise in a warm spot for 1 to 1.5 hours, or until it doubles in size. You'll know it’s ready when you can gently poke the dough, and it springs back slightly. This step ensures that your Garlic Swirl Rolls will be light and fluffy.
Step 3: Prepare the Filling
While your dough is rising, prepare the garlic filling. In a small bowl, mix together 4 tablespoons of softened butter, 4 minced garlic cloves, and 2 tablespoons of chopped parsley until well combined. This mixture will bring the savory, aromatic flavor to your rolls. Set this flavorful filling aside until the dough is ready for shaping.
Step 4: Shape the Rolls
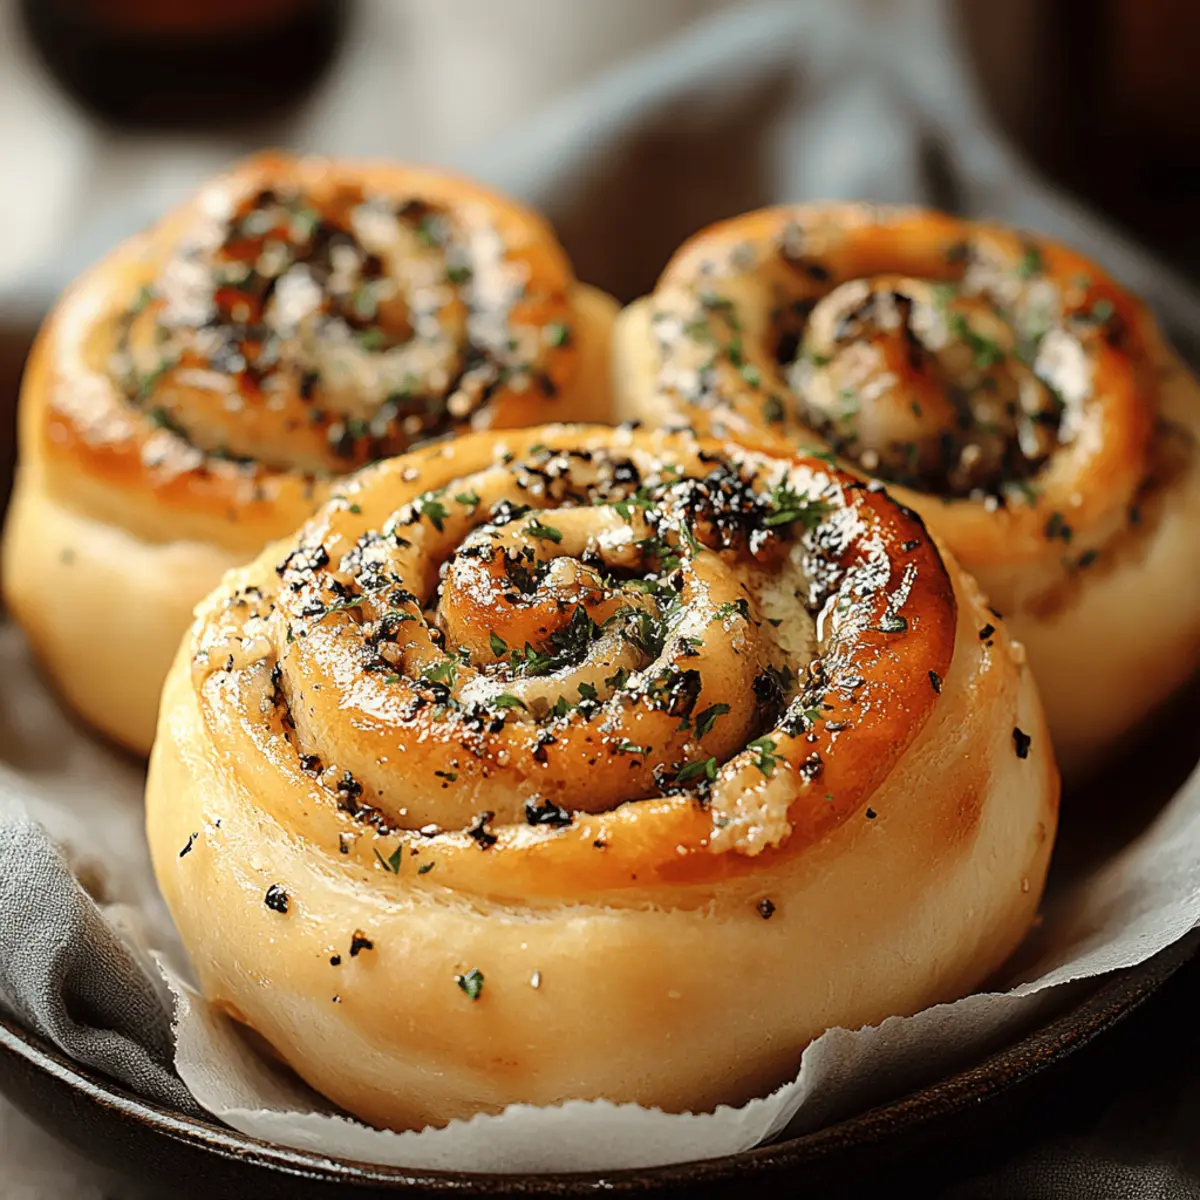
Once the dough has risen, punch it down to release air and turn it out onto a floured surface. Roll the dough into a rectangle about ¼ inch thick. Spread the garlic filling evenly across the surface, sprinkling grated cheese if desired. Starting from one long side, tightly roll the dough into a log. Cut the log into 12 equal pieces and place them cut-side up in a greased baking dish.
Step 5: Allow the Rolls to Rise a Second Time
Cover the baking dish with a towel and let the shaped rolls rise in a warm area for about 30-45 minutes. They should puff up nicely and merge together, creating those irresistible swirls. This final rise allows the flavors to develop and makes your Garlic Swirl Rolls even more tender and fluffy.
Step 6: Bake
Preheat your oven to 375°F (190°C). Once the rolls have risen, bake them for 20-25 minutes, or until golden brown on top and the aroma fills your kitchen. Keep an eye on them—when they are lightly browned and sound hollow when tapped, they are ready! Remove from the oven and brush with melted butter for an extra touch of richness.

Variations & Substitutions for Garlic-Swirl Rolls
Feel free to get creative with these Garlic-Swirl Rolls and make them your own with these delightful twists!
- Dairy-Free: Use almond or oat milk and coconut oil instead of milk and butter for a deliciously creamy version.
- Gluten-Free: Substitute all-purpose flour with a gluten-free blend, ensuring your rolls are still fluffy and scrumptious.
- Herb-Infused: Mix in fresh herbs like thyme or rosemary with the garlic filling for an aromatic burst of flavor that will elevate your rolls.
- Spicy Kick: Add a pinch of red pepper flakes to the filling for a touch of heat that dances on your palate—a perfect contrast to the buttery goodness.
- Cheesy Goodness: Fold in some shredded mozzarella or cheddar into the filling for a gooey, melty experience that cheese lovers will adore.
- Sweet Treat: Swap out the garlic filling for a cinnamon-sugar blend and a drizzle of cream cheese frosting for a delightful breakfast or dessert option.
- Veggie Boost: Incorporate finely chopped spinach or roasted bell peppers into the filling for added color, flavor, and nutrients.
- Make Ahead: Prepare the rolls and freeze them before the second rise. They’ll be ready to bake at a moment’s notice, perfect for unexpected guests!
These variations allow you to make your Garlic-Swirl Rolls truly unique, just like the beautiful meals they accompany. If you're looking for more delightful sides, why not pair them with a warming bowl of Hearty Tomato Basil Soup or a fresh Crisp Garden Salad? Happy baking!
How to Store and Freeze Garlic Swirl Rolls
Room Temperature: Store your Garlic Swirl Rolls in an airtight container at room temperature for up to 3 days to maintain their freshness and soft texture.
Fridge: If you need to keep them longer, refrigerate the rolls in a sealed container for up to a week, though they may dry out slightly.
Freezer: For longer storage, freeze the rolls in a single layer on a baking sheet, then transfer to a freezer bag. They can be stored for up to 3 months.
Reheating: To enjoy your frozen Garlic Swirl Rolls, thaw them in the fridge overnight, then reheat in the oven at 350°F (175°C) for about 10-15 minutes, until warm and fluffy.
Make Ahead Options
These Garlic Swirl Rolls are perfect for meal prep enthusiasts! You can prepare the dough and shape the rolls up to 24 hours in advance. Simply follow the recipe through Step 4, then cover the shaped rolls tightly with plastic wrap and refrigerate them. This helps them maintain their freshness and flavor. When you're ready to bake, allow the rolls to rest at room temperature for about 30 minutes before letting them rise a second time (Step 5). Alternatively, you can freeze the rolled and shaped dough for up to 3 months. Just thaw them overnight in the fridge before allowing them to rise. With these make-ahead options, you’ll have warm, delicious Garlic Swirl Rolls anytime you need them!
Expert Tips for Garlic Swirl Rolls
Dough Consistency: Ensure your dough is smooth and elastic after kneading. If it’s too sticky, gradually add more flour until it pulls away from the bowl.
Ideal Rising Temperature: Place your dough in a warm, draft-free area to rise well. A too-cold environment can slow yeast activity, resulting in dense rolls.
Perfect Filling Distribution: Spread the garlic filling evenly for consistent flavor. Avoid overfilling to prevent spilling over during baking, which can burn and affect the rolls' shape.
Proper Baking Time: Keep a close eye on your rolls as they bake. Ovens can vary, so check around the 20-minute mark to prevent over-browning.
Storing Leftovers: To keep your Garlic Swirl Rolls fresh, store them in an airtight container at room temperature for up to 3 days. They also freeze beautifully for future enjoyment!
What to Serve with Garlic-Swirl Rolls
Savoring warm, fluffy rolls makes any meal feel special, and finding the perfect companions elevates your dining experience.
-
Rich Tomato Soup: The acidity of tomato soup contrasts beautifully with the buttery rolls, making for a cozy pairing on chilly nights.
-
Fresh Garden Salad: Crisp greens, juicy tomatoes, and a light vinaigrette create a refreshing balance, enhancing the rolls’ savory flavors.
-
Grilled Chicken: Seasoned to perfection, the juicy chicken provides a hearty foundation that complements the tender garlic swirls wonderfully.
-
Creamy Alfredo Sauce: Drizzling this luscious sauce over the rolls adds a touch of indulgence and a burst of flavor, perfect for a more indulgent meal.
-
Roasted Vegetables: The caramelization adds a sweet, earthy element that pairs harmoniously with the plush texture of the rolls.
-
Sparkling Lemonade: This refreshing drink pairs perfectly with the rolls, its zesty notes enhancing the rich garlic taste and providing a delightful contrast.
-
Chocolate Chip Cookies: End your meal on a sweet note! The warm, gooey cookies are a delightful dessert after the savory delight of garlic-swirl rolls.
Let your creativity shine as you try these pairings and turn simple dinners into memorable feasts that will warm your heart and hug your taste buds!
Garlic Swirl Rolls Recipe FAQs
How can I choose the best garlic for this recipe?
Absolutely! Choose fresh garlic cloves that are firm and have dry, papery skins. Avoid any with dark spots or soft patches, as those can affect the flavor. For a robust flavor in your Garlic Swirl Rolls, try to use cloves that are a bit larger, as they tend to have a stronger taste.
How should I store my Garlic Swirl Rolls once baked?
Very easy! After they cool completely, place your Garlic Swirl Rolls in an airtight container at room temperature for up to 3 days. For longer storage, you can refrigerate them in a sealed container for up to a week, but they might lose some of their moistness.
Can I freeze Garlic Swirl Rolls, and how do I do so?
Absolutely! To freeze your Garlic Swirl Rolls, start by letting them cool completely. Then, arrange them in a single layer on a baking sheet and freeze until solid. Once frozen, transfer them to a freezer-safe bag or container and label it with the date. You can keep them in the freezer for up to 3 months.
What should I do if my dough isn’t rising properly?
If your dough isn’t rising, it could be due to yeast that’s not active. Make sure your water or milk is warm (about 110°F) but not hot, as too much heat can kill the yeast. You can also check the expiration date of your yeast. If everything seems fine but the dough is still stubborn, let it rest in a warmer area, like near your oven, to encourage rising.
Are Garlic Swirl Rolls suitable for people with allergies?
These Garlic Swirl Rolls do contain common allergens such as gluten (in the flour) and dairy (in the butter and milk). For a gluten-free alternative, you can use a gluten-free flour blend designed for baking, and for dairy-free versions, substitute with dairy-free butter and almond or oat milk. Always double-check ingredient labels to ensure they meet your dietary needs!
Garlic Swirl Rolls: Soft, Buttery Bites of Heaven
Ingredients
Equipment
Method
- In a large mixing bowl, combine 4 cups of all-purpose flour, 2 tablespoons of sugar, and 1 teaspoon of salt.
- In a separate bowl, dissolve 2 teaspoons of active dry yeast in 1 cup of warm milk and let it sit for 5 minutes until frothy.
- Gradually add the yeast mixture, 1 beaten egg, and 4 tablespoons of melted butter to the flour mix, stirring until a soft dough forms.
- Knead for about 8-10 minutes until smooth and elastic.
- Place the kneaded dough in a greased bowl, cover it, and let rise in a warm spot for 1 to 1.5 hours.
- In a small bowl, mix together 4 tablespoons of softened butter, 4 minced garlic cloves, and 2 tablespoons of chopped parsley.
- Once the dough has risen, punch it down and turn it out onto a floured surface, rolling it into a rectangle about ¼ inch thick.
- Spread the garlic filling evenly across the surface, roll it into a log, and cut into 12 equal pieces.
- Cover the baking dish with a towel and let the shaped rolls rise in a warm area for about 30-45 minutes.
- Preheat your oven to 375°F. Bake for 20-25 minutes, or until golden brown, and brush with melted butter before serving.


Leave a Reply