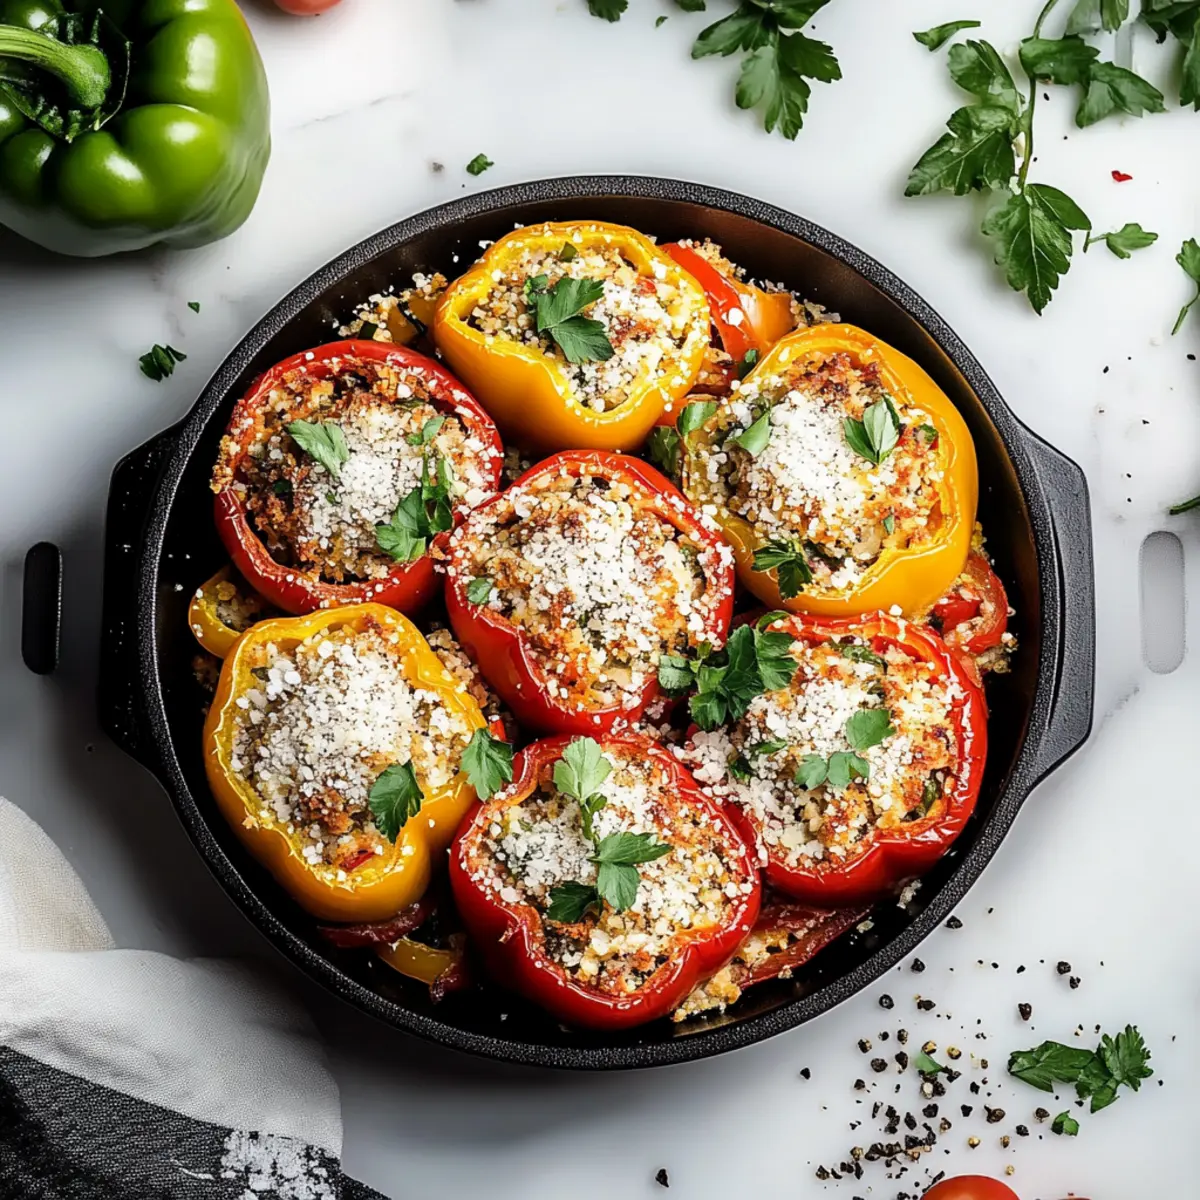
"Can you hear it? That faint sizzle from the skillet as the onions and garlic dance together, creating a melody that fills the kitchen with warmth. My mouth waters in anticipation every time I make Stuffed Bell Peppers—those vibrant, hollowed-out beauties brimming with a savory mix of ground beef and rice. Not only are these peppers a feast for the eyes, but they’re also a breeze to whip up after a long day, taking just over an hour from start to finish. Perfect for busy weeknights, they serve as a comforting reminder that homemade food doesn’t have to be complicated. Plus, they can easily be customized to cater to your own flavor preferences or dietary needs. Ready to transform your dinner routine? Let’s dive into this colorful dish that’s sure to please everyone at the table!"
Why are Stuffed Bell Peppers a must-try?
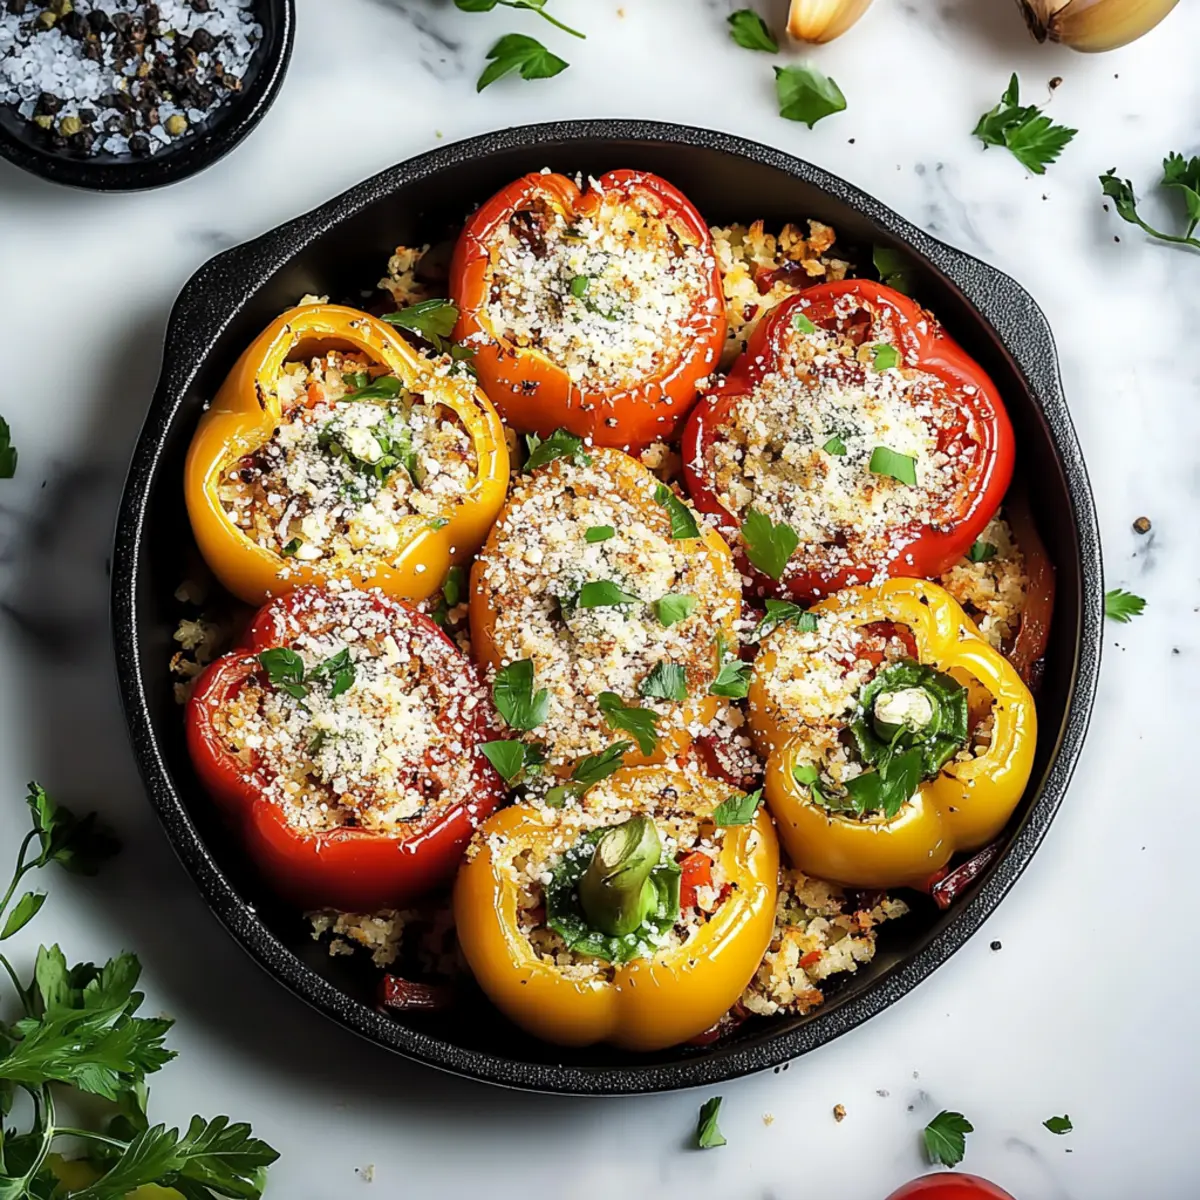
Colorful, eye-catching presentation: These stuffed bell peppers not only burst with flavor but are also a feast for the eyes, making them perfect for family meals or gatherings.
Easy to customize: Feel free to swap in different meats or even go vegetarian by using quinoa or black beans for the stuffing.
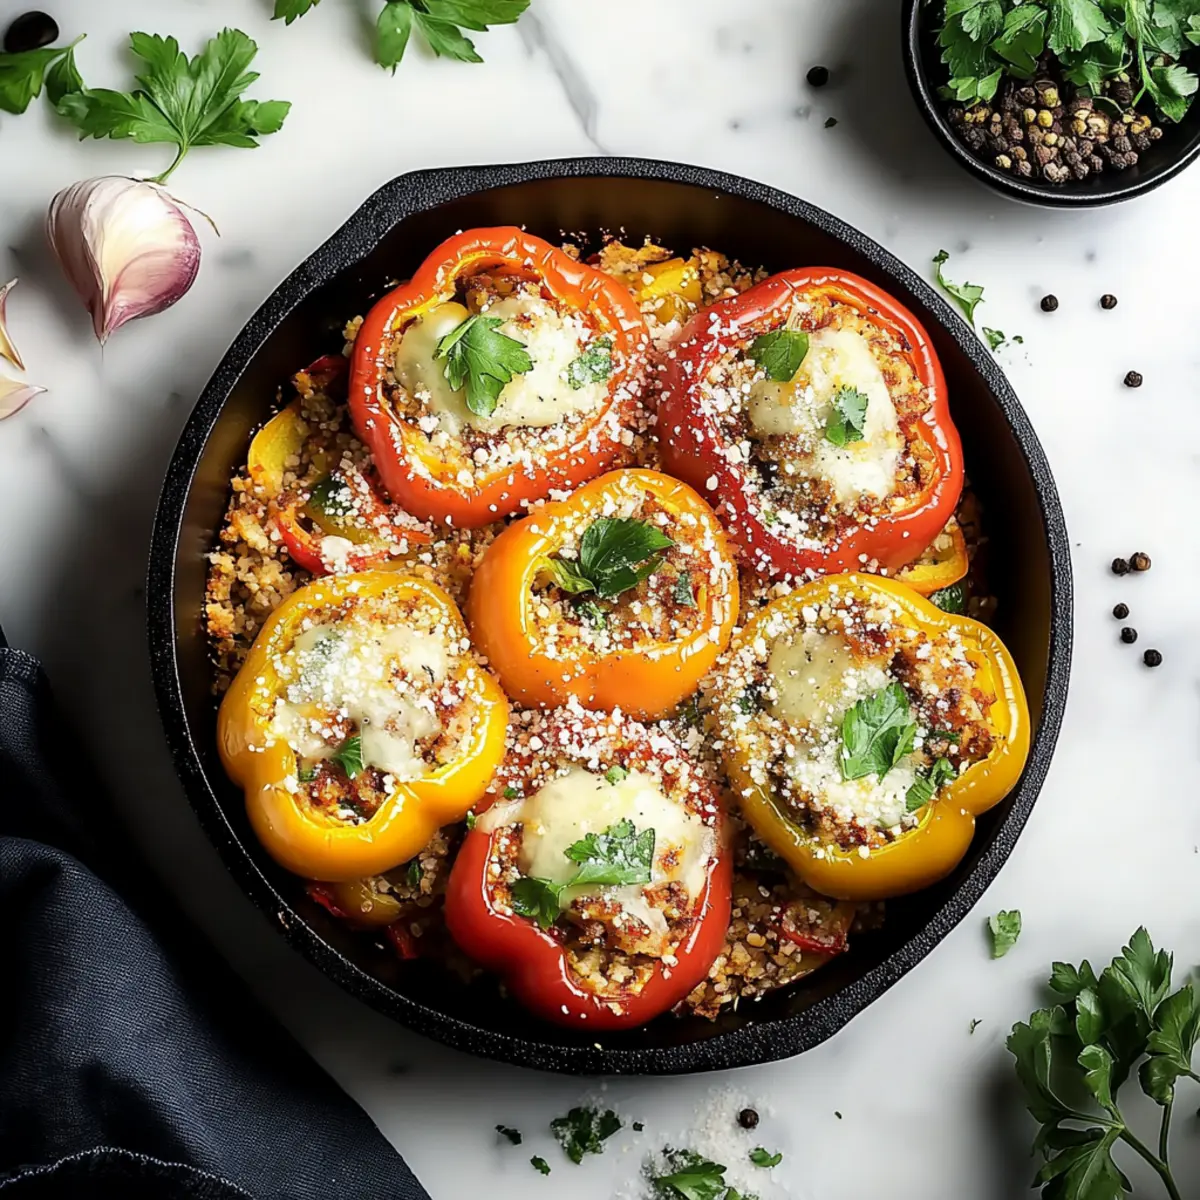
Comfort food at its finest: Packed with savory ingredients and topped with melted cheese, they bring joy to every bite.
Quick cleanup: With minimal dishes and only one baking dish required, these peppers save you time in the kitchen.
Family favorite: Kids and adults alike will love digging into their own personal pepper, making it a hit at any dining table.
Stuffed Bell Peppers Ingredients
For the Filling
• Cooked rice – Use leftover rice for a quicker prep; it adds texture and heft to the stuffing.
• Ground beef – Substitute with ground turkey or a plant-based protein for a lighter or vegetarian option.
• Onion – Fresh diced onion enhances flavor; you can also use shallots for a milder taste.
• Garlic – Fresh garlic is key for that aromatic oomph; adjust quantity for your garlic preferences.
• Shredded cheddar cheese – Offers a delightful meltiness; feel free to mix in other cheeses like mozzarella or pepper jack!
• Tomato sauce – Adds moisture and flavor; try using crushed tomatoes for a chunkier texture.
• Dried oregano – This herb brings a classic Italian touch; fresh oregano can be used if you have it on hand.
• Dried basil – This herb adds warmth and richness; it pairs perfectly with the tomato sauce.
• Salt – Essential for enhancing all the flavors; adjust to taste based on dietary needs.
• Black pepper – A pinch of black pepper shares a subtle warmth; consider adding crushed red pepper for extra heat!
For the Peppers
• Large bell peppers – Select vibrant, firm peppers; they are your edible vessels for all that delicious filling.
• Olive oil – A drizzle ensures even roasting and adds a touch of richness to the dish.
• Beef broth – This makes the filling juicy and flavorful; vegetable broth works just as well for a meat-free option.
Discover the joy of Stuffed Bell Peppers as you create a meal that's not only delicious but also visually stunning!
Step‑by‑Step Instructions for Stuffed Bell Peppers
Step 1: Preheat the Oven
Begin by preheating your oven to 375°F (190°C). This initial step ensures that your Stuffed Bell Peppers bake evenly, allowing the flavors to meld beautifully. While your oven heats up, prepare the bell peppers, ensuring they are ready for that warm, delicious filling.
Step 2: Prepare the Bell Peppers
Cut the tops off the four large bell peppers and carefully remove the seeds and membranes inside. Rinse them under cold water to clean and set them aside. The vibrant colors of the peppers will make your dish visually appealing, and this step prepares them for holding the savory filling.
Step 3: Cook the Onions and Garlic
In a large skillet, heat 2 tablespoons of olive oil over medium heat. Once the oil shimmers, add the diced onion and sauté for about 3-4 minutes until softened and translucent. Then, stir in 2 cloves of minced garlic, cooking for an additional minute until fragrant, creating a delightful aromatic base for your Stuffed Bell Peppers.
Step 4: Brown the Ground Beef
Now, add 1 pound of ground beef to the skillet, breaking it apart with a spoon. Cook for about 7-8 minutes, stirring occasionally, until the meat is browned and no longer pink. Draining any excess grease is important to maintain the dish's balance of flavors and prevent it from being too oily.
Step 5: Combine the Filling Ingredients
Return the skillet to the heat and stir in the cooked rice, 1 can of tomato sauce, and ½ cup of beef broth. Season with 1 teaspoon each of dried oregano, dried basil, salt, and ½ teaspoon of black pepper. Cook this mixture for about 5 minutes, stirring well to combine and heat through, ensuring every bite of your Stuffed Bell Peppers is flavorful.
Step 6: Cool the Filling
Remove the skillet from heat and let the filling cool for a few minutes. This pause allows you to handle the mixture more easily as you prepare to stuff the bell peppers. Take a moment to appreciate the aromas, and get ready to fill those vibrant peppers with this savory mixture.
Step 7: Stuff the Bell Peppers
Using a spoon, carefully fill each hollowed-out bell pepper with the beef and rice mixture, packing it gently to ensure they are filled completely. This colorful assembly is the heart of your Stuffed Bell Peppers and promises a satisfying bite once they are baked.
Step 8: Prepare for Baking
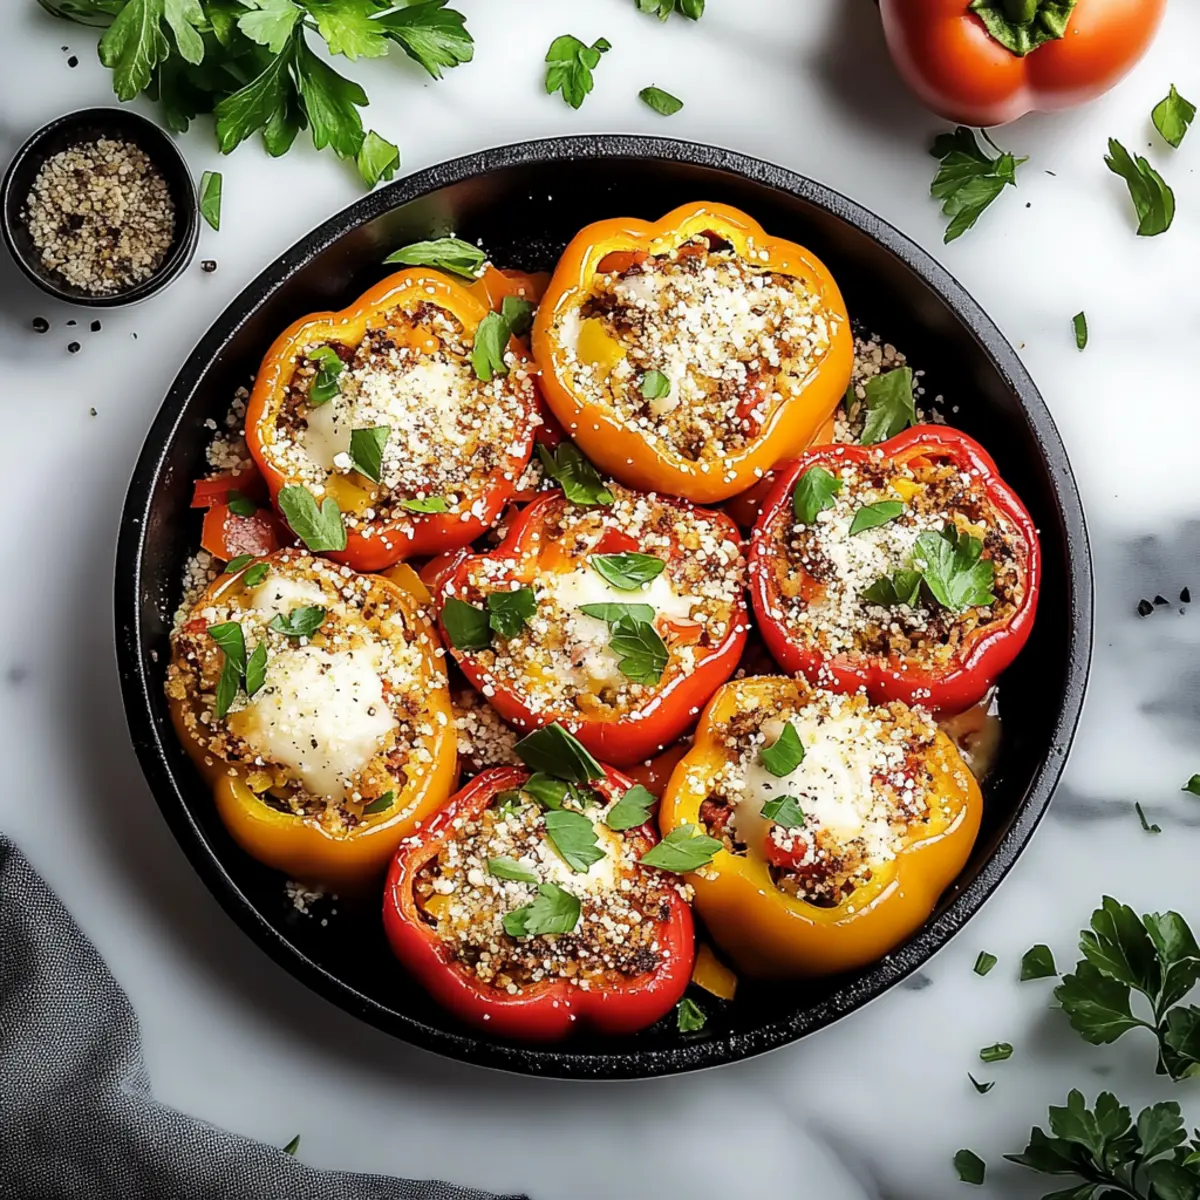
Place the stuffed bell peppers upright in a baking dish. Top each pepper with a generous sprinkle of shredded cheddar cheese, allowing it to melt delightfully during baking. Drizzle a little olive oil over the peppers to help them roast evenly and enhance their flavors.
Step 9: Bake the Stuffed Bell Peppers
Cover the baking dish loosely with aluminum foil and bake in the preheated oven for 25-30 minutes. The foil retains moisture, ensuring the peppers cook through while keeping the filling juicy. After this initial bake, your kitchen will smell heavenly!
Step 10: Finish Baking and Serve
Remove the foil and continue baking for an additional 10-15 minutes until the cheese is melted, bubbly, and slightly golden, and the peppers have softened. Once they are tender and aromatic, remove the Stuffed Bell Peppers from the oven and let them cool for a few minutes before serving, allowing the flavors to settle for a delicious meal.
Stuffed Bell Peppers Variations
Unleash your creativity in the kitchen with these fun twists on Stuffed Bell Peppers that excite the palate!
- Quinoa Swap: Replace rice with cooked quinoa for a protein boost and a nutty flavor.
- Veggie Delight: Go vegetarian by filling peppers with sautéed mushrooms, zucchini, and black beans, for a hearty bite.
These ingredients meld wonderfully, ensuring you won’t miss the meat. - Spicy Kick: Add diced jalapeños or a pinch of cayenne pepper to the filling for a fiery flavor explosion!
- Herb Garden: Experiment with fresh herbs like cilantro or parsley instead of dried oregano and basil, giving you a fresh twist.
- Cheesy Fusion: Try a mix of cheeses like mozzarella and feta for a creamy addition that surprises every time you take a bite.
- Mediterranean Flair: Incorporate olives, sun-dried tomatoes, and feta into your filling for a Mediterranean-inspired stuffed pepper.
- Sweet Retreat: Swap bell peppers for sweet mini peppers for a cute, bite-sized treat that brings a hint of sweetness to the savory filling.
- Stuffed Spiciness: If you love heat, mix in some hot sausage or spicy Italian sausage instead of ground beef, resulting in a richly flavored pepper.
Whatever your style, these variations let you play with flavors and textures, turning a simple dish into something extraordinary. If you want to dive into more delicious ideas, don't forget to explore my Delicious Quinoa Stuffed Peppers and Vegetarian Taco Stuffed Bell Peppers for more scrumptious inspiration!
What to Serve with Stuffed Bell Peppers
As your kitchen fills with the mouthwatering aroma of baked peppers, consider these delightful pairings to complete your meal.
- Creamy Mashed Potatoes: Perfectly smooth and buttery, they add a comforting touch alongside the savory stuffed bell peppers.
- Garden Salad: A refreshing mix of greens and veggies balances the hearty filling, enhancing the meal's overall freshness.
- Garlic Bread: Crunchy on the outside and soft inside, this classic companion soaks up any delicious sauce while adding a satisfying texture.
- Steamed Broccoli: Bright green and vibrant, a side of steamed broccoli not only brings color but also extra nutrition to your plate.
- Coleslaw: This tangy, crunchy salad complements the richness of the stuffed bell peppers, providing a lovely textural contrast.
- Red Wine: A glass of medium-bodied red wine, like a Merlot, elevates your dinner experience with its bold notes that pair beautifully with beef.
- Chocolate Cake: End on a sweet note with decadent chocolate cake; its rich flavors contrast delightfully with the savory main course.
- Lemonade: Refreshing and zesty, a glass of homemade lemonade offers a bright and cheerful drink option to accompany your meal.
How to Store and Freeze Stuffed Bell Peppers
Fridge: Store leftover Stuffed Bell Peppers in an airtight container for up to 3 days to maintain freshness. Reheat in the microwave or oven until heated through.
Freezer: If you want to prepare in advance, freeze unbaked stuffed peppers in a sealed bag or container for up to 3 months. When ready to cook, bake from frozen, adding extra cooking time as needed.
Reheating: To reheat cooked Stuffed Bell Peppers, use the oven at 350°F (175°C) for about 20 minutes or until warmed through. This guarantees a deliciously melty cheese topping!
Separation: For optimal taste, consider separating the filling and the peppers if storing them for longer periods. This prevents the peppers from becoming too soggy while they sit in the fridge or freezer.
Expert Tips for Stuffed Bell Peppers
• Choose the Right Peppers: Select firm, vibrant bell peppers; they not only look great but also hold the filling without collapsing.
• Avoid Overfilling: Pack the filling gently but don’t overstuff; this prevents spillovers and ensures even cooking of your Stuffed Bell Peppers.
• Customize Your Fillings: Feel free to replace ground beef with turkey or beans for a vegetarian option; know that this can lead to deliciously unique flavors!
• Watch the Baking Time: Keep an eye on the stuffed peppers in the oven. If your peppers are larger, you may need to adjust the cooking time for perfectly tender results.
• Rest Before Serving: Let the peppers cool for a few minutes post-baking; this not only enhances flavors but also helps avoid burns while serving.
Make Ahead Options
These Stuffed Bell Peppers are perfect for meal prep enthusiasts! You can prepare the filling up to 3 days in advance by cooking the ground beef mixture and allowing it to cool before transferring it to an airtight container in the refrigerator. The bell peppers can also be prepped by hollowing them out and storing them in the fridge for up to 24 hours. When you're ready to enjoy your meal, simply stuff the peppers with the prepped filling, top them with cheese, and bake as directed. This way, you save a significant amount of time on busy weeknights while still enjoying these hearty, delicious Stuffed Bell Peppers fresh from the oven!
Stuffed Bell Peppers Recipe FAQs
How do I choose ripe bell peppers?
Absolutely! When selecting bell peppers, look for ones that are vibrant in color and feel firm to the touch. Avoid any with dark spots all over, as those can indicate they are overripe. A good bell pepper should have a smooth skin and be heavy for its size, signaling freshness!
What is the best way to store leftover stuffed bell peppers?
Very! Store any leftover Stuffed Bell Peppers in an airtight container in the fridge for up to 3 days. When reheating, use the microwave for a quick solution or pop them in the oven at 350°F (175°C) for about 20 minutes to ensure they’re warmed through and the cheese remains melty.
Can I freeze stuffed bell peppers?
You bet! To freeze unbaked stuffed peppers, place them in a sealed container or freezer bag and store for up to 3 months. When you're ready to cook, simply bake them straight from frozen, adding an extra 10-15 minutes to the cooking time, and enjoy a warm, hearty meal.
What should I do if my stuffed peppers are soggy?
If you find your stuffed peppers soggy, it might be due to excess moisture in the filling or if they sat in liquid during storage. To fix this, ensure you're cooking the filling thoroughly to remove excess liquids, and consider separating the filling and peppers during storage. For re-baking, place them upside down on a baking sheet for a few minutes to help the moisture escape.
Are stuffed bell peppers safe for pets?
That's a great question! While bell peppers themselves are safe for dogs and cats in moderation, the other ingredients in Stuffed Bell Peppers—such as garlic and certain spices—may not be suitable for your furry friends. Always stick to pet-safe snacks for your animals and consult your vet for any concerns!
What if I have dietary restrictions?
Absolutely! You can easily customize Stuffed Bell Peppers by swapping out proteins or grains. For a vegetarian option, substitute ground beef with black beans or quinoa. Just remember to keep an eye on seasoning since those ingredients can absorb flavors differently. Enjoy getting creative with your recipe!
Irresistible Stuffed Bell Peppers: A Cozy Homemade Delight
Ingredients
Equipment
Method
- Preheat your oven to 375°F (190°C) to ensure even baking.
- Cut the tops off the bell peppers and remove seeds and membranes.
- In a large skillet, heat olive oil and sauté diced onion for about 3-4 minutes. Add minced garlic and cook for another minute.
- Add ground beef to the skillet, cooking for 7-8 minutes until browned. Drain excess grease.
- Mix in cooked rice, tomato sauce, and beef broth. Add oregano, basil, salt, and pepper. Cook for 5 minutes.
- Remove from heat and let filling cool for a few minutes.
- Stuff each bell pepper with the filling mixture using a spoon.
- Place stuffed peppers in a baking dish. Sprinkle cheese on top and drizzle with olive oil.
- Cover with foil and bake for 25-30 minutes. Remove foil and bake for an additional 10-15 minutes until cheese is melted.
- Let cool for a few minutes before serving to enhance flavors.
Leave a Reply