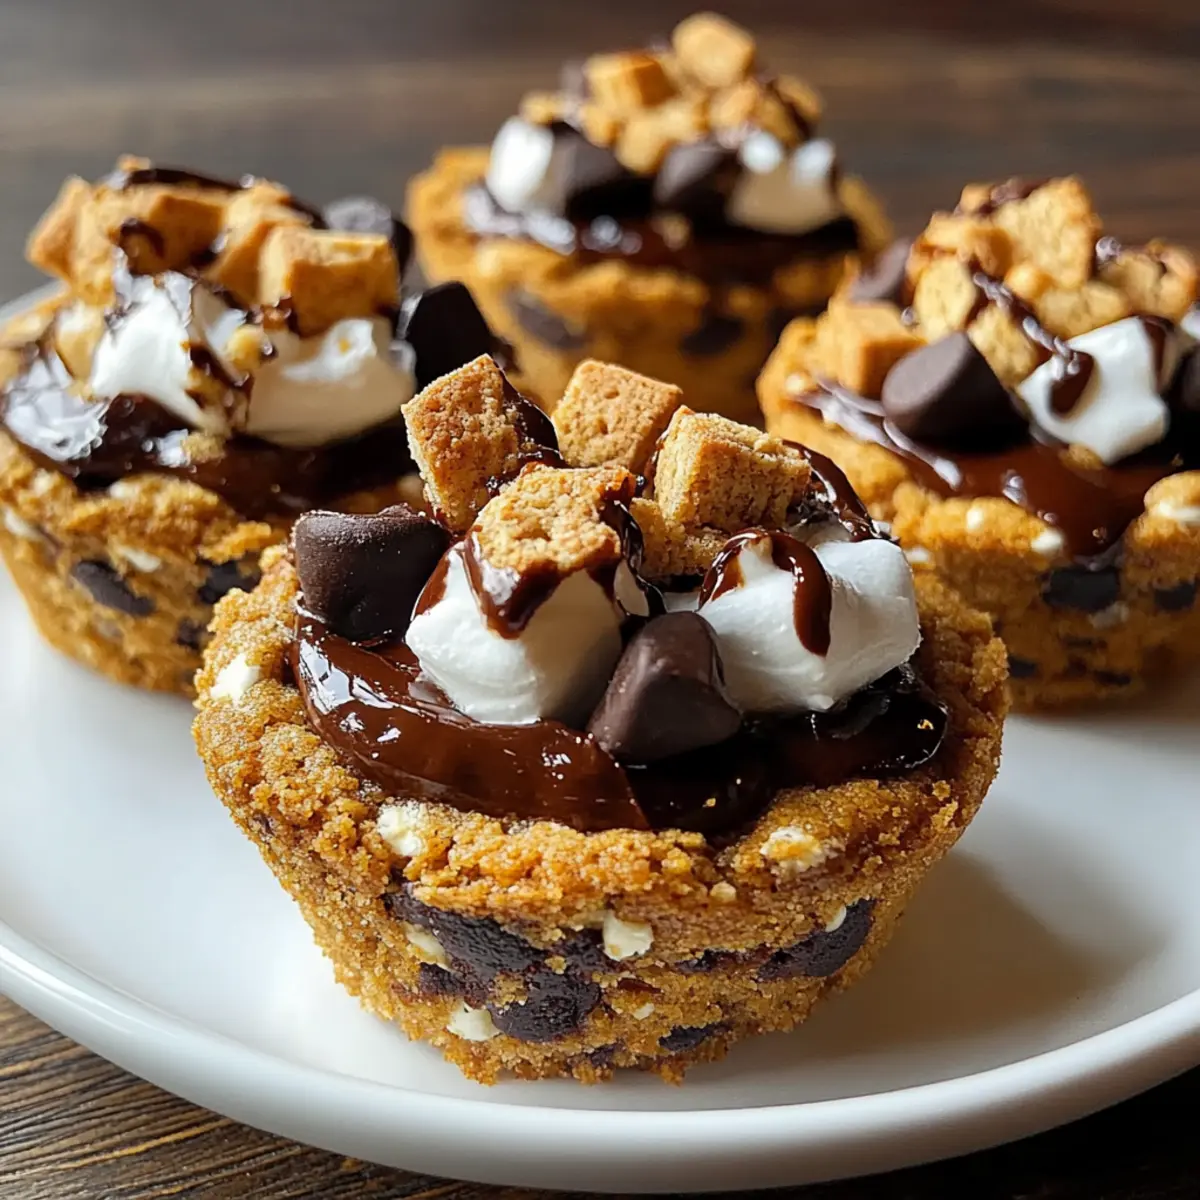
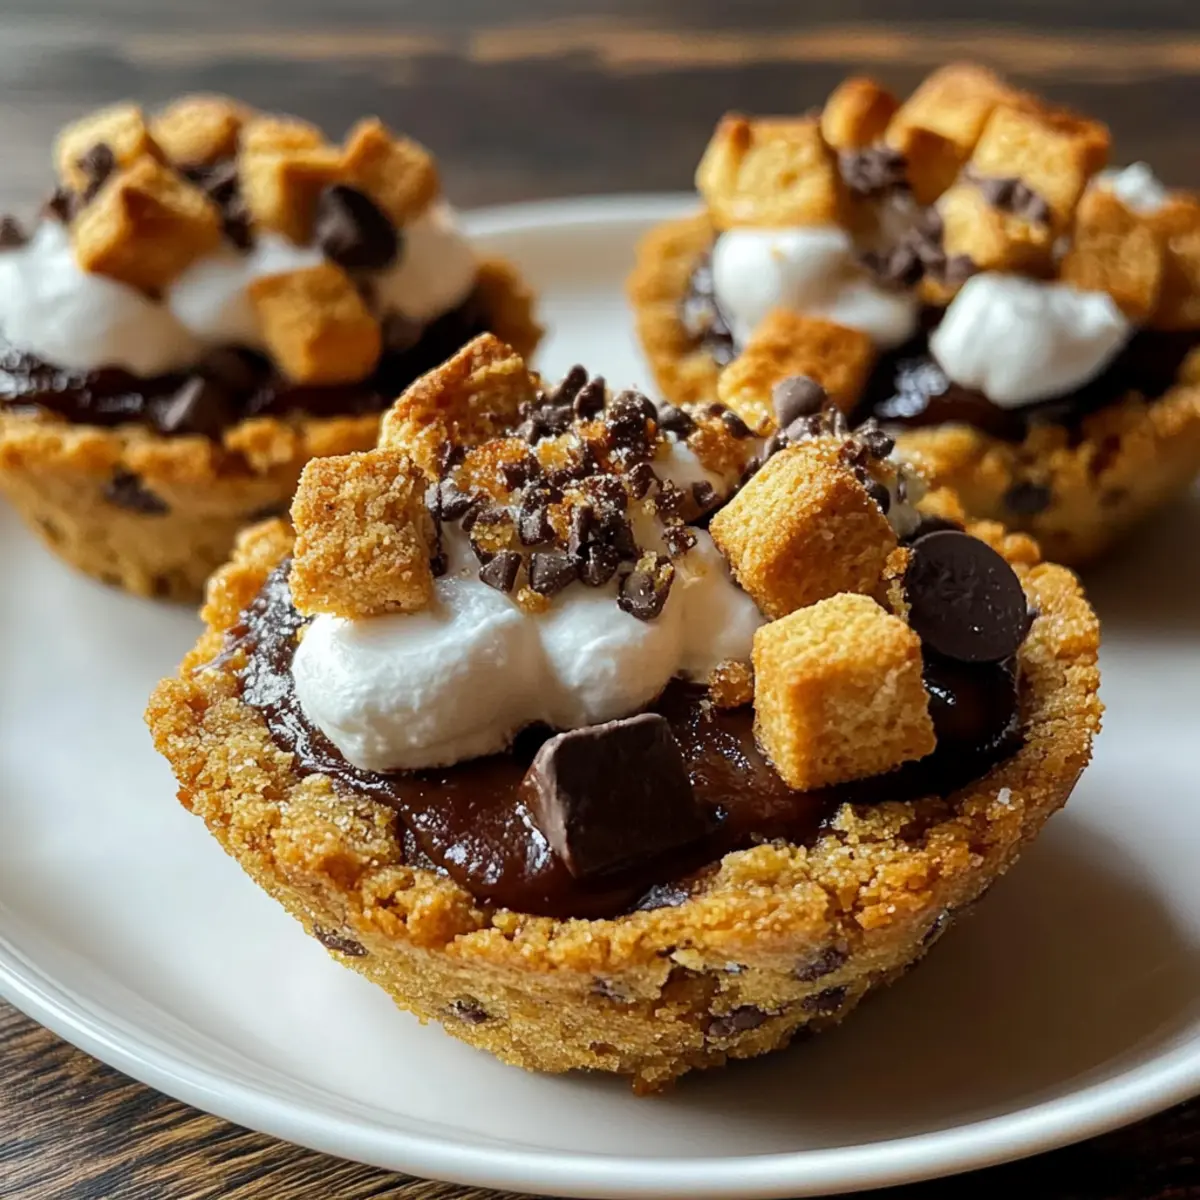
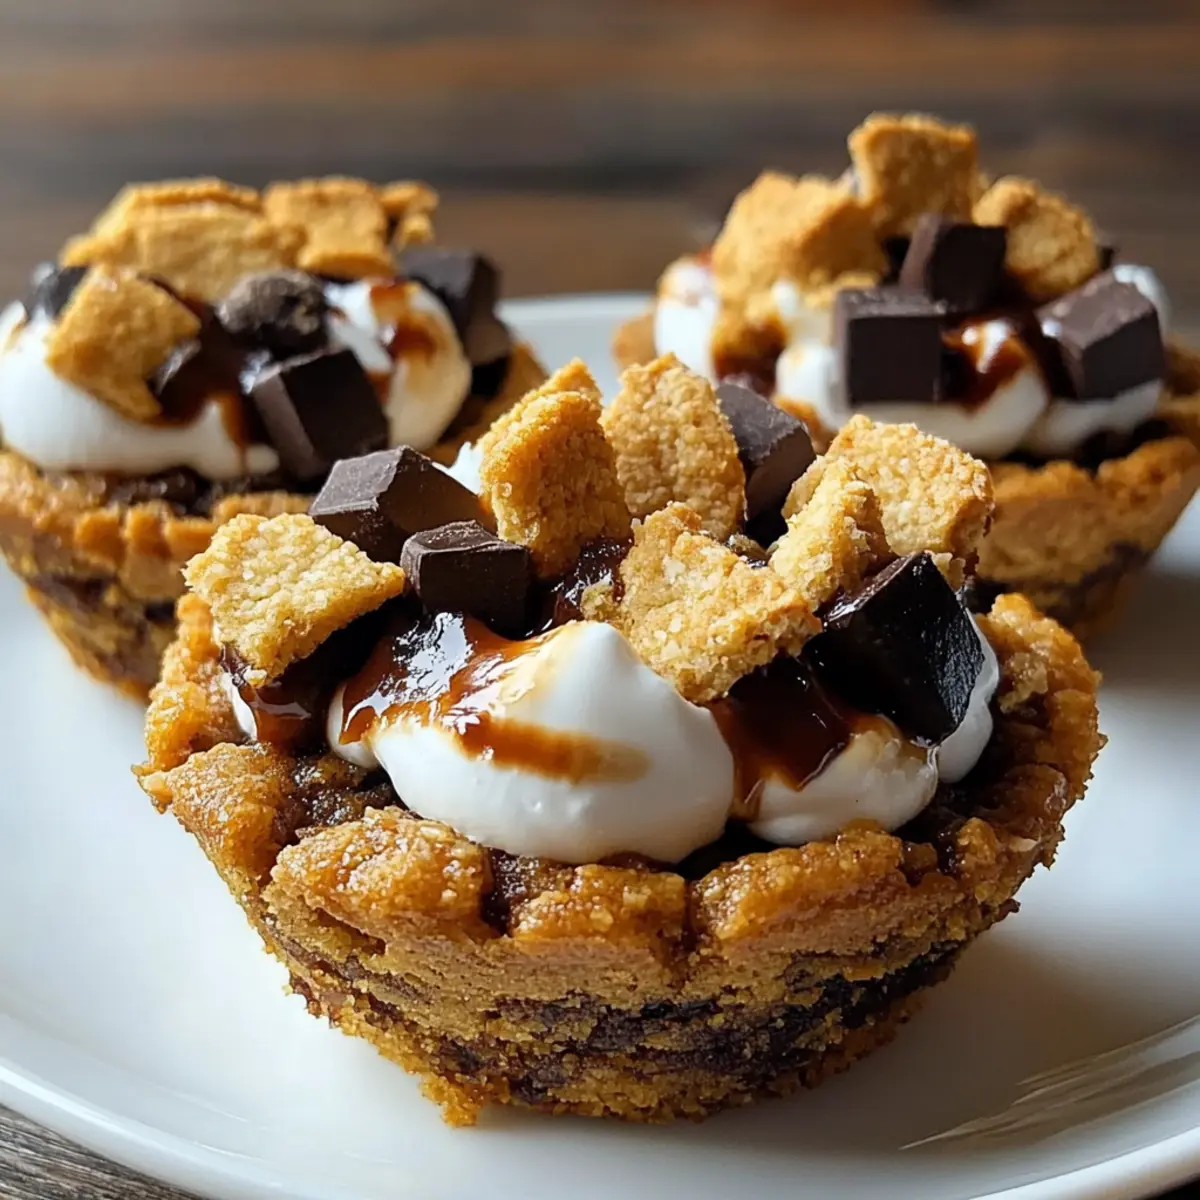
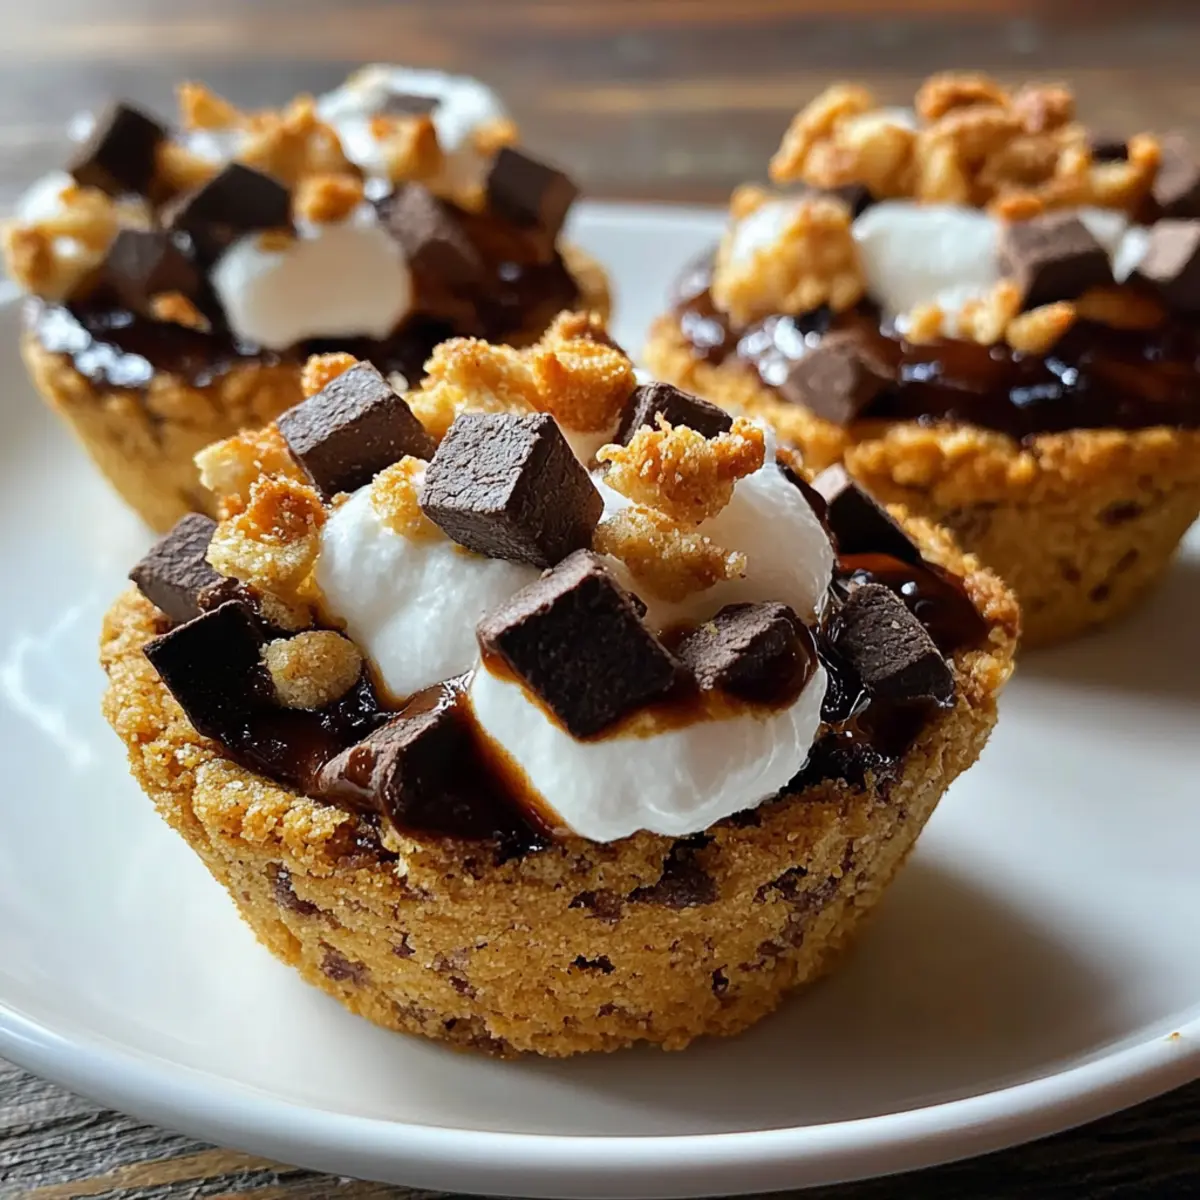
As I stood in my cozy kitchen, the aroma of melted chocolate and toasted marshmallows wafted through the air, transporting me straight back to summer campfires. That’s the power of these delightful S’mores Cookie Cups, a quick and fun twist on a classic favorite that can satisfy sweet cravings any time of the year. Not only are they irresistibly easy to whip up—taking just under 40 minutes from start to finish—but they also bring everyone together, making them the perfect crowd-pleaser for parties or family gatherings. With every bite, you’ll experience that magical combination of gooey marshmallow, rich chocolate, and the crunchy goodness of graham crackers. Are you ready to indulge in a little sweet nostalgia? Let’s dive into this scrumptious recipe!
Why Are S’mores Cookie Cups Irresistible?
Deliciously Nostalgic: Each bite brings back memories of summer campfires, combining gooey marshmallows and rich chocolate.
Quick & Easy: With just 20 minutes of prep time, you can have a delightful treat ready in under 40 minutes!
Versatile Treat: Perfect for any occasion—whether it’s a cozy night in or a festive gathering.
Crowd-Pleaser: Everyone loves these sweet little cups; they're sure to be a hit at parties! For a healthier option, check out my Zucchini Oatmeal Cookies.
Unique Twist: This recipe takes the classic s’mores and transforms them into a fun and shareable dessert. You might also enjoy making Oreo Cookie Balls for a different treat!
S’mores Cookie Cups Ingredients
For the Cookie Base
• 1 cup unsalted butter – softened for creaming and a rich flavor.
• 1 cup granulated sugar – adds sweetness and helps create a nice texture.
• 1 cup packed brown sugar – brings moisture and a hint of caramel flavor.
• 2 large eggs – binds the ingredients and adds richness.
• 1 teaspoon vanilla extract – enhances the overall sweetness and flavor.
• 2 ½ cups all-purpose flour – provides the structure needed for the cookie cups.
• 1 teaspoon baking soda – helps the cookies rise for a soft texture.
• ½ teaspoon salt – balances the sweetness.
For the Filling
• 1 cup milk chocolate chips – melts beautifully for that gooey s'mores experience.
• 12 graham cracker squares – broken into pieces to form the tasty crust layer.
• 6 large marshmallows – halved to top the cookie cups and create that iconic s'mores finish.
With these S’mores Cookie Cups ingredients, you'll be well on your way to creating a delectable dessert that's sure to wow your taste buds!
Step‑by‑Step Instructions for S’mores Cookie Cups
Step 1: Preheat and Prepare
Begin by preheating your oven to 350°F (175°C) to ensure a perfectly baked treat. While the oven heats up, lightly grease a mini muffin pan to prevent the cookie cups from sticking. This step is crucial for achieving that golden-brown exterior.
Step 2: Cream the Butters and Sugars
In a large mixing bowl, cream together 1 cup of softened unsalted butter, 1 cup of granulated sugar, and 1 cup of packed brown sugar. Use an electric mixer for about 3-5 minutes until the mixture is light and fluffy. The color should turn a pale shade, indicating it's well-aerated, which helps create chewy S’mores Cookie Cups.
Step 3: Incorporate Eggs and Vanilla
Add 2 large eggs to the butter-sugar mixture, one at a time, mixing well after each addition. Then, stir in 1 teaspoon of vanilla extract. This combination will enrich the flavor and texture of your cookie dough. Aim for a smooth consistency with no lumps—this will ensure your cookie cups are delightful and uniform.
Step 4: Whisk the Dry Ingredients
In a separate bowl, whisk together 2 ½ cups of all-purpose flour, 1 teaspoon of baking soda, and ½ teaspoon of salt. This step ensures uniform distribution of the leavening agent and salt, leading to balanced S’mores Cookie Cups. Make sure there are no clumps of flour—smooth and airy is the goal!
Step 5: Combine Wet and Dry Mixtures
Gradually add the dry ingredients mixture to your wet ingredients, stirring gently until just combined. Avoid overmixing, as this can lead to tough cookie cups. You want this dough to be soft and sticky but not overly wet—a good indicator is when it holds its shape without being runny.
Step 6: Fold in Chocolate Chips
Gently fold in 1 cup of milk chocolate chips into your dough. This delicious addition will create the gooey chocolatey center of your S’mores Cookie Cups. Use a spatula, carefully incorporating the chocolate chips without overworking the dough.
Step 7: Add Graham Crackers
Break 12 graham cracker squares into small pieces and press a few pieces into the bottom of each well in the greased mini muffin pan. This will form a crunchy base for your cookie cups and mimic the traditional s’mores crust, adding a delightful texture contrast.
Step 8: Fill Muffin Wells
Scoop the cookie dough into each muffin well, filling them about two-thirds full. Press gently to form cups, making sure they are evenly distributed. The dough should slightly mound in each well, ensuring they bake uniformly and create the perfect cup shape for the filling.
Step 9: Bake to Perfection
Place the muffin pan in your preheated oven and bake for approximately 10 minutes. Keep an eye on the cookie cups, as you'll know they’re ready when the edges turn golden brown, giving them that perfect crunchy exterior while remaining soft inside.
Step 10: Add Marshmallows
Once baked, remove the pan from the oven and immediately top each cookie cup with a halved marshmallow. Their gooey texture will meld beautifully with the chocolate and cookie base, creating that irresistible S’mores experience.
Step 11: Broil Until Toasted
Return the pan to the oven and switch to broil, setting it on high for 1-2 minutes. Watch closely, as broiling can cause the marshmallows to burn quickly. You want them to turn a beautiful golden brown, adding a toasted flavor that elevates your S’mores Cookie Cups.
Step 12: Cool and Transfer
Allow the cookie cups to cool in the pan for about 5 minutes, which makes them easier to remove. Then, gently transfer them to a wire rack to cool completely. This cooling process helps them firm up, ensuring a delightful texture when you're ready to indulge in these scrumptious S’mores Cookie Cups.
Make Ahead Options
These S’mores Cookie Cups are perfect for meal prep enthusiasts! You can prepare the cookie dough up to 24 hours in advance by mixing all the ingredients and storing it in an airtight container in the refrigerator. Additionally, you can break the graham crackers and store them in a separate bag to keep them fresh. When you're ready to bake, scoop the chilled dough into the muffin pan, add the pressed graham cracker pieces, and bake as directed. Just keep an eye on the baking time, as chilled dough may need an extra minute or two. This way, you’ll have delightful, homemade treats ready to enjoy with minimal effort, making busy weeknights a breeze!
Expert Tips for S’mores Cookie Cups
Chill the Dough: Refrigerate your cookie dough for about 10-15 minutes before scooping. This helps it hold its shape while baking.
Perfectly Toasted Marshmallows: Keep a close eye while broiling; they can go from perfectly toasted to burnt in seconds!
Evenly Filled Cups: Ensure each muffin well is filled evenly to avoid uneven baking—this creates uniformly delicious S’mores Cookie Cups.
Use Parchment Paper: Lining the muffin pan with parchment paper can aid in easy removal and cleanup while preventing sticking.
Add More Texture: Feel free to sprinkle some crushed graham crackers or extra chocolate chips on top before baking for added flavor and crunch!
How to Store and Freeze S’mores Cookie Cups
Room Temperature: Store uneaten S’mores Cookie Cups in an airtight container at room temperature for up to 3 days to maintain their softness and flavor.
Fridge: If you prefer a firmer texture, refrigerate them in an airtight container for up to a week. Be mindful that chilled cookies may lose some of their gooeyness.
Freezer: For longer storage, freeze S’mores Cookie Cups in a single layer, then transfer to a freezer bag for up to 3 months. Thaw at room temperature when ready to enjoy.
Reheating: Reheat in the microwave for about 10-15 seconds or in an oven at 350°F (175°C) for a few minutes. This will restore that delightful gooey texture!
What to Serve with S’mores Cookie Cups
Elevate your dessert experience with delightful pairings that enhance the irresistible charm of these sweet treats.
-
Classic Vanilla Ice Cream: The creamy, cold scoop perfectly balances the warm, gooey cookie cups, adding a delightful contrast in temperature and texture.
-
Whipped Cream: Light and airy, a dollop of whipped cream adds an elegant touch, complementing the richness of the chocolate and marshmallows.
-
Fresh Berries: Strawberries or raspberries add a bright, tart note, cutting through the sweetness and adding a refreshing twist to every bite.
-
Caramel Sauce: Drizzled on top, this rich, buttery addition brings an extra layer of decadence, harmonizing beautifully with the s’mores flavor profile.
-
Hot Chocolate: A warm mug of rich hot chocolate enhances the cozy experience, creating a perfect pairing for your outdoor or indoor gatherings.
-
Sparkling Water: The effervescence cleanses the palate, refreshing your taste buds in between bites of the rich cookie cups.
-
Chocolate Dipped Pretzels: The salty crunch of pretzels offers a fun twist, complementing the sweetness of these S’mores Cookie Cups while adding texture.
-
Banana Slices: The natural sweetness and creaminess of bananas create a great flavor contrast, enhancing the chocolatey goodness in every mouthful.
Bring your dessert table to life with these delicious companions, making your S’mores Cookie Cups an unforgettable experience!
S’mores Cookie Cups Variations
Feel free to get creative and tailor these delicious S’mores Cookie Cups to your tastes or dietary needs!
-
Gluten-Free: Substitute all-purpose flour with a gluten-free flour blend to accommodate gluten sensitivities without sacrificing flavor.
-
Vegan: Use coconut oil instead of butter and flax eggs (1 tablespoon ground flaxseed mixed with 2.5 tablespoons water) in place of eggs for a plant-based treat. These changes will keep the recipe deliciously moist and full of comfort.
-
Nutty Delight: Add a half-cup of chopped nuts such as walnuts or pecans for a crunchy texture that complements the soft marshmallows beautifully. The nuttiness elevates the whole flavor profile while adding a delightful crunch.
-
Mint Chocolate: Try using mint chocolate chips instead of milk chocolate for a refreshing twist. The addition of mint will give your S’mores Cookie Cups a playful zing, perfect for mint lovers!
-
Extra Gooey: Double the amount of marshmallows on top before broiling for an even gooier experience. The additional toasty marshmallow layer creates a delightful, sweet topping that no one will resist.
-
Spicy Kick: Sprinkle a little cayenne pepper or paprika into the cookie dough for a surprising spicy touch that balances the sweetness. Just a hint of heat will intrigue your taste buds!
-
Caramel Drizzle: Drizzle warm caramel sauce over the cookie cups before topping with marshmallows for an extra layer of indulgence. This luscious addition pairs perfectly with the chocolate and adds a new level of richness.
-
Seasonal Twist: Swap out the marshmallows for seasonal candies, like Reese’s Pieces for a fall flavor or peppermint pieces during the holidays. This will keep your treats exciting and fresh with every occasion!
Explore and enjoy making these S’mores Cookie Cups your own; the possibilities are endless!
S’mores Cookie Cups Recipe FAQs
How do I select the perfect ingredients for S’mores Cookie Cups?
Absolutely! When choosing your butter, make sure it's unsalted and at room temperature for easy creaming. For chocolate chips, opt for quality milk chocolate that melts beautifully. For graham crackers, look for those without any dark spots or signs of staleness, ensuring a crunchy base.
What is the best way to store S’mores Cookie Cups?
Store uneaten S’mores Cookie Cups in an airtight container at room temperature for up to 3 days. If you live in a more humid environment, consider refrigerating them in an airtight container for up to a week to maintain their soft texture while being mindful that they may lose some gooeyness.
Can I freeze S’mores Cookie Cups?
Yes, you can absolutely freeze them! After baking, allow the cookie cups to cool completely. Then, freeze them in a single layer on a baking sheet for about an hour. Transfer to a freezer bag and store for up to 3 months. When you're ready to enjoy, simply thaw at room temperature and reheat in the microwave for 10-15 seconds or in an oven at 350°F (175°C) for a few minutes to restore their delicious gooey texture.
What should I do if my cookie cups overflow while baking?
If you find that your S’mores Cookie Cups are overflowing, it may be due to overfilling the muffin wells. For next time, fill them to about two-thirds full to allow room for expansion. If they do overflow, simply allow them to cool slightly, and then use a knife to trim off any excess for a neat appearance.
Are S’mores Cookie Cups safe for pets or those with dietary allergies?
It's best to avoid sharing S’mores Cookie Cups with pets, especially dogs, as chocolate can be harmful to them. For those with dietary restrictions, consider substituting eggs with flaxseed meal or applesauce, and use dairy-free chocolate chips to make these treats suitable for a variety of diets.
How can I achieve perfectly toasted marshmallows on my S’mores Cookie Cups?
To achieve that golden brown, perfectly toasted finish, switch your oven to broil and watch your marshmallows closely. Place the cookie cups back in for 1-2 minutes, but keep a vigilant eye on them. Turn them halfway if your broiler doesn't brown evenly, and pull them out as soon as they're perfectly golden to prevent burning.
Decadent S’mores Cookie Cups That'll Wow Your Taste Buds
Ingredients
Equipment
Method
- Preheat your oven to 350°F (175°C) and lightly grease a mini muffin pan.
- Cream together the softened unsalted butter, granulated sugar, and packed brown sugar in a large mixing bowl for 3-5 minutes.
- Add the eggs one at a time, mixing well after each addition, then stir in the vanilla extract.
- In a separate bowl, whisk together the all-purpose flour, baking soda, and salt.
- Gradually add the dry ingredients mixture to the wet ingredients, stirring until just combined.
- Fold in the milk chocolate chips gently with a spatula.
- Break the graham crackers into small pieces and press some pieces into the bottom of each muffin well.
- Scoop the cookie dough into each muffin well, filling them about two-thirds full.
- Bake for approximately 10 minutes until edges are golden brown.
- Top each cookie cup with a halved marshmallow immediately after baking.
- Broil on high for 1-2 minutes until the marshmallows are golden brown.
- Cool in the pan for 5 minutes, then transfer to a wire rack to cool completely.


Leave a Reply