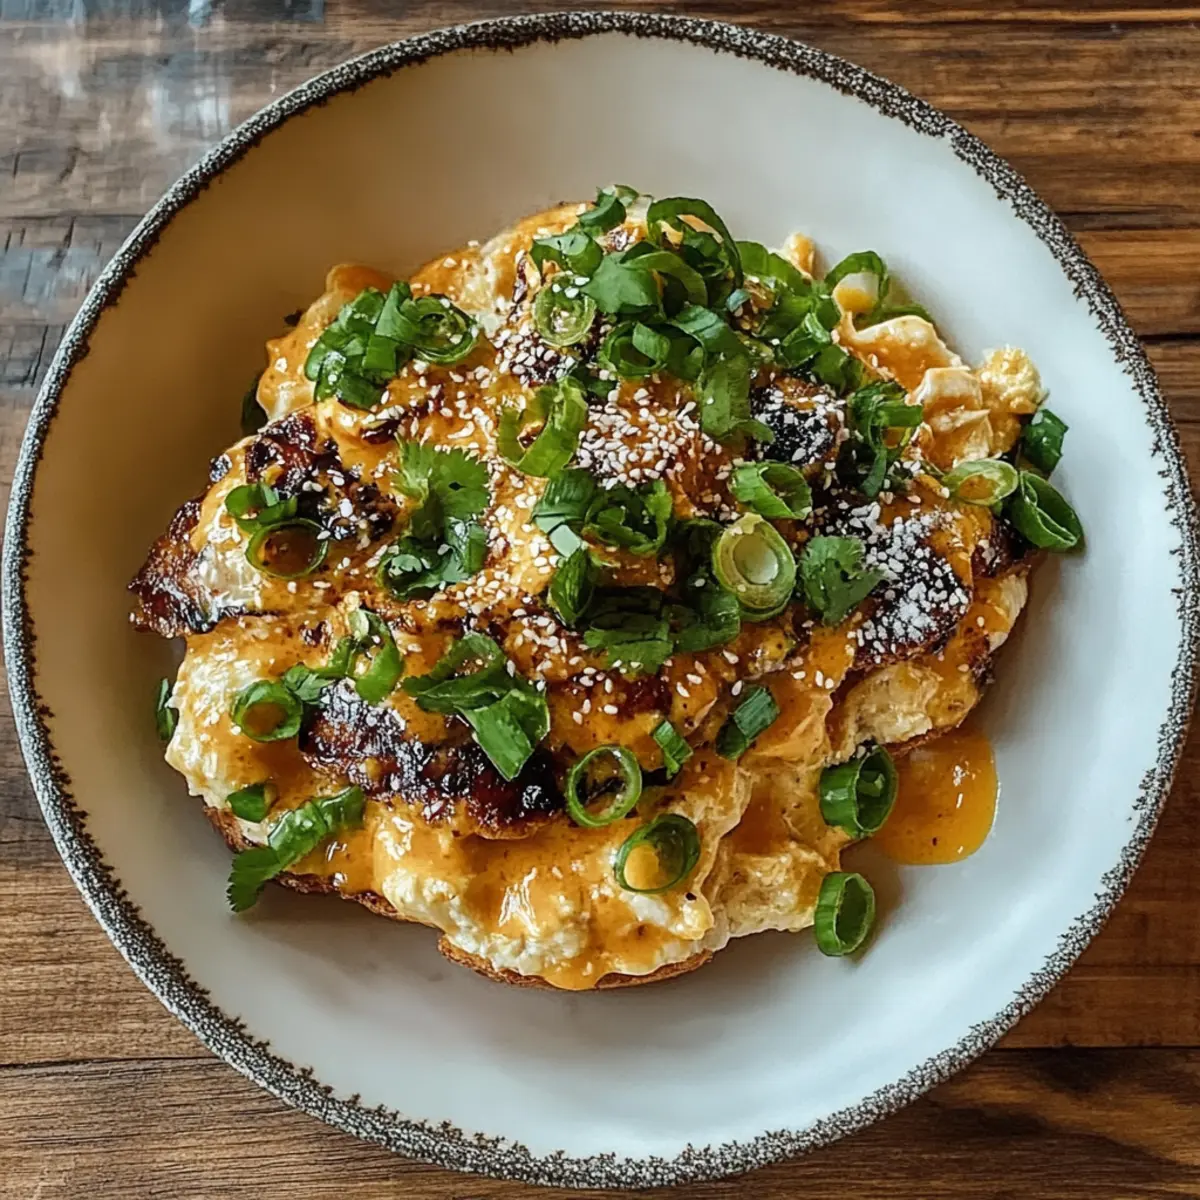
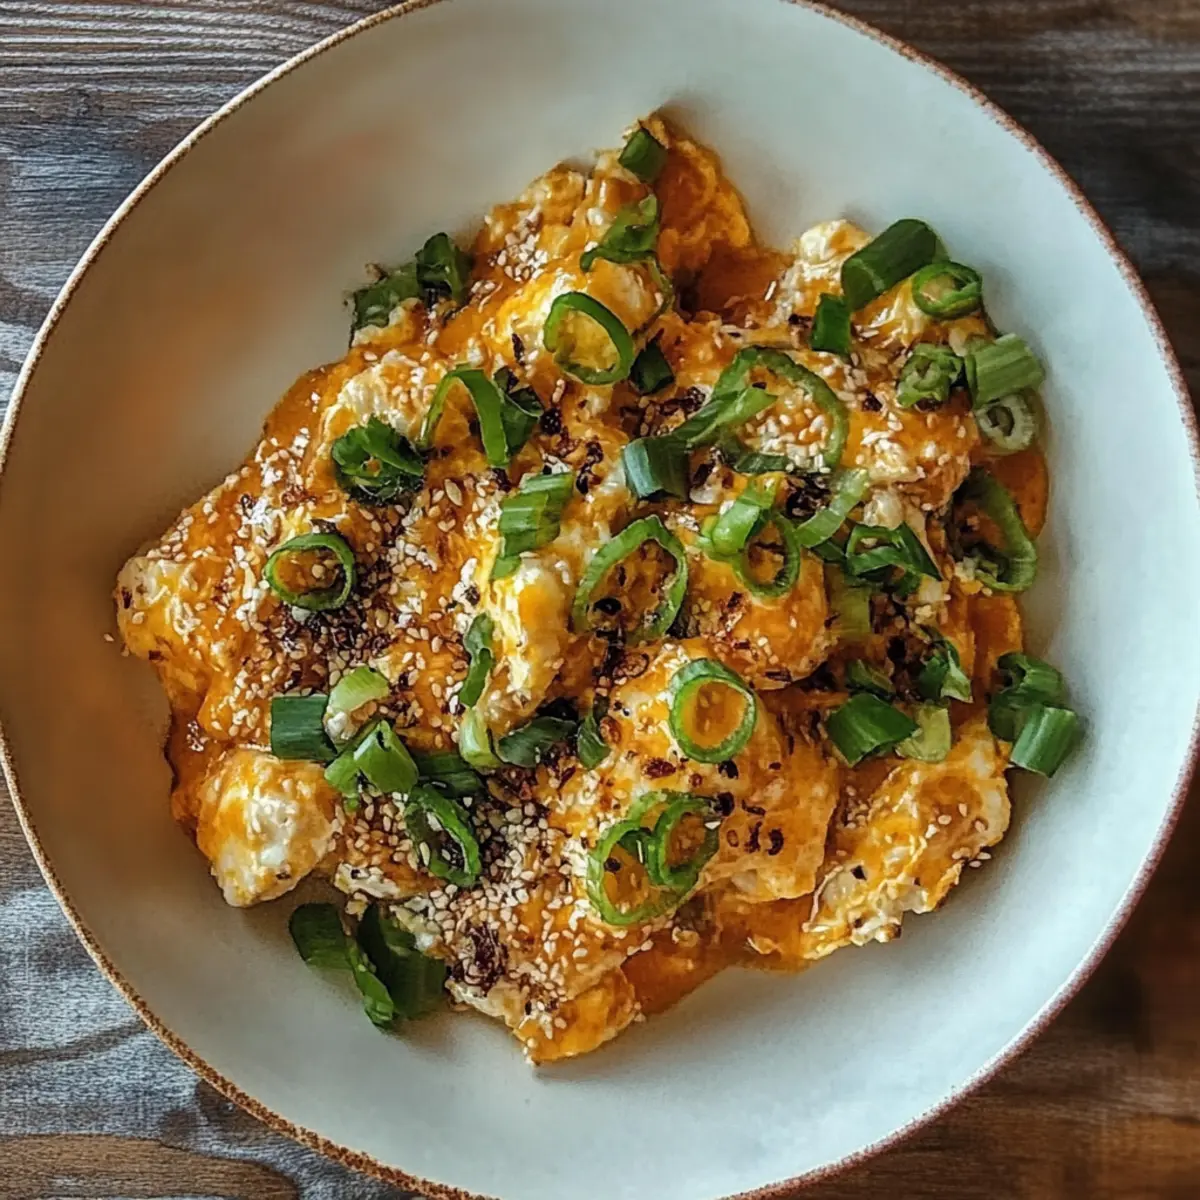
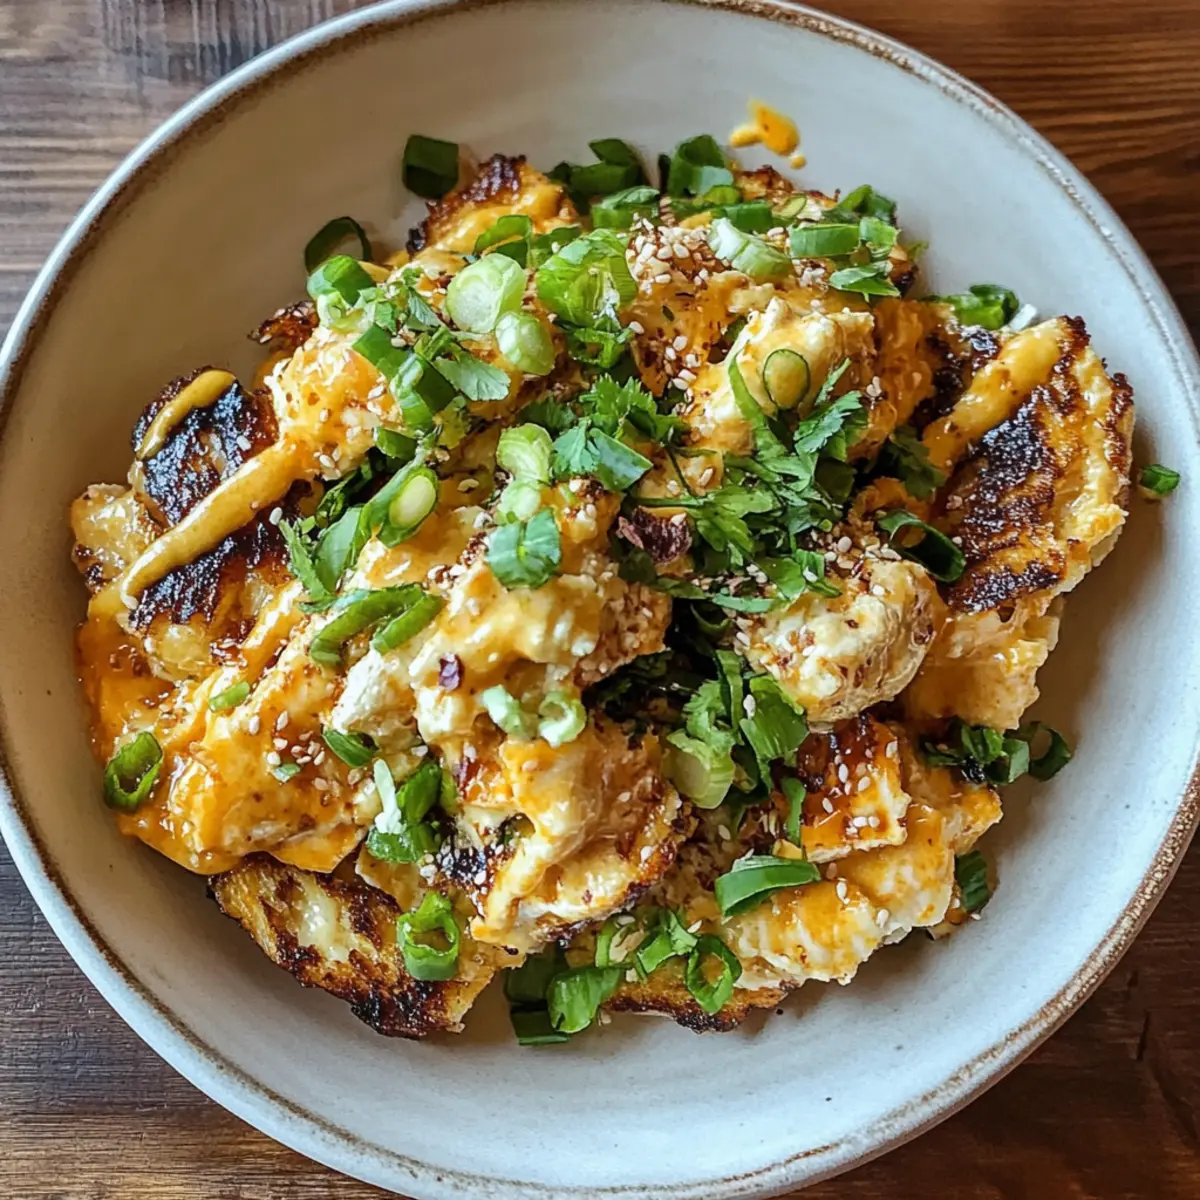
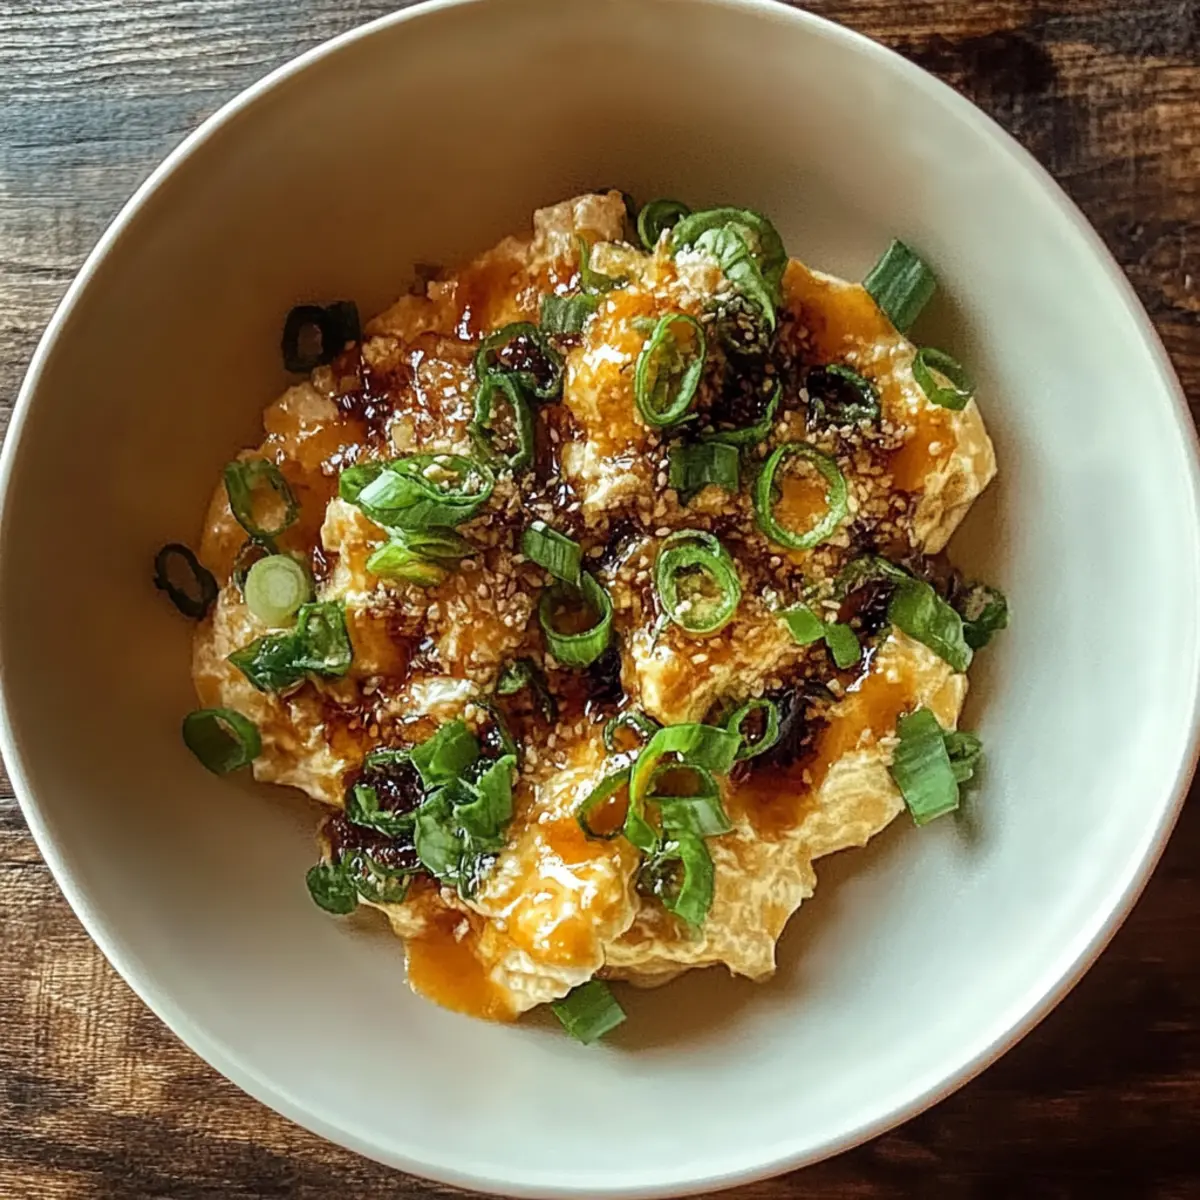
On a quiet Sunday morning, with the sunlight filtering through the kitchen window, I found myself craving something comforting yet sophisticated. Enter Silky Miso Scrambled Eggs, a delightful twist on a classic breakfast that’s as easy as it is delicious. With just a few simple ingredients, including the star player—white miso paste—this recipe transforms ordinary eggs into a creamy, umami-packed dish that’s ready in under 10 minutes. It's a fantastic option for busy weeknights or lazy weekends alike, and best of all, it’s both satisfying and completely free of boring fast food. Have you ever tried scrambled eggs that feel like a warm hug? Let’s dive in and make your kitchen the heart of comfort!
Why are these scrambled eggs special?
Creamy Umami Delight: The addition of white miso paste elevates traditional scrambled eggs to new heights with its rich umami flavor.
Quick and Easy: This dish takes only 10 minutes to prepare, making it perfect for busy mornings or spontaneous brunches.
Versatile Topping Options: Customize your scrambled eggs with your favorite toppings, from avocado to sautéed spinach.
Crowd-pleaser: Serve them at your next gathering; everyone will appreciate the unique twist on a breakfast classic.
Health-conscious Choice: With just 245 calories, indulge without the guilt and enjoy a nourishing start to your day. Let's make breakfast something to look forward to!
Silky Miso Scrambled Eggs Ingredients
For the Scramble
• 4 large eggs – Fresh eggs will give you the fluffiest texture.
• 2 tablespoons white miso paste – This is the secret to achieving that creamy umami flavor in your scrambled eggs.
• 2 tablespoons milk – Use whole milk for a richer taste, or substitute with a plant-based milk if desired.
• 1 tablespoon unsalted butter – It adds a wonderful richness; feel free to swap for olive oil if you’re dairy-free.
• 1 teaspoon vegetable oil – This helps prevent sticking and promotes even cooking.
For the Topping
• 2 tablespoons chopped green onions – Fresh herbs enhance flavor and add a pop of color.
• Salt – Adjust to taste for the perfect seasoning.
• Freshly ground black pepper – A dash of pepper gives it a delightful kick.
Elevate your breakfast game with these Silky Miso Scrambled Eggs ingredients!
Step‑by‑Step Instructions for Silky Miso Scrambled Eggs
Step 1: Whisk Together Ingredients
In a medium bowl, crack the 4 large eggs and add 2 tablespoons of white miso paste and 2 tablespoons of milk. Using a whisk, vigorously mix until the ingredients combine into a smooth and uniform mixture, which should take about 1-2 minutes. This whipped egg base will elevate your Silky Miso Scrambled Eggs, creating that dreamy texture.
Step 2: Heat the Skillet
Place a nonstick skillet over low heat and add 1 teaspoon of vegetable oil along with 1 tablespoon of unsalted butter. Allow the butter to melt slowly, creating a foamy consistency, which should take about 1-2 minutes. This low-and-slow approach is key to achieving the silky texture in your scrambled eggs.
Step 3: Pour and Set
Once the butter is melted and foamy, gently pour the whisked egg mixture into the skillet. Let it sit undisturbed for about 10 seconds, allowing the edges to start setting while maintaining creaminess in the center. This step is essential for creating those luscious curds in your Silky Miso Scrambled Eggs.
Step 4: Stir Gently
Using a silicone spatula, gently stir the eggs by pushing the set edges towards the center of the skillet. Continue this process, cooking on low heat, for about 3-4 minutes. Look for soft, velvety curds forming, ensuring you keep the eggs moving without overcooking—this is what gives your Silky Miso Scrambled Eggs their signature texture.
Step 5: Finish Cooking
Keep gently stirring and cooking the eggs for another 1-2 minutes until they reach just the set stage, still soft and slightly runny in places. It’s important to not let them cook too long as they'll continue to firm up off the heat. Your Silky Miso Scrambled Eggs should look creamy and feel irresistibly smooth.
Step 6: Season and Serve
Once the eggs are done, sprinkle with salt and freshly ground black pepper to taste, mixing gently to incorporate. Remove the skillet from heat and swiftly transfer the Silky Miso Scrambled Eggs to a plate. Top with 2 tablespoons of chopped green onions for a burst of freshness and color before serving.
How to Store and Freeze Silky Miso Scrambled Eggs
Fridge: Store any leftover Silky Miso Scrambled Eggs in an airtight container for up to 3 days. Make sure to let them cool down before sealing to avoid condensation.
Freezer: Although best enjoyed fresh, you can freeze leftover scrambled eggs. Place them in a freezer-safe bag or container, and they'll be good for up to 2 months.
Reheating: To reheat, thaw in the fridge overnight, then warm them gently in a nonstick skillet over low heat, stirring to regain their creamy texture. Avoid microwaving to prevent rubberiness.
Room Temperature: Serve your Silky Miso Scrambled Eggs immediately to enjoy the best flavor and texture. If left out, discard any leftovers after 2 hours for food safety.
Make Ahead Options
These Silky Miso Scrambled Eggs are perfect for meal prep enthusiasts looking to save time during busy mornings! You can whisk together the egg mixture (4 large eggs, 2 tablespoons white miso paste, and 2 tablespoons milk) and store it in the refrigerator up to 24 hours in advance. To maintain their creamy texture, cover the bowl tightly with plastic wrap or transfer it to an airtight container. When you’re ready to enjoy your eggs, simply heat the pan with butter and vegetable oil, pour in the prepped mixture, and complete the cooking process as instructed. You'll savor restaurant-quality scrambled eggs with minimal effort, making breakfast a delightful experience!
Silky Miso Scrambled Eggs Variations
Feel free to explore endless possibilities to make these scrambled eggs truly your own!
-
Dairy-Free: Replace milk with unsweetened almond milk or any plant-based alternative to keep it creamy without dairy.
-
Spicy Kick: Add a pinch of red pepper flakes or a dash of sriracha for a delightful heat that awakens your taste buds.
-
Cheesy Twist: Stir in a handful of shredded cheese—like feta or cheddar—while the eggs cook for a melty and rich flavor boost.
-
Herb Infusion: Incorporate finely chopped fresh herbs like basil or cilantro for a refreshing twist and vibrant colors that bring joy to your plate.
-
Veggie Packed: Toss in diced bell peppers, spinach, or mushrooms during cooking for a nutritious and hearty breakfast option.
-
Savory Umami Layer: Enhance the umami experience with a drizzle of soy sauce or tamari just before serving—it's a flavor explosion!
-
Creamy Avocado: Top your scrambled eggs with sliced avocado for a creamy texture and healthy fat that complements the miso beautifully.
-
Breakfast Bowl: Serve over quinoa or brown rice to create a comforting breakfast bowl that keeps you fueled throughout the day.
Let your creative side flourish and enjoy making these Silky Miso Scrambled Eggs a dish that's uniquely yours! For more inspiration, consider pairing them with sides like sautéed spinach or a light herb salad. Enjoy every delightful bite!
What to Serve with Silky Miso Scrambled Eggs
Imagine a delightful breakfast table adorned with colors, flavors, and textures that perfectly complement your silky, umami-rich scramble.
-
Toasty Sourdough Bread: Crispy on the outside and chewy within, this bread adds a hearty contrast to the creamy eggs, creating a satisfying bite. A light spread of butter or a drizzle of olive oil can enhance the experience.
-
Fresh Arugula Salad: The peppery notes of arugula, tossed with a simple lemon vinaigrette, provide a refreshing balance, cutting through the richness of the eggs. Add some cherry tomatoes for a pop of sweetness!
-
Savory Kimchi: Adding a side of tangy kimchi introduces a spicy, fermented flavor that pairs wonderfully with the silky texture and umami notes of the scrambled eggs, making for an adventurous breakfast.
-
Roasted Cherry Tomatoes: Sweet and juicy roasted tomatoes bring a burst of flavor, creating a beautiful color contrast. Their sweetness complements the miso perfectly, resulting in a well-rounded dish.
-
Avocado Slices: Creamy avocado offers a rich, buttery texture that harmonizes with the silky eggs while providing healthy fats. For an extra kick, add a sprinkle of red pepper flakes!
-
Chilled Green Smoothie: A vibrant smoothie made with spinach, banana, and almond milk delivers refreshing nutrients. Its coolness contrasts with the warm eggs, making for a balanced meal.
-
Sparkling Water with Mint: For a light drink, serve sparkling water with fresh mint leaves. Its effervescence and cool flavor cleanse the palate and enhance the extravagant experience of your breakfast.
-
Fruit Salad: A colorful medley of seasonal fruits not only brightens your plate but also adds sweetness to counter the savory eggs. The freshness draws in a homely essence that every breakfast needs.
Expert Tips for Silky Miso Scrambled Eggs
-
Use Fresh Eggs: Fresh eggs yield fluffier, more flavorful scrambled eggs. Check the sell-by date for the best results!
-
Low and Slow: Cooking on low heat is essential. It allows the eggs to form those silky curds without overcooking, ensuring a creamy texture.
-
Gentle Stirring: Use a silicone spatula and stir gently! This helps keep the eggs soft and prevents them from becoming rubbery.
-
Seasoning Matters: Wait to season until just before serving. Adding salt too early can draw moisture out, resulting in watery eggs.
-
Customize Your Additions: Feel free to experiment with other ingredients like cheese, herbs, or vegetables to personalize your Silky Miso Scrambled Eggs to your taste!
Silky Miso Scrambled Eggs Recipe FAQs
What type of eggs should I use for the best results?
Absolutely! Fresh eggs are key for making the fluffiest, most flavorful Silky Miso Scrambled Eggs. Look for eggs that are clean and have a good sell-by date. Free-range or organic eggs can add even more rich flavor and color.
How should I store leftover Silky Miso Scrambled Eggs?
Store any leftover Silky Miso Scrambled Eggs in an airtight container in the fridge and enjoy them within 3 days. It's important to let the eggs cool down to room temperature before sealing to prevent any moisture build-up that can make them soggy.
Can I freeze Silky Miso Scrambled Eggs?
Yes, you can freeze them! Just scoop the Silky Miso Scrambled Eggs into a freezer-safe bag or container after they’ve cooled completely. Label it with the date, and they’ll keep well for up to 2 months. To reheat, thaw in the fridge overnight and warm gently in a skillet over low heat, stirring to restore their creaminess.
What do I do if my scrambled eggs become rubbery?
If your Silky Miso Scrambled Eggs turn out rubbery, it’s likely because they were cooked on too high heat or for too long. Be sure to cook on low heat and stir gently to create those soft curds. If you notice them starting to turn firm, take them off the heat immediately!
Are there any dietary considerations I should be aware of?
Definitely! For anyone with a dairy intolerance, you can substitute the unsalted butter with olive oil or dairy-free butter and choose a plant-based milk alternative. And if you're concerned about allergies, always check the label of the miso paste, as some brands may contain gluten. It's always best to customize the recipe according to your dietary needs!
Irresistibly Silky Miso Scrambled Eggs for Breakfast Bliss
Ingredients
Equipment
Method
- In a medium bowl, crack the 4 large eggs and add 2 tablespoons of white miso paste and 2 tablespoons of milk. Whisk vigorously until smooth.
- Place a nonstick skillet over low heat and add 1 teaspoon of vegetable oil and 1 tablespoon of unsalted butter. Allow the butter to melt slowly.
- Once the butter is melted, pour the whisked egg mixture into the skillet. Let it sit undisturbed for about 10 seconds.
- Using a silicone spatula, gently stir the eggs by pushing the edges towards the center. Cook on low heat for about 3-4 minutes.
- Keep gently stirring and cooking for another 1-2 minutes until they reach just the set stage, soft and slightly runny.
- Sprinkle with salt and freshly ground black pepper to taste, then gently mix. Transfer to a plate and top with chopped green onions.


Leave a Reply