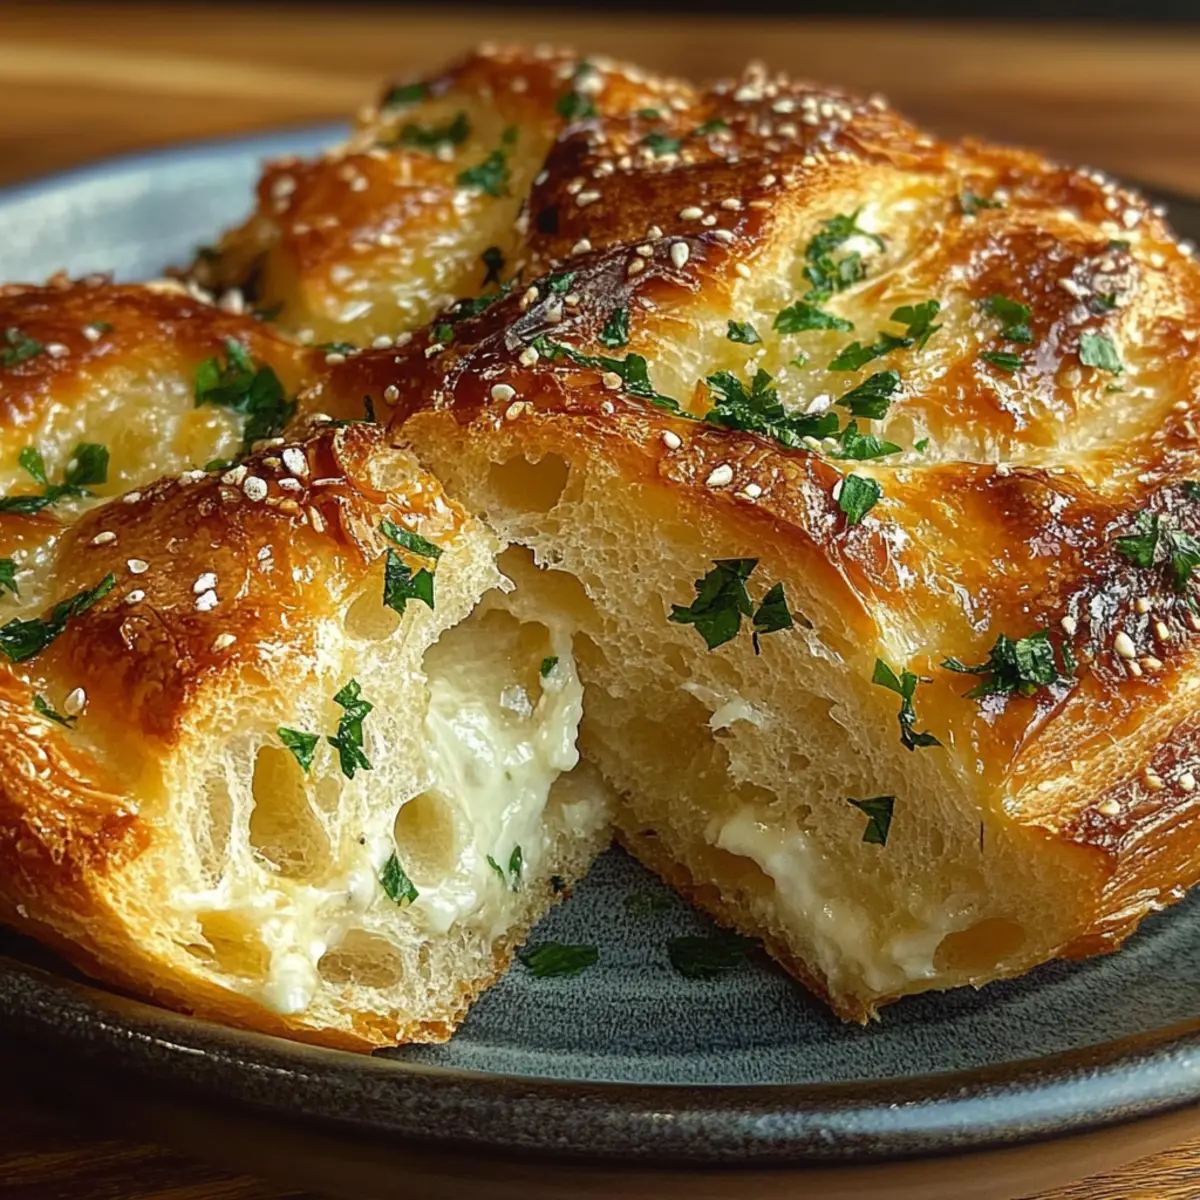
The scent of freshly baked bread wafting through your kitchen can transform any ordinary day into something special. Today, I’m excited to share an enchanting recipe for Garlic Herb Dutch Oven Bread that will not only impress your family and friends but also elevate your home baking game. This delightful bread is a breeze to prepare and requires minimal hands-on time, making it perfect for those busy nights when you crave something cozy and comforting. With a golden, crusty exterior and a soft, aromatic interior enriched with garlic and herbs, this bread pairs beautifully with soups, salads, or simply slathered in butter. Plus, the Dutch oven method gives you that artisan vibe without needing to be a master baker. Ready to roll up your sleeves and bring the warmth of homemade bread to your table? Let’s dive into this delicious adventure together!
Why is this bread a must-try?
Simplicity in preparation: Just mix, let rise, and bake!
Aromatic flavor profile: Infused with garlic and fresh herbs, this bread delivers a taste explosion with every bite.
Artisan results at home: With the Dutch oven technique, achieve that perfect crust and airy interior resembling bakery-quality bread.
Crowd-pleaser for any meal: Ideal for family dinners, picnics, or as an impressive addition to your next gathering.
Versatile companion: Pair it effortlessly with soups, salads, or your favorite toppings for endless delicious options.
Baking your own bread, like this Garlic Herb Dutch Oven Bread, is an enjoyable way to transform homemade meals into something extraordinary!
Garlic Herb Dutch Oven Bread Ingredients
• Discover the flavorful components that make this bread irresistible!
For the Dough
- 3 cups all-purpose flour – This forms the backbone of your bread, providing the perfect texture.
- 1 ¼ teaspoons salt – Enhances flavor and strengthens the dough structure.
- ½ teaspoon instant yeast – Helps the dough rise dramatically and evenly.
- 1 ½ cups warm water (about 110°F) – Activates the yeast and hydrates the flour for a fluffy texture.
For the Flavor
- 3 tablespoons olive oil – Adds richness and helps create a tender crumb.
- 4 cloves garlic, minced – Provides an aromatic kick that you'll savor in every bite.
- 1 tablespoon fresh rosemary, chopped – Introduces a delightful herbaceous note that's perfect for bread.
- 1 tablespoon fresh thyme, chopped – Adds depth and a slightly earthy flavor.
- 1 tablespoon fresh parsley, chopped – Brightens up the bread with freshness and a pop of color.
For Dusting
- Additional flour – Use this to keep your work surface floured and prevent sticking.
Embrace the joy of baking with this Garlic Herb Dutch Oven Bread, and let every bite take you to cozy culinary bliss!
Step‑by‑Step Instructions for Garlic Herb Dutch Oven Bread
Step 1: Mix Dry Ingredients
In a large mixing bowl, combine 3 cups of all-purpose flour, 1 ¼ teaspoons of salt, and ½ teaspoon of instant yeast. Stir the mixture thoroughly until well-blended, ensuring an even distribution of the yeast. This forms the foundation of your Garlic Herb Dutch Oven Bread, setting you up for a flavorful bake.
Step 2: Prepare Wet Ingredients
In a separate bowl, mix 1 ½ cups of warm water (about 110°F), 4 minced garlic cloves, and 3 tablespoons of olive oil along with 1 tablespoon each of chopped fresh rosemary, thyme, and parsley. Stir until everything is well-combined. This aromatic liquid will infuse your bread with a delightful flavor, enhancing the overall experience.
Step 3: Combine Mixtures
Pour the wet mixture into the bowl containing your dry ingredients. Using a wooden spoon or your hands, stir until a shaggy and sticky dough forms. Make sure all flour is incorporated, as the dough for your Garlic Herb Dutch Oven Bread will be quite wet and messy at this stage, indicating you're on the right track.
Step 4: Let Dough Rise
Cover the bowl tightly with plastic wrap or a clean kitchen towel. Allow the dough to rest at room temperature for 12 to 18 hours. During this time, it should double in size, and the surface will become bubbly. This prolonged fermentation is crucial for developing flavor and texture in your bread.
Step 5: Shape the Dough
Once the dough has risen, lightly sprinkle flour on your work surface. Carefully turn out the dough onto this floured area, handling it gently to maintain its airy structure. With floured hands, shape the dough into a round loaf, avoiding excessive kneading. This step will help retain the lightness necessary for your Garlic Herb Dutch Oven Bread.
Step 6: Second Rise
After shaping the loaf, dust the top lightly with flour and cover it with a kitchen towel. Allow it to rest for an additional 1 to 2 hours, or until it has puffed up slightly. This final rise is essential for achieving that perfect airy texture inside your bread.
Step 7: Preheat the Oven
About 30 minutes before you're ready to bake, place your Dutch oven (with the lid on) in the oven and preheat it to 450°F (230°C). This step ensures the pot is hot enough to create a steamy environment, which is vital for forming a beautiful crust on your Garlic Herb Dutch Oven Bread.
Step 8: Bake the Bread
Once preheated, carefully remove the Dutch oven from the oven and take off the lid. Gently place your shaped loaf inside the pot. Cover it with the lid again and bake for 30 minutes. This covered baking time allows the bread to rise further and create steam, resulting in a tender crumb.
Step 9: Finish Baking
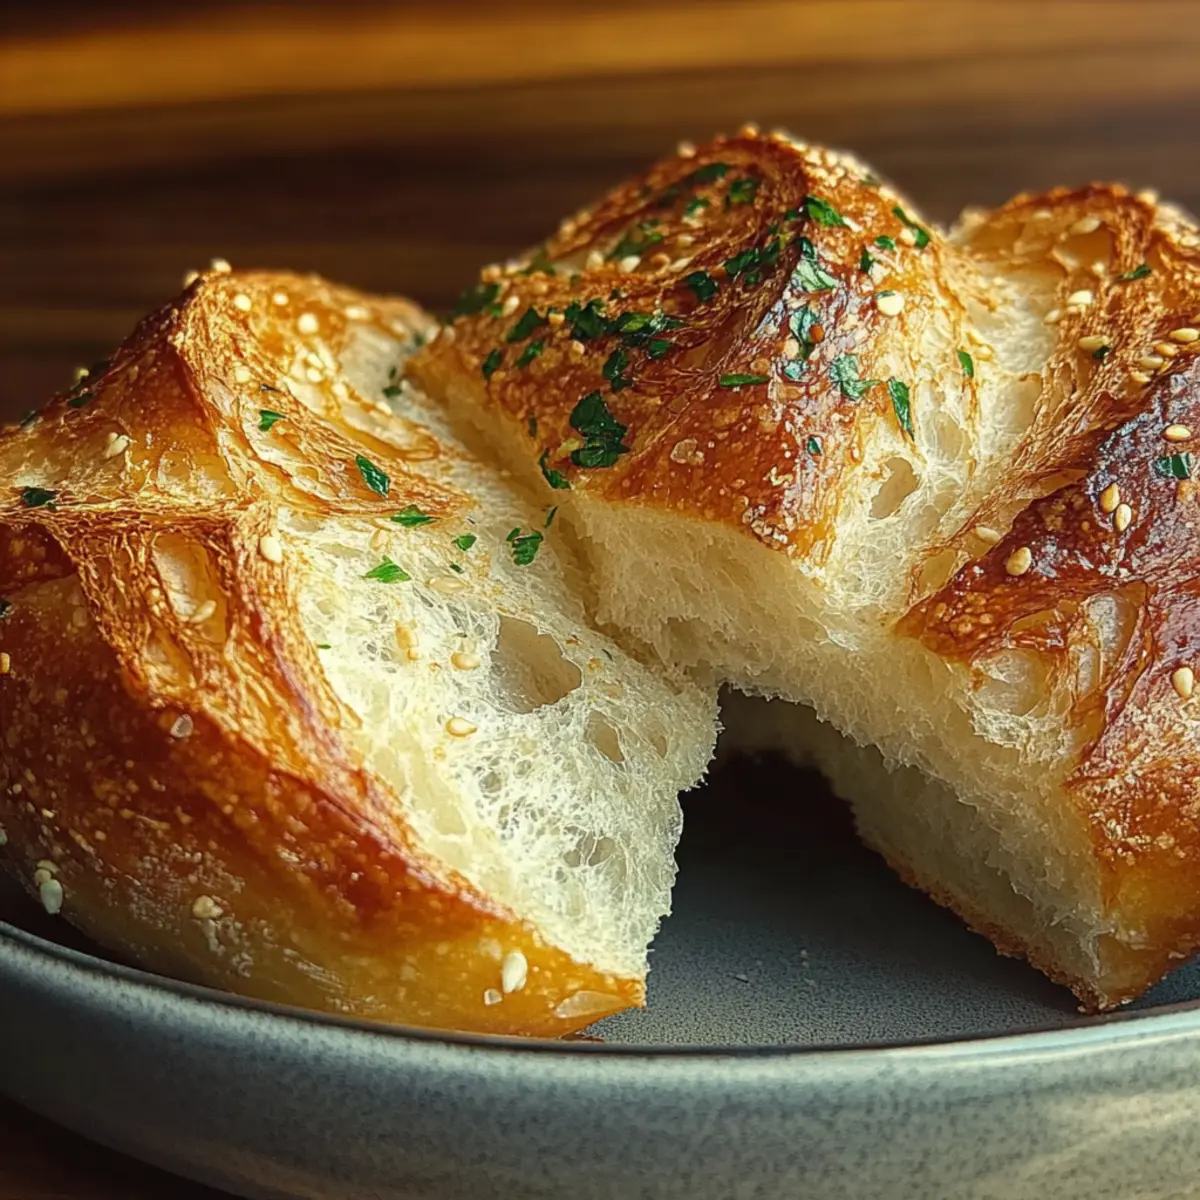
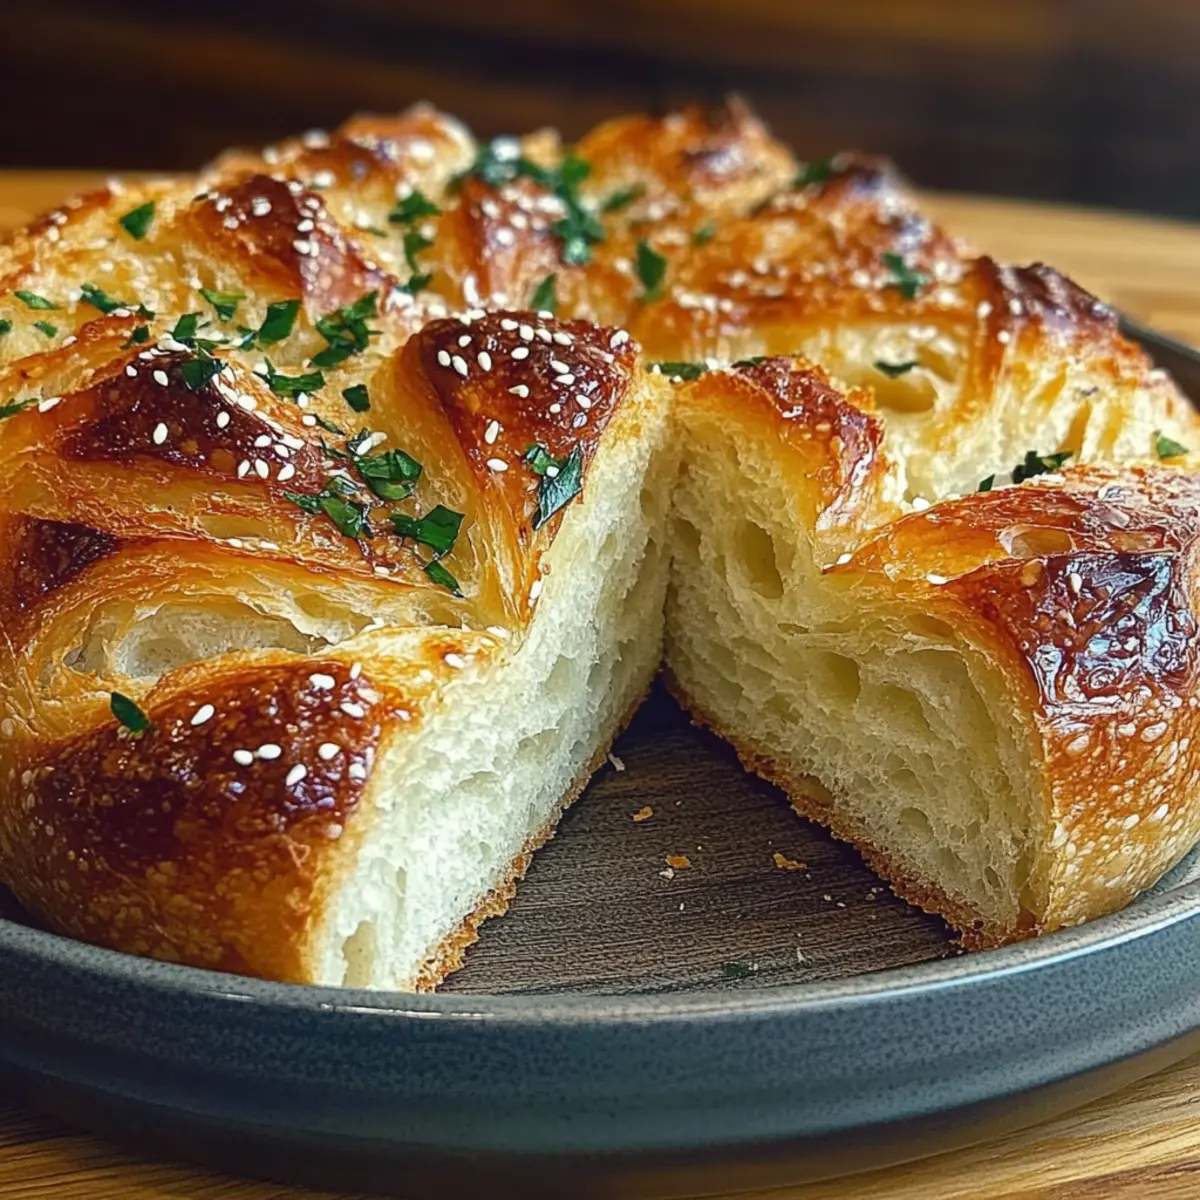
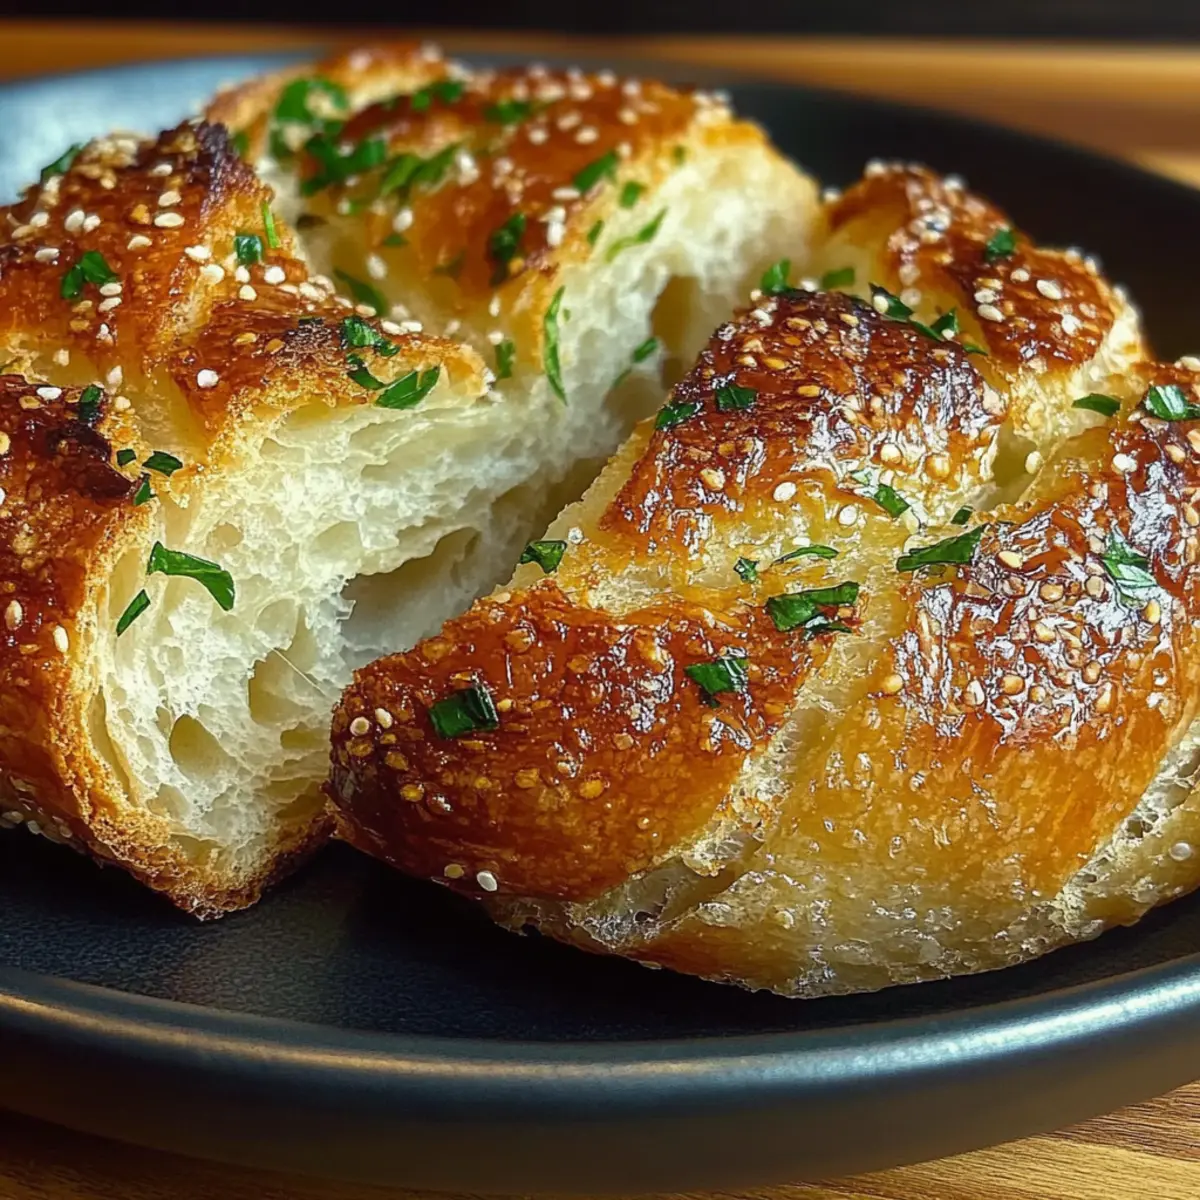
After 30 minutes, carefully remove the lid and continue baking uncovered for an additional 15 to 20 minutes. Keep an eye on the bread; it should turn a beautiful golden brown and develop a crusty exterior. The contrast of textures will make your Garlic Herb Dutch Oven Bread irresistible.
Step 10: Cool and Serve
Once the bread is beautifully golden and crusty, transfer it to a wire rack to cool completely before slicing. This cooling step is important as it enhances the texture and flavor. Enjoy your warm Garlic Herb Dutch Oven Bread fresh and let the delightful aroma fill your kitchen!
Garlic Herb Dutch Oven Bread Variations
Feel free to get creative with this recipe and make it your own!
-
Gluten-Free: Substitute all-purpose flour with a 1:1 gluten-free blend for a tasty alternative.
-
Cheesy Twist: Add 1 cup of shredded cheese, such as mozzarella or cheddar, to the dough for a melty surprise inside.
-
Spicy Kick: Incorporate a teaspoon of red pepper flakes or fresh diced jalapeños for a delightful heat that balances the herbal flavors.
-
Herb Mix: Experiment with other herbs like basil or oregano to personalize the flavor profile and give it a unique twist.
-
Olive Oil Infusion: Use flavored olive oils, like garlic or chili-infused, to enhance the taste while keeping the moisture in the bread.
-
Seed Topping: Sprinkle sesame, poppy, or pumpkin seeds on top before the final rise for added texture and aesthetic appeal.
-
Sweet Variation: For a hint of sweetness, mix in ¼ cup of honey or maple syrup, making it perfect for breakfast or brunch.
Enjoy exploring these variations while savoring the joy of baking! Pair your Garlic Herb Dutch Oven Bread with a hearty soup or a fresh salad for a complete meal. Don’t forget, homemade bread is always best enjoyed fresh.
What to Serve with Garlic Herb Dutch Oven Bread
The warm, aromatic notes of freshly baked bread create a cozy atmosphere, inviting you to complement it with a variety of delightful dishes.
-
Creamy Tomato Soup: The classic pairing of tomato soup with this bread creates a comforting, rustic meal, perfect for chilly evenings.
-
Fresh Garden Salad: Crisp greens and vibrant vegetables create a textural contrast, enhancing the soft, aromatic qualities of the bread.
-
Savory Meat Stew: A hearty stew with tender meat and rich flavors complements the bread, making dinner both satisfying and warm.
-
Herbed Olive Oil Dip: This vibrant dip, infused with herbs and spices, adds a delightful zing, enhancing the flavors of the garlic herb bread.
-
Roasted Vegetables: Tender, caramelized vegetables provide a sweet contrast, balancing the savory herbs in the bread and creating a wholesome meal.
-
Cheesy Garlic Spread: A spreadable delight, this brings out the garlic flavor in the bread while adding richness and an irresistible creamy texture.
-
French Onion Soup: The deep, rich broth and gooey cheese create a luxurious pairing, perfect for savoring alongside each slice of bread.
-
Red Wine: A glass of full-bodied red wine can elevate the dining experience, complementing the hearty textures and flavors beautifully.
-
Chocolate Chip Cookies: For a delightful finish, serve warm cookies alongside to satisfy your sweet tooth after enjoying the bread.
How to Store and Freeze Garlic Herb Dutch Oven Bread
Room Temperature: Store your Garlic Herb Dutch Oven Bread in a bread box or loosely wrapped in a kitchen towel for up to 3 days. This keeps it fresh while allowing some air circulation.
Fridge: If you prefer to keep it longer, you can refrigerate the bread for up to a week. Wrap it tightly in plastic wrap to prevent it from drying out.
Freezer: Freeze the bread by slicing it first, then wrapping each slice in plastic wrap and placing them in an airtight container or freezer bag. It will stay fresh for up to 3 months.
Reheating: To enjoy your frozen slices, reheat them in the oven at 350°F for about 10-15 minutes, or toast them directly from frozen for a quicker option.
Make Ahead Options
These Garlic Herb Dutch Oven Bread loaves are a fantastic choice for busy home cooks looking to save time without sacrificing flavor! You can prep the dough up to 24 hours in advance by following steps 1 through 4—just mix your dry and wet ingredients, combine, and let the dough rise at room temperature until bubbly and doubled in size. For the second rise, you can also shape the loaf and cover it, refrigerating it overnight. When you're ready to bake, let it sit at room temperature for about 30 minutes before transferring it to the preheated Dutch oven. This way, you'll enjoy that fresh-baked goodness just as delicious as if you'd made it from scratch the same day!
Expert Tips for Garlic Herb Dutch Oven Bread
- Measure Accurately: Always use a kitchen scale for flour for the best texture; too much flour can lead to dry bread.
- Patience is Key: Allow the dough to rise adequately for full flavor development; rushing this step will impact your Garlic Herb Dutch Oven Bread’s taste.
- Avoid Kneading: Handle the dough gently; over-kneading can create a dense loaf instead of a light and airy interior.
- Preheat Properly: Always preheat your Dutch oven to ensure even baking; this mimics the conditions of a professional bakery.
- Cooling Matters: Let the bread cool completely before slicing to preserve its moistness and texture; this is essential for achieving that bakery-quality bite.
Garlic Herb Dutch Oven Bread Recipe FAQs
What type of garlic should I use for the best flavor?
Absolutely! Fresh garlic is ideal for this Garlic Herb Dutch Oven Bread. Look for firm cloves with no dark spots or sprouting, which can indicate age. Garlic that’s plump and has a strong aroma will infuse the bread with the best flavor.
How should I store my leftover Garlic Herb Dutch Oven Bread?
For room temperature storage, keep your bread in a bread box or wrap it loosely in a kitchen towel for up to 3 days to maintain its crustiness. If you want to keep the bread longer, wrap it tightly in plastic wrap and place it in the fridge for up to a week. This prevents it from drying out while extending its shelf life.
Can I freeze Garlic Herb Dutch Oven Bread, and how?
Absolutely! To freeze your Garlic Herb Dutch Oven Bread, first, slice the cooled loaf. Wrap each slice in plastic wrap and place the slices in an airtight container or a labeled freezer bag. It can be stored in the freezer for up to 3 months. When you're ready to enjoy, simply reheat the slices in a 350°F oven for about 10-15 minutes, or you can toast them from frozen for a quick option.
Why is my dough not rising as expected?
Very often, this can happen if the water temperature is too hot or too cold. Make sure you're using warm water around 110°F to activate the yeast effectively. If you find your dough isn't bubbling after 12-18 hours, it may be that the yeast was not fresh. Always check the expiration date on your instant yeast to ensure it's still active.
Can I adjust the herbs or add anything else?
The more the merrier! Feel free to customize the herbs in your Garlic Herb Dutch Oven Bread. You can substitute with dried herbs if fresh isn’t available—just use a fraction as dried herbs are more concentrated. Additionally, consider adding grated cheese, sundried tomatoes, or olives for extra flavor. Just make sure not to overload it, as too many additions can affect texture.
Is this recipe suitable for people with gluten sensitivities?
Unfortunately, this recipe contains all-purpose flour, which is not gluten-free. However, you may experiment with gluten-free flour blends if needed. Just keep in mind that the texture and rise may differ, so you may need to add xanthan gum or other binders as recommended on the gluten-free flour package. Enjoy experimenting!
Easy Garlic Herb Dutch Oven Bread for Cozy Nights
Ingredients
Equipment
Method
- In a large mixing bowl, combine 3 cups of all-purpose flour, 1 ¼ teaspoons of salt, and ½ teaspoon of instant yeast. Stir until well-blended.
- In a separate bowl, mix 1 ½ cups of warm water, 4 minced garlic cloves, and 3 tablespoons of olive oil along with 1 tablespoon each of chopped fresh rosemary, thyme, and parsley. Stir until well-combined.
- Pour the wet mixture into the bowl containing your dry ingredients. Stir until a shaggy and sticky dough forms.
- Cover the bowl tightly with plastic wrap or a clean kitchen towel. Allow the dough to rest at room temperature for 12 to 18 hours.
- Soften a work surface with flour, then turn the dough onto it and shape into a round loaf. Avoid excessive kneading.
- Dust the top lightly with flour and cover with a kitchen towel. Allow it to rest for an additional 1 to 2 hours.
- Preheat the oven to 450°F (230°C) with your Dutch oven inside.
- Once preheated, remove the Dutch oven, place your shaped loaf inside, cover, and bake for 30 minutes.
- After 30 minutes, remove the lid and continue baking uncovered for an additional 15 to 20 minutes.
- Transfer the bread to a wire rack to cool completely before slicing.


Leave a Reply