There's something magical about the crunch of a fried pickle—one bite and you’re hit with a delightful blend of tang and savory spices. Inspired by the comfort of Southern cuisine, this Fried Pickles recipe is the perfect harmony of quick prep and pure satisfaction, making it a must-try for any home chef looking to impress guests or enjoy a snack. As you dip each pickle into that creamy ranch dressing, you’ll find yourself lost in the joy of cooking at home, away from the fast food frenzy. Plus, these fried pickles come together in just 35 minutes, allowing you to spend more time savoring the deliciousness and less time in the kitchen. Are you ready to take your appetizer game to the next level? Let’s dive into the crispy magic!
Why Are Fried Pickles So Irresistible?
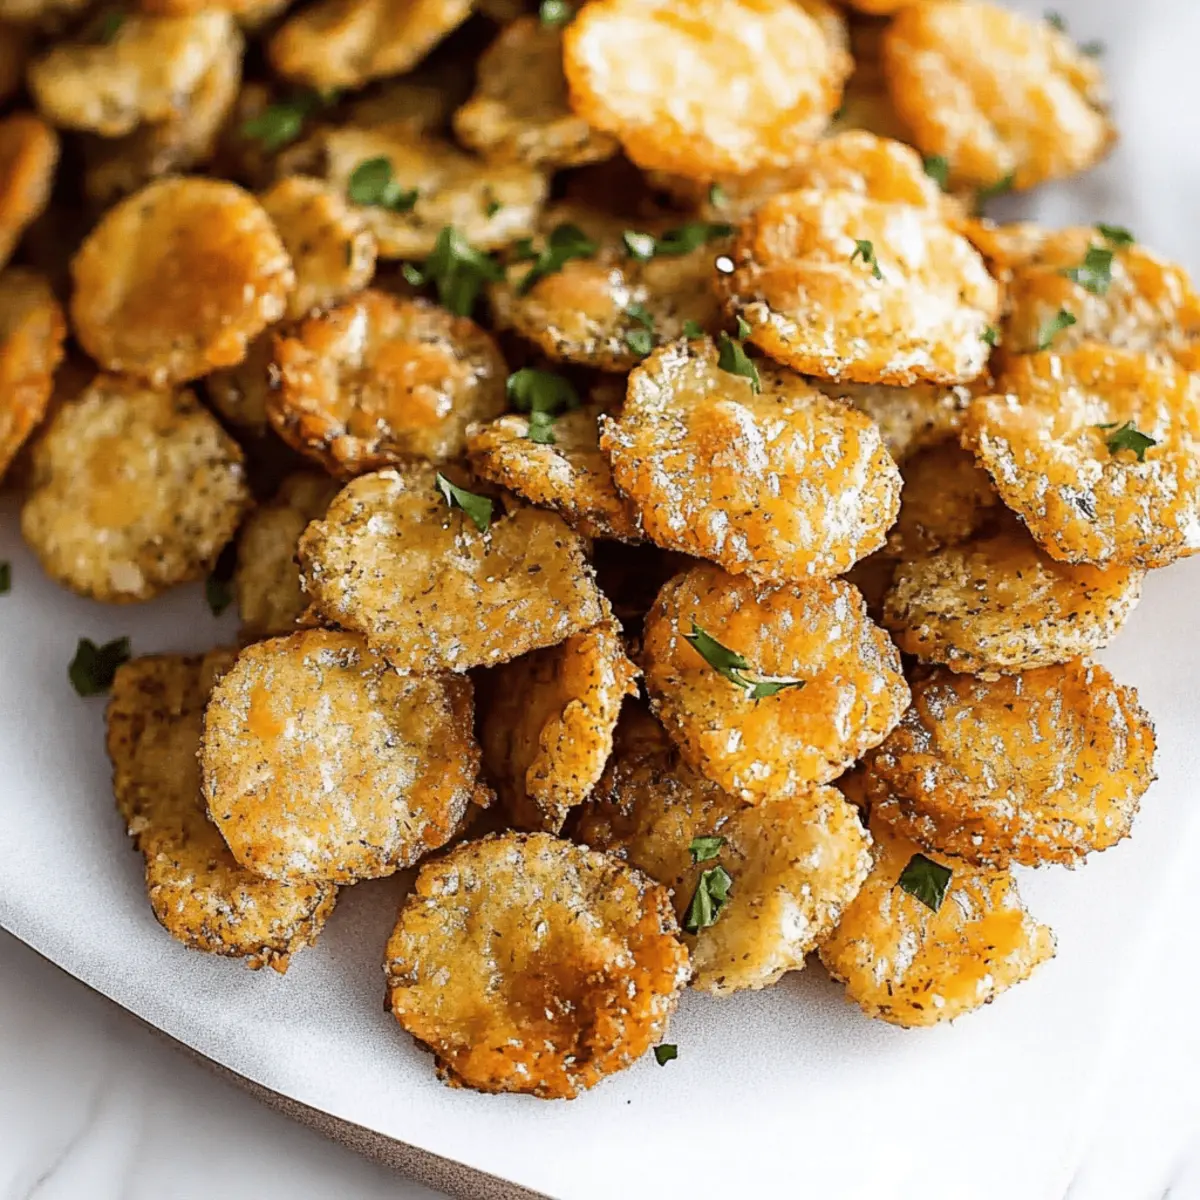
Crunchy perfection awaits! Fried pickles bring together the delightful tanginess of pickles and the crispy coating that everyone loves.
Quick and Easy: In just 35 minutes, you can whip up this addictive snack, perfect for any occasion.
Savory Spices: The mix of garlic, onion, and paprika elevates the flavor, turning a simple pickle into a mouthwatering treat.
Versatile Snacking: Serve them as an appetizer, game day treat, or alongside your favorite burger.
Crowd-Pleaser: Everyone from kids to adults will love this unique twist on a classic, perfect for gatherings or cozy nights in.
Pair these crispy delights with some homemade dipping sauces, like ranch dressing or spicy aioli, to take your fried pickles to the next level!
Fried Pickles Ingredients
For the Pickles
• 16-oz jar sliced pickles – Choose your favorite dill pickles for the ideal tangy flavor.
For the Batter
• 1 cup all-purpose flour – This is the base for achieving that golden, crispy coating.
• 1 teaspoon salt – Enhances the overall flavor of your fried pickles.
• ½ teaspoon ground black pepper – Adds a subtle kick to the batter.
• ½ teaspoon garlic powder – Brings out a delicious savory note.
• ½ teaspoon onion powder – Complements the garlic and gives depth to the taste.
• ½ teaspoon paprika powder – Offers a hint of sweetness and vibrant color.
• ¼ teaspoon baking powder – Helps the batter puff slightly for extra crunch.
For the Wet Mixture
• 1 cup milk – This acts as a binding agent for the batter.
• 2 large eggs – Adds richness and helps the coating stick to the pickles.
For Frying
• Vegetable oil – Use enough for deep frying to achieve that perfect crispiness.
Transform your snack time with these fried pickles, and watch as they disappear from the platter! Enjoy every crispy bite dipped in your favorite sauce!
Step‑by‑Step Instructions for Fried Pickles
Step 1: Heat the Oil
In a deep frying pan, pour enough vegetable oil to cover the bottom by about an inch, and heat it over medium heat. Use a thermometer to reach a temperature of 350°F (175°C). You can test the oil by dropping in a small bit of batter; it should sizzle immediately. This ensures your Fried Pickles will be crispy and golden.
Step 2: Prepare the Dry Mixture
In a mixing bowl, combine 1 cup of all-purpose flour with 1 teaspoon of salt, ½ teaspoon of black pepper, ½ teaspoon of garlic powder, ½ teaspoon of onion powder, ½ teaspoon of paprika, and ¼ teaspoon of baking powder. Whisk these dry ingredients together until they are evenly mixed, creating a flavorful coating that will adhere nicely to your pickles.
Step 3: Prepare the Wet Mixture
In another bowl, whisk together 1 cup of milk and 2 large eggs until the mixture is smooth and well combined. This wet mixture will help the flour coating cling to the pickles, creating that delicious crunch. Make sure there are no lumps before moving on to the next step.
Step 4: Coat the Pickles
Taking one pickle slice at a time, first dip it into the milk-egg mixture, ensuring it’s completely submerged. Allow any excess to drip off, then transfer it to the flour mixture and coat it thoroughly. Press gently to adhere the flour mixture to the pickle, ensuring each slice is well-covered for that ultimate crispy texture in your Fried Pickles.
Step 5: Fry the Pickles
Carefully place the coated pickles into the hot oil, working in batches to avoid overcrowding the pan. Fry each batch for about 2-3 minutes on one side, or until they turn a deep golden brown. Then, gently flip them over and fry for an additional 2-3 minutes to achieve perfect crispness on both sides.
Step 6: Drain the Fried Pickles
Once the Fried Pickles are golden and crispy, use a slotted spoon to remove them from the oil. Transfer them to a plate lined with paper towels to drain any excess oil. This step is crucial for keeping them crunchy and light, so let them sit for a moment while you repeat the frying process for the remaining pickle slices.
Step 7: Serve with Dipping Sauce
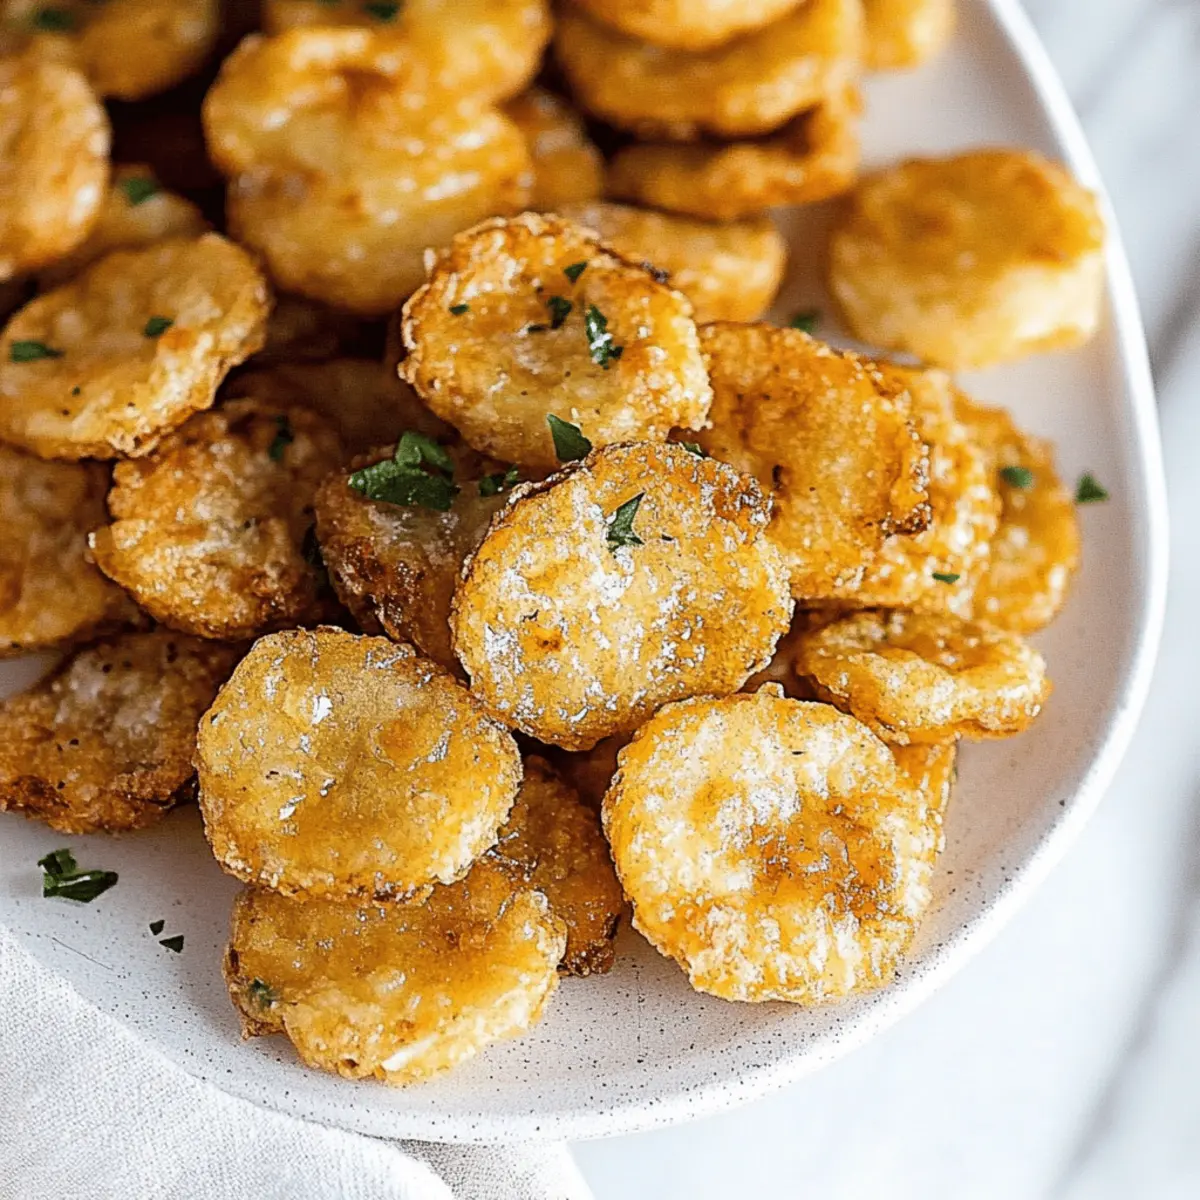
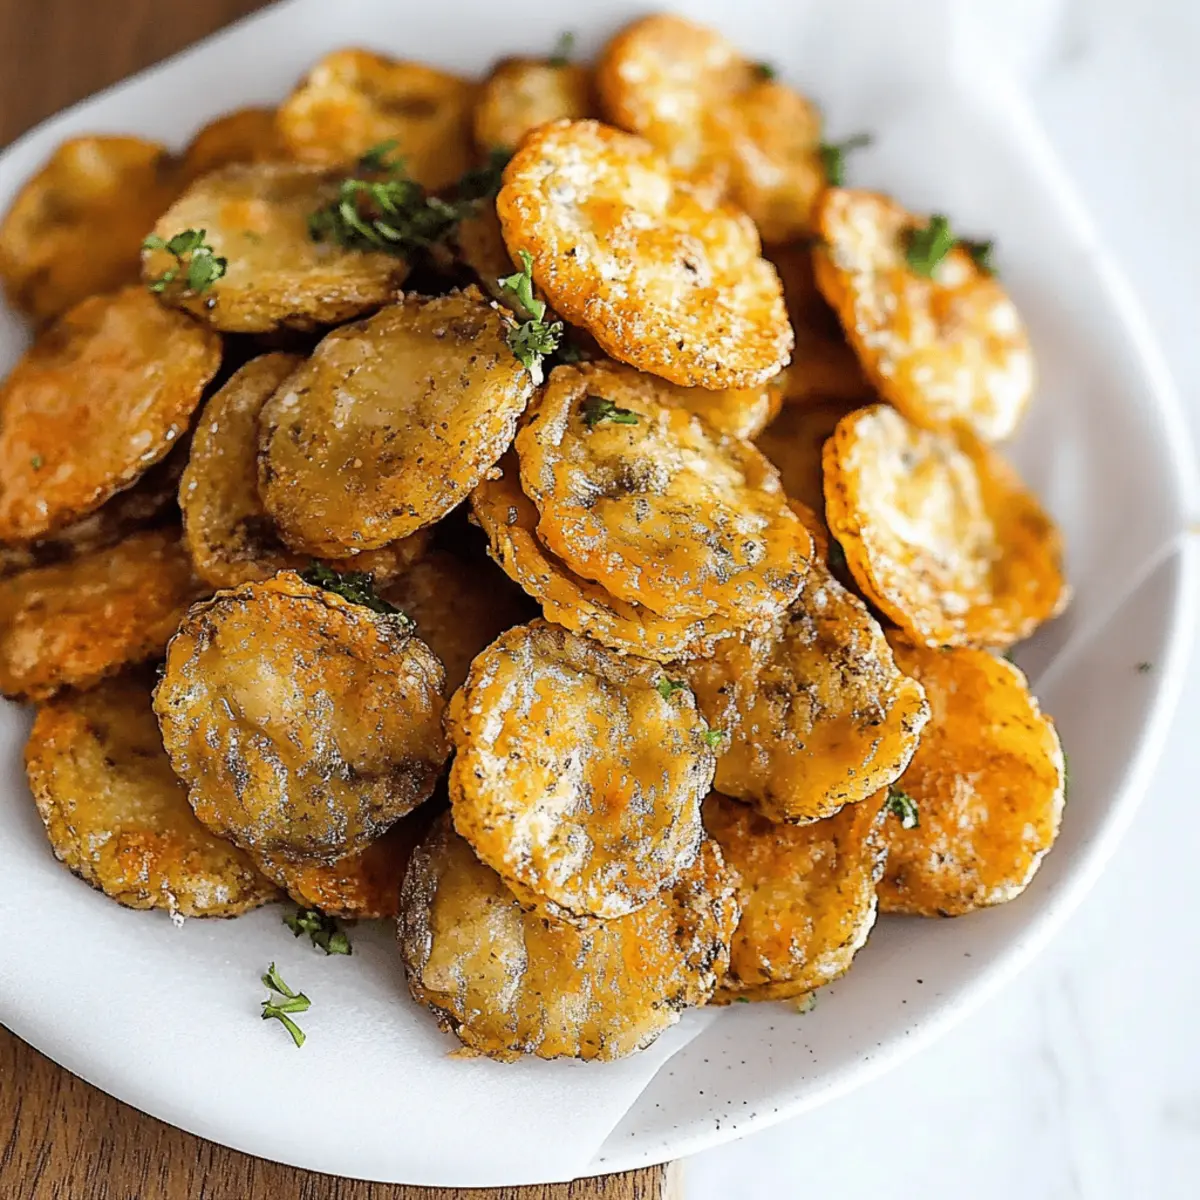
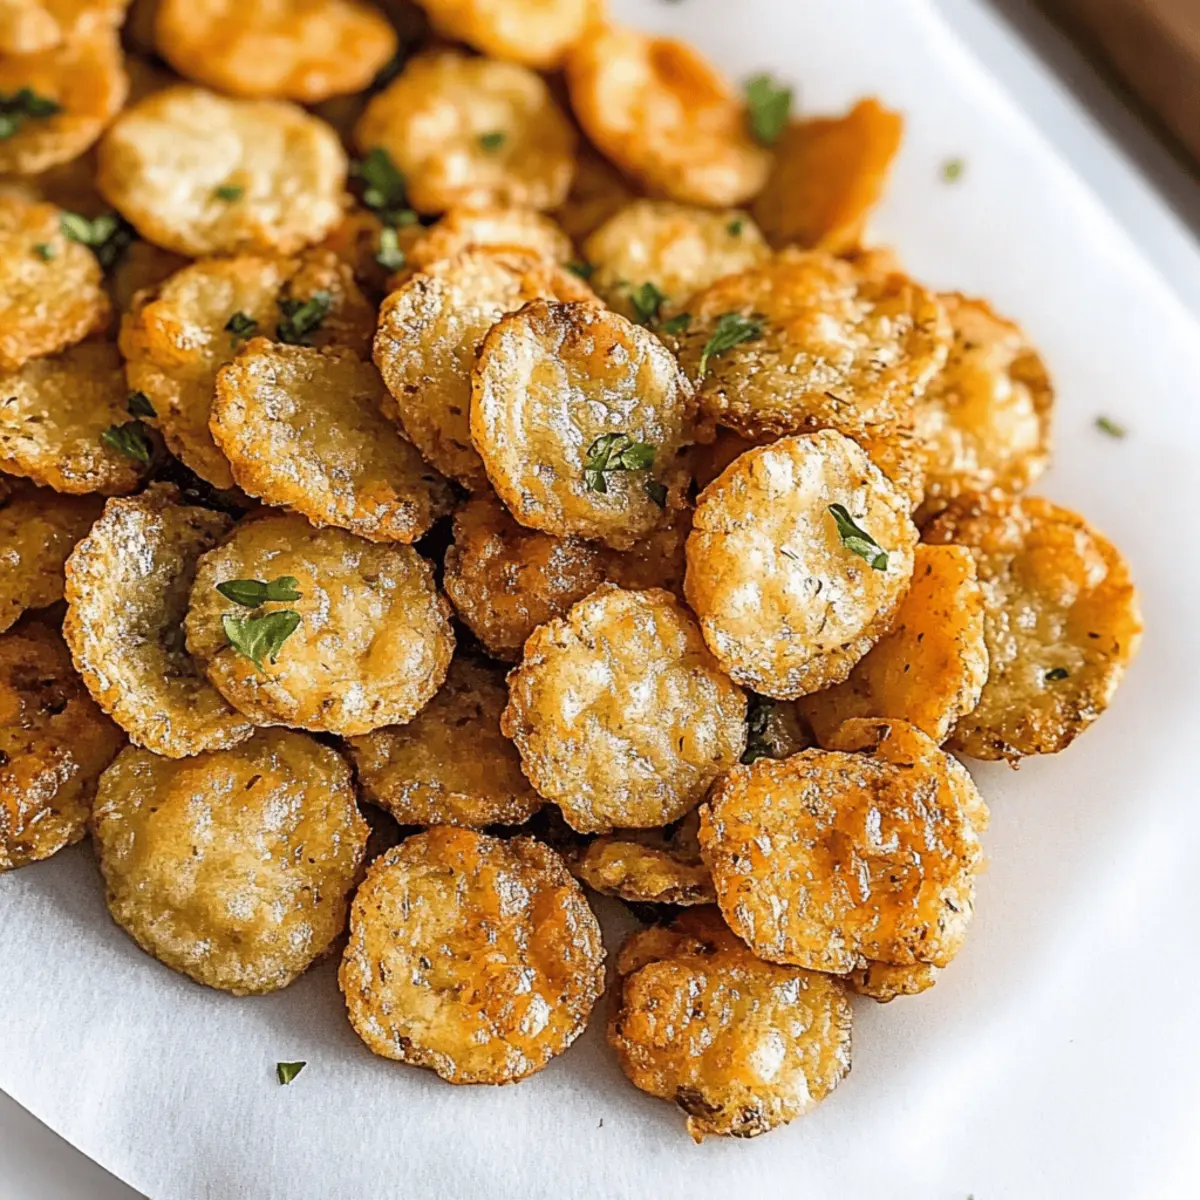
After draining, arrange your crispy Fried Pickles on a serving platter. They are best enjoyed right away, so serve them warm alongside your favorite dipping sauce, such as ranch dressing. The combination of flavors and textures will elevate your snacking experience, making them a hit at any gathering!
What to Serve with Fried Pickles
Dive into a deliciously fun meal with dishes that enhance the crispy, zesty goodness of fried pickles!
-
Creamy Ranch Dip: A classic pairing, the cool creaminess of ranch dressing perfectly balances the salty crunch of fried pickles.
-
Spicy Buffalo Sauce: For those who like a kick, this hot sauce adds a fiery flavor that elevates each crunchy bite.
-
Fresh Coleslaw: The crisp freshness and tangy dressing of coleslaw provide a delightful contrast to the pickles' crunchy texture.
-
Grilled Cheese Sandwich: Nothing beats the classic combo of gooey cheese and crispy pickles—serve them side by side for a comfort-food dream!
-
Sweet Potato Fries: Their natural sweetness contrasts nicely with the tang of pickles, creating a well-rounded snack experience. Enjoy them dipped in honey mustard!
-
Honey Mustard Dip: This sweet and tangy sauce complements the pickles' flavor perfectly—perfect for those who love a touch of sweetness.
-
Iced Tea or Lemonade: A refreshing drink can cleanse your palate between bites, making each pickle taste even better.
-
Mini Sliders: Serve with bite-sized burgers for a fun twist—fried pickles make a delightful addition to any sandwich!
-
Chocolate Chip Cookies: For dessert, indulge in warm cookies that contrast the savory nature of fried pickles, rounding out your meal with a touch of sweetness.
Make Ahead Options
These Fried Pickles are perfect for busy home cooks looking to save time without sacrificing taste! You can prepare the dry mixture (flour, salt, and spices) up to 3 days in advance; just ensure to store it in an airtight container to maintain freshness. Additionally, you can slice your pickles and mix the wet ingredients (milk and eggs) up to 24 hours ahead. When you're ready to fry, simply follow the coating and frying steps mentioned in the recipe. This way, you’ll have crispy, scrumptious fried pickles that are just as delicious when made in advance, allowing you to enjoy more quality time with family and friends!
Tips for the Best Fried Pickles
-
Select Quality Pickles: Use dill pickles for the classic tang that balances perfectly with the crispy coating, enhancing the fried pickles experience.
-
Temperature Matters: Ensure your oil is heated to 350°F (175°C) before frying. Too cool will result in soggy pickles, while too hot can burn the coating.
-
Batter Balance: Make sure your pickles are fully coated in both the wet and dry mixtures. This creates that irresistible, crunchy texture that defines your fried pickles.
-
Fry in Batches: Avoid overcrowding the pan. Frying too many pickles at once can lower the oil temperature and lead to unevenly cooked fried pickles.
-
Drain Properly: Don’t skip the paper towels after frying; it helps maintain their crispy texture by letting excess oil drain away.
Fried Pickles Variations & Substitutions
Feel free to get creative and tailor these fried pickles to your personal taste—imagine the delightful crunch and new flavors dancing on your palate!
-
Gluten-Free: Substitute all-purpose flour with a gluten-free blend for a deliciously crispy alternative. Your foodies will appreciate the thoughtful twist!
-
Spicy Kick: Add cayenne pepper or hot sauce to the batter for a fiery twist. Perfect for those who love their snacks with a bit of heat!
-
Cheesy Flavor: Incorporate grated Parmesan cheese into the flour mixture for a rich, savory depth. Who can resist the combination of fried and cheesy goodness?
-
Herb-Infused: Mix in dried herbs like oregano or thyme for an aromatic lift. This simple addition will elevate your fried pickles to a whole new level of gourmet flavor!
-
Sweet & Sour: Experiment with sweet pickle slices instead of dill for a surprising twist. The sweetness brings a fun contrast to the crispy coating.
-
Panko Extra Crunch: Replace regular flour with panko breadcrumbs for an ultra-crispy finish. You’ll adore the texture that takes these pickles from good to out-of-this-world!
-
Batter Up: Try a beer batter by substituting milk with your favorite beer for a bubbly texture. A clever twist that adds an extra layer of flavor and warmth!
-
Nutritional Upgrade: Use almond milk and flax eggs for a healthier, vegan option while still enjoying that classic fried pickle crunch. Everyone in your home will thank you for this guilt-free alternative!
Embrace these variations as you make this recipe your own! Pair your unique fried pickles with homemade ranch dressing or a tangy spicy aioli for an unforgettable flavor experience!
How to Store and Freeze Fried Pickles
Fridge: Store leftover fried pickles in an airtight container for up to 3 days. You can reheat them in an oven at 350°F (175°C) for crispness.
Freezer: Freeze fried pickles in a single layer on a baking sheet for 1-2 hours before transferring them to a freezer bag. They can be kept frozen for up to 2 months.
Reheating: To reheat frozen fried pickles, place them directly from the freezer into a preheated oven at 375°F (190°C) for about 10-15 minutes or until heated thoroughly.
Room Temperature: Avoid leaving fried pickles out for more than 2 hours at room temperature to ensure food safety and maintain quality.
Fried Pickles Recipe FAQs
How do I choose the best pickles for frying?
Absolutely! For the best crispy fried pickles, I recommend using dill pickles. Look for ones that are firm and free from dark spots. A 16-oz jar of sliced pickles is perfect; you want them to be well-drained before frying to avoid excess moisture that can make the batter soggy.
How should I store leftover fried pickles?
Very easily! Place your leftover fried pickles in an airtight container and store them in the fridge for up to 3 days. For best results when reheating, pop them in a preheated oven at 350°F (175°C) for about 10-15 minutes until they're warm and crispy again. This method helps restore their crunch!
Can I freeze fried pickles?
Of course! To freeze fried pickles, lay them in a single layer on a baking sheet and freeze for about 1-2 hours. Once frozen, transfer them to a freezer bag. They can last for up to 2 months. When you're ready to enjoy them again, bake from frozen at 375°F (190°C) for about 10-15 minutes until heated and crispy.
What could go wrong when frying pickles, and how can I fix it?
Sometimes, fried pickles can turn out soggy or stick to the frying pan. To avoid this, make sure your oil is hot enough (around 350°F or 175°C) before adding the pickles. Fry in small batches to maintain oil temperature. If they stick, carefully use a slotted spoon to gently loosen them from the bottom of the pan during frying.
Are fried pickles suitable for those with dietary restrictions?
Definitely worth considering! If you're catering to gluten-free diets, you can substitute all-purpose flour with a gluten-free blend. Just make sure to check that your pickles are gluten-free, too. And remember, if you have allergies to eggs, you might try using a vegan egg substitute like flaxseed meal mixed with water to maintain the batter's sticking power.
Can my pets have fried pickles?
While it may be tempting, it's best to avoid sharing fried pickles with your pets. Their high sodium content and potential spices can upset their stomachs. Stick to pet-safe snacks to keep your furry friends happy and healthy!
Crispy Fried Pickles: A Zesty Twist on a Classic Snack
Ingredients
Equipment
Method
- In a deep frying pan, pour enough vegetable oil to cover the bottom by about an inch, and heat it over medium heat. Use a thermometer to reach a temperature of 350°F (175°C).
- In a mixing bowl, combine 1 cup of all-purpose flour with 1 teaspoon of salt, ½ teaspoon of black pepper, ½ teaspoon of garlic powder, ½ teaspoon of onion powder, ½ teaspoon of paprika, and ¼ teaspoon of baking powder. Whisk until evenly mixed.
- In another bowl, whisk together 1 cup of milk and 2 large eggs until smooth. Ensure there are no lumps before moving on.
- Dip each pickle slice into the milk-egg mixture, then transfer to the flour mixture, coating thoroughly.
- Carefully place coated pickles into the hot oil, frying in batches for 2-3 minutes on each side until golden brown.
- Use a slotted spoon to remove fried pickles from the oil and transfer to a plate lined with paper towels to drain excess oil.
- Arrange crispy Fried Pickles on a serving platter and serve warm with your favorite dipping sauce.

Leave a Reply