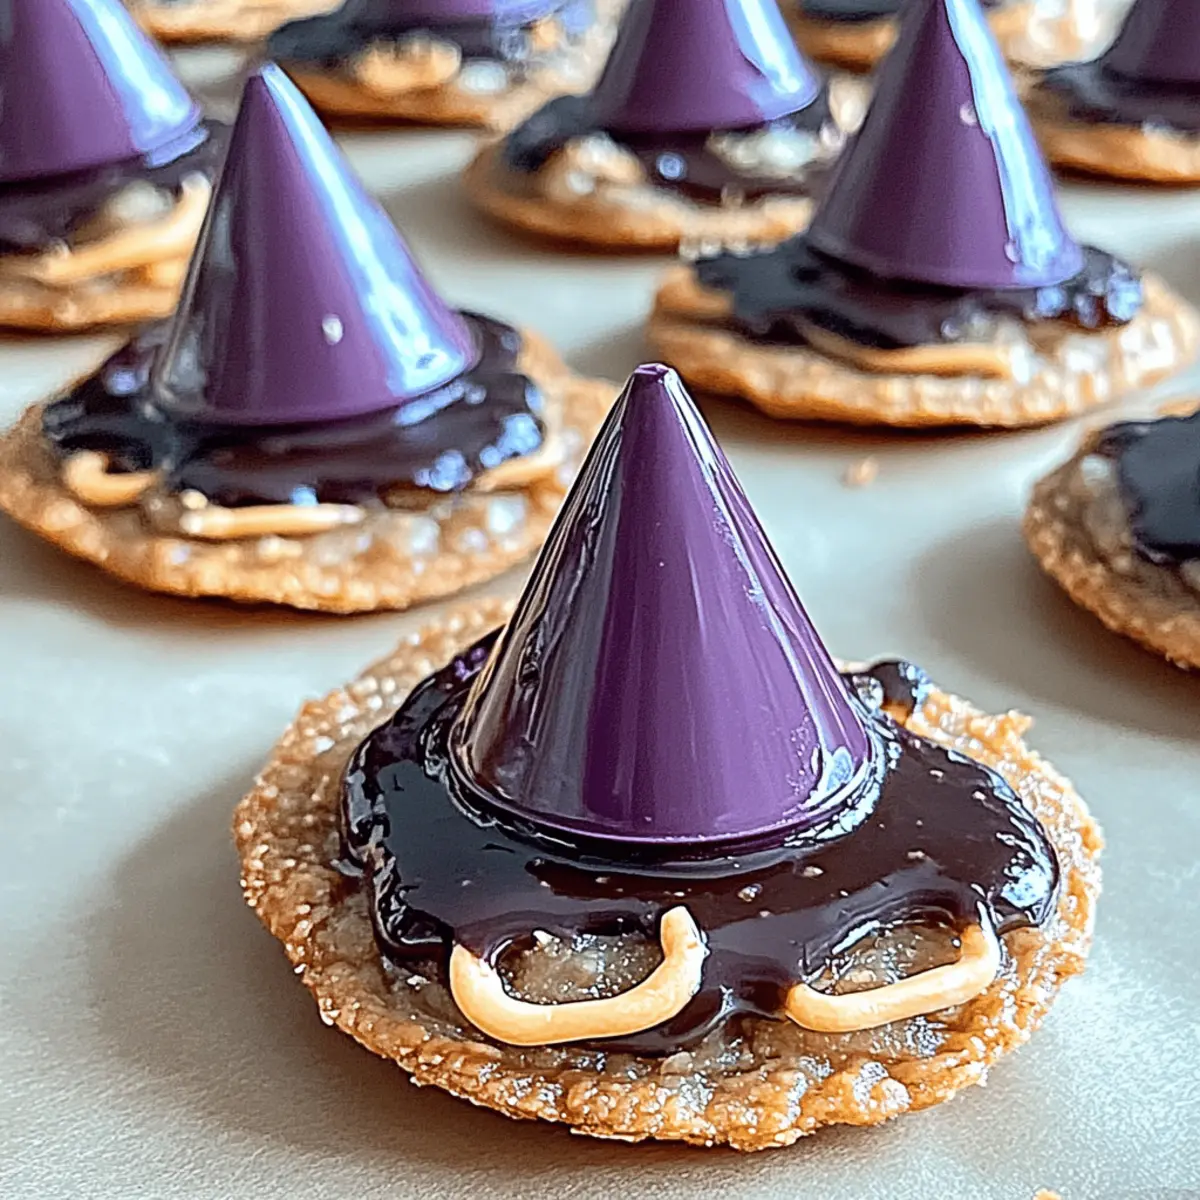
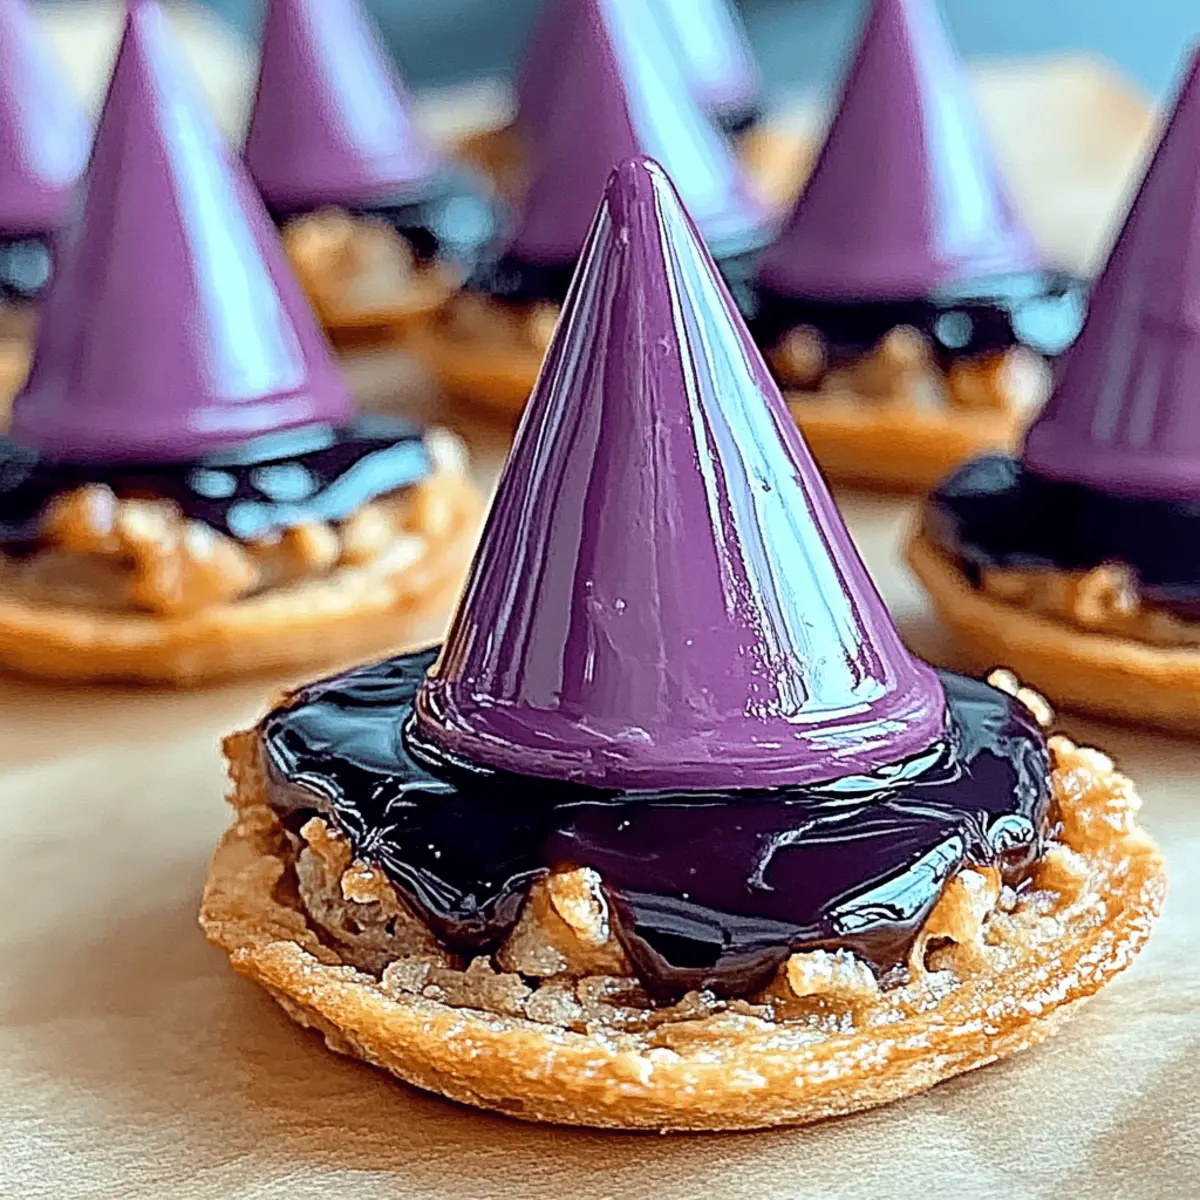
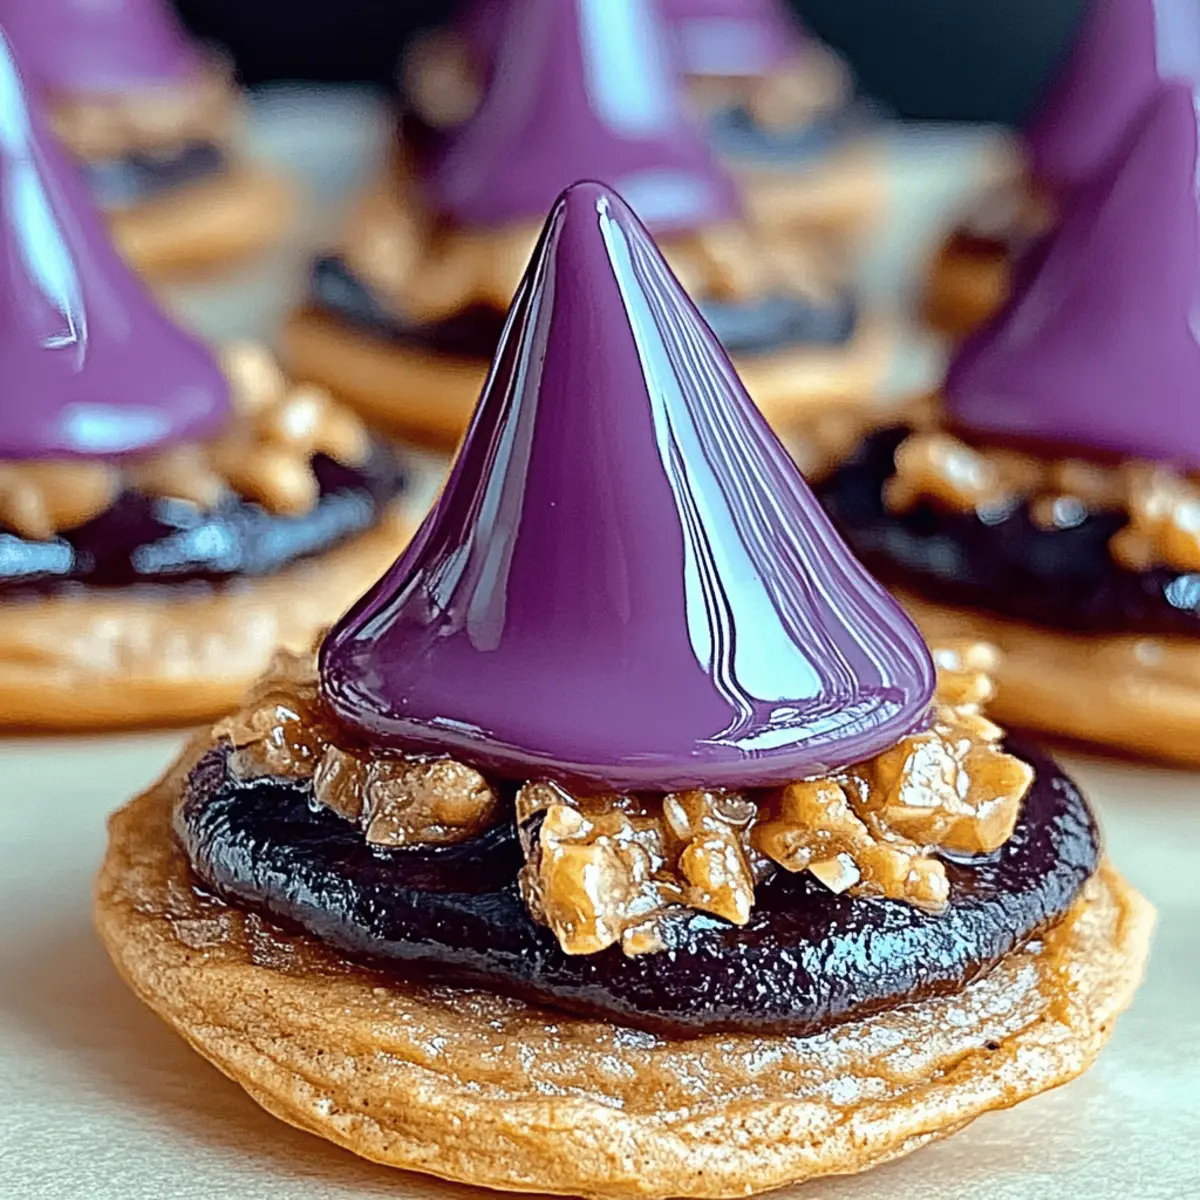
In the cozy chaos of my kitchen, the aroma of baking cookies can transform even the gloomiest day. Today, I’m diving into the enchanting world of Witchy Cookies, a delightful treat that effortlessly blends nostalgia with a playful twist. These cookies are not only quick to whip up but also guarantee a happy crowd—a perfect antidote to those greasy takeout nights. With each bite, you’ll savor rich chocolate chips nestled in a buttery, tender heart that will leave you spellbound. Ready to conjure some magic in your kitchen? Let’s get started!
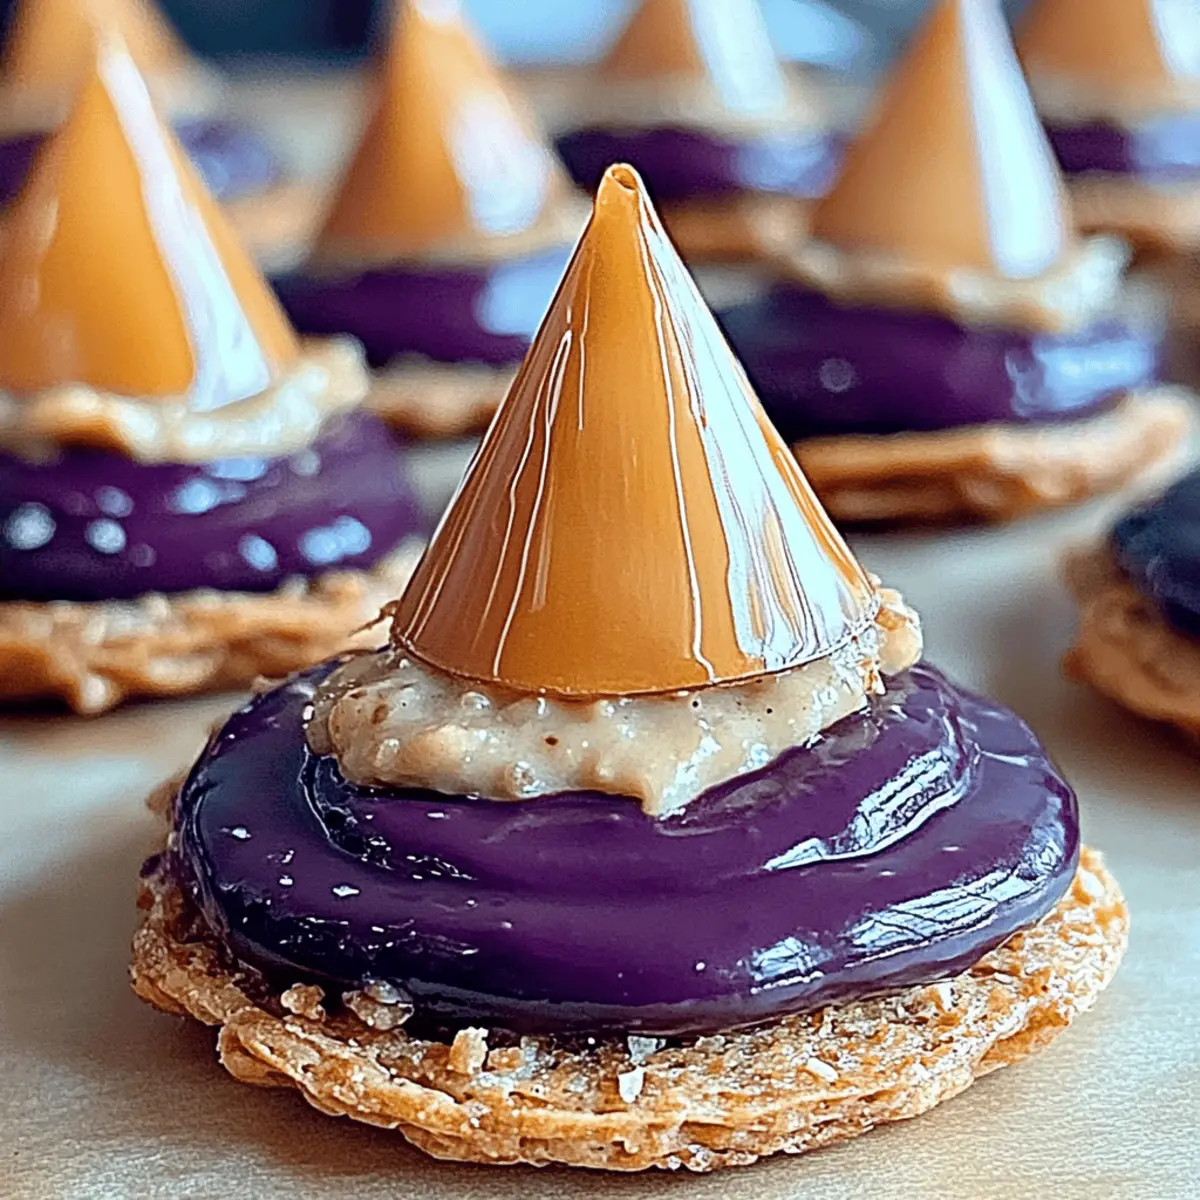
Why Are Witchy Cookies So Irresistible?
Soft Texture: Each cookie is perfectly soft, with a delightful contrast of crispy edges and a chewy center—just the way cookies should be!
Quick Prep: With a mere 15 minutes of prep time, you can have these warm, gooey treats ready in no time. Who doesn't love a speedy baking experience?
Crowd Pleaser: Whether it’s a cozy family gathering or a friendly get-together, these cookies are sure to impress everyone. They’re perfect for sharing!
Magical Flavor: The rich combination of brown sugar and chocolate chips creates a unique taste that’s simply enchanting, making every bite feel special.
Easy to Customize: Feel free to add your favorite nuts or sprinkles to bring your own twist to these magical cookies. Check out my baking tips for ways to personalize your treats!
Witchy Cookies Ingredients
For the Batter
• All-purpose flour – 2 ¼ cups provides the perfect structure for these Witchy Cookies.
• Baking soda – 1 teaspoon helps the cookies rise and gives them a lovely, soft texture.
• Sea salt – ½ teaspoon balances the sweetness and enhances the overall flavor.
• Unsalted butter – 1 cup (room temperature) ensures a rich, buttery base that melts in your mouth.
• Granulated sugar – ¾ cup adds sweetness and contributes to a crispy edge.
• Brown sugar – ¾ cup (packed) infuses the cookies with a delightful caramel flavor.
• Large eggs – 2 eggs bind the ingredients and provide moisture for a soft cookie.
• Vanilla extract – 2 teaspoon adds warmth and enhances the magical flavors in your cookies.
For the Chocolatey Goodness
• Chocolate chips – 2 cups (semi-sweet or dark) are the crowning glory, making every bite decadent and delicious!
Let’s gather these magical ingredients and get ready to create some unforgettable Witchy Cookies!
Step‑by‑Step Instructions for Witchy Cookies
Step 1: Preheat the Oven
Start by preheating your oven to 350°F (175°C). This ensures it reaches the perfect temperature while you prepare the cookie dough. Line two baking sheets with parchment paper for easy cleanup and a non-stick surface for your Witchy Cookies.
Step 2: Prepare the Dry Ingredients
In a medium bowl, whisk together 2 ¼ cups of all-purpose flour, 1 teaspoon of baking soda, and ½ teaspoon of sea salt. Mixing these dry ingredients first will help evenly distribute the leavening agents. Once combined, set this bowl aside to focus on the wet mixture.
Step 3: Mix the Butters and Sugars
In a large mixing bowl, use an electric mixer to beat 1 cup of room-temperature unsalted butter with ¾ cup of granulated sugar and ¾ cup of packed brown sugar. Blend them together on medium speed for about 3 minutes until the mixture becomes creamy and light in color, showcasing its enchanting texture.
Step 4: Incorporate Eggs and Vanilla
Next, add 2 large eggs to the buttery mixture, one at a time, followed by 2 teaspoons of vanilla extract. Ensure each egg is fully incorporated before adding the next. This will help create a rich, cohesive batter that balances the sweetness of your Witchy Cookies.
Step 5: Combine Wet and Dry Mixtures
Gradually add the dry flour mixture to the wet ingredients, mixing on low speed until just combined. Be careful not to overmix; you want your cookies to remain tender and soft. Look for a thick dough that doesn’t stick to the sides of the bowl and has a slightly fluffy consistency.
Step 6: Fold in the Chocolate Chips
Gently fold in 2 cups of chocolate chips using a spatula or wooden spoon. This will ensure the chips are evenly distributed throughout the dough, creating those magical chocolatey pockets in your Witchy Cookies that will enchant every bite.
Step 7: Scoop the Dough
Using a spoon or cookie scoop, drop generous spoonfuls of dough onto your lined baking sheets, spacing them about 2 inches apart. This allows the cookies room to spread as they bake, resulting in perfectly shaped Witchy Cookies—golden around the edges and soft in the center.
Step 8: Bake the Cookies
Place the baking sheets in the preheated oven and bake for 10-12 minutes. Keep an eye on them; once the edges are golden brown but the centers still look soft, they're ready to come out. This technique ensures a delightful texture that encapsulates the spirit of Witchy Cookies.
Step 9: Cool and Transfer
Allow the cookies to cool on the baking sheets for about 5 minutes before carefully transferring them to wire racks. This cooling time helps them firm up slightly while retaining their soft, gooey centers. Enjoy the enticing aroma as you let the magic of Witchy Cookies unfold!
Witchy Cookies Variations & Substitutions
Feel free to sprinkle some of your creativity into these cookies, making them truly your own!
- Gluten-Free: Substitute all-purpose flour with a 1:1 gluten-free flour blend for a delightful, gluten-free treat.
- Nutty Addition: Add 1 cup of chopped walnuts or pecans for a crunchy twist that complements the chocolate beautifully.
- Dairy-Free: Use vegan butter and dairy-free chocolate chips to make these cookies entirely plant-based while still delicious.
- Spiced Delight: Incorporate 1 teaspoon of cinnamon or pumpkin pie spice for a warm, cozy flavor that dances on your palate.
- Minty Fresh: Fold in 1 cup of chocolate mint chips for a refreshing twist; they bring an enchanting flair to every bite.
- Coconut Escape: Add 1 cup of shredded coconut for a tropical touch that transforms these cookies into a delectable delight.
- White Chocolate Wonderland: Swap semi-sweet chocolate chips for white chocolate chips for a milder, sweet contrast that’ll melt in your mouth.
Experimenting with these variations can lead to a whole new cookie experience! Perhaps you’ll create a masterpiece that becomes a family favorite. Don't forget to check out my baking tips for more ideas on how to personalize your treats!
How to Store and Freeze Witchy Cookies
Room Temperature: Store your Witchy Cookies in an airtight container for up to 3 days to maintain their soft texture and delicious flavor.
Fridge: If you'd like to keep them a bit longer, you can refrigerate the cookies in a sealed container for up to 1 week. Allow them to come to room temperature before enjoying!
Freezer: To freeze, place cookies in a single layer on a baking sheet until frozen, then transfer them to a freezer-safe bag. They can be stored for up to 3 months. Reheat from frozen in a warm oven for a magical treat!
Reheating: For best results, reheat cookies in the oven at 350°F for about 5 minutes to restore their gooey goodness before serving. Enjoy each enchanting bite!
Make Ahead Options
These Witchy Cookies are a fantastic choice for meal prep, allowing you to enjoy their delightful taste even on the busiest days! You can make the dough and refrigerate it up to 24 hours before baking, which helps the flavors meld beautifully. For longer storage, scoop the dough into balls and freeze them for up to 3 months. Just place the frozen dough balls on a lined baking sheet and bake straight from the freezer, adding an extra minute or two to the cooking time. To keep the cookies fresh and soft after baking, store them in an airtight container at room temperature. When it’s time to serve, simply give them a gentle reheat if you like, and you'll have that warm, magical aroma filling your kitchen!
Expert Tips for Witchy Cookies
Room Temperature Ingredients: Ensure your butter and eggs are at room temperature to achieve a creamy batter that results in soft, tender Witchy Cookies.
Don’t Overmix: When combining wet and dry ingredients, mix until just combined. Overmixing can lead to tough cookies—definitely not the texture you want!
Spacing is Key: Leave enough space (about 2 inches) between dough balls on the baking sheet. This allows your Witchy Cookies to spread beautifully and bake evenly.
Watch the Bake Time: Keep an eye on the cookies; they should be golden at the edges and slightly soft in the middle when you take them out. They’ll firm up as they cool!
Customize with Toppings: Feel free to add spices like cinnamon or nuts for an extra special twist. Experimenting can lead to your own favorite version of these magical cookies!
What to Serve with Witchy Cookies?
The perfect Witchy Cookies deserve some delightful companions to create an inviting experience that warms your heart.
- Creamy Milk: A classic pairing, cold milk accentuates the rich chocolate flavor and adds a nostalgic touch to every bite.
- Vanilla Ice Cream: Top these cookies with a scoop of vanilla ice cream for a deliciously dreamy dessert that’s hard to resist. Picture the warm cookie contrasted with the cold ice cream—pure bliss!
- Fluffy Whipped Cream: A dollop of whipped cream adds lightness and sweetness, turning your cookies into a heavenly treat. Drizzle with chocolate sauce for an extra touch of indulgence!
- Fresh Berries: Strawberries or raspberries provide a refreshing contrast to the sweetness, adding a pop of color and a touch of tartness. These vibrant fruits brighten your plate beautifully!
- Caramel Sauce: Drizzling warm caramel over your cookies elevates them into a special dessert that feels luxurious. It's a decadent addition that will leave your guests wanting more.
- Cinnamon Spiced Tea: A warm cup of spiced tea offers an aromatic pairing that enhances the cozy feel of the cookies, making for a perfect afternoon treat.
- Hot Chocolate: For a comforting twist, serve these cookies alongside creamy hot chocolate piled high with marshmallows—ideal for cozy evenings!
Witchy Cookies Recipe FAQs
What type of chocolate chips should I use?
You can use semi-sweet or dark chocolate chips, depending on your taste preference. Semi-sweet chocolate offers a classic cookie flavor, while dark chocolate adds a richer, more intense taste. I often mix both to create a delightful balance!
How can I tell if my cookies are baked properly?
Absolutely! Bake your Witchy Cookies for 10-12 minutes until you see golden edges and a soft, slightly underbaked center. They will continue to set as they cool, ensuring the perfect soft texture inside.
What’s the best way to store leftover cookies?
Store your Witchy Cookies in an airtight container at room temperature for up to 3 days. If you want to prolong their freshness, refrigerate them in a sealed container for up to 1 week. Just let them sit out for a few minutes before devouring them, and they'll taste divine!
Can I freeze Witchy Cookies?
Yes, you can! To freeze, place your baked cookies in a single layer on a baking sheet and freeze them until solid. Then transfer to a freezer-safe bag or container. They can be stored for up to 3 months. When you're ready to enjoy, reheat them in a 350°F oven for about 5 minutes for that freshly baked taste!
Are there any dietary considerations I should be aware of?
If you're baking for someone with allergies, keep in mind that this recipe contains common allergens such as dairy (from the butter) and eggs. For a dairy-free version, substitute the unsalted butter with a plant-based alternative. Just ensure it’s solid at room temperature for the best results!
How can I tell if my ingredients are fresh enough to use?
Make sure to check your baking soda and flour for freshness! Baking soda loses potency over time; it should be replaced every 6 months. Flour should also be free from any strange odors or discoloration. Fresh ingredients make a magical difference in the final flavor of your Witchy Cookies!
Irresistibly Soft Witchy Cookies for Magical Moments
Ingredients
Equipment
Method
- Preheat your oven to 350°F (175°C) and line two baking sheets with parchment paper.
- In a medium bowl, whisk together the flour, baking soda, and sea salt.
- In a large mixing bowl, beat the butter with granulated and brown sugar until creamy.
- Add the eggs one at a time, mixing well, then stir in the vanilla extract.
- Gradually add the flour mixture to the wet ingredients until just combined.
- Fold in the chocolate chips gently.
- Scoop dough onto baking sheets, spacing them about 2 inches apart.
- Bake for 10-12 minutes until edges are golden and centers look soft.
- Cool on baking sheets for about 5 minutes before transferring to wire racks.


Leave a Reply