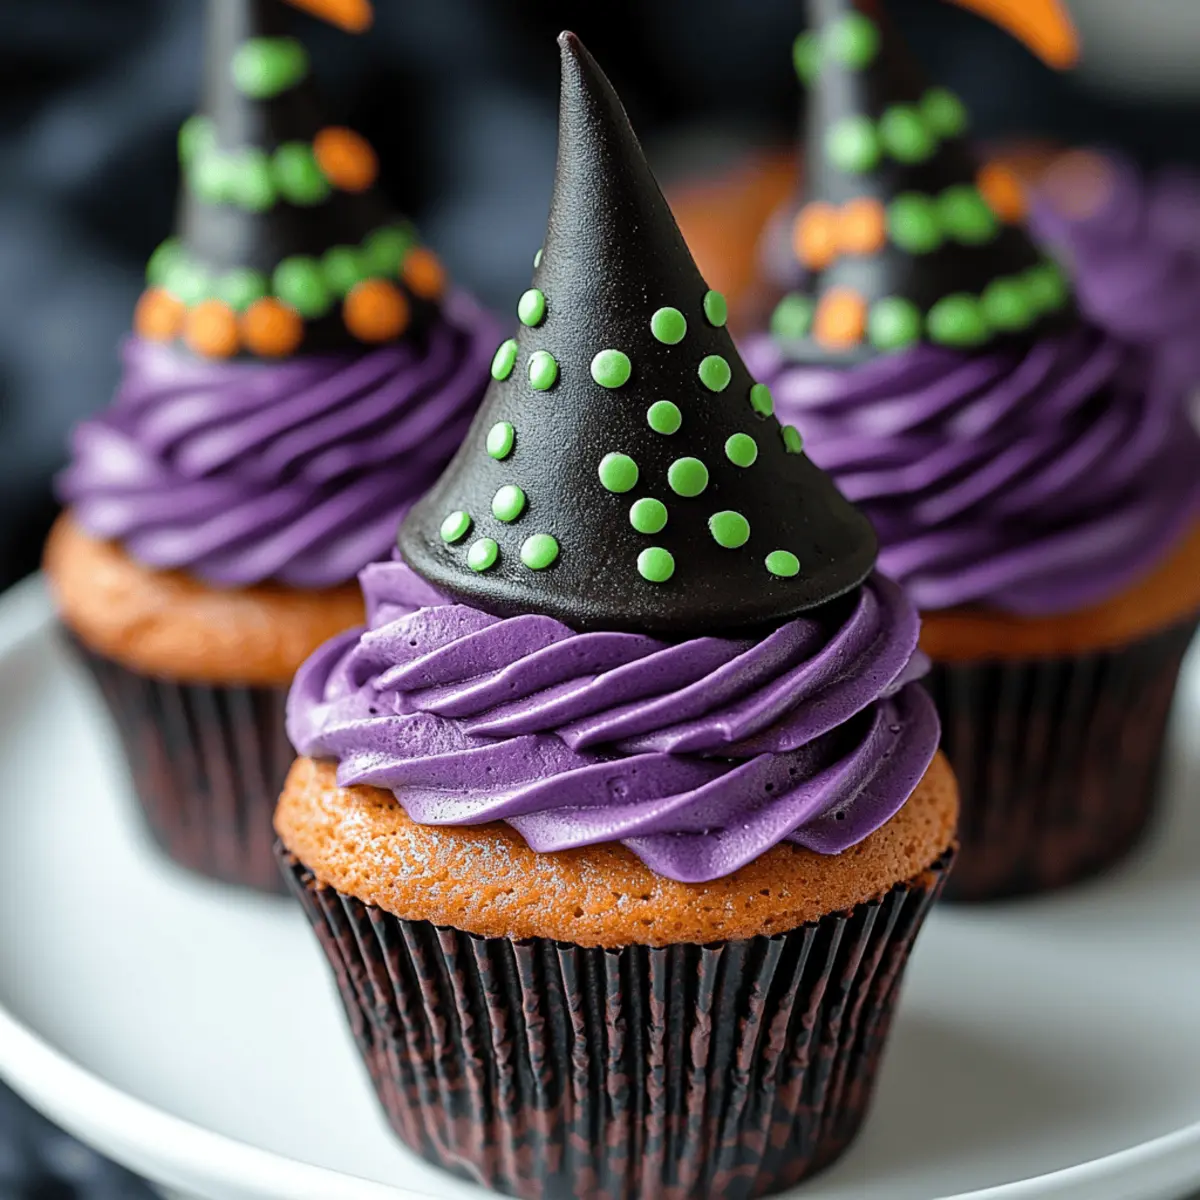
As the chill of autumn sets in and leaves begin to twirl their way to the ground, it’s time for some delightful Halloween magic in the kitchen. I can’t help but smile when I think of the whimsy surrounding these Witch Hat Cupcakes. They're not just a fun treat; they bring a pinch of nostalgia for childhood Halloweens spent crafting costumes and gathering sweet treasures. Whipping these up is a breeze, making them the perfect quick dessert. Plus, they’re a total showstopper at any gathering, sparking smiles from both kids and grown-ups alike. With a tasty chocolate base and a whimsical sugar cone hat, these cupcakes are sure to cast a spell on your dessert table. Are you ready to enchant your guests with a taste of Halloween?
Why Are Witch Hat Cupcakes a Must-Try?
Whimsical Fun: These Witch Hat Cupcakes are not just delicious; they’re a visual delight that captures the Halloween spirit in the most charming way.
Quick and Easy: With a simple chocolate base and a sugar cone for the hat, you'll be amazed at how fast you can whip these up.
Versatile Treats: Want to switch things up? You can easily customize the toppings and flavors to suit your crowd, just like with Crustless Zucchini Quiche or Garlic Roasted Vegetables.
Crowd Pleaser: Perfect for parties or family gatherings, these cupcakes are sure to leave everyone smiling and coming back for seconds!
Memorable Moments: Create new memories with your loved ones as you decorate these delightful cupcakes together – it’s a fun activity for all ages.
Witch Hat Cupcakes Ingredients
For the Cupcakes
• Chocolate cake mix – a delicious base that provides rich chocolate flavor.
• Eggs – helps to bind the mixture and creates a fluffy texture.
• Vegetable oil – keeps the cupcakes moist and tender.
• Water – hydrates the mix for perfectly baked cupcakes.
For the Witch Hats
• Sugar cones – these will create the signature witch hat above your cupcakes.
• Colorful frosting – use this to decorate and create fun designs on your cupcakes.
For the Decoration
• Candy eyes – add these spooky details to bring your cupcakes to life!
• Chocolate cupcakes – bake a batch to serve as the base for your witch hats.
These Witch Hat Cupcakes will enchant your dessert table, delighting everyone with their whimsical presence!
Step‑by‑Step Instructions for Witch Hat Cupcakes
Step 1: Prepare the Chocolate Cupcakes
Begin by preheating your oven to 350°F (175°C). In a large mixing bowl, combine the chocolate cake mix, eggs, vegetable oil, and water. Stir until the batter is smooth, ensuring no dry mix remains visible. Line a cupcake pan with liners and fill each one about two-thirds full. Bake for 18-20 minutes, or until a toothpick inserted comes out clean, then let them cool completely on a wire rack.
Step 2: Create the Witch Hats
While the cupcakes are cooling, it’s time to assemble the iconic witch hats. Take the sugar cones and melt some colorful frosting in the microwave for about 10 seconds. Dip the top of each cone into the melted frosting, coating it thoroughly, and let any excess drip off. Allow the cones to set aside, as they will become the perfect topping for your Witch Hat Cupcakes.
Step 3: Decorate with Frosting
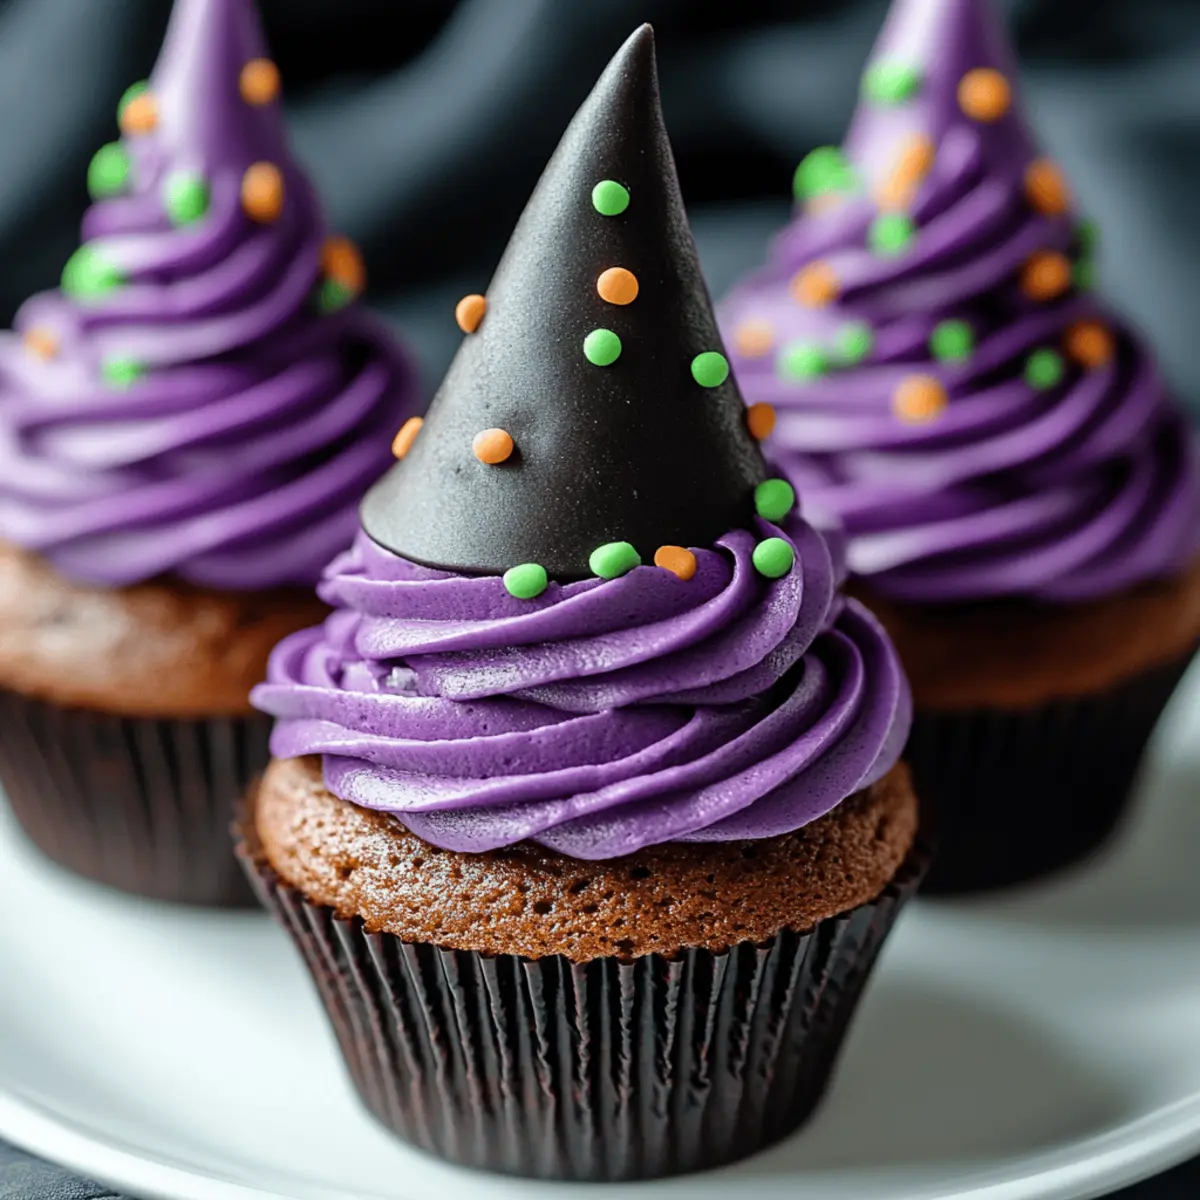
Once your cupcakes are completely cool, it’s time for frosting! Use a piping bag to pipe colorful frosting onto each cupcake in a fun swirl, starting from the center and working your way outward. Make sure the frosting is high enough to support the sugar cone. You can use a spatula if you don’t have a piping bag for easy spreading.
Step 4: Assemble the Witch Hats
Carefully place a sugar cone on top of each frosted cupcake, slightly pushing it down so it adheres well. The colorful frosting creates a secure base for your sugar cones to sit on top. Arrange all the cupcakes on a serving platter, ensuring they are evenly spaced for an appealing look.
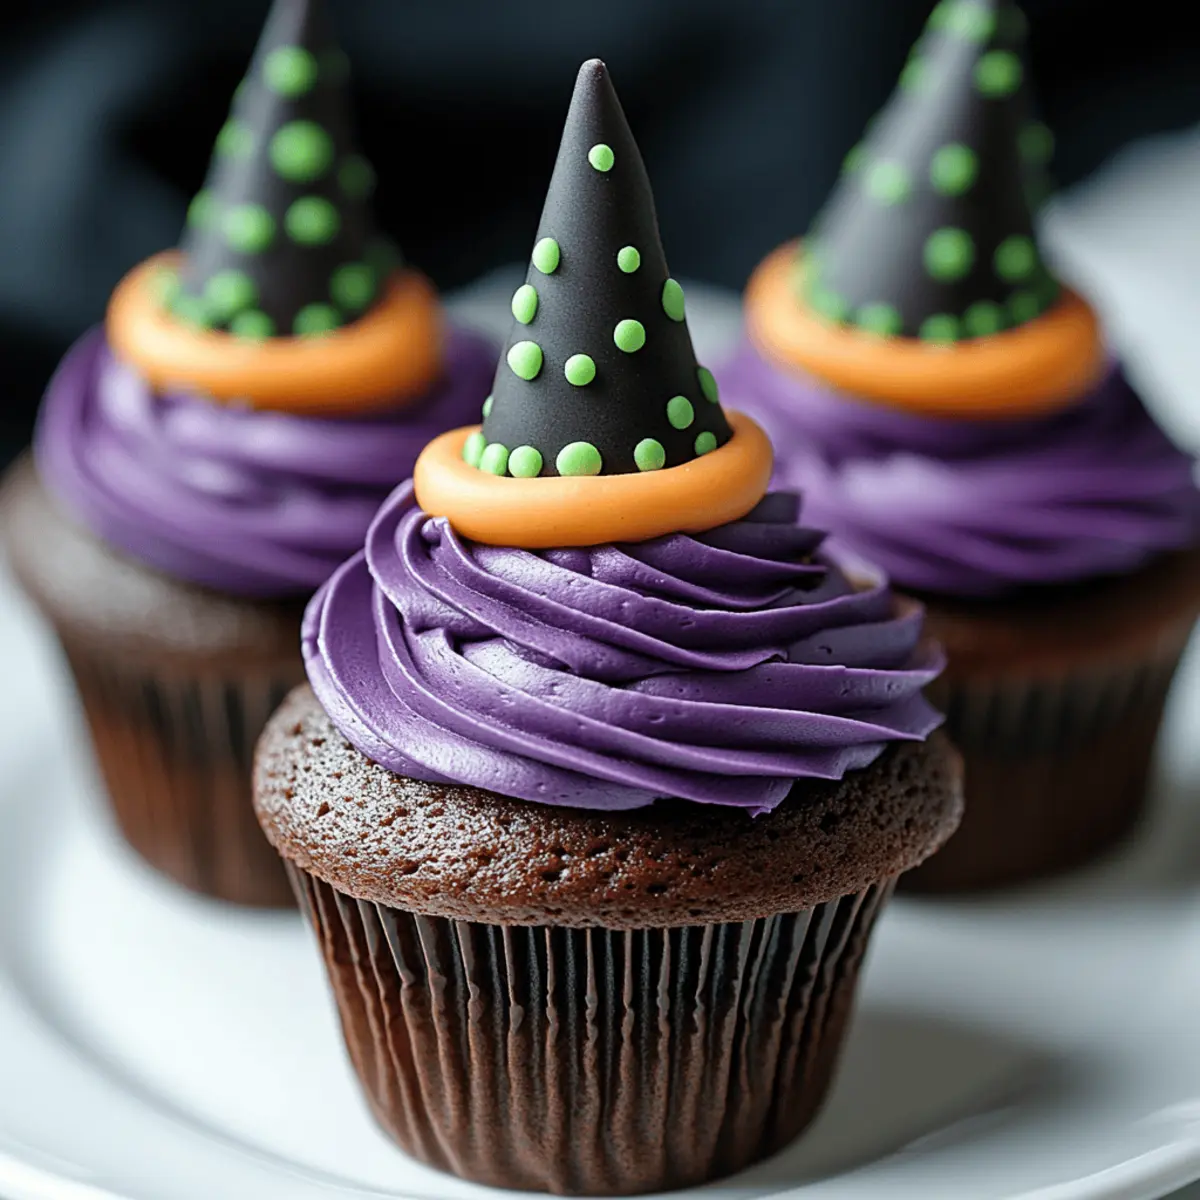
Step 5: Add the Spooky Details
To make your Witch Hat Cupcakes come to life, decorate them with candy eyes. Simply place a few candy eyes on each cone to give the hats personality. You can also sprinkle additional colorful decorations around the base of the cupcakes for a festive touch, enhancing their charm and making them a hit at your Halloween gathering.
Step 6: Final Presentation
Once all your Witch Hat Cupcakes are decorated, display them on a festive table or dessert stand. Consider adding some Halloween-themed decorations around your cupcakes, like mini pumpkins or spider webs, to amplify the spooky vibe. Now they’re ready to enchant your guests!
Witch Hat Cupcakes Customization Ideas
Feel free to play around with flavors and decorations to create your own unique take on these delightful treats.
-
Gluten-Free: Substitute the chocolate cake mix with a gluten-free alternative and add a touch of almond flour for extra moisture.
-
Nut-Free: Use sunflower seed butter instead of peanut butter to keep it nut-free, perfect for schools or allergies.
-
Chocolate Lovers: Boost the chocolate flavor by folding in mini chocolate chips to the cupcake batter for a delicious melt-in-your-mouth surprise.
-
Pumpkin Twist: For a seasonal twist, substitute half of the water with pumpkin puree in the chocolate batter for extra moisture and a hint of flavor.
-
Adding Spice: Mix in a teaspoon of cinnamon into the frosting for a warm touch that brings a hint of fall into every bite.
-
Crunchy Texture: Add a sprinkle of crushed graham crackers on top of the frosting before placing the sugar cone hat for added crunch.
-
Healthier Frosting: Swap out some frosting for Greek yogurt for a creamy yet lighter topping, bringing a fresh touch to your cupcakes.
-
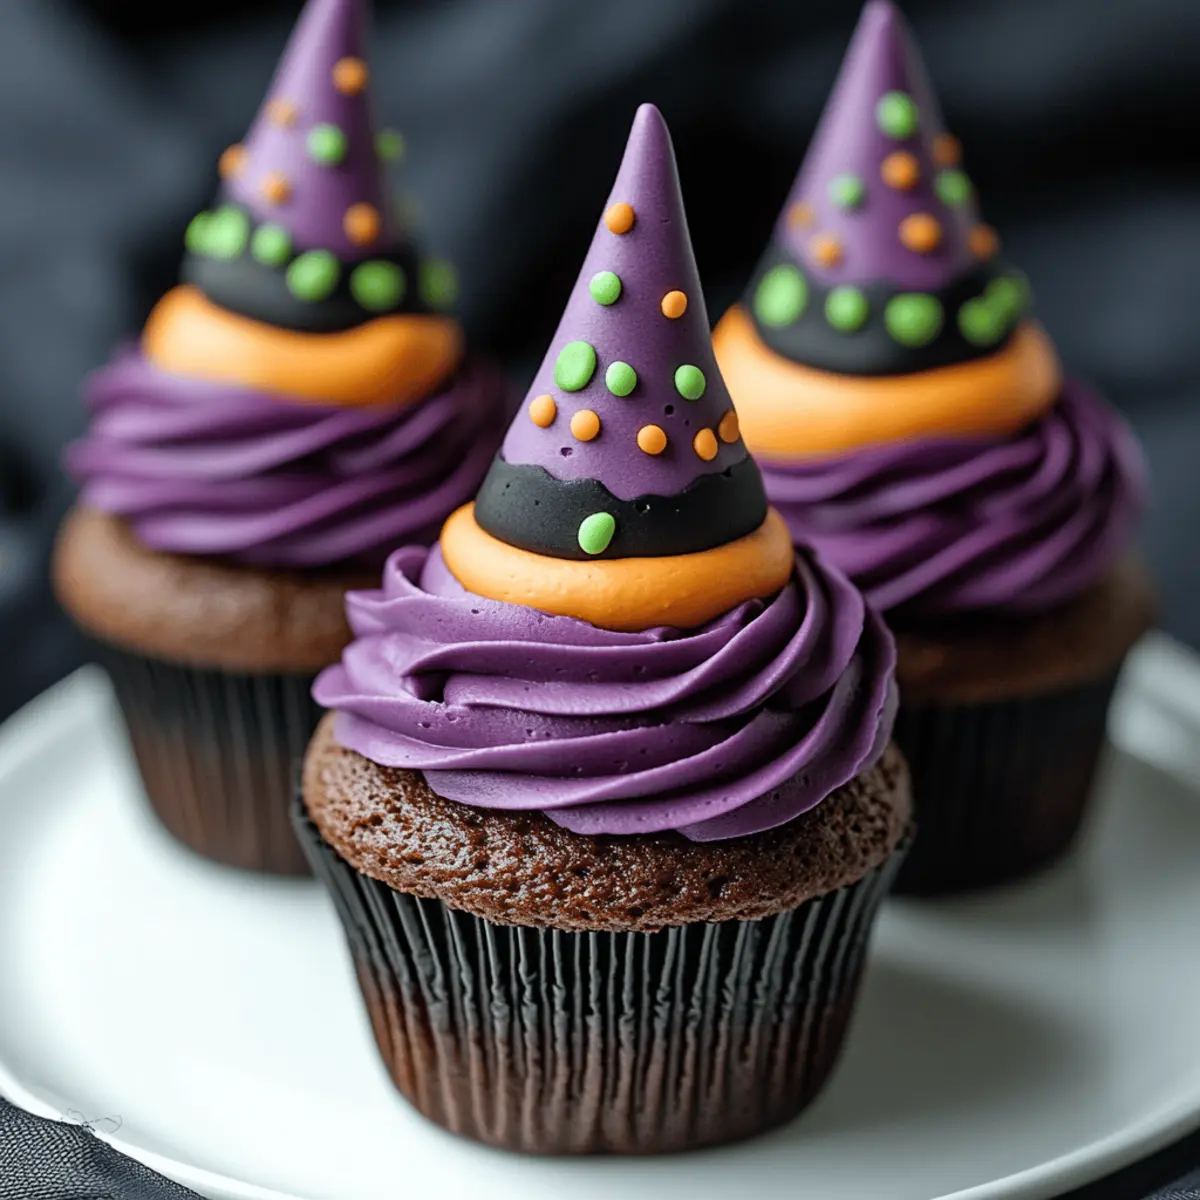
For Extra Whimsy: Use candy melts in various colors to coat the sugar cones, creating uniquely decorated witch hats that match your Halloween theme.
Each variation offers a chance to craft something uniquely yours while still celebrating the spirit of this Halloween classic. Enjoy the creativity, and perhaps even pair these treats with homemade Brownie Mummy Treats for an even spookier dessert table!
How to Store and Freeze Witch Hat Cupcakes
Room Temperature: Keep your Witch Hat Cupcakes covered at room temperature for up to 2 days. This helps maintain their moisture and keeps the toppings fresh.
Fridge: If you want to store them for a bit longer, place the cupcakes in an airtight container in the fridge for up to 5 days. Allow them to come to room temperature before serving for the best taste.
Freezer: For longer storage, freeze the cupcakes without the sugar cones and decorations in a single layer for up to 3 months. When ready to enjoy, thaw them in the fridge overnight and frost before serving.
Reheating: If you’ve stored your Witch Hat Cupcakes in the fridge, give them a quick 10-15 second microwave reheat to take the chill off before serving!
What to Serve with Witch Hat Cupcakes?
As you prepare for a magical Halloween gathering, complement the whimsical charm of these treats with delicious accompaniments that resonate with the spirit of the season.
-
Spooky Punch: A colorful, fruity punch with floating gummy worms adds a refreshing touch and a fun presentation to your party.
-
Crispy Pumpkin Spiced Chips: These crunchy snacks offer a delightful contrast to the sweet cupcakes, with a hint of autumn warmth.
-
Ghostly Fruit Skewers: Assemble skewers with banana ghost shapes and grapes for a healthy, fun snack that’s easy to eat and pleasing to the eyes!
-
Witch's Brew Soup: Serve a steaming bowl of spinach and potato soup to create a savory contrast to the sweetness of your Witch Hat Cupcakes, enticing guests to indulge in both.
-
Monster Veggie Platter: A vibrant assortment of fresh vegetables with a "witch's dip" made from herbed yogurt can keep your party festive yet wholesome.
-
Chocolate Graveyard Tart: For those who crave an extra sweet bite, this tart pairs beautifully with your cupcakes, creating a chocolaty festivity that will enchant your guests.
Mix these delightful offerings for an unforgettable Halloween feast, where every bite brings together the joyous spirit of the season!
Expert Tips for Witch Hat Cupcakes
Quality Ingredients: Use high-quality chocolate cake mix for a richer flavor, ensuring your cupcakes stand out and taste as delightful as they look.
Cool Completely: Make sure the cupcakes are fully cooled before frosting. If they're warm, the frosting may melt and slide off, ruining the whimsical witch hats.
Frosting Fun: Experiment with different colors of frosting to match your Halloween theme. Using vibrant colors not only adds charm but also attracts little ones to your treats!
Secure the Hats: Dip the sugar cones in a thicker frosting to ensure they stay put. If you encounter a wobble, a little extra frosting at the base can work wonders.
Creative Additions: Don’t hesitate to get creative! Add sprinkles or edible glitter to enhance the look of your Witch Hat Cupcakes and make them even more festive.
These tips will help you craft the perfect Witch Hat Cupcakes, ensuring a spook-tacular success at your Halloween festivities!
Make Ahead Options
These Witch Hat Cupcakes are perfect for busy home cooks looking to save time during the Halloween season! You can prepare the chocolate cupcakes up to 3 days in advance; just store them in an airtight container at room temperature to maintain their moistness. The colorful frosting can also be made a day ahead and stored in the refrigerator; simply give it a good stir before using. When you're ready to serve, frost each cupcake and assemble the witch hats by placing a sugar cone on top. Decorate with candy eyes, and you'll have delightful treats that are just as enchanting as if they were made fresh!
Witch Hat Cupcakes Recipe FAQs
How do I choose the best chocolate cake mix?
Absolutely! When selecting a chocolate cake mix, go for one that has a rich flavor and good reviews. Look for mixes that list cocoa powder among the first few ingredients, as this usually indicates a higher quality chocolate taste. Also, consider checking for additional ingredients like chocolate chips for extra decadence!
How should I store my Witch Hat Cupcakes?
Very! You can store your Witch Hat Cupcakes covered at room temperature for up to 2 days to keep them moist. For longer storage, transfer them to an airtight container in the fridge where they’ll last up to 5 days. Remember to let them reach room temperature before serving for the best flavor!
Can I freeze Witch Hat Cupcakes?
Absolutely! To freeze your cupcakes, do so without the sugar cones and decorations. Lay them flat in a single layer in an airtight container or freezer bag and they will keep well for up to 3 months. When you’re ready to savor them, simply thaw them in the fridge overnight, then frost and decorate before serving.
What do I do if my frosting is too runny?
If your frosting turns out too runny, don't worry! Simply add a little more powdered sugar, one tablespoon at a time, until you achieve a thicker consistency. Mix it well after each addition. Alternatively, you can chill the frosting in the fridge for about 15-20 minutes to help it firm up for easier piping.
Are there any dietary considerations for Witch Hat Cupcakes?
Absolutely! If you have dietary restrictions, consider using gluten-free chocolate cake mix and vegan frosting for a delicious alternative. Be sure to check the labels of sugar cones and candy eyes if allergies are a concern. Always communicate with your guests to accommodate any allergies or dietary preferences to ensure everyone can join in the Halloween fun!
Can I decorate the cupcakes in advance?
Yes! You can decorate the cupcakes a day before your event. Just keep them covered in the fridge to maintain freshness. Simply let them come back to room temperature before serving for that delightful "spooky" reveal!
Witch Hat Cupcakes: Spook-tacular Treats for Halloween Fun
Ingredients
Equipment
Method
- Preheat your oven to 350°F (175°C). In a large mixing bowl, combine the chocolate cake mix, eggs, vegetable oil, and water. Stir until the batter is smooth. Line a cupcake pan with liners and fill each one two-thirds full. Bake for 18-20 minutes, then cool completely on a wire rack.
- While the cupcakes are cooling, melt some colorful frosting in the microwave for 10 seconds. Dip the top of each sugar cone into the frosting and let excess drip off. Set aside.
- Once your cupcakes are completely cool, pipe colorful frosting onto each cupcake in a fun swirl, starting from the center.
- Carefully place a sugar cone on each frosted cupcake, pushing down slightly so it adheres well. Arrange the cupcakes on a serving platter.
- Decorate each cone with candy eyes. Add additional decorations around the base for a festive touch.
- Display the decorated cupcakes on a festive table to enchant your guests.


Leave a Reply