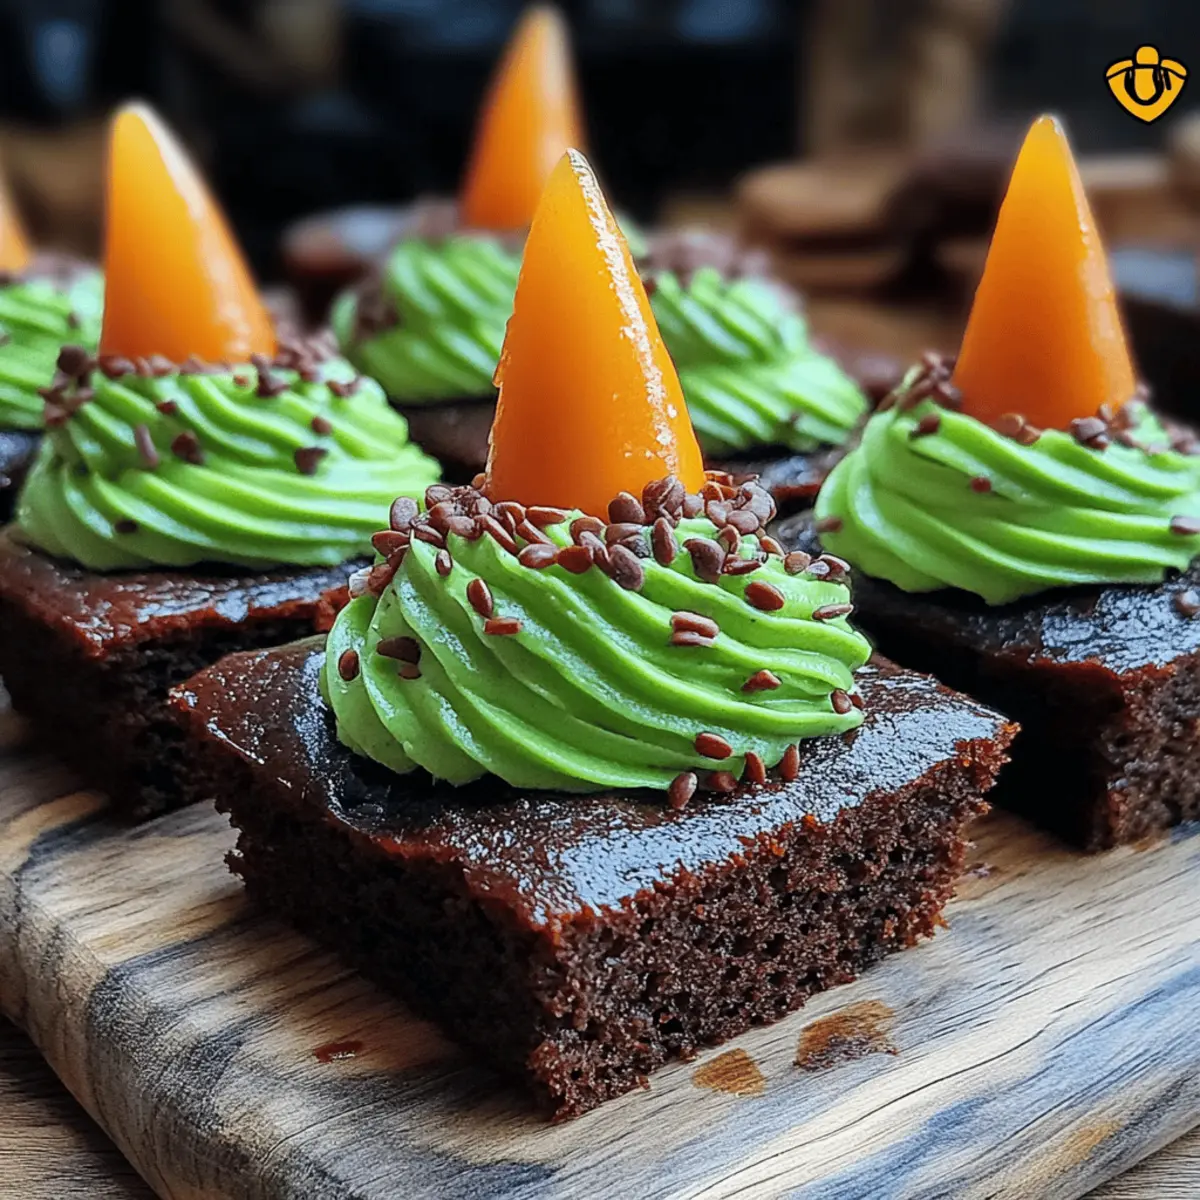
As I whisked together the ingredients for my latest creation, the undeniable aroma of chocolate filled my kitchen, echoing the magic of childhood memories. These Wicked Witch Hat Brownies are the perfect way to celebrate the spooky season while treating yourself to something delightfully indulgent. Not only are these brownies quick to prepare, making them ideal for last-minute gatherings or family fun, but they also bring an element of whimsy with their charming cone hats. Imagine the delight on your friends' faces as they bite into rich, fudgy brownies topped with vibrant green frosting! Ready to conjure up a luscious Halloween treat that will haunt your taste buds in the best way possible? Let’s dive in!
Why Are Wicked Witch Hat Brownies Perfect?
Deliciously Fudgy: These brownies are rich and decadent, offering a chocolatey indulgence that will satisfy any sweet tooth.
Easy to Make: With just 20 minutes of prep, you can whip these up in no time, making them perfect for spontaneous gatherings or festive occasions.
Whimsical Presentation: The charming ice cream cone hats add a touch of fun and creativity to your dessert table, sure to delight both kids and adults.
Customizable Toppings: Feel free to experiment with your favorite sprinkles or colors to match any Halloween theme or personal preference, ensuring everyone’s taste buds are catered to.
These Wicked Witch Hat Brownies will not only elevate your Halloween festivities but might become your go-to dessert for any event!
Wicked Witch Hat Brownies Ingredients
For the Brownies
- Unsalted butter – helps create a rich and fudgy texture, essential for the ultimate brownie!
- Granulated sugar – adds sweetness and moisture, making for a beautifully chewy bite.
- Large eggs – provides structure and binds all the ingredients together for that perfect brownie base.
- Vanilla extract – enhances the chocolate flavor with a hint of warmth; always use pure if possible!
- All-purpose flour – essential for structure, but take care not to over-mix for a softer brownie consistency.
- Unsweetened cocoa powder – the star ingredient for that deep chocolate flavor; don’t skimp on this!
- Salt – a pinch elevates the sweetness and balances the flavors beautifully.
- Baking powder – gives the brownies a little lift, creating a lightness in the fudgy texture.
For the Witch Hats
- Chocolate ice cream cones – provides the whimsical witch hat shape and adds a fun crunch!
- Powdered sugar – key in making a smooth, spreadable frosting that glistens in vibrant green.
- Milk – helps achieve the perfect consistency for the frosting; adjust as needed!
- Vanilla extract (for frosting) – a bit more adds depth to the sweetness of the frosting.
- Green food coloring – brings the witchy theme to life and makes your frosting eye-catching.
- Halloween-themed sprinkles – the finishing touch for that festive charm, feel free to go all out!
Now that you have all your ingredients ready, you're one step closer to making these delightful Wicked Witch Hat Brownies. Get your apron on, and let’s whip up some magic!
Step‑by‑Step Instructions for Wicked Witch Hat Brownies
Step 1: Melt the Butter
In a medium saucepan, melt 1 cup of unsalted butter over low heat, stirring occasionally to avoid burning. Once fully melted, remove the saucepan from heat, and allow the butter to cool for about 5 minutes. You want it just warm, not hot, to ensure a smooth mixing process.
Step 2: Blend the Sugars
In a large mixing bowl, combine the cooled melted butter with 2 cups of granulated sugar. Using a whisk or electric mixer, stir until the mixture is smooth and glossy, which should take about 1-2 minutes. This crucial step helps create that rich texture for your Wicked Witch Hat Brownies.
Step 3: Add Eggs and Vanilla
Crack 4 large eggs into the mixing bowl one at a time, mixing well after each addition to fully incorporate them. Then, stir in 1 teaspoon of vanilla extract until everything is evenly blended. The mixture should be thick, smooth, and slightly lightened in color.
Step 4: Combine the Dry Ingredients
In a separate bowl, whisk together 1 cup of all-purpose flour, 1 cup of unsweetened cocoa powder, ½ teaspoon of salt, and ½ teaspoon of baking powder. Gradually add this dry mixture to the wet ingredients, gently stirring until just combined. Be careful to avoid overmixing, as you want the brownies to be fudgy.
Step 5: Pour the Batter
Pour the brownie batter into a prepared 9×13 inch baking pan, using a spatula to spread it evenly across the bottom. Ensure it's level for uniform baking. The chocolatey aroma should be filling your kitchen by now, heightening the anticipation of your Wicked Witch Hat Brownies.
Step 6: Bake the Brownies
Place the pan in a preheated oven set to 350°F (175°C) and bake for 25-30 minutes. Check for doneness by inserting a toothpick in the center—it should come out with a few moist crumbs for that perfect fudgy texture. Resist the temptation to overbake!
Step 7: Cool the Brownies
Once baked, remove the brownies from the oven and let them cool completely in the pan on a wire rack. This usually takes about 30 minutes. Make sure they are completely cool before decorating to avoid melting the frosting.
Step 8: Prepare the Witch Hats
(Optional) While the brownies are cooling, melt some chocolate in a microwave-safe bowl in 30-second intervals until smooth. Dip the tops of the 12 chocolate ice cream cones in the melted chocolate and then roll them in Halloween-themed sprinkles for a festive touch. Set aside to harden.
Step 9: Make the Green Frosting
In a mixing bowl, combine 2 cups of powdered sugar, ¼ cup of milk, 1 teaspoon of vanilla extract, and a few drops of green food coloring. Mix until you achieve a smooth, spreadable frosting. Adjust the consistency with more milk or sugar if needed until it’s beautifully vibrant and ready to coat your brownies.
Step 10: Frost the Brownies
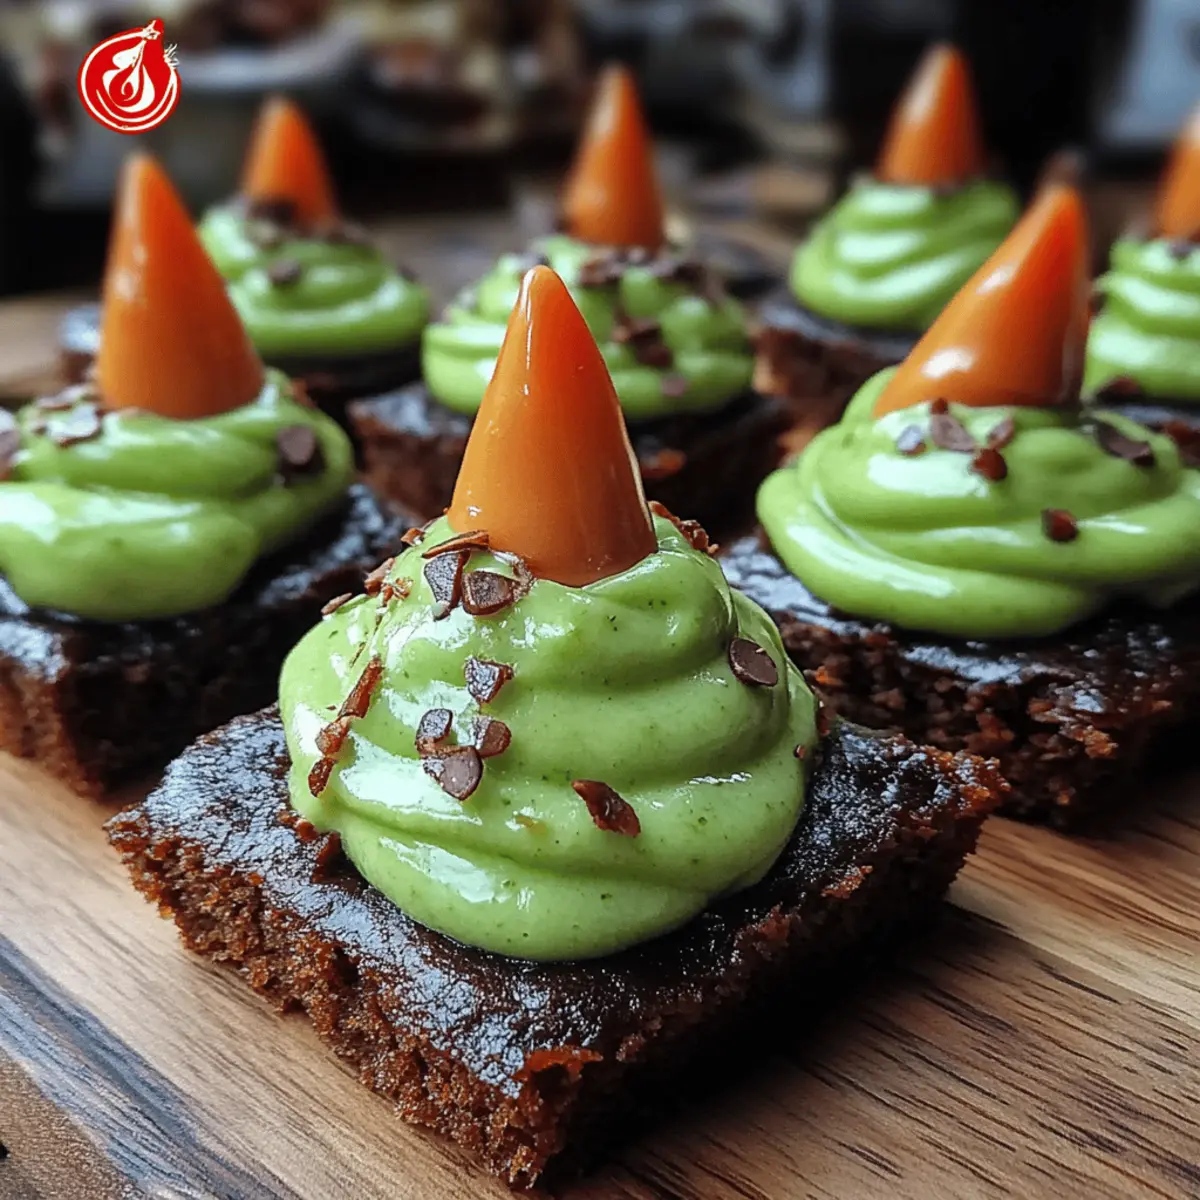
Once the brownies are cool, use a spatula to evenly frost the top of each brownie with the luscious green frosting. Make sure to cover the surface well, as this adds to the fun and whimsicality of your Wicked Witch Hat Brownies.
Step 11: Assemble the Hats
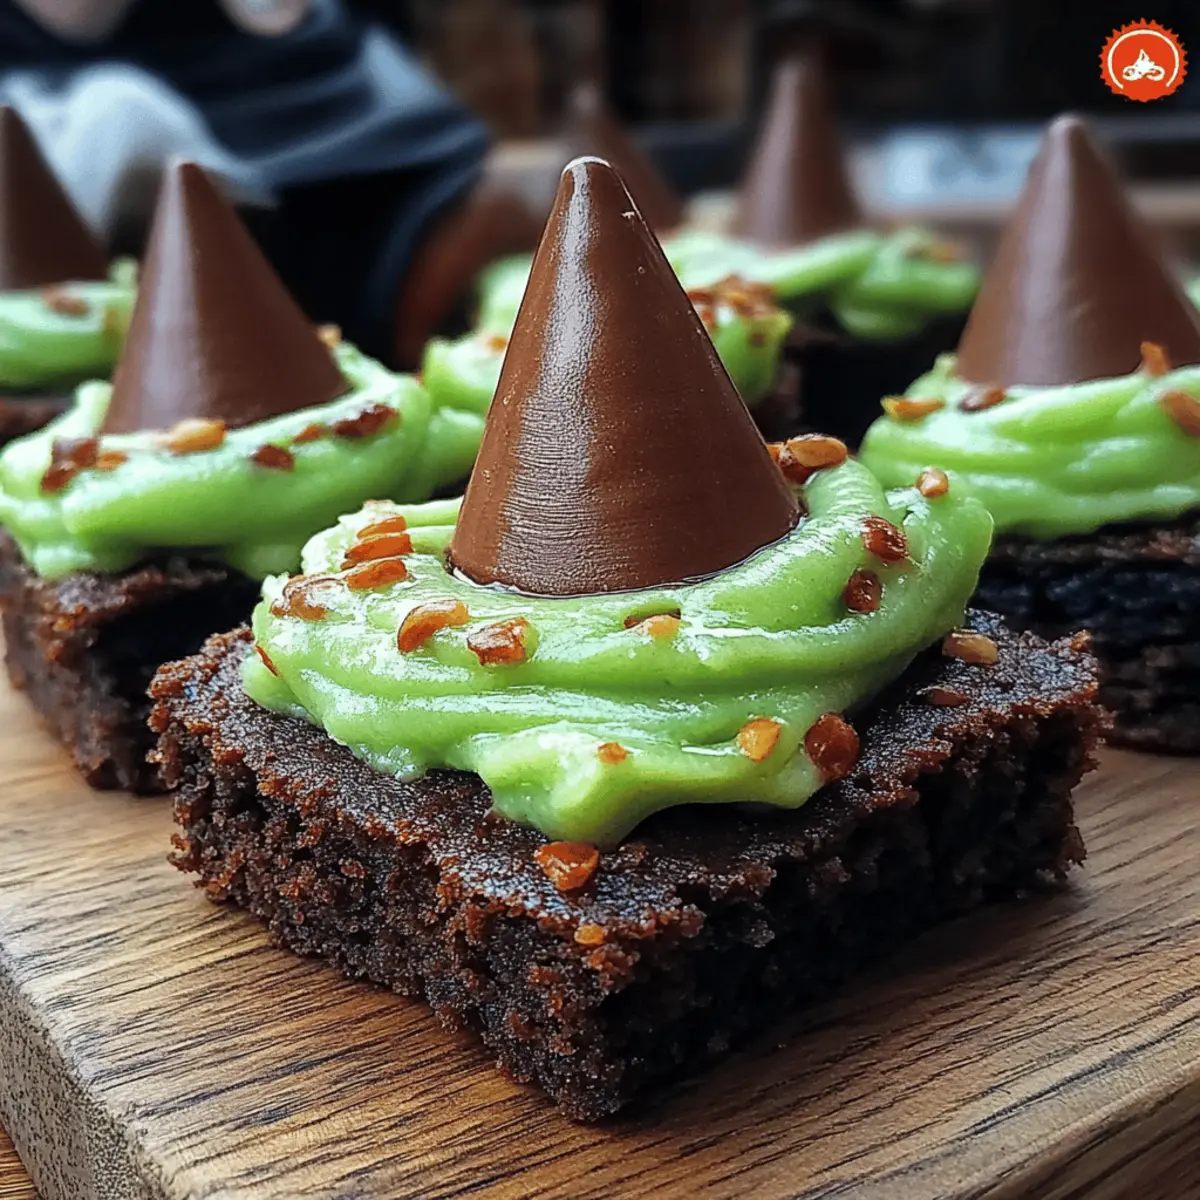
Finally, place an upside-down chocolate ice cream cone on top of each frosted brownie, creating the look of a witch's hat. Press down gently to secure them in place. For an extra festive flair, sprinkle additional Halloween-themed sprinkles on top for delightfully spooky decorations.

What to Serve with Wicked Witch Hat Brownies?
These delightful brownies, with their whimsical presentation and rich chocolate flavor, can be elevated even further with some tasty accompaniments.
-
Pumpkin Spice Latte: This seasonal favorite adds a warm, cozy spice that pairs beautifully with the chocolatey goodness of the brownies, enhancing the fall vibes.
-
Whipped Cream: Fluffy and light, a dollop of whipped cream offers a creamy contrast to the dense, fudgy brownies, tempting you to take just one more bite.
-
Chocolate Ice Cream: The perfect addition for chocolate lovers, a scoop of creamy chocolate ice cream will amplify the flavors while providing a refreshing, cold contrast.
-
Caramel Sauce Drizzle: A sweet, gooey drizzle of caramel adds depth and richness, complementing the brownies’ chocolate flavor and creating a dessert experience that feels luxurious.
-
Spiced Apple Cider: The warmth of spiced apple cider harmonizes with the brownies' sweetness and adds a delightful autumn twist, making it an inviting pairing for Halloween gatherings.
-
Nutty Crumble Topping: A crunchy topping made from pecans or walnuts provides texture and a nutty flavor that contrasts with the brownies' smoothness and rounds out the dessert beautifully.
-
Halloween-Themed Fruit Skewers: Fresh fruit like strawberries and grapes on skewers can add a fun, fruity note that balances out the indulgence of these Wicked Witch Hat Brownies while keeping things festive.
-
Mulled Wine: For an adult option, a glass of mulled wine infused with spices perfectly complements the rich chocolate in the brownies, creating a warm, inviting atmosphere for your Halloween soirée.
-
Coffee: Strong, brewed coffee provides a bitter note that cuts through the sweetness of the brownies, making it a classic pairing that satisfies both the sweet and the savory palate.
How to Store and Freeze Wicked Witch Hat Brownies
Room Temperature: Keep brownies in an airtight container at room temperature for up to 3 days. This maintains their fudgy texture while keeping them fresh and tasty.
Fridge: Store brownies in the refrigerator for up to 1 week in an airtight container. This helps extend their shelf life, but may slightly alter their texture.
Freezer: For longer storage, freeze brownies wrapped tightly in plastic wrap and then in aluminum foil. They can last for up to 3 months and thaw wonderfully when ready to enjoy.
Reheating: To serve, allow frozen brownies to thaw in the fridge overnight. For a warm treat, reheat in the microwave for about 10-15 seconds, just until warmed through. Enjoy your Wicked Witch Hat Brownies any time!
Wicked Witch Hat Brownies Variations
Feel free to play around with these Wicked Witch Hat Brownies to make them your own and spark a little culinary creativity!
- Gluten-Free: Swap the all-purpose flour with a gluten-free flour blend to make these brownies celiac-friendly without losing the delicious fudginess.
- Nutty Chocolate: Stir in ½ cup of chopped walnuts or pecans into the brownie batter for a delightful crunch and added flavor.
- Minty Twist: Add 1 teaspoon of peppermint extract to the frosting for a refreshing minty flavor. This delightful combo can enchant your taste buds!
- Spicy Halloween: Mix in a pinch of cayenne pepper to the brownie batter for a surprising kick. It’s a fun way to add heat to the sweetness!
- Dairy-Free: Replace the unsalted butter with coconut oil or a vegan butter substitute, and use a nut milk instead of regular milk in the frosting.
- Chocolate-Drizzled Cone Hats: For a luxurious gourmet touch, drizzle some melted chocolate over the frosted brownies before placing the ice cream cone hats on top.
- Seasoned Sprinkles: Opt for themed sprinkles that match your Halloween vibe, whether spooky black, enchanting purple, or lively orange—let your imagination run wild!
- Cookie Crumble Topping: For added texture and flavor, crumble some Halloween cookies on top of the frosting before adding the ice cream cone hats. It’s a delightful surprise that adds crunch!
These variations not only enhance the flavor but also encourage everyone to enjoy the spooky festivities in their own unique little ways! And while you’re at it, consider pairing these brownies with a delicious pumpkin spice latte or a scoop of your favorite vanilla ice cream for an extra treat. The possibilities are endless!
Make Ahead Options
These Wicked Witch Hat Brownies are perfect for busy cooks looking to save time during the spooky season! You can prepare the brownie batter up to 24 hours in advance; simply cover the mixing bowl with plastic wrap and refrigerate it until you're ready to bake. The baked brownies can be kept in an airtight container for up to 3 days at room temperature, maintaining their fudgy texture. For the witch hats, assemble the chocolate cones and sprinkle them just before serving to keep them crispy. When ready to serve, frost the cooled brownies with the vibrant green frosting and top with the hats for delightful, mysterious treats that are sure to charm your guests!
Expert Tips for Wicked Witch Hat Brownies
Choose Quality Ingredients: Use high-quality cocoa powder and pure vanilla extract for the richest flavor—these elements are essential for truly decadent brownies.
Avoid Overmixing: When combining wet and dry ingredients, mix just until blended. Overmixing can lead to dense, cake-like brownies instead of the desired fudginess.
Cool Completely: Allow brownies to cool completely before frosting; this prevents the frosting from melting and keeps your witch hats perfectly intact.
Customize Decorations: Get creative with your Halloween-themed sprinkles! Personalizing each brownie with different colors or shapes can add a fun touch, especially for kids.
Bake Until Perfect: Check for doneness a couple of minutes before the minimum bake time. A few moist crumbs on a toothpick indicate the brownies are perfectly fudgy and not overdone.
Wicked Witch Hat Brownies Recipe FAQs
What kind of cocoa powder should I use for the brownies?
Absolutely! For the richest flavor, I recommend using high-quality unsweetened cocoa powder. It adds the perfect depth of chocolatey goodness to your Wicked Witch Hat Brownies, elevating them to a whole new level of deliciousness.
How should I store the brownies once they’re made?
You can store your brownies at room temperature in an airtight container for up to 3 days. This keeps them nice and fudgy. If you want to extend their freshness, place them in the refrigerator for up to 1 week. Just remember, refrigerating might slightly change their texture.
Can I freeze Wicked Witch Hat Brownies?
Absolutely! To freeze your brownies, start by cutting them into individual squares and wrapping each piece tightly in plastic wrap. Then, place them inside an airtight container or a freezer bag and freeze them for up to 3 months. When you're ready to enjoy, thaw them in the refrigerator overnight or reheat in the microwave for 10-15 seconds for a warm, gooey treat.
What if my brownies come out too cakey?
If your brownies turn out too cakey, it might be due to overmixing the batter or baking them too long. For future batches, mix the wet and dry ingredients together just until combined—no extra stirring! Furthermore, be sure to check for doneness a few minutes before the minimum bake time.
Are these brownies safe for pets?
No, it’s best to keep these Wicked Witch Hat Brownies away from pets, particularly dogs. Ingredients like chocolate and sugar can be toxic to them. Always choose pet-friendly treats for your furry friends!
Can I use gluten-free flour in this recipe?
Very! You can substitute all-purpose flour with a 1:1 gluten-free flour blend. Make sure to check the blend's instructions, as some may require additional adjustments like adding xanthan gum. Your brownies will still come out wonderfully fudgy!
These FAQs should help you whip up the most enchanting batch of Wicked Witch Hat Brownies while answering any lingering questions you might have!
Wicked Witch Hat Brownies That'll Spook Your Sweet Tooth
Ingredients
Equipment
Method
- Melt the butter in a medium saucepan over low heat, stirring occasionally. Remove from heat and let cool.
- In a large mixing bowl, combine melted butter and granulated sugar. Mix until smooth and glossy.
- Add the eggs one at a time, mixing well after each addition. Stir in the vanilla extract.
- Whisk together flour, cocoa powder, salt, and baking powder in a separate bowl. Gradually add to the wet ingredients.
- Pour the batter into a prepared 9×13 inch baking pan and spread evenly.
- Bake in a preheated oven at 350°F (175°C) for 25-30 minutes. Check with a toothpick for doneness.
- Cool brownies completely in the pan on a wire rack.
- While cooling, optionally melt chocolate and dip tops of ice cream cones. Roll in sprinkles.
- Mix powdered sugar, milk, vanilla extract, and green food coloring until smooth to make frosting.
- Frost the cooled brownies with the green frosting.
- Place an upside-down chocolate cone on each brownie to resemble a witch's hat.


Leave a Reply