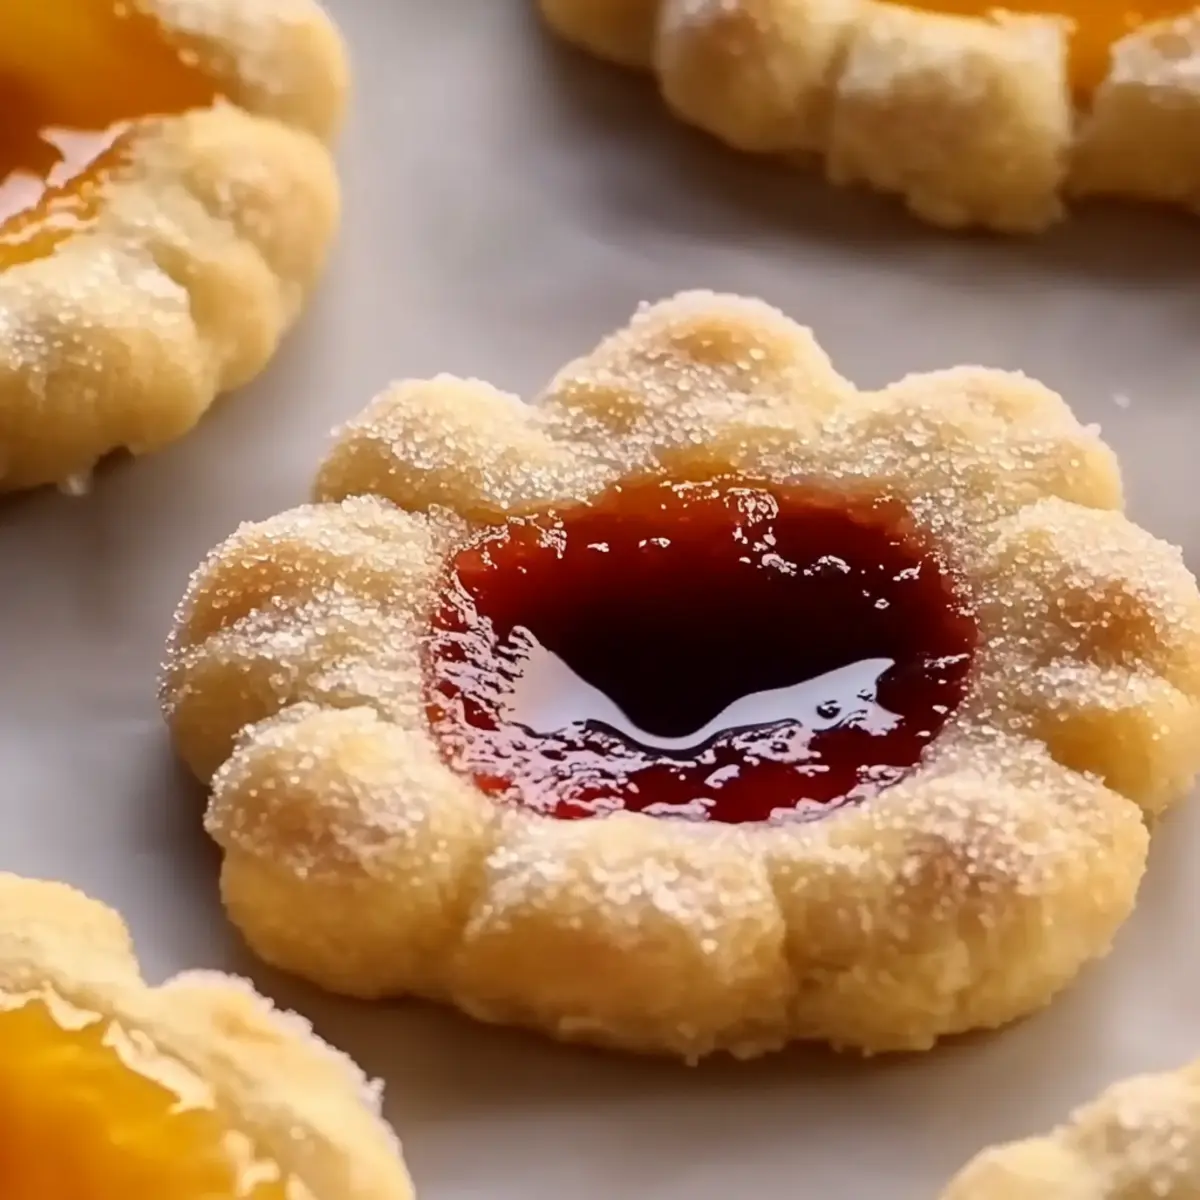
As I sift through my memories of family gatherings, there’s one treat that always steals the spotlight: Thumbprint Cookies. These delightful little confections have a magical way of bridging generations, bringing everyone together around a warm plate of homemade goodness. With just a handful of simple ingredients and minimal preparation time, you'll discover how to create these irresistible cookies that are both a crowd-pleaser and a nostalgic favorite. Whether you choose to fill them with sweet fruit preserves or rich chocolate ganache, each bite offers pure comfort and a hint of creativity. Are you ready to embark on a delightful baking journey that fills your kitchen with warmth and cheer? Let’s dive into the recipe!

Why are Thumbprint Cookies so beloved?
Nostalgic moments come alive with every bite, as these classic cookies remind us of cozy family gatherings and cherished traditions. Versatile to a tee, you can fill them with your favorite fruit preserves or decadent chocolate ganache, ensuring there’s something for everyone. Quick preparation means you’ll be baking in just 15 minutes, with only 30 minutes needed for chilling. Perfectly portioned, each cookie is just the right size for a sweet treat. Whip up a batch of these irresistible Thumbprint Cookies and watch as they become a family favorite, just as they have for countless generations!
Thumbprint Cookies Ingredients
• Here’s everything you need to create delicious Thumbprint Cookies!
For the Dough
- 1 cup unsalted butter, softened – This creates a rich and creamy texture for the cookies.
- 1 cup granulated sugar – Essential for sweetness and that lovely golden color.
- 1 egg yolk – Adds moisture and richness to the dough.
- 1 teaspoon vanilla extract – A touch of warmth and flavor to complement the sweetness.
- 2 ¼ cups all-purpose flour – The foundation of your cookies, providing structure.
- ½ teaspoon salt – Balances the sweetness and enhances all the flavors.
For the Filling
- ½ cup fruit preserves or chocolate ganache – Choose your favorite for a delightful surprise in every bite!
Optional for Serving
- Powdered sugar – A sprinkle adds a lovely finish and a touch of elegance to your cookies.
Step‑by‑Step Instructions for Thumbprint Cookies
Step 1: Cream the Butter and Sugar
In a large mixing bowl, using an electric mixer, cream together 1 cup of softened unsalted butter and 1 cup of granulated sugar until the mixture is light and fluffy, which should take about 2-3 minutes. This step is crucial for achieving the perfect texture for your Thumbprint Cookies, making them soft and delicious.
Step 2: Combine Wet Ingredients
Beat in 1 egg yolk and 1 teaspoon of vanilla extract to the creamed butter and sugar mixture until everything is well combined and smooth. This will enhance the flavor and richness of your dough, giving your Thumbprint Cookies that delightful homemade taste everyone loves.
Step 3: Mix Dry Ingredients
In a separate bowl, whisk together 2 ¼ cups of all-purpose flour and ½ teaspoon of salt. Gradually add this dry mixture to the wet ingredients, stirring gently until the dough just comes together without overmixing. It should be soft and a bit sticky, perfect for forming into cookies.
Step 4: Chill the Dough
Wrap the dough tightly in plastic wrap and place it in the refrigerator for at least 30 minutes. Chilling the dough helps prevent the cookies from spreading too much during baking and ensures your Thumbprint Cookies retain their delightful shape and texture.
Step 5: Prepare for Baking
Preheat your oven to 350°F (175°C) and line a baking sheet with parchment paper. This step is essential to achieve golden edges on your Thumbprint Cookies and prevents them from sticking, making it easy to transfer them once baked.
Step 6: Shape the Cookies
Once the dough has chilled, scoop tablespoon-sized portions and roll them into balls, placing them on the prepared baking sheet about 2 inches apart. This spacing allows room for the cookies to spread slightly, resulting in perfectly shaped Thumbprint Cookies.
Step 7: Create Indentations
Using your thumb or the back of a spoon, create an indentation in the center of each dough ball. This is where you’ll fill the cookies later, so be sure the indentations are deep enough to hold your chosen filling for the Thumbprint Cookies.
Step 8: Add the Filling
Spoon a small amount of fruit preserves or chocolate ganache into each indentation, filling them generously but not overflowing. This detail adds a burst of flavor to your Thumbprint Cookies, making them even more irresistible with every bite.
Step 9: Bake the Cookies
Place the baking sheet in the preheated oven and bake for 12-15 minutes, or until the edges of the cookies are lightly golden. Keep an eye on them, as this will help you achieve that perfect texture for your Thumbprint Cookies.
Step 10: Cool and Serve
Allow the cookies to cool on the baking sheet for a few minutes before gently transferring them to a wire rack to cool completely. If desired, dust with powdered sugar before serving to add a touch of elegance and sweetness to your delightful Thumbprint Cookies.
Expert Tips for Thumbprint Cookies
-
Temperature Matters: Ensure your butter is softened but not melted. This helps achieve a light and fluffy cookie texture.
-
Chill the Dough: Don't skip refrigerating the dough for at least 30 minutes! This prevents spreading and helps maintain the shape of your Thumbprint Cookies.
-
Perfect Indentations: When creating indentations, use your thumb gently but firmly to ensure there's enough space for the filling without breaking the cookie.
-
Watch Your Baking Time: Keep a close eye on the cookies as they bake. Remove them when the edges are golden, ensuring a soft and chewy center in your Thumbprint Cookies.
-
Experiment with Fillings: Feel free to get creative with your fillings! Try different fruit preserves or even flavored chocolate ganache for a unique twist.
Thumbprint Cookies Variations & Substitutions
Feel free to put your unique spin on these Thumbprint Cookies and unleash your creativity in the kitchen!
-
Gluten-Free: Substitute all-purpose flour with a 1-to-1 gluten-free flour blend to accommodate dietary needs. The cookies will still be tender and delicious, ensuring everyone can enjoy them.
-
Nutty Delight: Add ½ cup of finely chopped nuts (like almonds or pecans) to the dough for a delightful crunch. This small addition elevates the flavors and adds a deeper texture to your cookies.
-
Coconut Twist: Mix in ½ cup of shredded coconut to the dough for a tropical flair. The coconut will bring an inviting chewiness, harmonizing beautifully with the sweet filling.
-
Chocolate Lovers: Use chocolate hazelnut spread instead of fruit preserves for a luscious alternative. Each bite will be a rich chocolatey experience, perfect for satisfying your sweet tooth.
-
Spiced Up: Incorporate a teaspoon of cinnamon or pumpkin spice into the dough for a cozy warmth. This simple addition transforms the essence of the cookies, making them perfect for holiday gatherings.
-
Boozy Infusion: Add a splash of your favorite liqueur (like Amaretto or a fruit liqueur) to the dough for an adult twist. The flavor enhances the cookies with a subtle depth, making them an exciting treat for grown-ups.
-
Fruit Flavors: Experiment with different fruit preserves, such as apricot or raspberry, to find your favorite combination. Each filling offers its unique sweetness and tang, creating a new experience in every batch.
-
Zingy Citrus: Stir in the zest of a lemon or orange to the dough for a refreshing note. This brightens the cookies wonderfully, complementing the sweetness with a touch of zest.
Make Ahead Options
These Thumbprint Cookies are perfect for busy home cooks looking to save time! You can prepare the dough up to 24 hours in advance by following steps 1 through 4, and simply refrigerate the wrapped dough until you're ready to bake. Additionally, you can create the indentations and fill them with fruit preserves or chocolate ganache, then refrigerate the filled cookies for up to 3 days before baking. To maintain quality, be sure to cover the cookies tightly to prevent drying out. When ready to enjoy, simply preheat your oven, place the cookies on a baking sheet, and bake as directed. You'll have delightful, freshly baked Thumbprint Cookies with minimal effort!
How to Store and Freeze Thumbprint Cookies
Room Temperature: Store your Thumbprint Cookies in an airtight container at room temperature for up to 3 days to maintain their freshness and flavor.
Fridge: If you want them to last longer, keep the cookies in the refrigerator for up to a week. Just be sure they’re in a sealed container to prevent them from drying out.
Freezer: For longer storage, freeze the cookies in a single layer on a baking sheet, then transfer to a zip-top freezer bag. They can last for up to 3 months.
Reheating: To enjoy your frozen Thumbprint Cookies, simply thaw them at room temperature for a few hours, then warm them in a 300°F (150°C) oven for a few minutes to restore their delightful softness.
What to Serve with Classic Thumbprint Cookies
Nothing pairs better with these delightful treats than a few thoughtful accompaniments that enhance their sweet charm and create a full, delicious experience.
-
Vanilla Ice Cream: A scoop of creamy vanilla ice cream adds a delightful contrast of temperature and texture, making every bite a heavenly indulgence.
-
Fresh Berries: Juicy strawberries or raspberries provide a refreshing tartness that complements the sweetness of the cookies beautifully, bringing a pop of color to your dessert table.
-
Warm Milk: A comforting glass of warm milk pairs wonderfully with Thumbprint Cookies, enhancing their sweet flavors and evoking cozy childhood memories.
-
Chocolate Drizzle: A drizzle of rich chocolate ganache over the cookies adds an extra layer of indulgence, making them even more irresistible. This extra touch transforms your Thumbprint Cookies into gourmet delights.
-
Fruit Preserves Platter: Serve a selection of fruit preserves to allow guests to experiment with flavors, complementing the fillings of the cookies while embracing a communal dessert experience.
-
Herbal Tea: A soothing cup of herbal tea balances the sweetness of the cookies and adds a warm, comforting element to your serving. Enjoying tea alongside your Thumbprint Cookies is not just a treat but a delightful ritual.
-
Nutty Biscotti: Serve crunchy biscotti as an alternative treat; their nutty texture provides a satisfying crunch, contrasting nicely with the softness of the cookies, inviting endless pairing.
-
Chocolate-Covered Strawberries: These delectable treats elevate your dessert spread, adding luxury and celebration to any occasion, making the experience even sweeter.
-
Caramel Sauce: A drizzle of warm caramel sauce transforms these cookies into a decadent indulgence, offering a rich, gooey contrast to every delightful bite.
Thumbprint Cookies Recipe FAQs
What should I look for when selecting fruit preserves for filling?
Absolutely! When picking fruit preserves, look for vibrant colors and natural ingredients. Avoid jars with dark spots or excessive additives. It’s best to choose a brand with real fruit content for a delightful flavor that perfectly complements your Thumbprint Cookies.
How should I store Thumbprint Cookies to keep them fresh?
To keep your Thumbprint Cookies fresh at room temperature, place them in an airtight container for up to 3 days. If you're storing them longer than that, consider putting them in the refrigerator, where they can stay good for up to a week. Just remember to keep them sealed to maintain their delicious flavor and texture!
Can I freeze Thumbprint Cookies, and if so, how?
Yes, you can absolutely freeze your Thumbprint Cookies! Start by placing them on a baking sheet in a single layer and freeze them until solid. Afterward, transfer the cookies to a zip-top freezer bag and they’ll last for up to 3 months. When you’re ready to enjoy them again, just thaw them at room temperature for a few hours or warm them briefly in a 300°F (150°C) oven.
What should I do if my cookie dough is too sticky?
If you find your Thumbprint Cookies dough is a bit too sticky to handle, don’t worry! Simply sprinkle a little more flour into the dough, mixing gently until it reaches a more manageable consistency. Just be cautious not to overmix, as this can affect the cookies' texture.
Are there any dietary considerations I should be aware of?
Yes, it's important to consider allergies, particularly if you’re serving these Thumbprint Cookies to guests. They contain butter and can also be made with fruit preserves that may have allergens like nuts or gluten. Always review labels and inform your guests of the ingredients used, especially if they have specific dietary restrictions.
Can I substitute ingredients in the Thumbprint Cookies recipe?
Certainly! If you're looking for a dairy-free option, you can use a plant-based butter substitute, or if you need an egg-free recipe, try substituting the egg yolk with ¼ cup of applesauce or a flax egg (1 tablespoon of ground flaxseed mixed with 2.5 tablespoons of water). The more the merrier; experimenting can lead to delightful new flavors!
Delicious Thumbprint Cookies with Easy Fruity Filling
Ingredients
Equipment
Method
- In a large mixing bowl, using an electric mixer, cream together the butter and sugar until the mixture is light and fluffy, which should take about 2-3 minutes.
- Beat in the egg yolk and vanilla extract to the creamed butter and sugar mixture until everything is well combined and smooth.
- In a separate bowl, whisk together the flour and salt. Gradually add this dry mixture to the wet ingredients, stirring gently until the dough just comes together without overmixing.
- Wrap the dough tightly in plastic wrap and place it in the refrigerator for at least 30 minutes.
- Preheat your oven to 350°F (175°C) and line a baking sheet with parchment paper.
- Once the dough has chilled, scoop tablespoon-sized portions and roll them into balls, placing them on the prepared baking sheet about 2 inches apart.
- Using your thumb or the back of a spoon, create an indentation in the center of each dough ball.
- Spoon a small amount of fruit preserves or chocolate ganache into each indentation.
- Place the baking sheet in the preheated oven and bake for 12-15 minutes, or until the edges of the cookies are lightly golden.
- Allow the cookies to cool on the baking sheet for a few minutes before gently transferring them to a wire rack to cool completely.


Leave a Reply