As I sliced into these vibrant, eerie bites, the kitchen filled with laughter and the delightful scent of garlic and fresh herbs—it was Halloween magic in the making! These Halloween Deviled Eggs, whimsically dubbed Swamp Eggs, are a playful twist on classic recipes that not only spark joy but also bring a touch of spookiness to your table. With their naturally dyed, veiny appearance and creamy, herb-infused filling, they’re bound to be the conversation starters at any gathering. Plus, they’re quick to whip up and perfect for making ahead of time. If you love to terrify and delight your family and friends simultaneously, you won't want to miss out on these. Ready to embark on a culinary adventure this October? Let’s dive into the details!
Why Are These Halloween Deviled Eggs Unique?
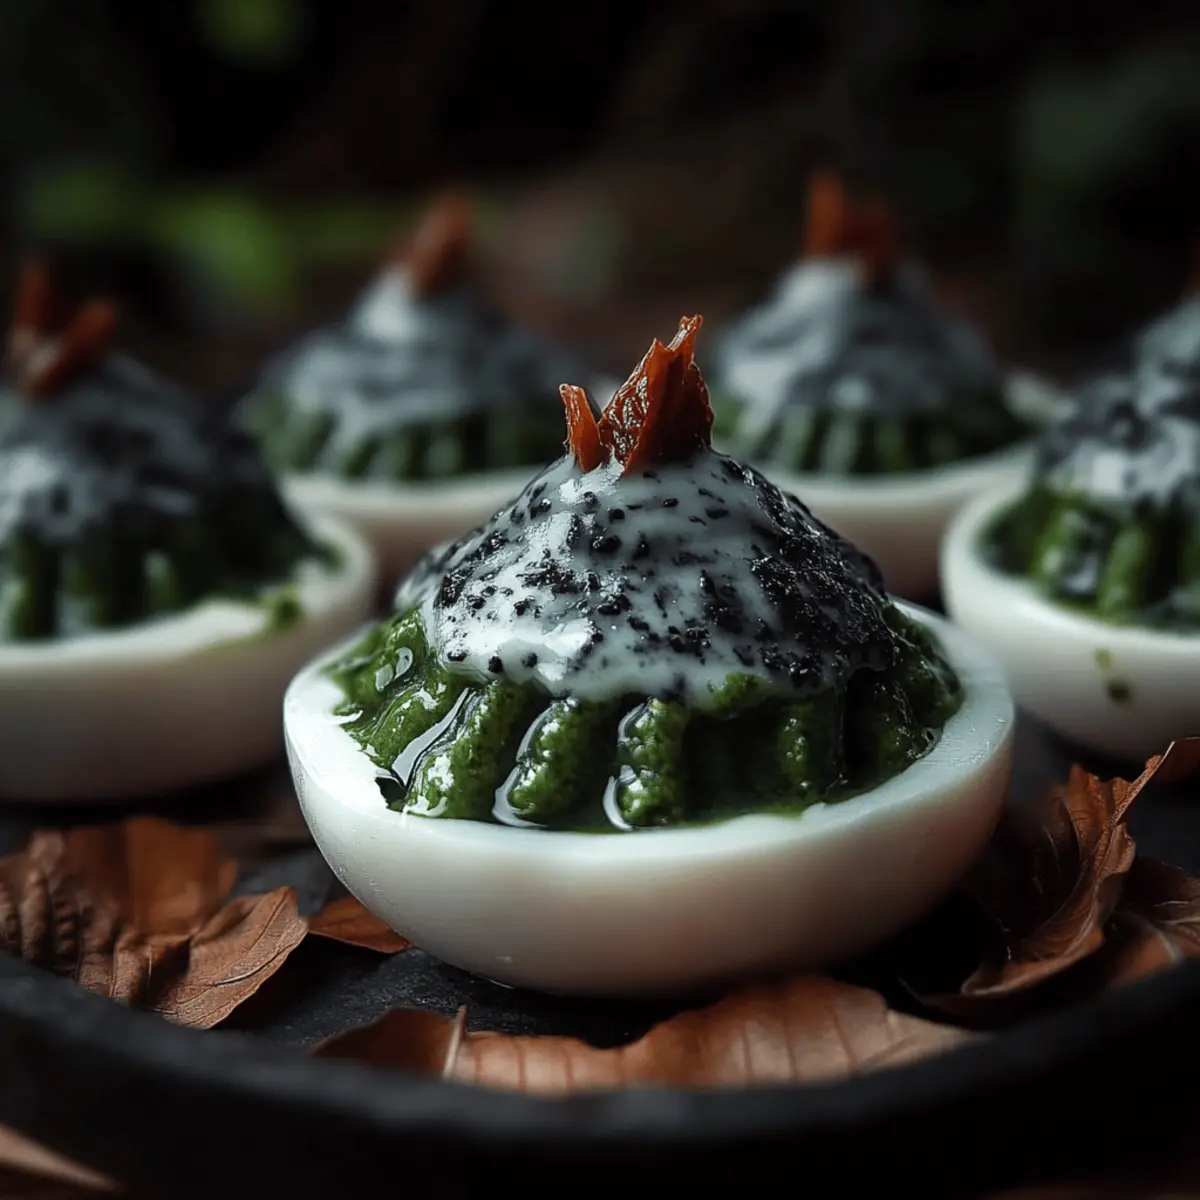
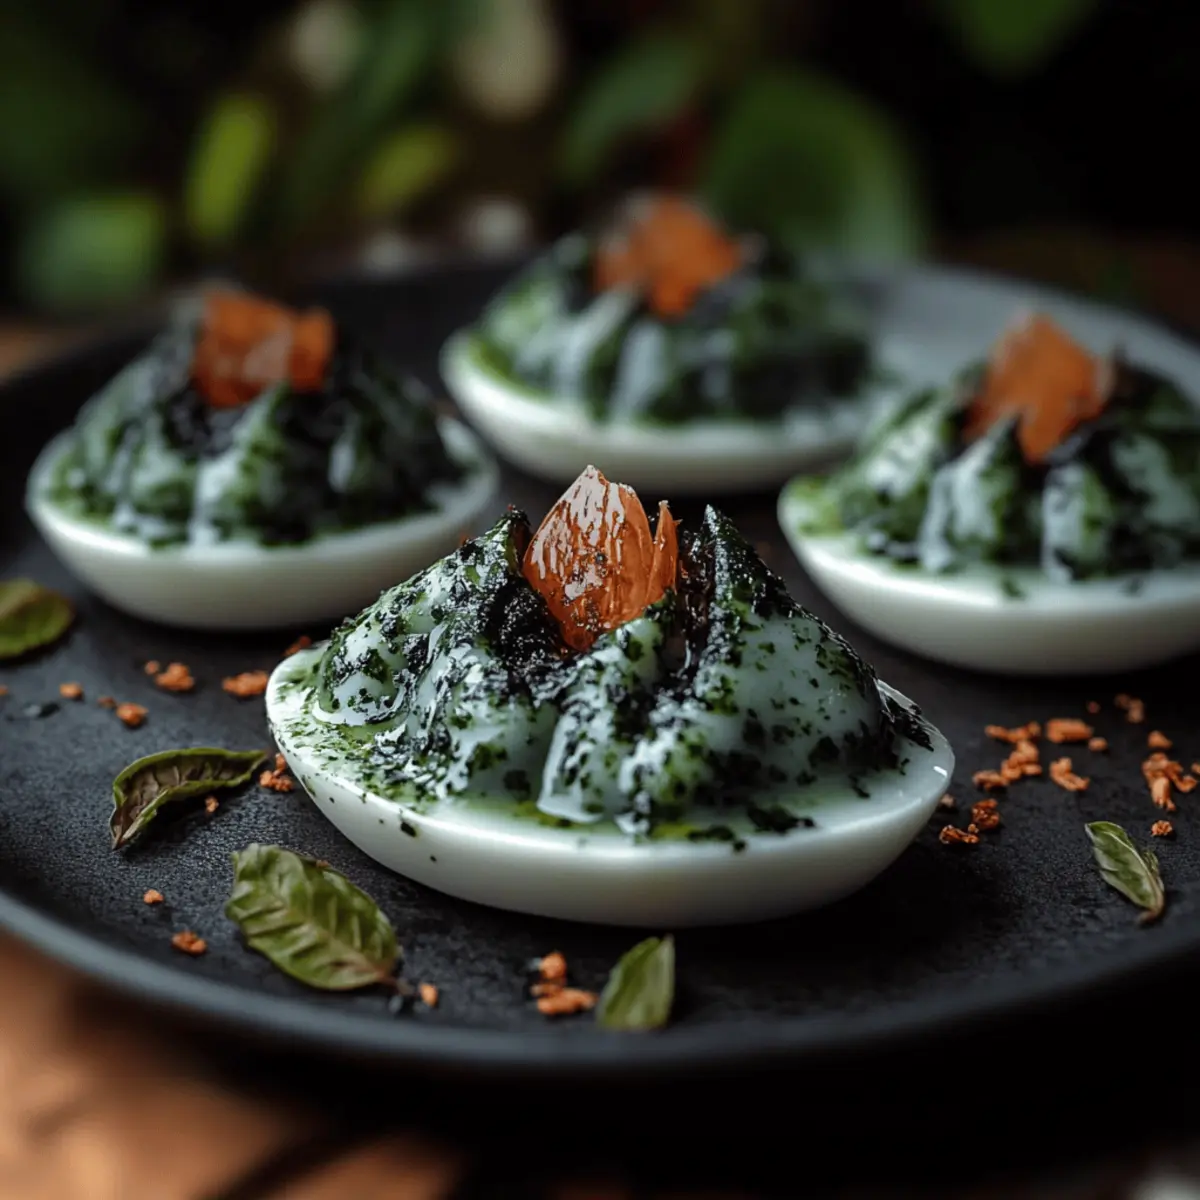
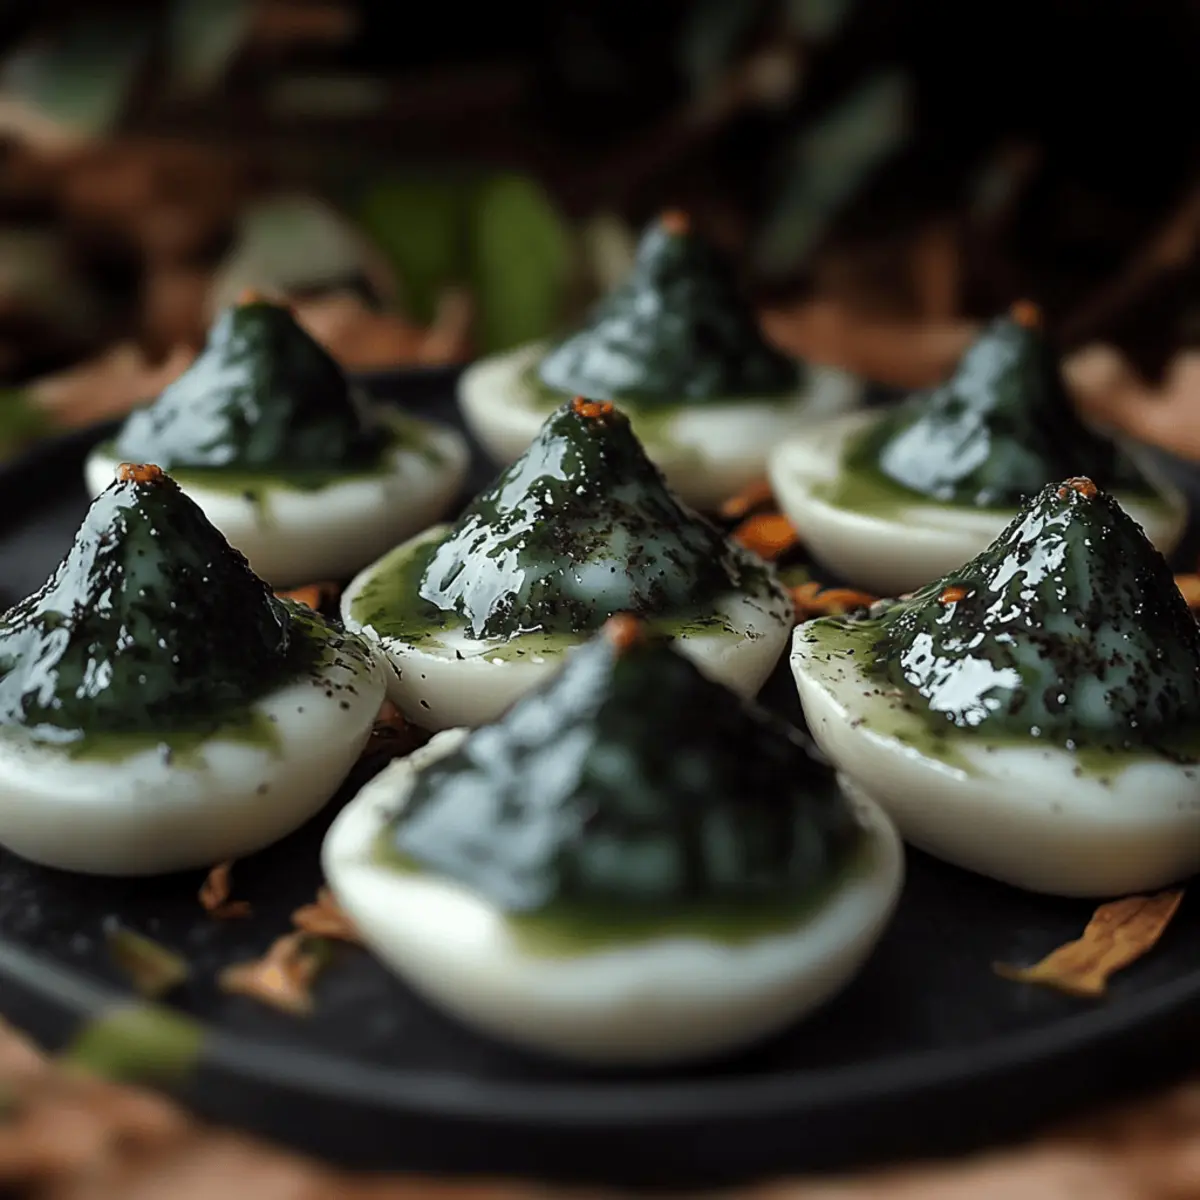
Playful Presentation: Imagine serving vibrant, spooky Swamp Eggs that are not only delicious but also visually striking! The combination of blueberries and liquid chlorophyll creates a fun, eerie look that will wow your guests.
Flavorful Twist: Each bite offers a delightful mix of creamy yolk, zesty garlic, and fresh herbs that elevates classic deviled eggs into something extraordinary.
Easy & Quick: With a prep time of just 30 minutes, you can whip these up faster than a quick pizza delivery—perfect for busy Halloween preparations!
Versatile & Fun: These eggs can be a star at potlucks or Halloween parties, sure to impress your friends and family with their unique charm. Looking for more festive ideas? Check out our spooky appetizers for a complete Halloween spread!
Make-Ahead Magic: You’ll love that they’re great for prepping in advance, making entertaining a breeze. Prepare them a day ahead and focus on enjoying the festivities!
Halloween Deviled Eggs Ingredients
For the Eggs
• 12 large eggs – The base of our spooky treats; hard-boil them for the best texture.
For the Dye
• 1 ½ cups frozen blueberries – Thawed; these natural hues create a vibrant and eerie color!
• 1 ½ cups hot water – Helps release the color from the blueberries effectively.
• 3 tablespoons distilled white vinegar – This enhances color absorption and sharpens the flavors.
For the Filling
• 12 large egg yolks – From the hard-boiled eggs; they'll create the creamy base of our Halloween deviled eggs.
• 9 tablespoons mayo – Adds creaminess; you can try Greek yogurt as a healthier alternative!
• 2 tablespoons liquid chlorophyll – This gives an extra green hue and a hint of earthiness.
• ¼ teaspoon salt – Enhances flavor; adjust to your taste preference.
• ¼ teaspoon black pepper – Adds just the right amount of warmth.
• 3 tablespoons minced fresh dill – Adds freshness and a splash of flavor.
• 2 tablespoons minced fresh chives – Brightens the filling and offers a subtle onion taste.
• 1 large clove garlic, crushed – For those who adore a garlicky kick!
For Garnish
• ½ tablespoon poppy seeds – Sprinkling these on top adds a charming visual detail to your Halloween deviled eggs!
Step‑by‑Step Instructions for Halloween Deviled Eggs
Step 1: Hard Boil the Eggs
Begin by placing 12 large eggs in a saucepan and covering them with water. Bring the water to a rolling boil over medium-high heat and let the eggs cook for about 10-12 minutes. Once cooked, transfer them to an ice bath for 5-7 minutes to cool. Finally, peel the eggs to prepare for the Halloween Deviled Eggs.
Step 2: Prepare the Dye
In a medium bowl, combine 1 ½ cups of thawed frozen blueberries with 1 ½ cups of hot water and 3 tablespoons of distilled white vinegar. Stir gently to mix the ingredients, allowing the blueberries to release their vibrant color. This colorful mixture will act as the spooky dye for the egg whites.
Step 3: Dye the Egg Whites
Submerge the peeled egg whites into the blueberry mixture, ensuring they are fully coated. Allow them to soak for one hour, turning occasionally to create an even dye. After this time, the egg whites will have transformed into an eerie blue-purple hue, perfect for your Halloween Deviled Eggs.
Step 4: Create a Veiny Effect
After dyeing, gently crack the dyed egg whites to create a veiny look, resembling swampy skin. Rinse them under cold water to remove excess dye and pat them dry with a paper towel. This step adds to the spooky presentation of your Halloween Deviled Eggs.
Step 5: Make the Filling
In a mixing bowl, combine the prepared hard-boiled egg yolks, 9 tablespoons of mayo, 2 tablespoons of liquid chlorophyll, ¼ teaspoon of salt, ¼ teaspoon of black pepper, 3 tablespoons of minced fresh dill, 2 tablespoons of minced fresh chives, and 1 crushed garlic clove. Mix thoroughly until the filling is smooth and creamy, perfect for stuffing your Halloween Deviled Eggs.
Step 6: Fill the Egg Whites
Carefully spoon or pipe the creamy green filling into the cracked egg whites, ensuring they are generously filled. You can use a piping bag for a more festive presentation, allowing the mixture to peek out from the cracks. This step brings your Halloween Deviled Eggs to life!
Step 7: Garnish the Eggs
Sprinkle ½ tablespoon of poppy seeds over the filled Halloween Deviled Eggs for a charming detail. This garnish not only enhances the visual appeal but also adds a delightful crunch. Your spooky snacks are now ready to wow your guests!
Step 8: Serve or Store
Serve the Halloween Deviled Eggs within two hours for the best flavor and freshness. If not serving immediately, store them in the refrigerator until you're ready to enjoy. Don’t forget to share the fun as your friends and family experience these uniquely colored, tasty treats!
How to Store and Freeze Halloween Deviled Eggs
Fridge: Store your Halloween Deviled Eggs in an airtight container for up to 2 days. This keeps them fresh and flavorful for your next spooky gathering.
Freezer: It's best not to freeze these deviled eggs, as the texture of the filling can become grainy after thawing. Enjoy fresh for the best experience!
Reheating: If you've prepared the filling in advance, you can store it separately in the fridge for up to 3 days. Just fill the egg whites before serving for optimal taste!
Serving: These cream-filled delights are best enjoyed fresh. Aim to serve them within 2 hours of assembly for the most delicious Halloween experience!
Make Ahead Options
These Halloween Deviled Eggs are perfect for busy cooks looking to save time during the spooky season! You can hard boil and dye the eggs up to 24 hours in advance, ensuring they retain their vibrant colors and flavors. Just store the dyed egg whites submerged in a sealed container in the refrigerator to keep them fresh. When you're ready to serve, simply prepare the creamy filling a few hours before your gathering, then fill the egg whites and garnish with poppy seeds. This way, you'll have impressive Halloween Deviled Eggs that are just as delicious and delightful, with minimal effort right before serving!
Halloween Deviled Eggs Variations
Feel encouraged to experiment with these delightful twists for your Halloween Deviled Eggs and ignite your creativity in the kitchen!
- Dairy-Free: Substitute mayo for a vegan mayo or silken tofu for a creamy, plant-based option.
- Spicy Surprise: Add a pinch of cayenne pepper or a dash of hot sauce to the filling for a delightful kick!
- Smoky Flavor: Incorporate smoked paprika into the yolk mixture to introduce an intriguing flavor contrast that dances on the palate.
- Herb Infusion: Try different herbs such as basil or cilantro to infuse new aromatic notes, bringing a fresh twist to each bite.
- Textural Twist: Fold in finely chopped pickles or olives for crunch and an unexpected savory element that contrasts with the creamy filling.
- Zesty Citrus: Add a squeeze of fresh lemon juice or zest to the filling for brightness and a refreshing zing.
- Colorful Dyes: Experiment with natural dyes—think beet juice or turmeric—for a vibrant variation that maintains the playful theme.
- Nutty Garnish: Top with crushed walnuts or finely chopped almonds for an unexpected crunchy finish that delights the senses.
With these variations, you can turn your Halloween Deviled Eggs into a diverse platter of spooky goodness. Enjoy the fun of creating unique flavors that intrigue and satisfy your guests! For other fabulous festive ideas, be sure to check our easy spooky recipes that will make your Halloween unforgettable!
Expert Tips for Halloween Deviled Eggs
Choose Fresh Eggs: Use the freshest eggs possible for the best flavor and texture; older eggs can be harder to peel after boiling.
Proper Boiling: Make sure to bring the water to a rolling boil before adding the eggs for even cooking—this avoids cracked shells during the hard-boiling process.
Dye with Care: Gently submerge the egg whites in the dye mixture to prevent breaking; this keeps the spooky look intact for your Halloween Deviled Eggs.
Avoid Overmixing: When crafting the filling, mix until just smooth—overmixing can result in a dense texture. Keep it light and creamy!
Presentation Matters: For an eye-catching display, consider using a piping bag to fill the egg whites with the yolk mixture. A beautiful presentation elevates your spooky creations!
Serve Fresh: For the best taste, serve your Halloween Deviled Eggs within two hours or store them properly in the refrigerator; freshness is key to enjoying these delicious bites!
What to Serve with Swamp Eggs
As the vibrant colors of Halloween fill your table, pairing delightful dishes with these spooky bites will create a truly memorable feast.
-
Crispy Vegetable Platter: Fresh, crunchy veggies offer a refreshing contrast to the creamy deviled eggs, making them the perfect appetizer to balance flavors.
-
Seasoned Crackers: The light crunch of seasoned crackers adds texture, while their mild flavors complement the savory filling of the Swamp Eggs beautifully.
-
Pumpkin Soup: A warm, spiced pumpkin soup creates a cozy atmosphere, its sweetness contrasting perfectly with the zesty herb notes from your deviled eggs.
-
Garlic Breadsticks: These delightfully soft breadsticks will keep everyone satisfied, especially when dipped into the creamy filling leftover from the deviled egg prep!
-
Apple and Walnut Salad: The crisp sweetness of apples, combined with crunchy walnuts, brings a refreshing element that pairs elegantly with the rich flavors of the Swamp Eggs.
-
Spooky Punch: A refreshing, fruity drink can bring your gathering to life! Opt for a punch with a splash of blueberry to tie in with your deviled egg's dye theme.
-
Halloween-Themed Cupcakes: End your spooky meal with a sweet touch! These treats not only celebrate the season but also keep the fun spirit alive.

Swamp Eggs - Naturally Dyed Spooky Halloween Deviled Eggs Recipe FAQs
How do I choose the right eggs for this recipe?
Absolutely! For the best flavor and texture, choose the freshest eggs possible. Look for eggs with clean, uncracked shells and avoid those that are past their sell-by date.
How long can I store these Halloween deviled eggs in the refrigerator?
You can store your Halloween Deviled Eggs in an airtight container for up to 2 days. This helps maintain their freshness and flavor, ensuring they remain a delightful treat for your spooky gatherings.
Can I freeze leftover deviled eggs?
It's best not to freeze these deviled eggs, as the texture of the filling can turn grainy once thawed. For the best experience, enjoy them fresh. If you prepare the filling in advance, you can store it separately in the fridge for up to 3 days.
What should I do if my dyed egg whites don’t have a vibrant color?
Very! If your egg whites aren't coloring as vibrantly as you'd like, make sure the blueberries are fully thawed and mixed well with the hot water and vinegar. Allow the eggs to soak for at least 1 hour, and consider gently turning them to ensure even dye coverage. If needed, you can even extend the soaking time by an additional 30 minutes for a more intense hue!
Are these Halloween deviled eggs suitable for people with allergies?
Definitely! If you’re serving guests with allergies, it’s important to consider substitutions. You can replace mayo with a dairy-free alternative or Greek yogurt. Just be sure to check for any specific allergy concerns related to your ingredients, such as eggs or garlic.
How can I add a little more fun to the presentation of my Halloween deviled eggs?
The more the merrier!Using a piping bag to fill the egg whites not only looks fantastic but also allows the yolk mixture to peek out from the cracks—creating an eye-catching spooky effect! You might even consider adding additional garnishes like chopped herbs or edible flowers for a touch of color.
Spooktacular Halloween Deviled Eggs with a Twist
Ingredients
Equipment
Method
- Hard Boil the Eggs: Place eggs in a saucepan, cover with water, and boil for 10-12 minutes. Cool in an ice bath for 5-7 minutes, then peel.
- Prepare the Dye: Mix thawed blueberries, hot water, and vinegar in a bowl, stirring to release the color.
- Dye the Egg Whites: Submerge egg whites in the blueberry mixture for one hour, turning occasionally.
- Create a Veiny Effect: Gently crack dyed egg whites and rinse under cold water; pat dry.
- Make the Filling: Combine egg yolks, mayo, chlorophyll, salt, pepper, dill, chives, and garlic; mix until smooth.
- Fill the Egg Whites: Spoon or pipe the filling into the cracked egg whites, filling generously.
- Garnish the Eggs: Sprinkle poppy seeds on top for a visual detail.
- Serve or Store: Enjoy within two hours or refrigerate until ready to serve.


Leave a Reply