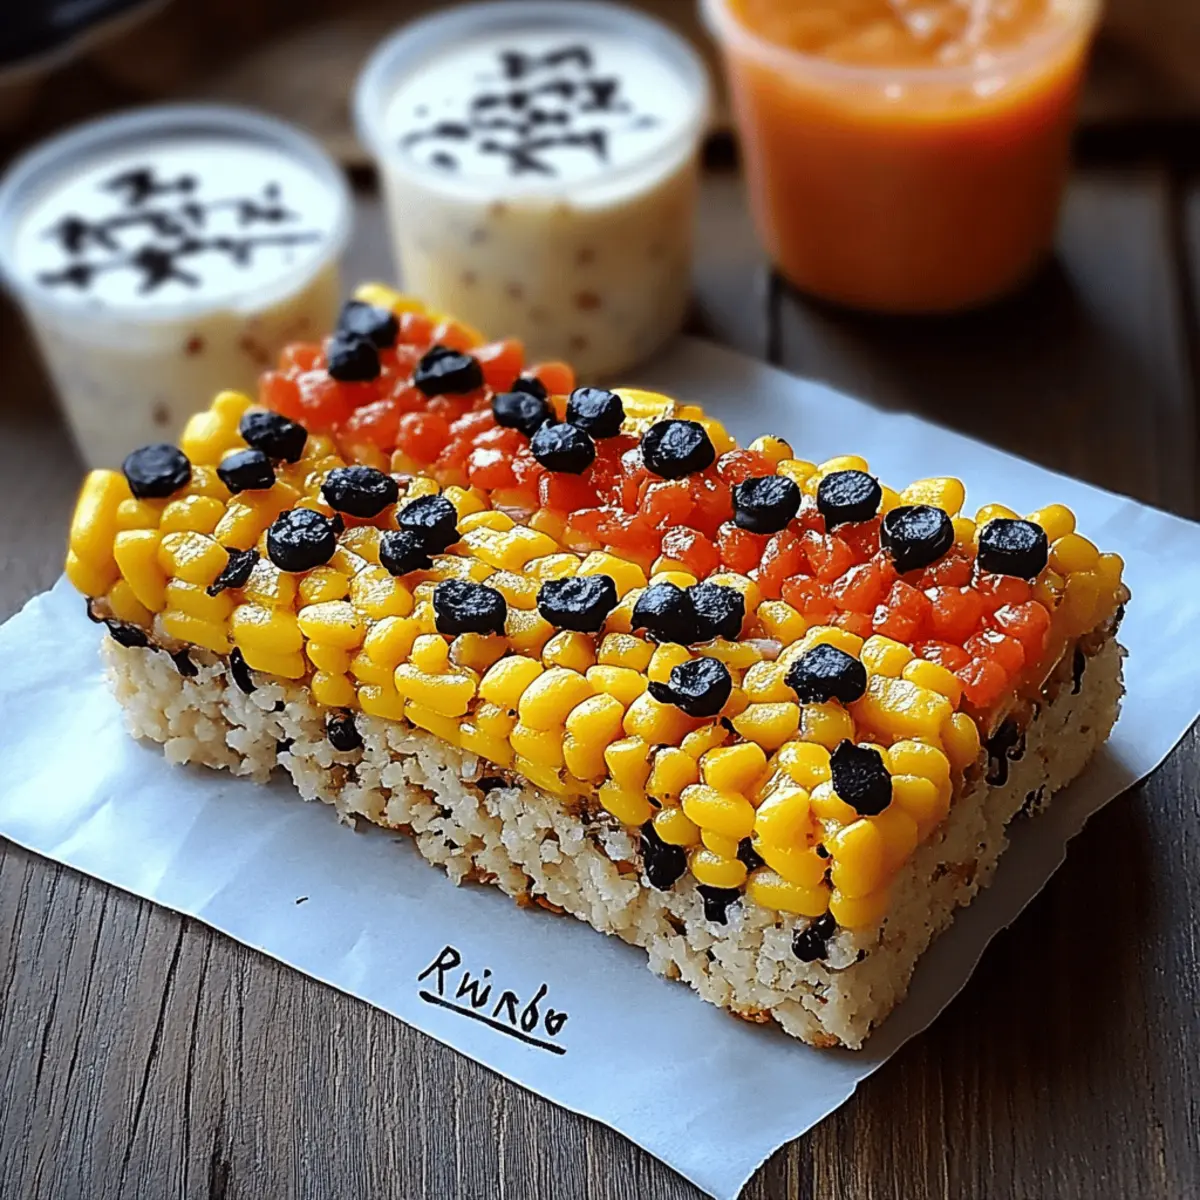
Crisp, sweet, and a whole lot of fun—these Ruler Rice Krispies are not your average treat! As I was reminiscing over my childhood memories in the kitchen, I remembered the joy of mixing gooey marshmallows and buttery cereal into a deliciously sticky masterpiece. One of the best parts? These eye-catching snacks are not only quick to whip up, but they also double as an entertaining project for kids and adults alike! With vibrant colors and fun ruler markings, they're sure to elevate any gathering or simply satisfy that craving for a homemade sweet. Ready to roll up your sleeves and create a delightful batch? Let’s dive into the fun!
Why Are Ruler Rice Krispies a Hit?
Delightfully Colorful: These treats burst with vibrant colors, making them a feast for the eyes as well as the taste buds!
Quick and Easy: With a total time of just 25 minutes, you can whip up a sweet batch without the stress of complex baking.
Kid-Friendly Fun: Perfect for getting little hands involved, decorating these treats provides a creative outlet that never goes out of style.
Unique Design: The ruler theme adds a playful twist, making these treats ideal for school events or birthday parties.
Crowd-Pleasing Appeal: Whether you're serving them at a party or enjoying them at home, these treats are bound to be a hit with friends and family.
Why not check out our guide on creative dessert ideas for more fun inspiration?
Ruler Rice Krispies Ingredients
• Get ready to create these delightful treats!
For the Base
- Rice Krispies cereal – 6 cups – a classic choice that gives these treats their satisfying crunch.
- Mini marshmallows – 1 (10 oz) bag – ensures a gooey, sweet base that binds everything together.
- Butter – 3 tablespoons – adds richness and helps the marshmallows melt evenly.
For the Colors
- Red gel food coloring – a few drops – bring vibrancy to your treats, perfect for that ruler theme.
- Yellow gel food coloring – a few drops – enhances the fun color palette of your Rice Krispies!
- Black gel food coloring – optional for a pop of contrast in the design.
For the Decorations
- White candy melts – ½ cup – creates the perfect ‘metal edge’ on your ruler.
- Chocolate chips (or brown candy melts) – ½ cup – adds a chocolatey element to complement the treats.
- Black decorating gel or black edible marker – for adding accurate ruler markings and numbers.
Miscellaneous
- Non-stick cooking spray – to ensure your treats don’t stick to the dish.
- Parchment paper – for easy cleanup and easy removal of the treats.
With these Ruler Rice Krispies ingredients, you’ll be on your way to whipping up a delightful treat that everyone will love!
Step‑by‑Step Instructions for Ruler Rice Krispies
Step 1: Prepare Your Dish
Start by lining a 9×13 inch baking dish with parchment paper for easy removal later, then lightly spray it with non-stick cooking spray to ensure your Ruler Rice Krispies don’t stick. Make sure the parchment hangs over the edges, as this will help you lift the treats out when they are set.
Step 2: Melt the Butter and Marshmallows
In a large saucepan, melt 3 tablespoons of butter over low heat. Once melted, add the entire 10 oz bag of mini marshmallows and stir consistently for about 5 minutes or until they have completely melted and formed a smooth mixture. The key is to keep the heat low so that the marshmallows don’t burn.
Step 3: Combine with Rice Krispies
Remove the pan from the heat and quickly add the 6 cups of Rice Krispies cereal. Stir gently but thoroughly until each piece is well-coated with the marshmallow mixture. This should take about 2-3 minutes; you want an even mix that is sticky but manageable, ensuring a delightful base for your Ruler Rice Krispies.
Step 4: Color the Mixtures
Divide the mixture into three portions in separate bowls. To one bowl, add a few drops of red gel food coloring, mixing until you achieve a vibrant shade. In another bowl, add yellow gel food coloring and mix thoroughly. Leave the last portion plain to create a striped effect.
Step 5: Layer the Colors
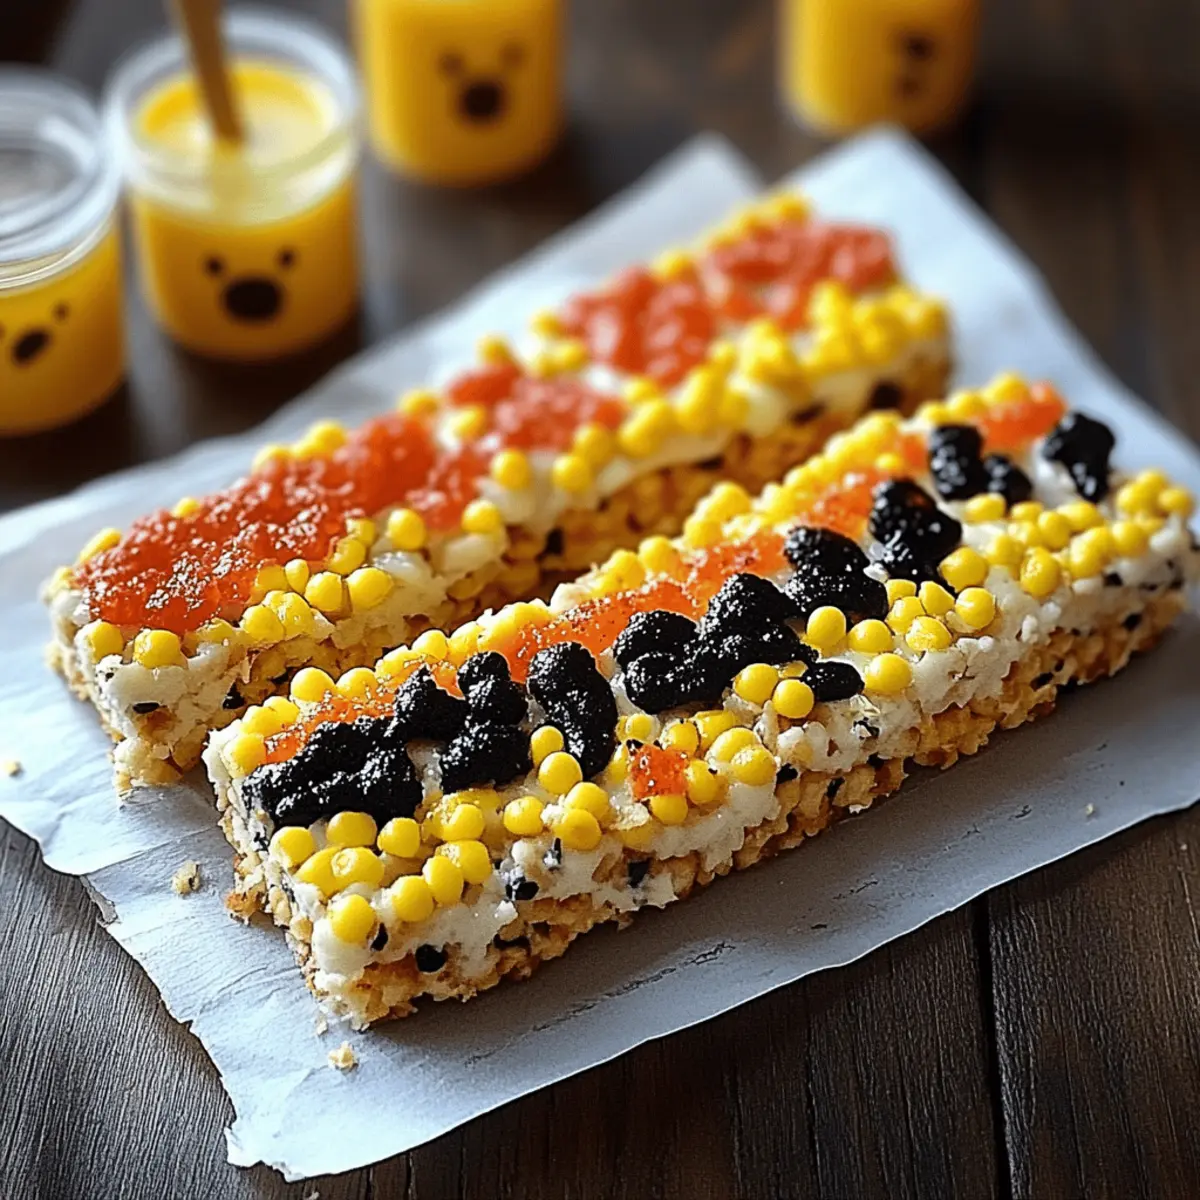
Start pressing the red mixture into the bottom third of your prepared dish, using a spatula to flatten it evenly. Next, layer the yellow mixture in the center third, pressing it down firmly, followed by the plain Rice Krispies mixture on top. Ensure the layers are level for a neat appearance, then let the treat cool completely for about 30 minutes.
Step 6: Cut into Bars
Once the Ruler Rice Krispies have set, use a sharp knife to cut them into long rectangle bars, mimicking the shape of a ruler. Try to make these bars uniform in size, as this will enhance the visual appeal of your finished treats.
Step 7: Melt the Candy Coatings
In two microwave-safe bowls, melt the white candy melts and chocolate chips separately. Heat in 30-second intervals, stirring in between until smooth and silky. You’re aiming for a pourable consistency that will allow for easy decoration of your Ruler Rice Krispies.
Step 8: Decorate with Ruler Markings
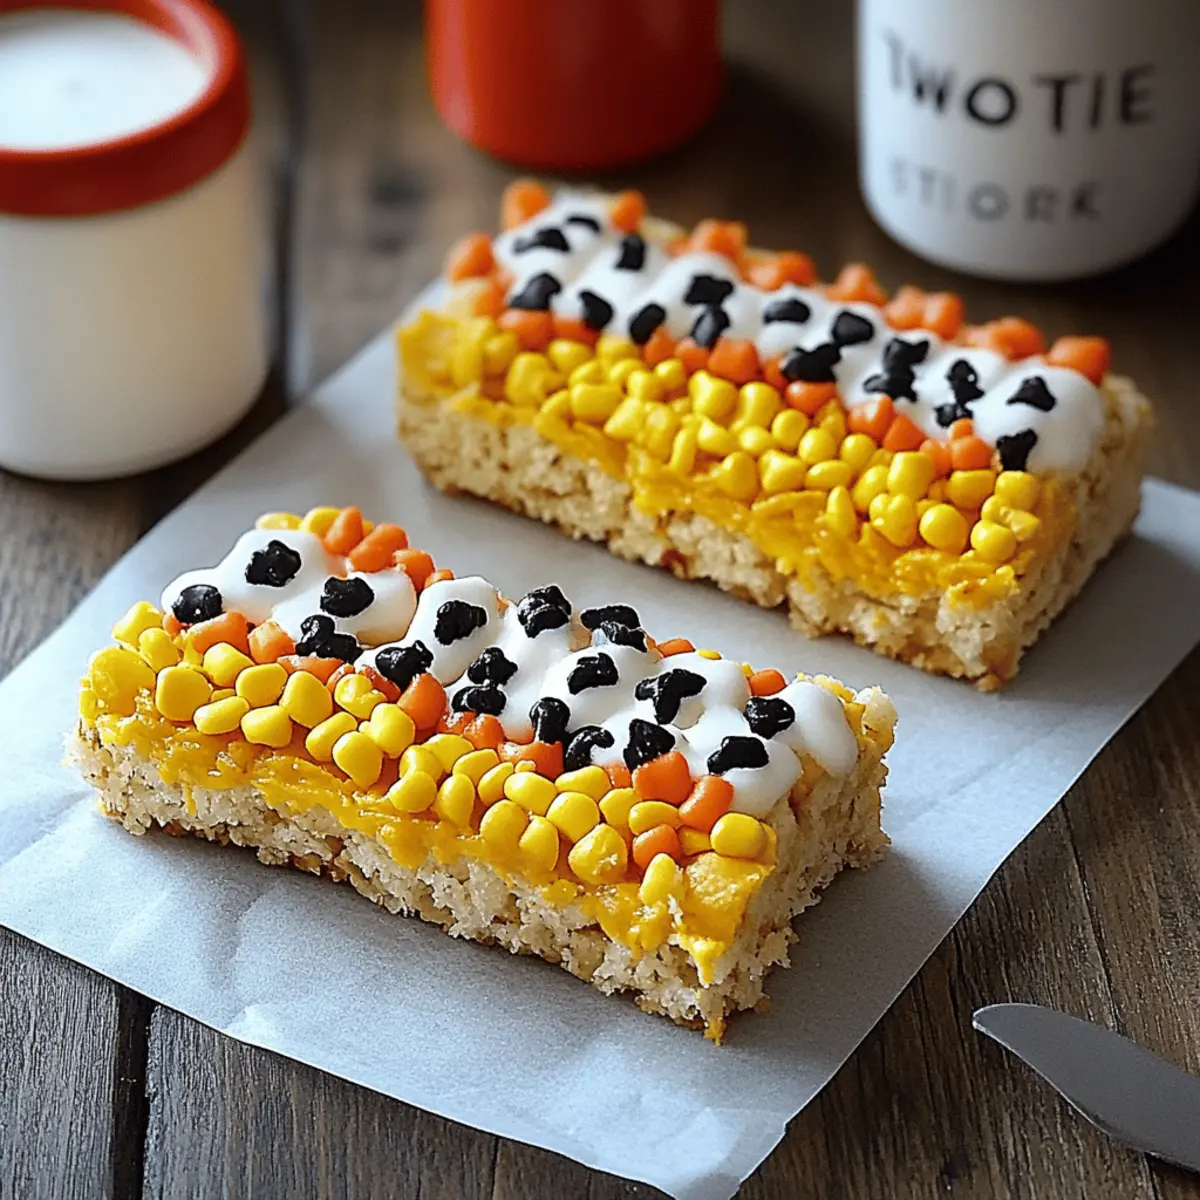
Using a piping bag or a spoon, drizzle the melted chocolate over one edge of the Rice Krispies bars to create the “metal edge.” Then, use the white candy melts to add subtle ruler markings, being creative with lines. Allow this to cool briefly to set.
Step 9: Add Numbers and Final Touches
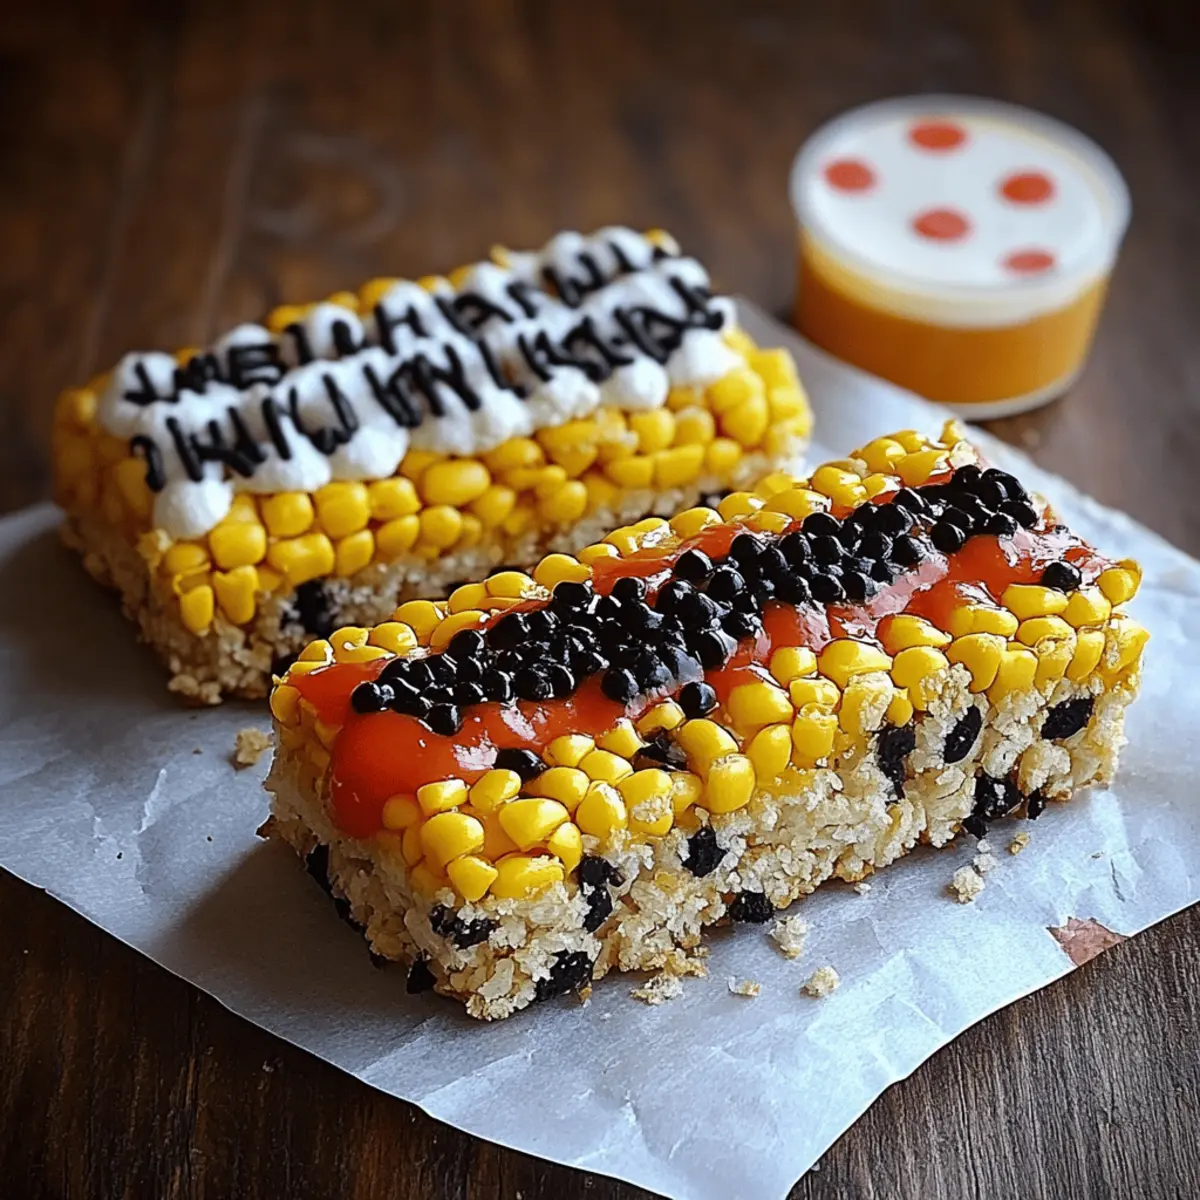
Finally, take your black decorating gel or edible marker to carefully draw numbers and small lines along the sides of the bars to complete the ruler effect. This detail will give your Ruler Rice Krispies a playful and authentic look that everyone will love.
Step 10: Set and Serve
Allow the decorated Ruler Rice Krispies to set for a few more minutes until everything is firm. Then, they are ready to serve! Whether you wrap them for a party or enjoy them at home, these delightful treats are sure to be a hit with friends and family.
Make Ahead Options
These Ruler Rice Krispies are perfect for busy home cooks looking to save time during hectic weeknights! You can prepare the base of the treats (steps 1-5) up to 24 hours in advance. Simply layer your colored mixtures in the baking dish, let them cool completely, and then cover the pan with plastic wrap before refrigerating. This keeps them fresh and just as delightful! When you're ready to finish, move on to steps 6-10. Melt the chocolate and candy coatings just before serving and add those fun ruler markings to ensure they look appealing. With these make-ahead options, you can enjoy delicious snacks with minimal last-minute effort!
What to Serve with Ruler Rice Krispies?
Bring extra joy to your treat experience with delightful pairings that complement the fun, vibrant nature of these Ruler Rice Krispies!
-
Fresh Fruit Skewers: A colorful mix of strawberries, grapes, and melon adds a refreshing, juicy crunch that balances the sweetness of the treats.
-
Milkshakes: Indulge in a creamy chocolate or vanilla milkshake. This classic pairing offers a nostalgic twist that’s perfect for dunking!
-
Chocolate Dipped Pretzels: The salty, crunchy pretzels provide a savory contrast that enhances the sweet profile of the Rice Krispies, making for a well-rounded snack spread.
-
Ice Cream Cups: Serving these treats with a scoop of your favorite ice cream turns dessert into a special occasion, bringing a delightful chill to each bite.
-
Caramel Sauce: Drizzle warm caramel over the Ruler Rice Krispies for a decadently sweet addition that melts beautifully into the treat’s crispy texture.
-
Homemade Lemonade: A zesty, refreshing lemonade brings a bright and tangy flavor that cuts through the sweetness, making it an ideal drink pairing.
Let your imagination run wild and mix and match to create a fun-filled dessert table everyone will adore!
Expert Tips for Ruler Rice Krispies
Perfect Melting: Make sure to melt the butter and marshmallows over low heat to prevent burning, ensuring a smooth mixture for your Ruler Rice Krispies.
Consistent Coating: Stir the Rice Krispies quickly but gently into the marshmallow mix to avoid crushing them, maintaining that satisfying crunch.
Layering Technique: Press each colored layer down firmly but evenly to create distinct, well-defined layers, adding visual appeal to your treats.
Even Cutting: Use a sharp knife to cut the bars into uniform sizes, enhancing the ruler shape and making them more visually appealing.
Cool Time: Allow the treats to cool completely before cutting to maintain their shape and texture, ensuring the best results for your Ruler Rice Krispies.
Ruler Rice Krispies Variations
Feel free to get creative and customize your Ruler Rice Krispies to suit your taste preferences!
- Gluten-Free: Swap out Rice Krispies for gluten-free rice cereal to ensure everyone can enjoy these treats.
- Chocolate Lovers: Replace half of the Rice Krispies with chocolate cereals for an extra chocolatey flavor that will make your treats irresistibly rich.
- Nutty Twist: Sprinkle in chopped nuts or nut butter to enhance texture and flavor, adding a delightful crunch that pairs perfectly with sweetness.
- Dairy-Free: Substitute the butter with coconut oil and the chocolate chips with dairy-free varieties for a plant-based delight that doesn’t skimp on taste.
- Fun Sprinkles: Add colorful sprinkles to the top of the melted chocolate for an extra pop of fun that will delight both kids and adults alike.
- Fruit Essence: Mix in some freeze-dried fruit powder to the marshmallow mixture for a fruity twist that subtly enhances the overall flavor profile.
- Creamy Marshmallow: Use marshmallow fluff instead of mini marshmallows for a creamier consistency that takes your treats to a whole new level.
- Heat It Up: Add a pinch of cayenne pepper or a splash of hot sauce to the melted chocolate for a spicy kick that contrasts wonderfully with the sweet marshmallows.
Let these variations inspire you! If you’re looking for more delicious ideas to add to your dessert repertoire, check out our guide on creative dessert ideas to elevate your baking game even further!
How to Store and Freeze Ruler Rice Krispies
Room Temperature: Keep your Ruler Rice Krispies in an airtight container at room temperature for up to 3 days to maintain their freshness and chewy texture.
Fridge: If you prefer a firmer texture, store them in the fridge in an airtight container. They can last up to a week this way, but they may lose some chewiness.
Freezer: To freeze, wrap each bar individually in plastic wrap and place them in a freezer-safe container. They will stay fresh for up to 2 months; simply thaw at room temperature before enjoying!
Reheating: If you want to soften cold or frozen treats, microwave them for about 10-15 seconds—just enough to warm them slightly without melting away the decorations.
Ruler Rice Krispie Treats Recipe FAQs
What kind of Rice Krispies should I use?
Absolutely, regular Rice Krispies cereal is a must for that classic crunch! Avoid off-brand cereals as they may not provide the same satisfying texture.
How do I store Ruler Rice Krispies?
For the best results, keep your Ruler Rice Krispies in an airtight container at room temperature for up to 3 days. If you'd prefer a firmer texture, storing them in the fridge can extend their life to about 1 week. Just remember, refrigeration might make them a bit less chewy!
Can I freeze Ruler Rice Krispies?
Very! To freeze, wrap each bar individually in plastic wrap and place them inside a freezer-safe container or bag. They can be stored for up to 2 months. When ready to enjoy, simply thaw them at room temperature for about 30 minutes.
How do I troubleshoot hard or dry Ruler Rice Krispies?
If your Ruler Rice Krispies end up hard or dry, it might be due to overcooking the marshmallows. Be sure to melt them gently over low heat and stir until completely smooth before adding the cereal. If they do feel dry after setting, simply warm them in the microwave for 10-15 seconds to soften!
Are these treats safe for pets?
Great question! While Rice Krispies themselves are not toxic to pets, the sugar and butter in these treats may not be ideal for them. If you're sharing, it's best to stick to plain Rice Krispies without the sugary additions, as excessive treats can upset their stomach!
Can I substitute the food coloring?
Of course! If you're looking for a natural alternative, consider using beet juice for red, turmeric for yellow, and activated charcoal or cocoa powder for black. These options may slightly change the flavor, but they'll keep your treats colorful and fun!
Irresistibly Fun Ruler Rice Krispies to Brighten Your Day
Ingredients
Equipment
Method
- Start by lining a 9×13 inch baking dish with parchment paper for easy removal later, then lightly spray it with non-stick cooking spray to ensure your Ruler Rice Krispies don’t stick. Make sure the parchment hangs over the edges, as this will help you lift the treats out when they are set.
- In a large saucepan, melt 3 tablespoons of butter over low heat. Once melted, add the entire 10 oz bag of mini marshmallows and stir consistently for about 5 minutes or until they have completely melted and formed a smooth mixture.
- Remove the pan from the heat and quickly add the 6 cups of Rice Krispies cereal. Stir gently but thoroughly until each piece is well-coated with the marshmallow mixture. This should take about 2-3 minutes.
- Divide the mixture into three portions in separate bowls. To one bowl, add a few drops of red gel food coloring, mixing until you achieve a vibrant shade. In another bowl, add yellow gel food coloring and mix thoroughly. Leave the last portion plain.
- Start pressing the red mixture into the bottom third of your prepared dish, using a spatula to flatten it evenly. Next, layer the yellow mixture in the center third, pressing it down firmly, followed by the plain Rice Krispies mixture on top. Allow the treat to cool completely for about 30 minutes.
- Once set, use a sharp knife to cut them into long rectangle bars, mimicking the shape of a ruler.
- In two microwave-safe bowls, melt the white candy melts and chocolate chips separately. Heat in 30-second intervals, stirring in between until smooth and silky.
- Using a piping bag or a spoon, drizzle the melted chocolate over one edge of the Rice Krispies bars to create the “metal edge.” Then, use the white candy melts to add subtle ruler markings.
- Finally, take your black decorating gel or edible marker to carefully draw numbers and small lines along the sides of the bars to complete the ruler effect.
- Allow the decorated Ruler Rice Krispies to set for a few more minutes until everything is firm. Then, they are ready to serve!


Leave a Reply