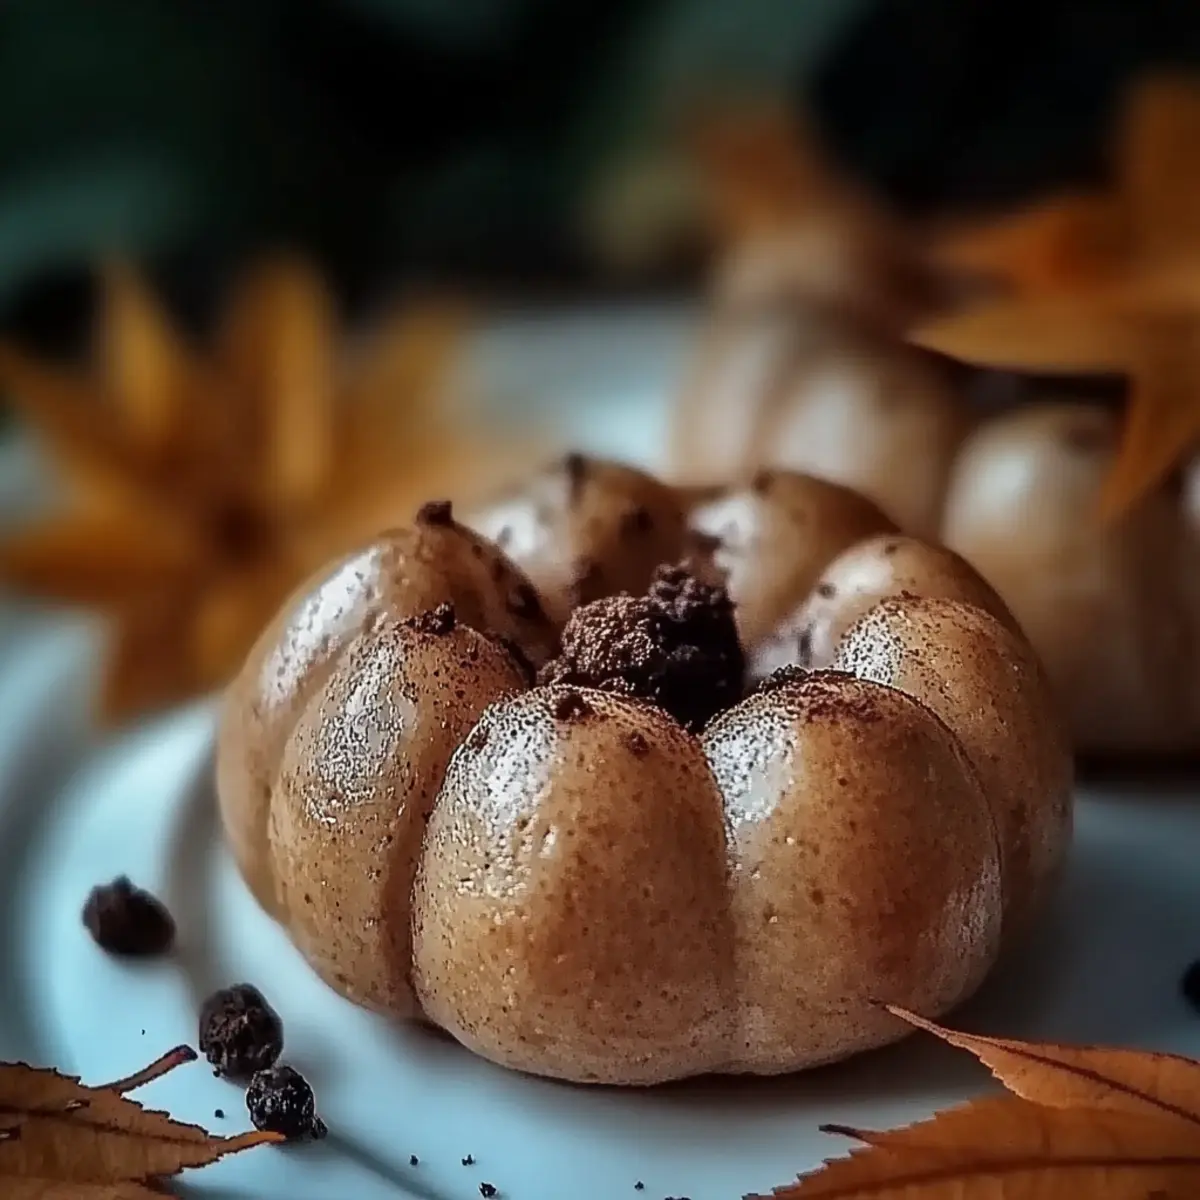
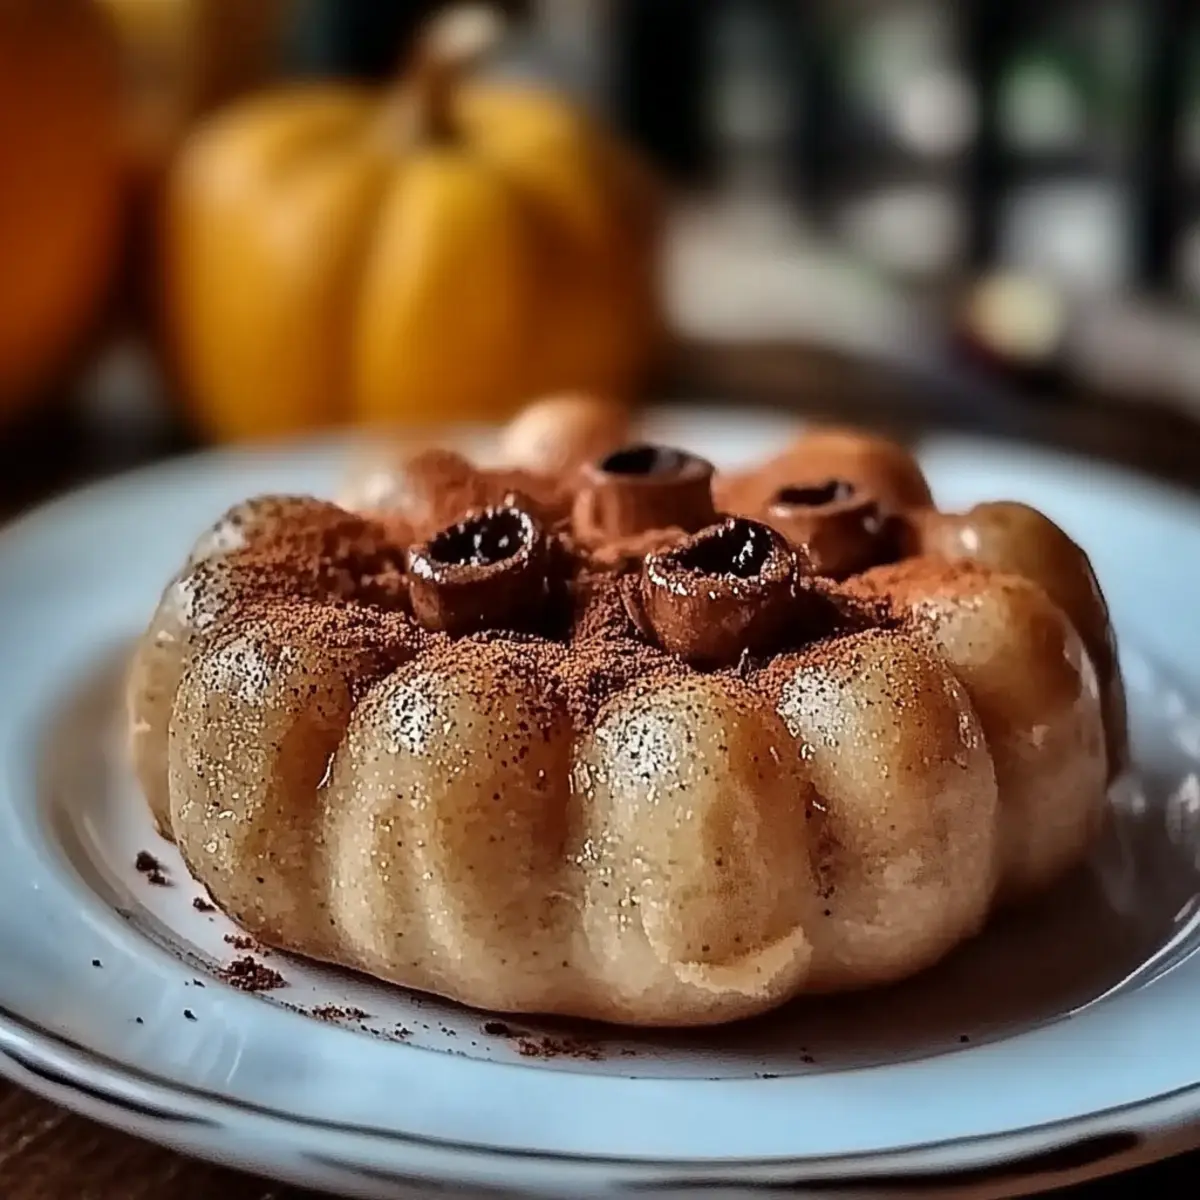
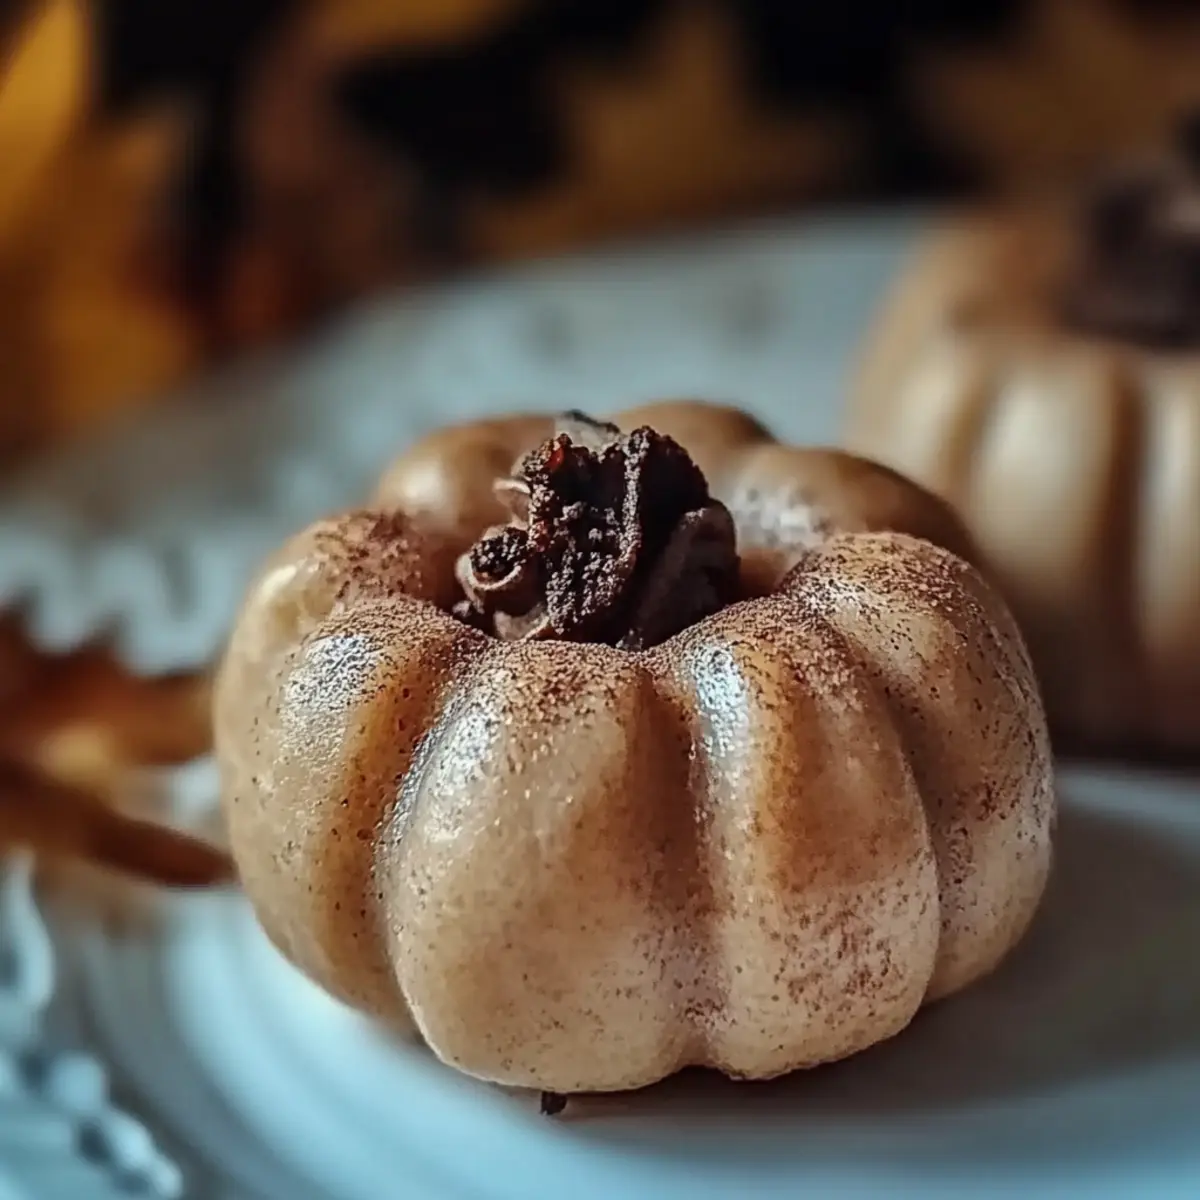
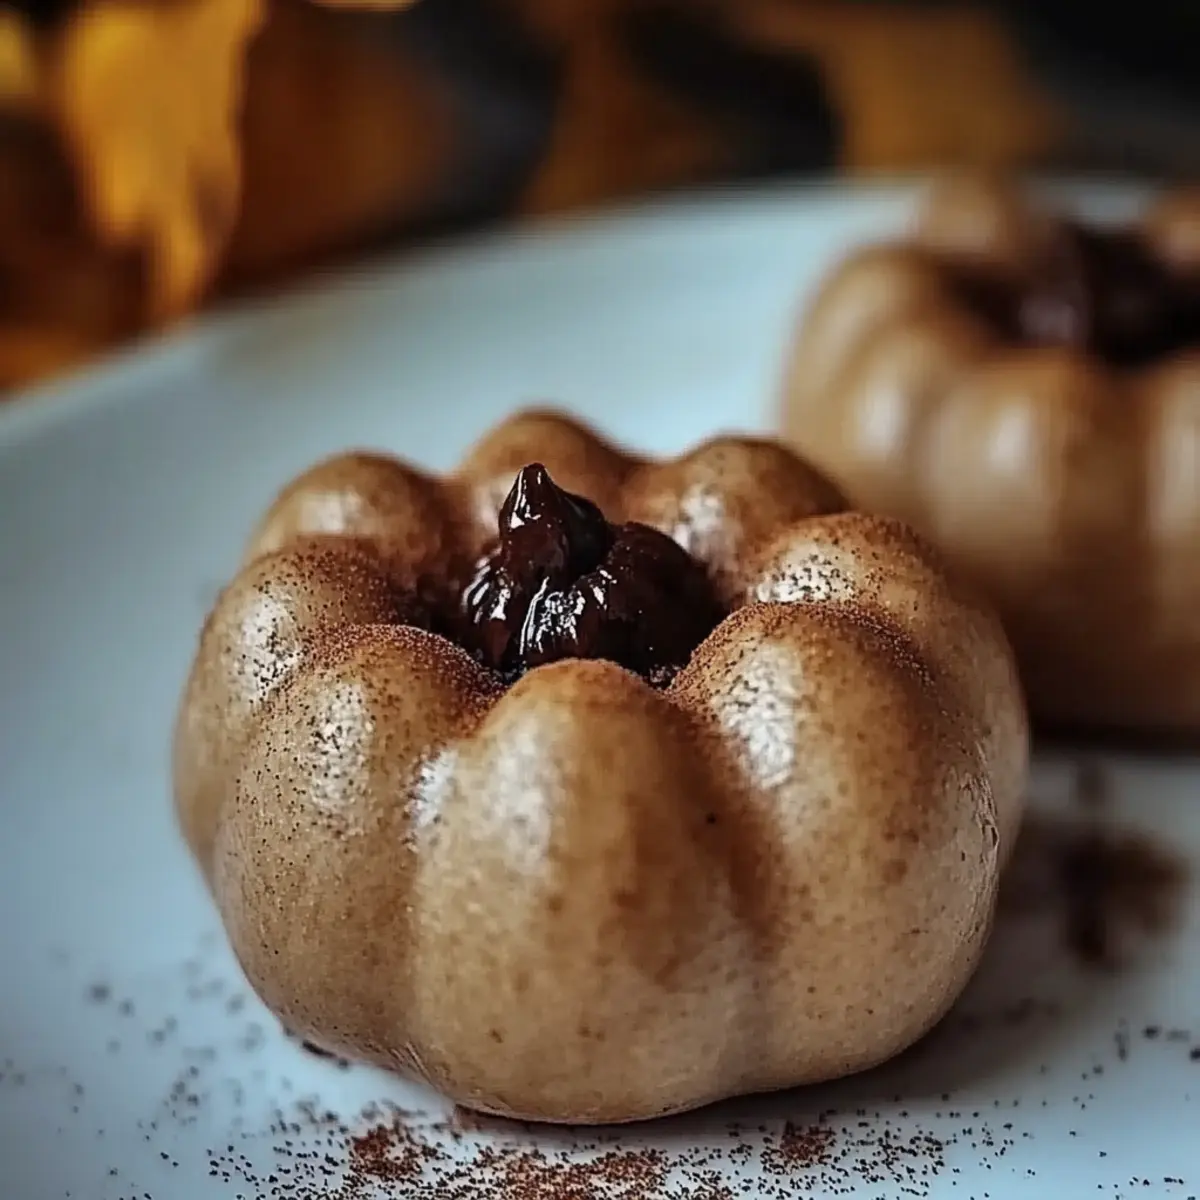
As autumn leaves begin to crisp underfoot, my kitchen transforms into a vibrant playground filled with fall flavors. That's when I whip up these delightful Peanut Butter Pumpkins—a fun twist on treats that captures the season's spirit perfectly. Not only are they a quick and easy no-bake dessert, but they also deliver the nostalgic taste of peanut butter we all love. With just a handful of ingredients and a dash of creativity, you can create these adorable, bite-sized pumpkins that are sure to impress friends and family alike. So, are you ready to make sweet memories this fall with a recipe that brings joy and a hint of magic to your kitchen? Let’s dive into this deliciously festive adventure!
Why Will You Love These Pumpkins?
Easy to Make: With just a handful of ingredients, these Peanut Butter Pumpkins come together in no time—perfect for busy fall days!
No-Bake Fun: No need to turn on the oven; just mix, shape, and chill—making it a fantastic way to keep cool in the kitchen.
Festive Appeal: These adorable treats are a visual delight, adding a pop of autumn color to any table—ideal for gatherings or festive parties.
Sweet Nostalgia: The rich peanut butter flavor combined with a touch of vanilla creates a comforting, childhood favorite that everyone will adore.
Crowd-Pleasing Treat: Whether it's a family get-together or a classroom party, these pumpkin-shaped delights are sure to be a hit—everyone loves a little festive fun!
Don’t forget to check out our tips for more no-bake desserts that your family will cherish!
Peanut Butter Pumpkins Ingredients
For the Pumpkin Mixture
- Creamy peanut butter – A rich base that provides flavor and texture, making these Peanut Butter Pumpkins irresistible.
- Powdered sugar – Sweetens the mixture and gives it the perfect fudgy consistency.
- Vanilla extract – Adds a warm layer of flavor that elevates the taste of the pumpkins.
- Crispy rice cereal – Introduces delightful crunch, balancing the creaminess of the peanut butter.
For the Coating
- Orange candy melts – These create a festive pumpkin look; melting them is key for a smooth dip.
- Vegetable oil – Helps achieve a silky texture for the melted candy coating; don’t skip this!
For Garnishing
- Green candy melts – Used to make the cute little leaves on top; a melting magic transforms them into decorative accents.
- Mini chocolate chips – Perfect for creating adorable eyes that give these pumpkins a playful personality.
Now that you have all the ingredients ready, let’s roll up our sleeves and get crafting these delightful Peanut Butter Pumpkins!
Step‑by‑Step Instructions for Peanut Butter Pumpkins
Step 1: Prepare Your Workspace
Begin by clearing your kitchen counter and washing your hands. Gather all ingredients and equipment, including a large mixing bowl, a spatula, a baking sheet lined with parchment paper, and plastic wrap. This ensures a smooth workflow while making your Peanut Butter Pumpkins, as you’ll have everything you need within reach.
Step 2: Mix the Peanut Butter Base
In the large mixing bowl, combine 1 cup of creamy peanut butter, 1 cup of powdered sugar, and 1 teaspoon of vanilla extract. Stir these ingredients together with a spatula until the mixture is smooth and well-blended, about 2-3 minutes. The rich, sweet aroma will start to fill your kitchen, enticing you for what’s next!
Step 3: Fold in the Cereal
Gently fold in 2 cups of crispy rice cereal into the peanut butter mixture using a spatula. Ensure all the cereal is evenly coated, mixing for about 2 minutes until fully incorporated. The texture will become chunky, creating a delightful contrast to the smooth peanut butter mixture, making your Peanut Butter Pumpkins even more fun to shape.
Step 4: Shape the Pumpkins
Take small portions of the mixture and roll them into round pumpkin shapes, approximately 1-2 inches in diameter. Place each shaped pumpkin on the parchment-lined baking sheet, giving them a little space apart. Aim to form about 24 pumpkins, and enjoy the colorful, fun shapes that are starting to take form before your eyes!
Step 5: Chill to Firm Up
Cover the baking sheet with plastic wrap and place it in the refrigerator for about 30 minutes. This will firm up your peanut butter balls, making them easier to dip later. While they chill, you can prepare the candy melts, making the next steps even more exciting!
Step 6: Melt the Candy Coating
In a microwave-safe bowl, combine 1 cup of orange candy melts with 1 tablespoon of vegetable oil. Microwave this mixture in 30-second intervals, stirring in between, until melted and smooth, taking about 1-2 minutes in total. The glossy orange coating will evoke the festive spirit of fall, setting the stage for your Peanut Butter Pumpkins.
Step 7: Dip the Pumpkins
Remove the chilled peanut butter balls from the refrigerator. Carefully dip each pumpkin into the melted orange candy coating, ensuring they are fully covered. Allow any excess coating to drip off, then return them to the parchment-lined baking sheet. This step makes them look irresistibly colorful and ready for decoration!
Step 8: Add Fun Features
While the orange coating is still wet, use two mini chocolate chips for eyes on each pumpkin and a small dot of melted green candy melts to create leaves on top. This playful touch adds personality to your Peanut Butter Pumpkins, capturing the essence of Halloween festivities.
Step 9: Let the Coating Set
Allow the coated Peanut Butter Pumpkins to set at room temperature until the candy coating hardens completely, which may take about 30 minutes. Enjoy the delightful sight of these festive treats as they transform into little pumpkin masterpieces ready to impress friends and family!
What to Serve with Peanut Butter Pumpkins?
As you prepare to indulge in these whimsical Peanut Butter Pumpkins, envision a cozy gathering where sweet flavors dance together to create a delightful meal.
-
Crisp Apple Slices: The refreshing crunch of apple slices pairs perfectly with the rich sweetness of the pumpkins, enhancing your fall feast.
-
Cheese Plate: A charcuterie board with creamy brie and sharp cheddar contrasts the sweetness, offering a delightful range of flavors and textures.
-
Hot Cider: Sipping on warm spiced apple cider brings warmth to your gathering, beautifully complementing these festive treats while evoking the spirit of autumn.
-
Pumpkin Spice Cookies: Continue the pumpkin theme with soft, spiced cookies that echo the flavors of the season—perfect for a dessert table!
-
Chocolate Milkshake: Indulge in a creamy chocolate milkshake that balances the nutty flavor of the pumpkins, making for a rich and satisfying pairing.
-
Whipped Cream Dip: A light whipped cream dip, perhaps with a hint of vanilla or cinnamon, serves as a luscious contrast alongside your Peanut Butter Pumpkins.
-
Enjoy with Friends: Gather your favorite people, share stories, and watch smiles bloom as these fall-inspired delights add sweetness to every bite.
Storage Tips for Peanut Butter Pumpkins
Fridge: Store your Peanut Butter Pumpkins in an airtight container for up to 1 week to maintain freshness and flavor. Ensure they are separated with parchment paper to prevent sticking.
Freezer: Freeze the Pumpkin treats by placing them in a single layer in a freezer-safe container for up to 2 months. For best results, wrap each pumpkin in plastic wrap before placing them in the container.
Reheating: If you prefer to enjoy them slightly softened, let the frozen Peanut Butter Pumpkins thaw in the fridge overnight before enjoying. Avoid reheating in the microwave, as the candy coating may lose its texture.
Expert Tips for Perfect Peanut Butter Pumpkins
-
Chill Time Matters: Make sure to refrigerate the shaped pumpkins for a full 30 minutes—this helps them stay firm while dipping in the candy coating.
-
Melting Magic: Microwave the candy melts in short intervals (30 seconds). Stirring consistently ensures a smooth, easy-to-work-with consistency, preventing scorching.
-
Rolling Technique: When shaping your pumpkins, aim for uniform sizes (1-2 inches) for a visually appealing presentation. It helps maintain an even coating as well.
-
Layering Flavor: Consider adding a pinch of sea salt to the peanut butter mixture for a delightful contrast to the sweetness and to enhance the peanut butter flavor in these Peanut Butter Pumpkins.
-
Decorating Fun: Get creative with the eyes! Use different candies or even small edible beads for a fun twist on the classic look. Encourage kids to join the fun!
Make Ahead Options
These Peanut Butter Pumpkins are perfect for meal prep enthusiasts! You can mix the peanut butter base (1 cup creamy peanut butter, 1 cup powdered sugar, and 1 teaspoon vanilla extract) and incorporate the crispy rice cereal up to 24 hours ahead; simply cover the bowl tightly and refrigerate. When you're ready to serve, roll into pumpkin shapes and chill them for 30 minutes, as this step is crucial for firming them up. To maintain quality, dip the pumpkins in the melted candy coating just before serving to ensure they remain fresh and vibrant. These little prep steps will save you valuable time on busy fall days while still delivering a delightful treat!
Peanut Butter Pumpkins Variations
Feel free to explore these delicious variations to customize your Peanut Butter Pumpkins and make them your own!
-
Nut-Free: Substitute peanut butter with sun butter or almond butter for a nut-free option. The rich flavor remains delightful and accessible for all.
-
Gluten-Free: Use gluten-free crispy rice cereal to maintain that perfect crunch without compromising on flavor. Everyone can enjoy these festive treats!
-
Chocolate Dipped: Switch the orange candy melts for dark or milk chocolate for a richer taste. The smooth, chocolaty exterior adds an indulgent twist to your pumpkins.
-
Spicy Kick: Add a pinch of cayenne pepper or chili powder to the peanut butter mixture for a warm, spicy finish. This unexpected heat creates a playful surprise that will delight adventurous palates.
-
Vegan Delight: Replace the candy melts with dairy-free chocolate or vegan-friendly alternatives, ensuring no animal products enter your delightful pumpkins. Indulge in the flavors while sticking to your dietary preferences!
-
Flavor Infusion: Experiment with different extracts like maple or almond instead of vanilla to give a unique flavor twist to your Peanut Butter Pumpkins. Each will impart a wonderful complexity.
-
Crunchy Variations: Fold in crushed pretzels or nuts into the peanut butter mixture for extra texture. The added crunch gives a pleasantly surprising contrast to the creaminess.
-
Seasonal Spices: Spice up the peanut butter mixture with cinnamon, nutmeg, or pumpkin spice for a fall-inspired flavor twist that complements the season beautifully. These spices will elevate your pumpkin treats into something even more magical!
Each variation adds a personal touch to this marvelous recipe, so don't hesitate to get creative and let your taste buds guide the way! For more enchanting dessert ideas, you can check out our beloved no-bake dessert collection for inspiration.
Peanut Butter Pumpkins Recipe FAQs
How do I choose the best peanut butter?
Absolutely! For these Peanut Butter Pumpkins, I recommend using creamy peanut butter for the best texture. Look for brands with minimal ingredients—just peanuts and salt ensure a smoother mixture without any unwanted additives.
What’s the best way to store leftover Peanut Butter Pumpkins?
Very good question! Store your Peanut Butter Pumpkins in an airtight container in the fridge for up to 1 week. To prevent them from sticking together, separate layers with parchment paper. Just remember to seal them well so they stay fresh and tasty!
Can I freeze my Peanut Butter Pumpkins?
Absolutely! To freeze, arrange the pumpkins in a single layer on a baking sheet and freeze until solid. Then, wrap each pumpkin in plastic wrap and place them in a freezer-safe container. They'll keep well for up to 2 months! To enjoy, transfer them to the fridge overnight to thaw—this helps preserve the texture.
What if my candy coating isn’t smooth?
No worries! If your candy coating isn’t melting smoothly, simply add a bit more vegetable oil, a teaspoon at a time, while stirring. Microwave in 10-15 second intervals until you get that glossy, easy-to-dip consistency. Stir well to combine and achieve the perfect coating for your Peanut Butter Pumpkins!
Are these treats suitable for kids with allergies?
It's important to check! The recipe contains peanuts and sugar, so if there are peanut allergies, consider using sunflower seed butter as a nut-free alternative. Be cautious with the candy melts; some brands may contain allergens, so be sure to read labels if serving to kids with dietary restrictions.
Can I modify the ingredients for different flavors?
Definitely! Feel free to add a teaspoon of cinnamon or a splash of maple syrup into the peanut butter mixture to enhance the flavors. For a chocolate twist, try using chocolate candy melts instead of orange. The more the merrier when it comes to personalizing your Peanut Butter Pumpkins!
Irresistibly Fun Peanut Butter Pumpkins for Fall Treats
Ingredients
Equipment
Method
- Prepare your workspace by clearing the kitchen counter and washing your hands. Gather all ingredients and equipment.
- In a large mixing bowl, combine 1 cup of creamy peanut butter, 1 cup of powdered sugar, and 1 teaspoon of vanilla extract. Stir until smooth.
- Gently fold in 2 cups of crispy rice cereal into the mixture until fully incorporated.
- Shape the mixture into approximately 24 pumpkin-shaped balls, about 1-2 inches in diameter, and place them on a lined baking sheet.
- Cover with plastic wrap and refrigerate for about 30 minutes to firm up.
- In a microwave-safe bowl, combine 1 cup of orange candy melts and 1 tablespoon of vegetable oil. Microwave until melted and smooth.
- Dip each pumpkin into the melted orange candy coating, ensuring they are fully covered, and allow excess to drip off.
- While the coating is wet, add mini chocolate chips for eyes and melted green candy melts for leaves.
- Allow the pumpkins to set at room temperature until the coating hardens completely.


Leave a Reply