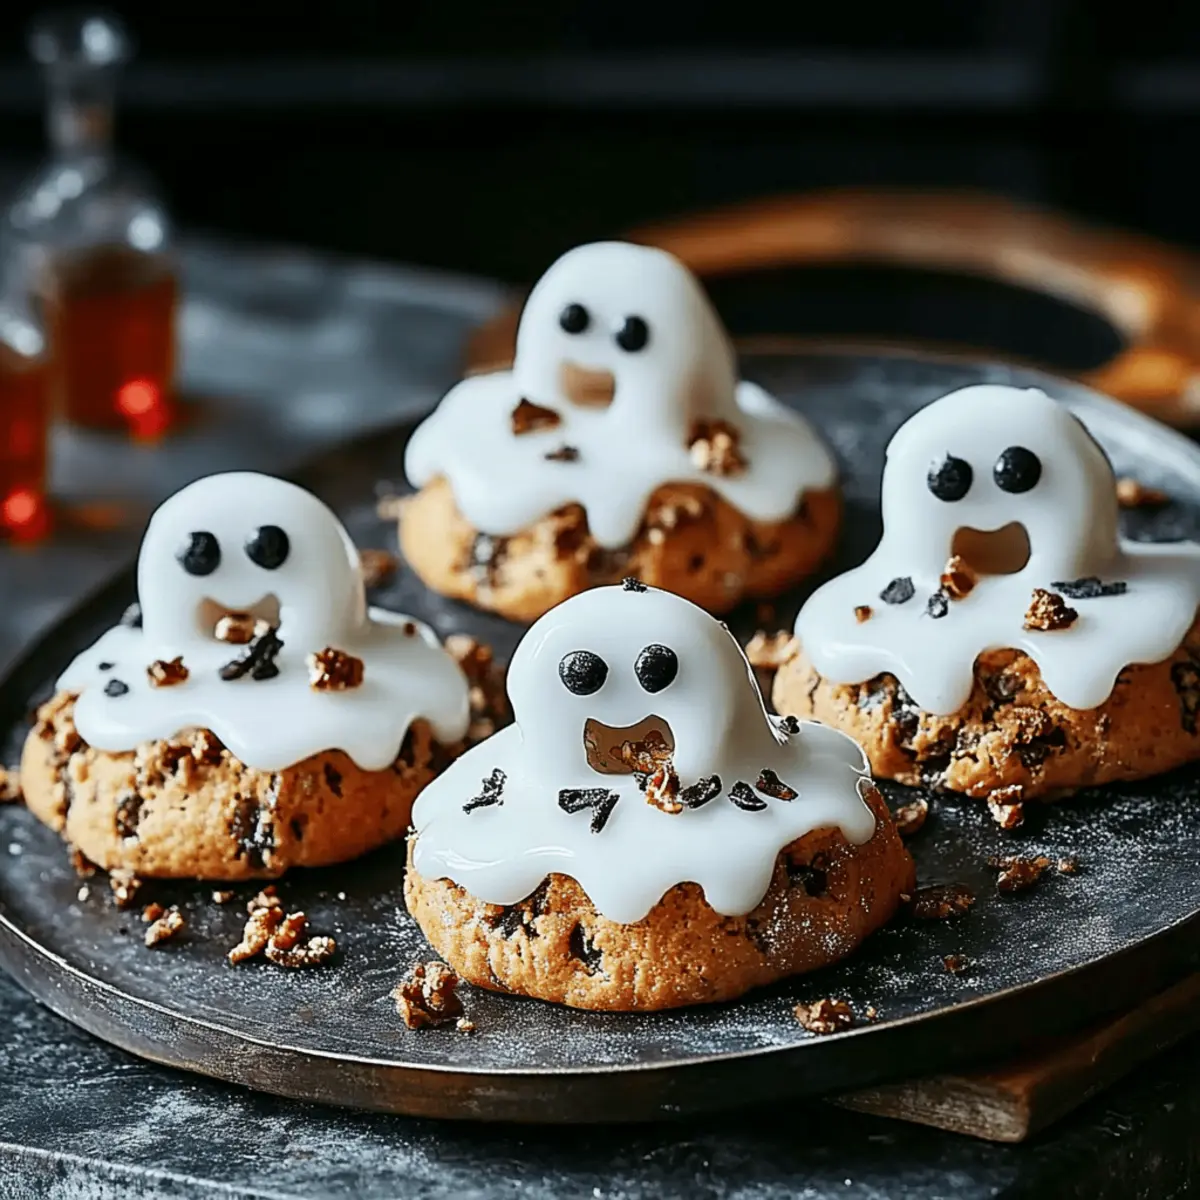
As I sifted through my pantry looking for something fun to whip up, a little whimsy caught my eye in the form of Ghost Cookies. These delightful treats not only embody the spirit of creativity but also bring a playful twist to your baking routine. The best part? They are incredibly quick to make and a guaranteed hit at any gathering, adding just the right amount of spooky charm to your dessert table. Whether you're celebrating Halloween or simply looking to delight your friends and family, these cookies will bring smiles and maybe even a few giggles. Ready to discover how to make these delightful little apparitions that are perfect for both kids and adults alike? Let’s get baking!
Why are Ghost Cookies so enchanting?
Perfectly playful: These Ghost Cookies transform a simple recipe into a fun-filled activity for bakers of all ages.
Quick and easy: With minimal prep time, you’ll have these treats haunting your dessert table in no time—perfect for those busy Halloween nights!
Family-friendly fun: Get the kids involved in decorating; they’ll love creating their own spooky designs.
Unique twist: Unlike typical cookies, their ghostly appearance will standout at any gathering, ensuring they become a memorable hit!
Versatile creativity: While they’re great for Halloween, feel free to adapt them for other occasions. You might also enjoy our Halloween treats collection for more spooky ideas!
Ghost Cookie Ingredients
• Let’s gather what you need for these spooky treats!
For the Cookie Dough
- All-purpose flour – This is the foundation of your Ghost Cookies; ensure it’s measured accurately for the perfect texture.
- Granulated sugar – Sweetness is essential; substitute with brown sugar for a deeper flavor if desired.
- Baking powder – Helps the cookies rise; don’t skip this ingredient for fluffy cookies.
- Salt – Just a pinch balances the sweetness and enhances flavor.
- Unsalted butter – Room temperature is best for a smooth batter; if you’re dairy-free, a vegan butter works too!
- Egg – This acts as a binding agent; for a vegan option, substitute with a flax egg (1 tablespoon ground flaxseed + 3 tablespoon water).
- Vanilla extract – A must for that comforting aroma; you can use almond extract for a fun twist.
For the Ghost Decoration
- White fondant – Create the ghosts' bodies; you can also use royal icing in a pinch.
- Edible black marker – Use this to draw the spooky eyes and mouths; or opt for chocolate chips for a classic look!
- Confectioners' sugar – Dust the finished cookies for a snowy, ghostly effect.
These Ghost Cookies will surely haunt your taste buds and delight your guests! Get ready to create these enchanting treats.
Step‑by‑Step Instructions for Ghost Cookies
Step 1: Prepare the Dough
Begin by preheating your oven to 350°F (175°C) and lining two baking sheets with parchment paper. In a large mixing bowl, cream together 1 cup of softened unsalted butter and 1 cup of granulated sugar until light and fluffy, about 3 minutes. Then, add in 1 egg and 1 teaspoon of vanilla extract, mixing until fully combined, which will give your Ghost Cookies that delightful flavor before moving on to the dry ingredients.
Step 2: Combine Dry Ingredients
In a separate bowl, whisk together 2 cups of all-purpose flour, 1 teaspoon of baking powder, and a pinch of salt. Gradually incorporate the dry mixture into the wet mixture, stirring until a soft dough forms. This should take about 2-3 minutes of gentle mixing. Once the dough is well combined, it’s ready for shaping, which will help create those spooky specters.
Step 3: Shape the Ghosts
Take spoonfuls of the dough and shape them into ghostly figures on the prepared baking sheets, placing them about 2 inches apart to allow for spreading. Aim for a teardrop shape to give them that ghostly appearance. Bake your shaped Ghost Cookies in the preheated oven for 10-12 minutes, or until the edges are lightly golden, providing the perfect backdrop for decoration.
Step 4: Cool the Cookies
Once baked, remove the cookies from the oven and allow them to cool on the baking sheets for 5 minutes. Then, transfer them to a wire rack to cool completely. This cooling process is essential for achieving a firm texture, ensuring your Ghost Cookies will hold up well when it’s time for decorating. While they cool down, gather your decoration supplies.
Step 5: Decorate the Ghosts
Roll out your white fondant on a clean surface to about ¼ inch thick, then cut out ghost shapes matching the size of your cookies. Place the fondant ghosts on top of the cooled cookies, gently pressing to secure. Using an edible black marker, draw eyes and mouths to give each Ghost Cookie its unique character. Alternatively, you can use chocolate chips for a classic touch!
Step 6: Final Touches
Once decorated, dust the finished Ghost Cookies with confectioners' sugar for an eerie, snowy effect. This last step adds just the right touch of charm and enhances their spooky appeal. Finally, let your Ghost Cookies sit for a few minutes to set before serving, making them an enchanting treat that will delight friends and family alike!
Make Ahead Options
These Ghost Cookies are ideal for meal prep, making your Halloween celebrations a breeze! You can prepare the dough up to 24 hours in advance; just wrap it tightly in plastic wrap and refrigerate. If you’re looking to save even more time, shape the cookies and freeze them for up to 3 days, ensuring they’re spaced apart on a baking sheet before transferring to an airtight container. When you’re ready to bake, simply pop them straight from the freezer into the oven, adding an additional minute or two to the baking time. Decorating can also be done ahead of time; just store the finished cookies in a single layer in an airtight container to keep them fresh and delicious until serving. Enjoy having these spooky delights ready to haunt your gatherings with minimal fuss!
What to Serve with Ghost Cookies
As you prepare to enchant your guests with these delightful treats, consider pairing them with festive complements that will enhance the whimsical spirit of the occasion.
-
Spooky Hot Chocolate: A rich, creamy drink topped with whipped cream and marshmallows, it’s a cozy companion to keep the Halloween vibes alive.
-
Candy Corn Cupcakes: Light and fluffy, these sweet treats mirror the playful essence of Ghost Cookies, creating a colorful dessert table that pleases the eye.
-
Pumpkin Spice Latte: The warm spices flow effortlessly with the cookies, tying together a seasonal flavor that captures the essence of fall.
-
Gummy Worms: A playful nod to Halloween, these chewy candies can be delightful additions for both snacking and garnishing your tablescape.
-
Apple Cider: Served warm or chilled, this classic autumn drink evokes nostalgic flavors, offering a refreshing contrast to the sweetness of the cookies.
-
Vanilla Ice Cream: A scoop of smooth, creamy vanilla melts perfectly alongside Ghost Cookies, balancing textures while providing a classic pairing that everyone loves.
Whether you're hosting a spooky soirée or simply enjoying a cozy evening at home, these pairings will make your dessert spread a hauntingly delightful experience!
Ghost Cookies Variations & Substitutions
Feel free to let your imagination run wild with these fun and tasty twists on Ghost Cookies!
-
Gluten-Free: Use a 1:1 gluten-free flour blend to make this recipe suitable for those avoiding gluten.
-
Dairy-Free: Swap the butter for coconut oil or a dairy-free butter substitute to create delicious vegan Ghost Cookies.
-
Chocolate Lovers: Add ½ cup of mini chocolate chips to the dough for a rich chocolate flavor that will tempt even the pickiest eaters.
-
Nutty Add-In: Stir in ½ cup of finely chopped nuts, like almonds or walnuts, for a delightful crunch that adds texture to your treats.
-
Cinnamon Spice: Sprinkle a dash of cinnamon into the dough for a warm, aromatic flavor that will evoke cozy fall vibes.
-
Lemon Zest: Add a teaspoon of lemon zest to the dough for a refreshing twist that brightens the flavor of your cookies.
-
Spicy Kick: For those who enjoy a little heat, mix in a pinch of cayenne pepper to the dough for a surprising yet delightful kick!
-
Seasonal Decor: Change up the decorations by using colored icing or sprinkles to celebrate different holidays or just to add a splash of fun.
Each of these variations not only alters the flavor and texture of your Ghost Cookies but also makes them a versatile treat for any occasion. Don't forget to explore our Halloween treats collection for more enchanting recipes!
How to Store and Freeze Ghost Cookies
Room Temperature: Keep your Ghost Cookies in an airtight container for up to 5 days. This ensures they stay moist and delicious while maintaining their spooky charm!
Fridge: If you want to extend their freshness, store them in the fridge for up to 10 days. Just remember to let them sit at room temperature before serving for the best taste.
Freezer: For longer storage, these enchanting cookies can be frozen for up to 3 months. Wrap each cookie individually in plastic wrap, and then place them in a freezer-safe bag.
Reheating: To enjoy them warm, simply pop them in the microwave for about 10-15 seconds. These delightful Ghost Cookies are bound to make any gathering a treat, even after freezing!
Expert Tips for Ghost Cookies
• Measure Accurately: Ensure your flour and sugar are precisely measured; miscalculating can result in cookies that are too dry or too gooey.
• Chill the Dough: For easier shaping, chill the dough slightly before forming ghosts; this helps maintain their shape during baking.
• Mix Gently: When combining wet and dry ingredients, mix gently to avoid overworking the dough, which can lead to tough cookies.
• Stay Vigilant: Watch the cookies closely while they bake; remove them from the oven as soon as the edges turn golden for the best texture.
• Get Creative: Feel free to customize your Ghost Cookies with different decorations or flavors; they’re a blank canvas for your creativity!
Whether you’re trying this recipe for Halloween or just for fun, these tips will help you bake the perfect Ghost Cookies!
Ghost Cookies Recipe FAQs
How do I select the right ingredients for Ghost Cookies?
Absolutely! For the best flavor and texture, always use fresh ingredients. Make sure your baking powder is within its expiration date to ensure the cookies rise properly. For the butter, choose unsalted to control the saltiness, and ensure it’s at room temperature for easy blending. As for the flour, use a good-quality all-purpose type, and if you're feeling adventurous, you could substitute some with whole wheat flour for a different texture.
What’s the best way to store my Ghost Cookies?
To keep your Ghost Cookies fresh and delightful, store them in an airtight container at room temperature for up to 5 days. If you're aiming for extended freshness, they can remain in the fridge for up to 10 days. Just remember to let them reach room temperature before serving to bring back their great taste and texture!
Can I freeze these cookies for later enjoyment?
Absolutely! Freezing is a great option. Wrap each Ghost Cookie individually in plastic wrap and place them in a freezer-safe bag. They will stay good for up to 3 months. When you're ready to enjoy them, just remove from the freezer, and let them thaw at room temperature. If you prefer them warm, a quick reheat in the microwave for about 10-15 seconds can also do the trick!
What should I do if my dough is too sticky?
Very! If you find your dough is too sticky to handle, don’t fret. Simply chill the dough in the refrigerator for 30 minutes; this will firm it up and make shaping your ghostly figures much easier. Alternatively, sprinkle a little extra flour on your work surface and hands to help with shaping.
Can I make these cookies vegan or gluten-free?
Of course! To make Ghost Cookies vegan, you can substitute the egg with a flax egg, which is made by mixing 1 tablespoon of ground flaxseed with 3 tablespoons of water. For a gluten-free option, use a 1-to-1 gluten-free baking blend in place of the all-purpose flour. Both adjustments will still give you fantastic results!
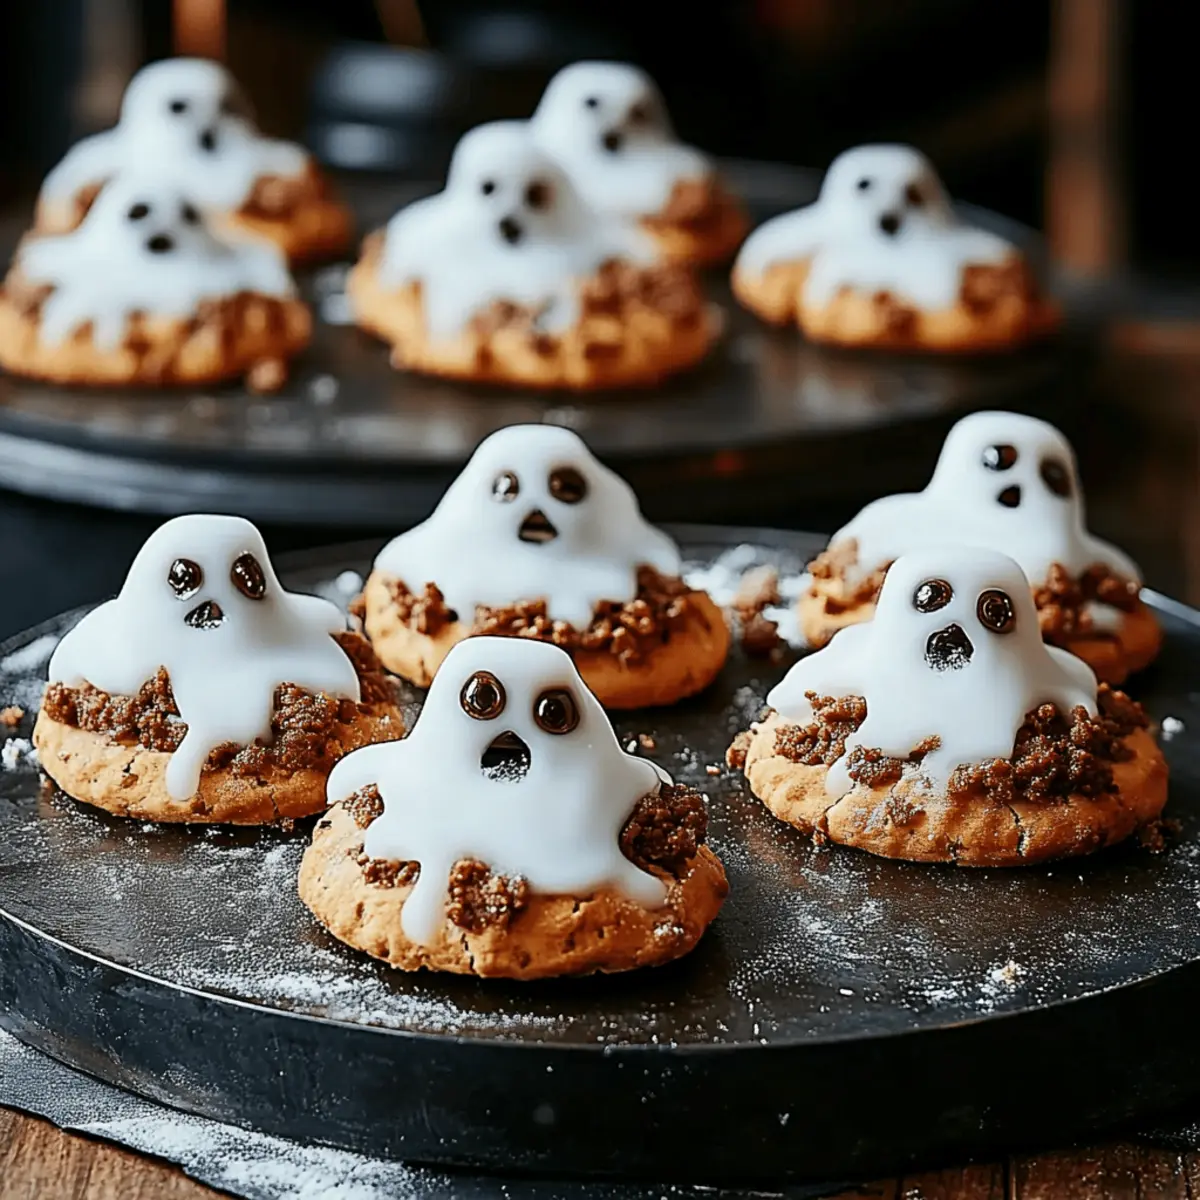
Ghost Cookies That Haunt Your Taste Buds This Halloween
Ingredients
Equipment
Method
- Preheat your oven to 350°F (175°C) and line two baking sheets with parchment paper. In a large mixing bowl, cream together the softened unsalted butter and granulated sugar until light and fluffy, about 3 minutes. Then, add in the egg and vanilla extract, mixing until fully combined.
- In a separate bowl, whisk together the all-purpose flour, baking powder, and salt. Gradually incorporate the dry mixture into the wet mixture, stirring until a soft dough forms.
- Shape spoonfuls of the dough into ghost figures on the prepared baking sheets, placing them about 2 inches apart. Bake for 10-12 minutes, or until the edges are lightly golden.
- Allow the cookies to cool on the baking sheets for 5 minutes before transferring them to a wire rack to cool completely.
- Roll out the white fondant and cut out ghost shapes. Place the fondant on top of the cooled cookies and draw eyes and mouths with the edible marker.
- Dust the finished cookies with confectioners' sugar for an eerie effect and let them set before serving.


Leave a Reply