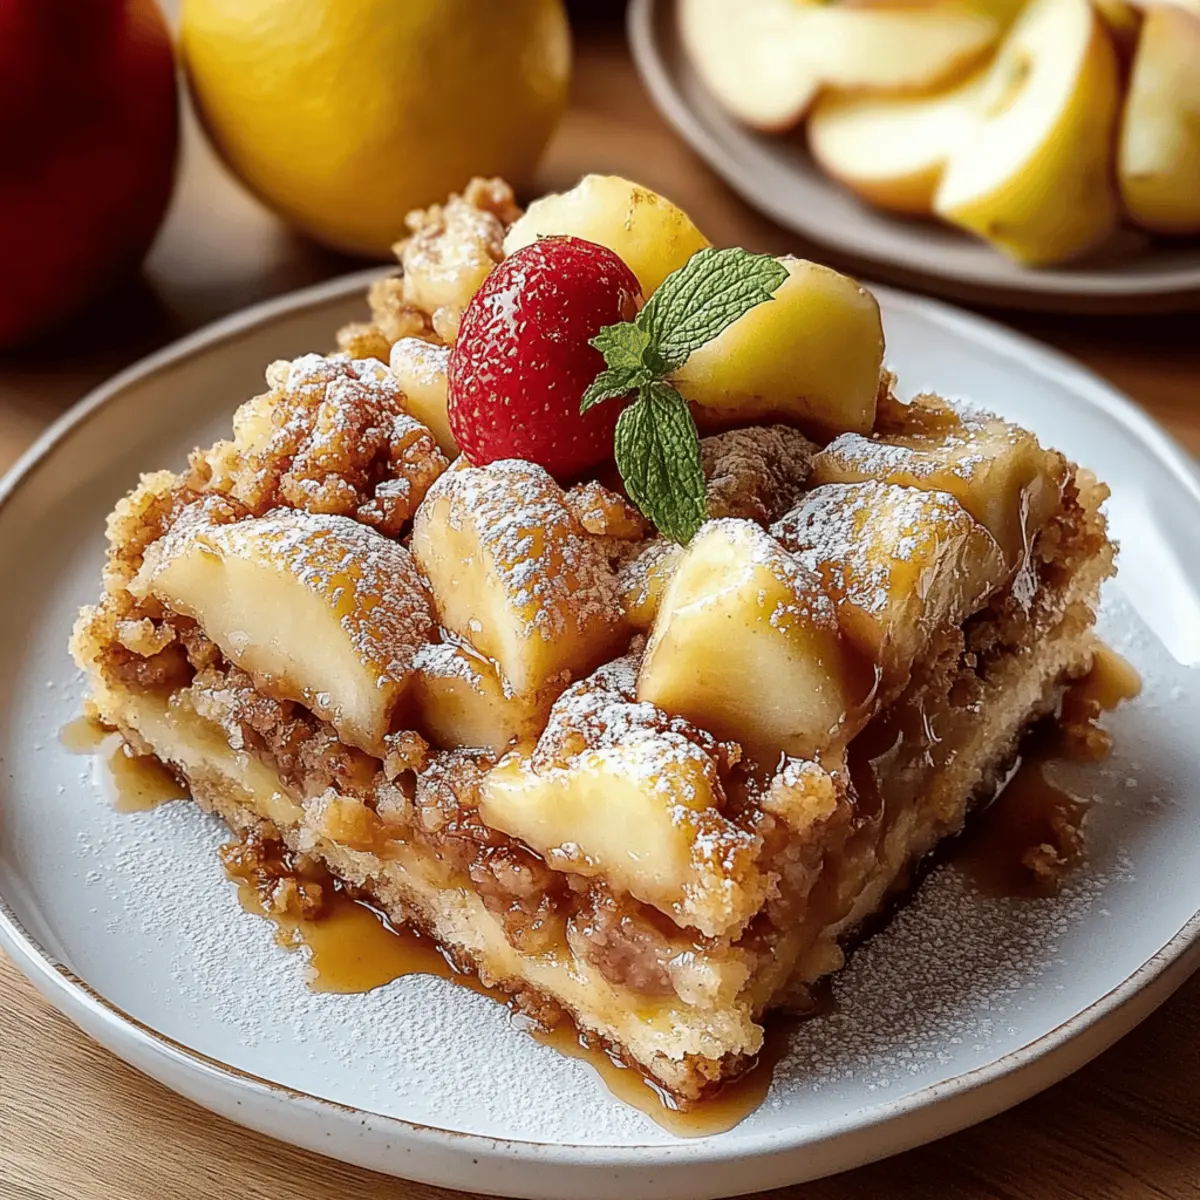
As I scrolled through my recipe collection, a delightful memory popped up—sitting in my grandma's kitchen, the sweet scent of apples and cinnamon dancing through the air. That nostalgic experience inspired me to create these easy and delectable Apple Pie Bars, a perfect homage to her classic dessert. Not only are they a crowd-pleaser, but they also offer a healthier twist on traditional apple pie, cutting down on prep time without sacrificing flavor. Imagine sharing a plate of warm, gooey bars with family and friends, drizzled with a hint of caramel sauce, bringing everyone together for a cozy evening. Ready to indulge in this homemade treat that will surely sweeten your day? Let's get baking!
Why Are These Apple Pie Bars Irresistible?
Heartwarming Nostalgia: With each bite of these Apple Pie Bars, you'll experience a blast of nostalgia, reminiscent of grandma's kitchen filled with love and warmth.
Effortless Preparation: This recipe keeps it simple—30 minutes of prep time means you can whip up a delicious treat without spending the whole day baking.
Deliciously Versatile: Enjoy them as a cozy dessert on a chilly evening or as a delightful snack for gatherings, these bars make any occasion special.
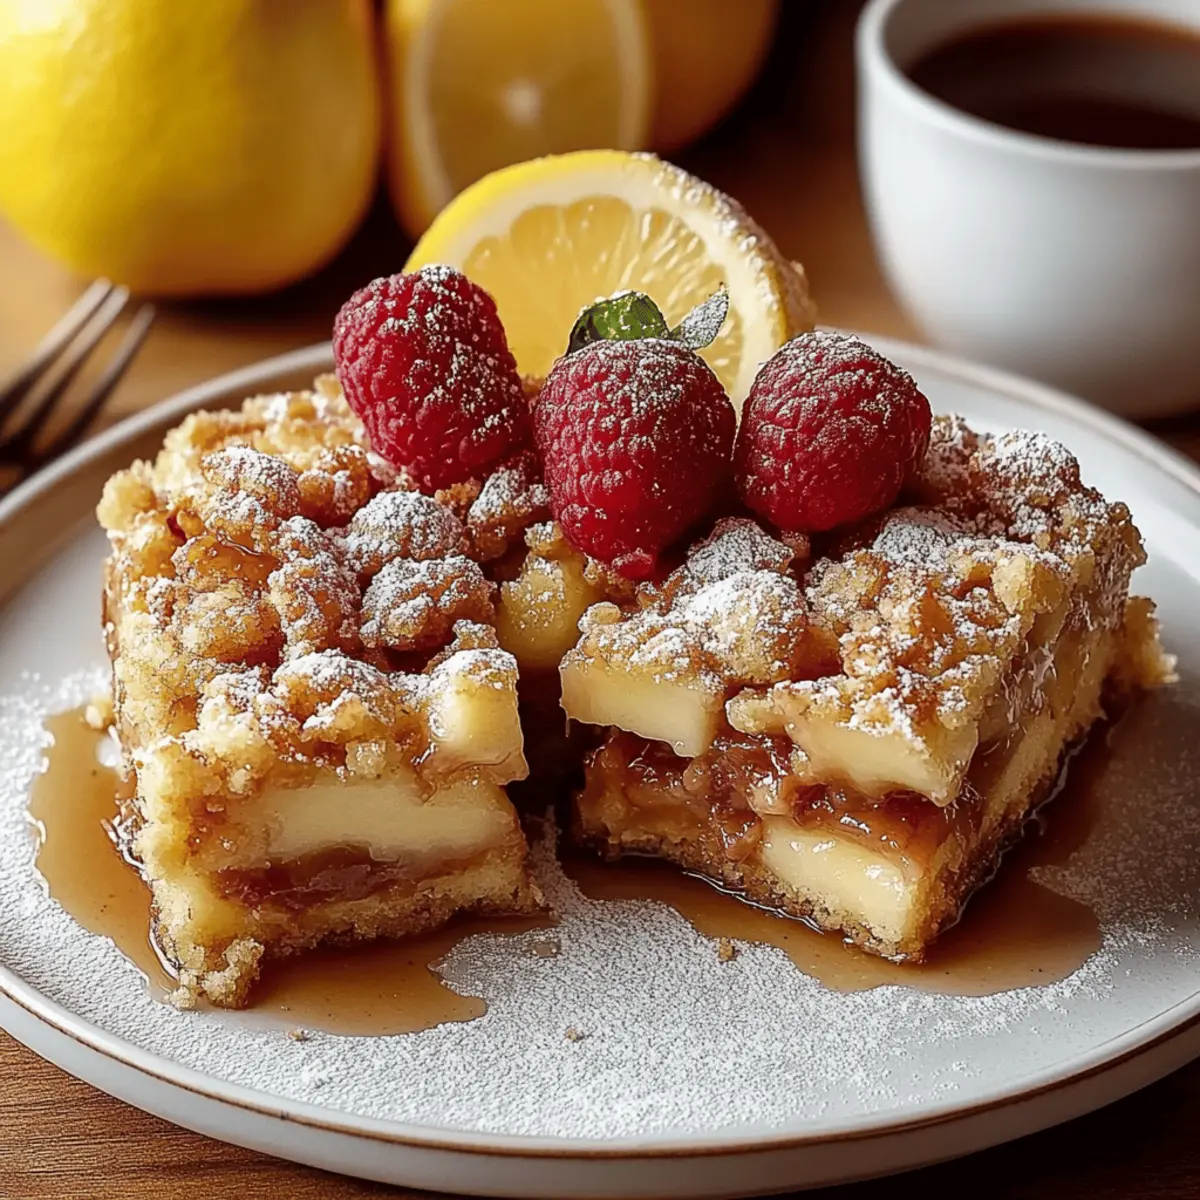
Gooey Goodness: The combination of tender apples and a crumbly topping delivers a perfect texture, especially when drizzled with caramel sauce for a touch of sweetness. Why not pair this dessert with a scoop of vanilla ice cream for an extra indulgent experience?
Brownie Points with Guests: These bars are sure to impress family and friends, making them a go-to recipe for potlucks or casual get-togethers. Grab a plate and see how quickly they disappear!
Apple Pie Bars Ingredients
• Get ready to bake this delightful dessert!
For the Crust
- 2 ½ cups all-purpose flour – A versatile choice for a perfect base.
- ¼ teaspoon salt – Balances the sweetness of the bars.
- 1 cup unsalted butter, softened – Ensures a rich, tender crust.
- ½ cup granulated sugar – Adds just the right amount of sweetness.
- ½ teaspoon vanilla extract – Infuses warmth and depth of flavor.
For the Apple Filling
- 4 medium-sized apples (preferably Granny Smith) – Their tartness contrasts beautifully with the sweet filling.
- ⅓ cup granulated sugar – Helps enhance the natural sweetness of the apples.
- 1 teaspoon ground cinnamon – Adds that homey, comforting flavor we all love.
- ¼ teaspoon ground nutmeg – A pinch brings warmth to your Apple Pie Bars.
- 1 tablespoon lemon juice – Brightens the flavors and prevents browning.
- 1 teaspoon cornstarch – Thickens the filling for gooey goodness.
Optional Topping
- ¼ cup caramel sauce – Drizzle it on for extra decadence and flavor.
Dive into making these Apple Pie Bars that beautifully blend your fondest memories with homemade goodness!
Step‑by‑Step Instructions for Apple Pie Bars
Step 1: Prepare the Oven and Baking Dish
Preheat your oven to 350°F (175°C) and grab your trusty 9x13-inch baking dish. Grease it well with butter or non-stick spray to ensure your Apple Pie Bars release easily after baking. This step sets the foundation for a beautifully baked treat!
Step 2: Mix the Dry Ingredients
In a large mixing bowl, combine 2 ½ cups of all-purpose flour with ¼ teaspoon of salt. Whisk the mixture thoroughly to distribute the salt evenly throughout the flour. Set this bowl aside while you prepare the wet ingredients for a perfectly balanced dough.
Step 3: Cream the Butter and Sugar
In another large bowl, cream together 1 cup of softened unsalted butter and ½ cup of granulated sugar using an electric mixer on medium speed. Beat until the mixture is light and fluffy, about 3-5 minutes. Stir in ½ teaspoon of vanilla extract for added warmth and flavor, creating a delightful base for your Apple Pie Bars.
Step 4: Combine Wet and Dry Ingredients
Gradually add the flour mixture to the butter mixture, mixing on low speed until a crumbly dough forms. This process should take a couple of minutes, resulting in a soft texture that holds together but is still slightly crumbly. Reserve a portion of the dough for later use as the topping.
Step 5: Create the Crust Layer
Press approximately two-thirds of the dough into the bottom of your greased baking dish, forming an even and compact layer. This crust will serve as the foundation for your Apple Pie Bars. Ensure that there are no gaps and the dough is evenly distributed across the bottom.
Step 6: Prepare the Apple Filling
In a separate bowl, toss together the thinly sliced apples with ⅓ cup of granulated sugar, 1 teaspoon of ground cinnamon, ¼ teaspoon of ground nutmeg, 1 tablespoon of lemon juice, and 1 teaspoon of cornstarch. Mix gently until the apple slices are thoroughly coated, ensuring a flavorful filling with just the right consistency.
Step 7: Layer the Apples
Evenly distribute the apple mixture over the crust in the baking dish, spreading it out to cover every corner. This step is crucial for ensuring each bite of your Apple Pie Bars has that delicious apple flavor. Press the apples down slightly to create a nice and compact layer for the topping.
Step 8: Add the Crumble Topping
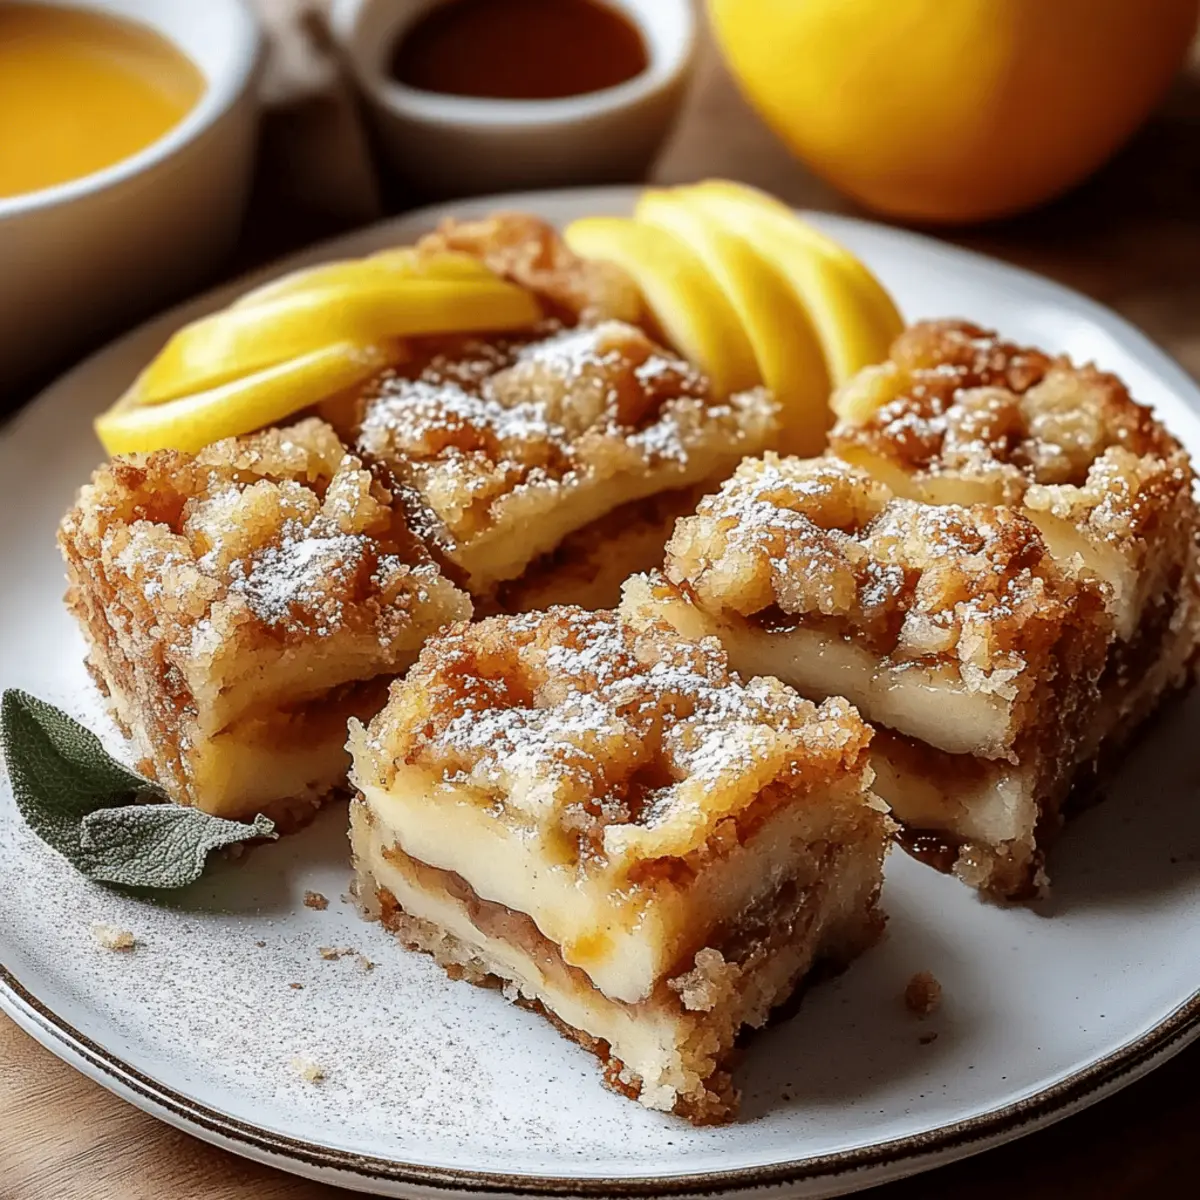
Take the reserved dough and crumble it evenly over the top of the apple layer. Aim for a crumbly texture that allows some of the apple goodness to peek through, creating that classic pie bar look. This will bake into a delightful, golden topping that complements the filling perfectly.
Step 9: Bake to Perfection
Place your assembled Apple Pie Bars in the preheated oven and bake for 40-45 minutes. Keep an eye on them towards the end of the baking time; they should turn golden brown and the apples should become tender. The delicious aroma will fill your kitchen, promising a comforting dessert.
Step 10: Cool and Slice
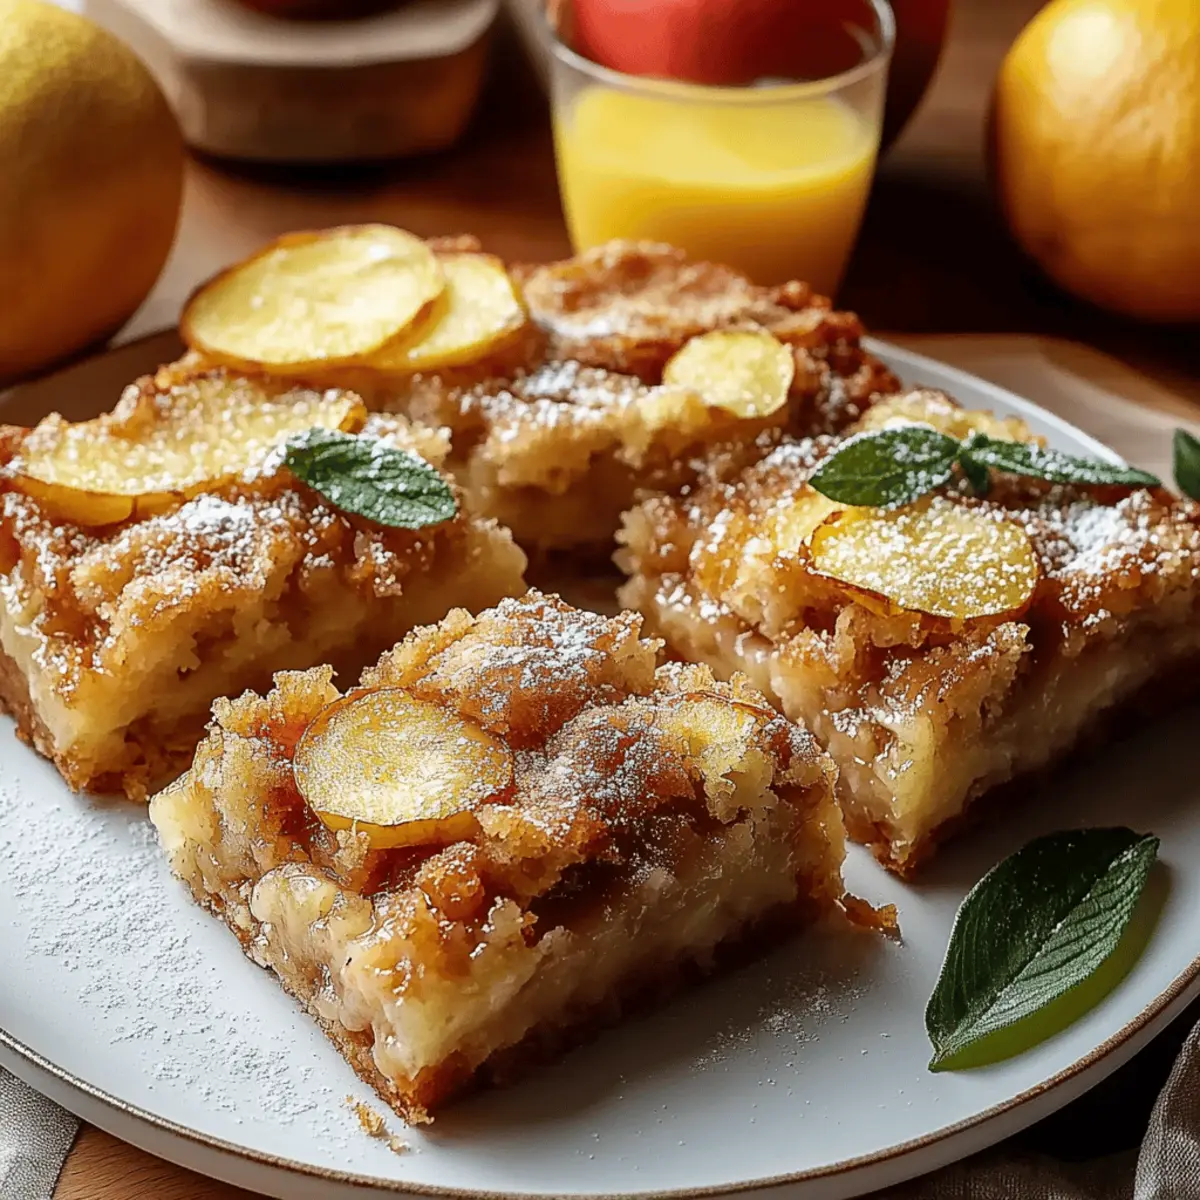
Once baked, remove the dish from the oven and let your Apple Pie Bars cool for at least 30 minutes on a wire rack. Allowing them to rest helps them set and makes slicing easier. After cooling, cut them into bars and enjoy a warm slice of nostalgia!
Step 11: Optional Caramel Drizzle
For an extra touch of indulgence, drizzle your Apple Pie Bars with a generous amount of caramel sauce before serving. This optional step adds a delicious layer of sweetness that pairs beautifully with the spiced apple filling and crumbly topping, making your homemade treat even more delightful!
Expert Tips for Apple Pie Bars
Use the Right Apples: Choose Granny Smith apples for their tart flavor that balances the sweetness. Avoid softer apple varieties to keep your filling from becoming mushy.
Don't Overmix the Dough: When combining the flour and butter, mix just until a crumbly dough forms. Overmixing can lead to tough bars instead of tender, melt-in-your-mouth goodness.
Let Them Cool: Cooling for at least 30 minutes before slicing allows the filling to set, preventing the bars from falling apart. Warm, gooey bars are tempting, but patience is key!
Enhance the Flavor: Consider adding a pinch of ginger or allspice to your apple mixture for extra warmth. This will elevate the flavor and make your Apple Pie Bars truly memorable.
Cut Even Slices: For uniform bars, use a serrated knife and cut while the bars are still slightly warm. This helps maintain their shape and makes for beautiful presentation.
Storage Tips for Apple Pie Bars
Room Temperature: Store leftover Apple Pie Bars in an airtight container at room temperature for up to 3 days to maintain their delightful texture and flavor.
Fridge: If you prefer a longer freshness, keep the bars in the refrigerator, where they can last up to a week. Just ensure they're covered to avoid drying out.
Freezer: To enjoy these treats later, freeze your Apple Pie Bars in a tightly wrapped container or freezer bag for up to 3 months. Thaw overnight in the fridge before enjoying.
Reheating: For a warm, comforting experience, reheat bars in the microwave for about 15-20 seconds or in the oven at 350°F (175°C) for 10 minutes. Enjoy warm for the best flavor!
Apple Pie Bars Variations & Substitutions
Feel free to explore these delightful twists and swaps that will personalize your Apple Pie Bars!
- Gluten-Free: Substitute all-purpose flour with a 1:1 gluten-free baking blend for a gluten-free option.
- Vegan: Use coconut oil instead of butter and replace granulated sugar with coconut sugar for a completely plant-based treat.
- Nutty Texture: Add ½ cup chopped walnuts or pecans to the apple filling for a delightful crunch. Nuts provide a wonderful contrast to the tender apples, creating a uniquely satisfying bite.
- Spiced Up: Incorporate a pinch of cayenne pepper or chili powder for an unexpected hint of heat that complements the sweetness. This subtle kick surprises your taste buds while remaining comforting.
- Fruit Medley: Mix in some sliced pears or peaches along with the apples for a fruity fusion that enhances the flavor profile and brings extra juiciness to every bite.
- Syrupy Goodness: Instead of caramel sauce, try maple syrup drizzled on top for a deliciously different twist that brings a warm, earthy sweetness. It's a fantastic way to switch things up while keeping that comforting essence!
- Cheesecake Layer: Blend 8 oz of cream cheese with ¼ cup sugar and a splash of vanilla extract, spreading it over the crust before adding apples for a creamy cheesecake version. This addition takes your Apple Pie Bars to a new level of indulgence!
- Cinnamon Roll Bars: Use cinnamon rolls or crescent dough instead of the crust for a fun twist that adds a flaky, buttery layer with a hint of cinnamon. It's like a breakfast dessert you won't want to miss!
Be creative, and let your baking adventures spark joy! For a refreshing change, why not pair these bars with some homemade whipped cream or a scoop of vanilla ice cream? Discover more delicious toppings in our How to Serve Apple Pie Bars article!
What to Serve with Apple Pie Bars
Imagine a cozy gathering, sweet aromas wafting through your home, where every bite of your treats invites smiles and heartwarming moments.
- Vanilla Ice Cream: The creamy richness of vanilla ice cream beautifully complements the warm, spiced flavors of the Apple Pie Bars, creating a classic dessert pairing.
- Whipped Cream: Light and airy, a dollop of whipped cream adds a delightful texture that enhances the sweetness of the bars, making each bite a treat.
- Caramel Sauce: Drizzling extra caramel sauce on top intensifies the flavor of the apple filling, adding a luxurious touch that's hard to resist.
- Coffee: A warm cup of coffee offers a comforting contrast to the sweetness of the bars, creating an ideal snack time treat for adults.
Pairing your Apple Pie Bars with these delightful options will elevate your dessert experience, ensuring that every gathering feels special and memorable!
Make Ahead Options
These Apple Pie Bars are perfect for busy home cooks looking to save time! You can prepare the dough and apple filling up to 24 hours in advance. Simply make the crust and crumble topping, then store them in an airtight container in the refrigerator. The apple mixture can be assembled and refrigerated as well (just add a dash more lemon juice to prevent browning). When you’re ready to serve, layer the chilled apple filling into the crust, top with the crumble, and bake straight from the fridge for delightfully fresh results. You'll enjoy the same gooey goodness without the last-minute rush!
Apple Pie Bars Recipe FAQs
What type of apples should I use for Apple Pie Bars?
Absolutely! For the best flavor, I recommend using Granny Smith apples. Their tartness perfectly balances the sweetness of the sugar and spices, ensuring a delicious filling without becoming mushy. Other firmer apples like Honeycrisp or Braeburn can also work if you're looking for a sweeter profile.
How should I store leftover Apple Pie Bars?
You can store leftover Apple Pie Bars in an airtight container at room temperature for up to 3 days. If you'd like to keep them fresher for longer, refrigerate them where they can last up to a week. Just ensure they’re well covered to prevent drying out!
Can I freeze Apple Pie Bars?
Yes, you can freeze these lovely bars! To do this, first, let them cool completely. Then, wrap the bars tightly in plastic wrap and place them in a freezer-safe container or resealable bag. They can be frozen for up to 3 months. When you're ready to enjoy them, thaw overnight in the refrigerator and reheat in the microwave or oven.
How can I troubleshoot if my Apple Pie Bars are too crumbly?
If your bars are turning out too crumbly, it could be that the dough was mixed too long or too much flour was added. To prevent this, mix just until combined and avoid packing the flour. Make sure your butter is at the right temperature—soft, but not melted—as this helps create the perfect texture.
What dietary considerations should I keep in mind?
If you're cooking for someone with allergies, be cautious with the ingredients. These Apple Pie Bars contain gluten and dairy, so they may not be suitable for those with gluten intolerance or lactose sensitivity. For a dairy-free option, substitute coconut oil for the butter and use a gluten-free flour blend to keep the delicious flavor intact while making it safe for everyone!
Delicious Apple Pie Bars That Will Warm Your Heart
Ingredients
Equipment
Method
- Preheat your oven to 350°F (175°C) and grease your 9x13-inch baking dish with butter or non-stick spray.
- In a large mixing bowl, combine the all-purpose flour with salt and whisk thoroughly. Set aside.
- In another bowl, cream together the softened butter and granulated sugar until light and fluffy, then stir in vanilla extract.
- Gradually add the flour mixture to the butter mixture, mixing on low speed until a crumbly dough forms. Reserve a portion for topping.
- Press two-thirds of the dough into the bottom of the greased baking dish.
- In a separate bowl, toss the sliced apples with granulated sugar, ground cinnamon, ground nutmeg, lemon juice, and cornstarch.
- Evenly distribute the apple mixture over the crust.
- Crumble the reserved dough over the top of the apple layer.
- Bake in the preheated oven for 40-45 minutes until golden brown.
- Allow the bars to cool for at least 30 minutes on a wire rack before slicing.
- Optional: Drizzle with caramel sauce before serving.


Leave a Reply