As I set out to create a festive Halloween atmosphere, my kitchen transformed into a whimsical wonderland, filled with vibrant colors and playful shapes. Enter the Hocus Pocus Snack Board, a delightful fusion of creativity and flavor that’s perfect for gatherings or a cozy movie night. This charcuterie board not only dazzles your guests but is also a breeze to prep—taking just 30 minutes to assemble all those delicious bites. Imagine indulging in creamy brie, crisp fruit, and fun twists of licorice while channeling your inner witch with every whimsical detail. Whether you're looking to impress friends or just feed your family a fun meal, this treat offers a marvelous balance of taste and excitement. Are you ready to bring a touch of magic to your table?
Why is this Snack Board so Magical?
Simplicity at its core: Assembling your Hocus Pocus Snack Board takes just 30 minutes, making it a fun and easy project for any skill level.
Visual delight: The vibrant colors and whimsical shapes bring a festive flair, making it the star of any gathering.
Crowd-pleaser: With a variety of flavors—from creamy brie to crunchy popcorn—there's something for everyone to enjoy.
Creative freedom: Personalize it with your favorite fruits or cheeses, so each board becomes uniquely yours!
Perfect for sharing: This snack board is designed for 12 servings, making it ideal for family movie nights or Halloween gatherings. Embrace the spirit of fun and deliciousness with this delightful creation! For more fun ideas, check out our guide on the best fall snacks.
Hocus Pocus Snack Board Ingredients
Get ready to gather your magic for the Hocus Pocus Snack Board!
For the Cheese
• Brie cheese (3 wheels) – This creamy base adds richness to your board and serves as the perfect canvas for decorating!
• Sliced cheese of choice – Choose a colorful variety to cut into fun shapes, enhancing the visual appeal of your board.
For the Fruits
• Blackberries – These plump berries not only taste great but also create a spooky hair effect!
• Green grapes – Fresh and sweet, they represent Winifred's dress beautifully!
• Raspberries – Their vibrant color adds a pop, making them perfect for representing Sarah's dress.
• Small oranges – These citrus delights add zest and whimsy with their cheerful color.
For the Garnishes
• Popcorn – Use this as hair for the characters, introducing a fun crunchy texture!
• Pepperoni – Roll these slices to craft Winifred's curly hair for a whimsical touch!
• Black olives – Slice these olives for cute eyes that bring your cheese characters to life!
• Twizzlers pull and peel licorice – Perfect for creating playful lips on your brie wheels!
For the Extras
• Crackers or chips of choice – A necessary crunch to complement your creamy and fruity selections!
• Toothpicks – Use these handy tools for easy assembly of your creations!
• Cookie cutter for cheese shapes (optional) – Optional, but a delightful way to add spooky shapes like bats and broomsticks!
With this delightful assembly of ingredients, you're well on your way to creating a memorable Hocus Pocus Snack Board that will enchant family and friends alike!
Step‑by‑Step Instructions for Hocus Pocus Snack Board
Step 1: Prepare the Base
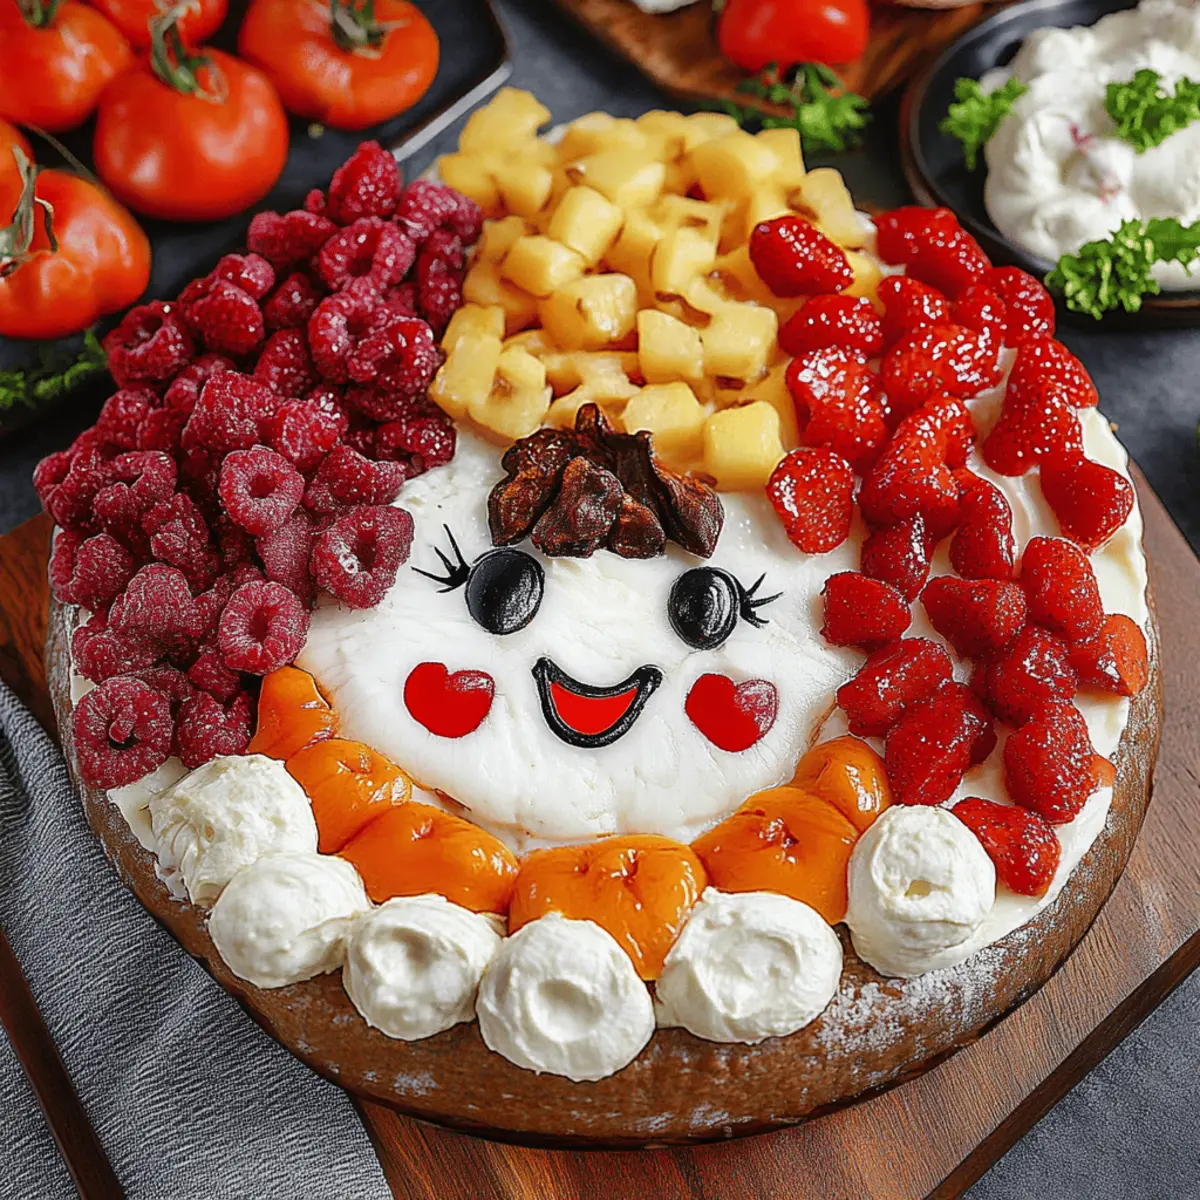
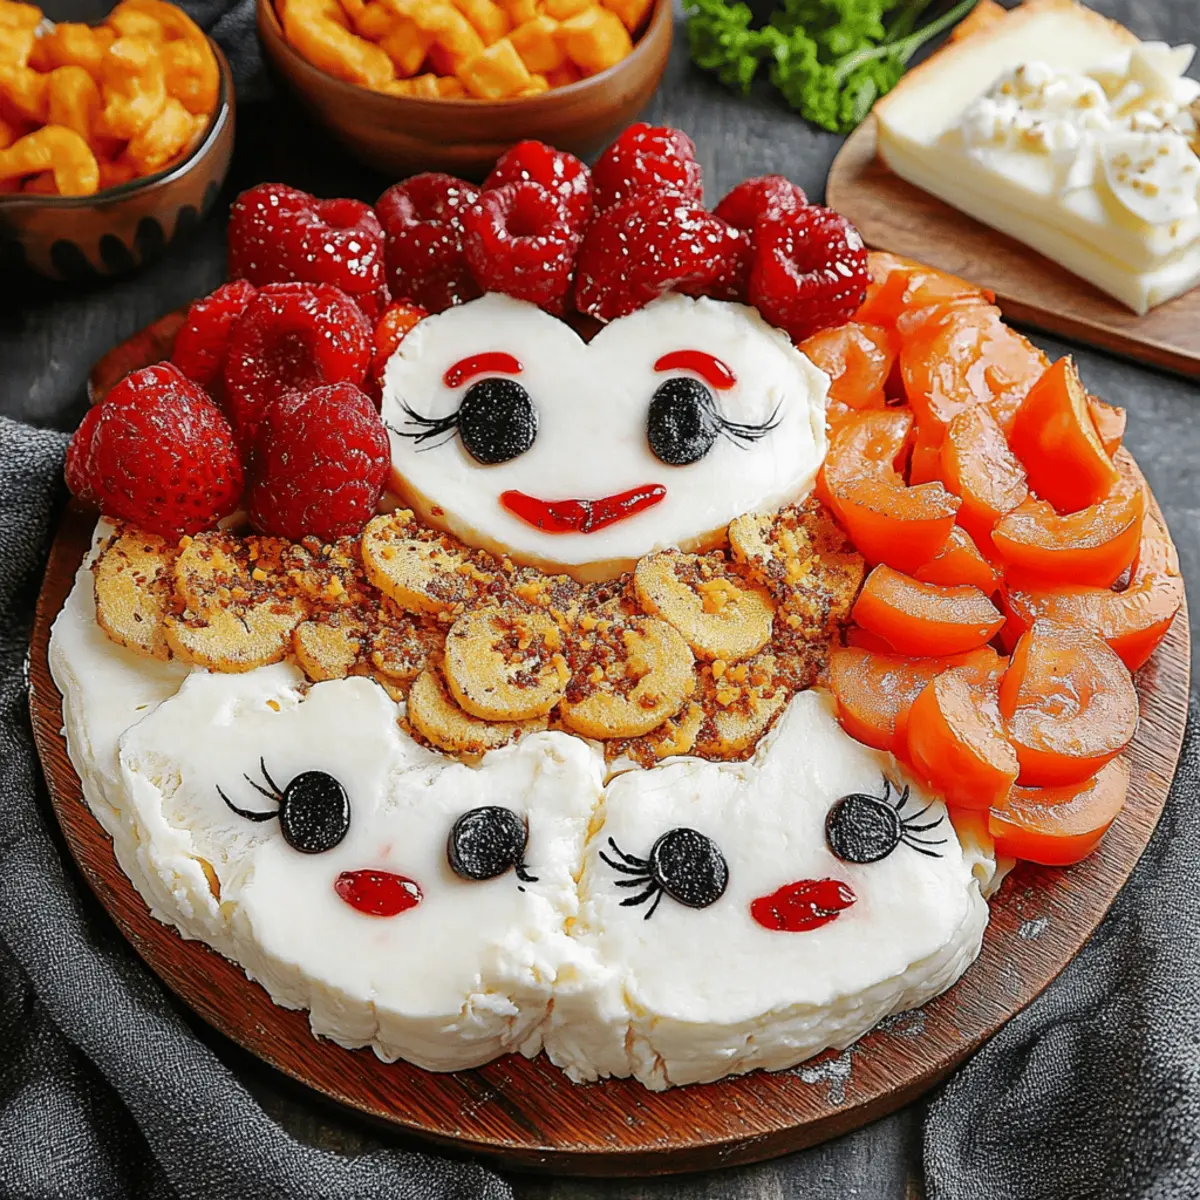
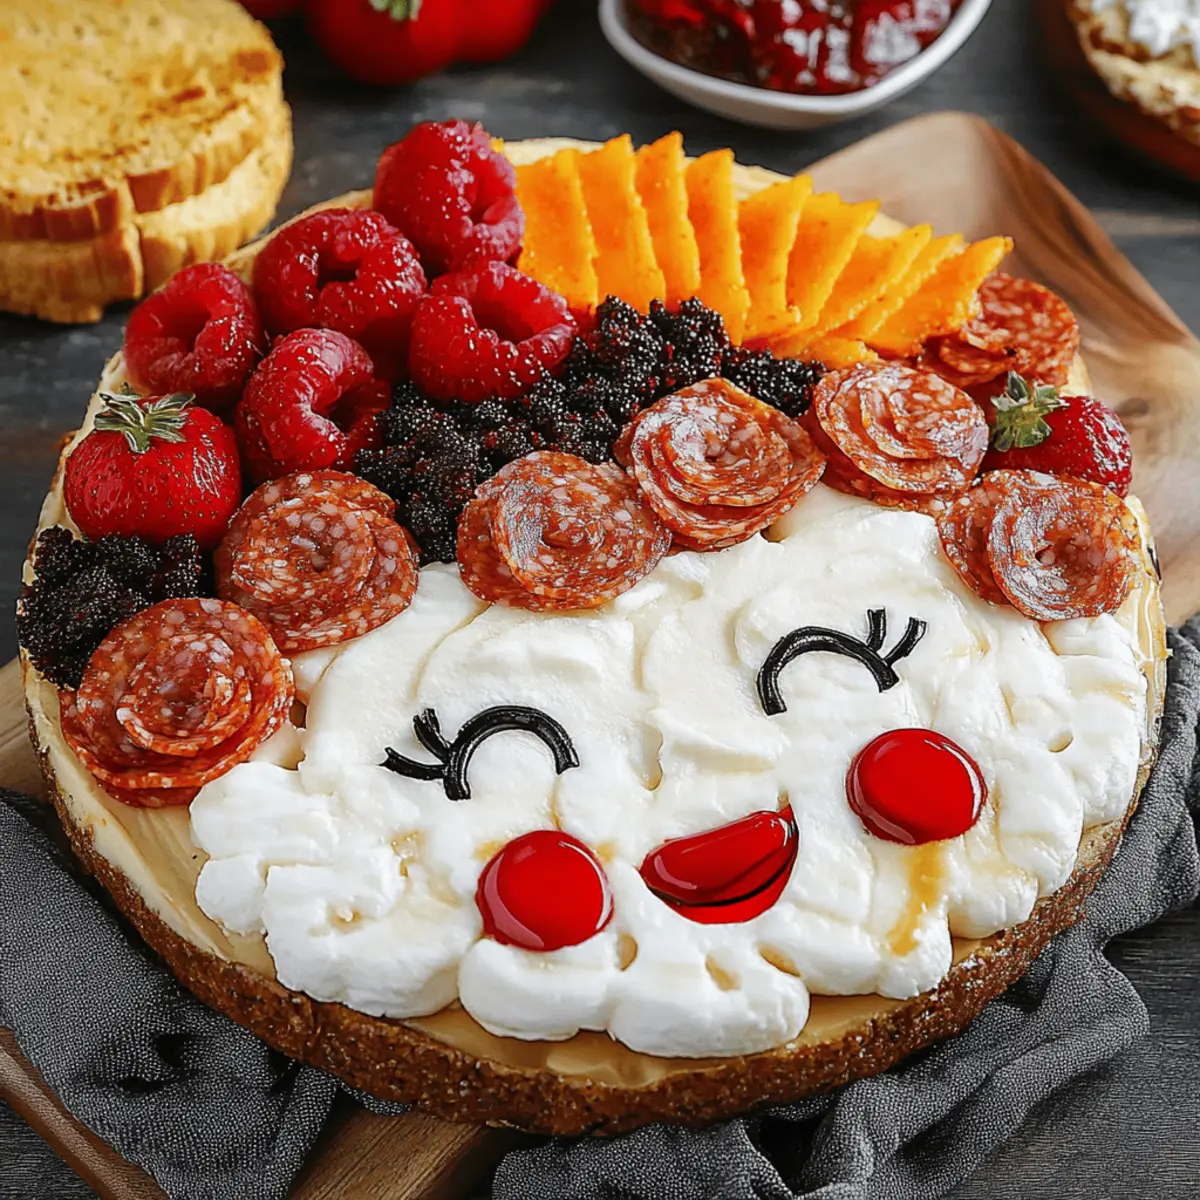
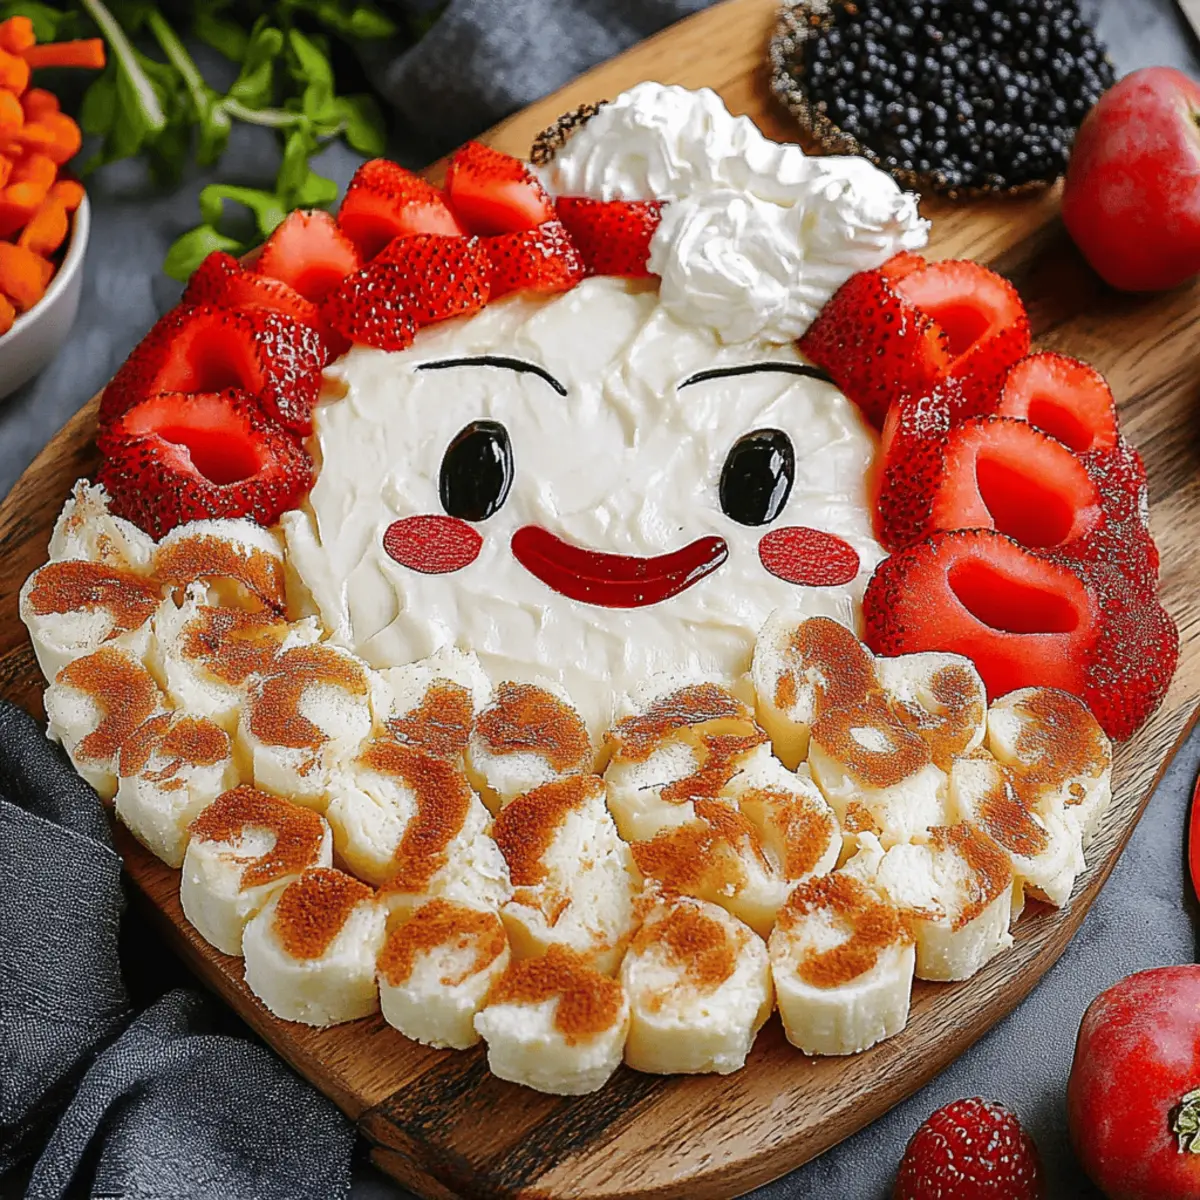
Start by selecting a large, festive board to showcase your Hocus Pocus Snack Board. Place the three wheels of brie cheese evenly spaced apart on the board, allowing space for fun decorations. This will serve as the canvas for your whimsical characters. A wooden cutting board or a decorative platter works beautifully for this setup.
Step 2: Create Fun Facial Features
Using the Twizzlers pull and peel licorice, cut off lengths to form playful lips for each brie wheel. Attach them gently to the front of the cheese, shaping them into friendly smiles. For an enchanting touch, envision each wheel's personality as you arrange the licorice, making them come to life with a pop of color.
Step 3: Add Eyes to the Characters
Slice the black olives into halves and place them strategically on each brie wheel to form eyes. Aim for balance and personality, creating a spooky yet friendly look. The contrast of dark olives against the creamy brie will add intrigue to your Hocus Pocus Snack Board, setting the stage for the magical details to follow.
Step 4: Style Sarah’s Hair
Use popcorn to create a fun, whimsical hairdo for the character Sarah on one of the brie wheels. Gently pile the popcorn, allowing it to cascade down the sides for a playful appearance. This creates a textural contrast and a delightful visual effect, giving life and character to your snack board.
Step 5: Craft Winifred’s Hair
Roll pepperoni slices tightly and secure them with toothpicks to construct Winifred’s curly hair atop the center brie wheel. Arrange the rolled pieces artistically around the top, creating an elegant hairstyle that stands out. The vibrant red of the pepperoni will not only add flavor but also a striking visual element to your Hocus Pocus Snack Board.
Step 6: Design Mary’s Hair
Stack blackberries atop the last brie wheel, arranging them to form Mary’s distinctive hair. The dark, juicy berries will add depth and color, crafting a full-bodied look. As you arrange them, allow their natural shape to guide your placement, embracing the whimsical and charming aesthetics of your board.
Step 7: Colorful Dresses for the Characters
Scatter the raspberries to symbolize Sarah’s dress, the green grapes for Winifred’s dress, and the small orange slices to represent Mary’s dress across the board. This not only adds a vibrant burst of color but also enhances the overall theme. Arrange them creatively around the characters, adding even more life to your Hocus Pocus Snack Board.
Step 8: Cheese Shapes and Extras
If you’re feeling extra crafty, use cookie cutters to cut fun shapes from the sliced cheese, like bats and broomsticks. Scatter these around the board, filling in empty spaces to create a cohesive, whimsical layout. This playful addition will tie in with the Halloween theme, making your snack board even more enchanting.
Step 9: Fill in the Gaps
To ensure your Hocus Pocus Snack Board is full and inviting, arrange any extra fruit, crackers, or chips around the edges. This not only adds variety for your guests to enjoy but also enhances the visual appeal of your creation. Be generous in filling empty spots to create a vibrant and engaging display.
Step 10: Serve and Enjoy
Your incredible Hocus Pocus Snack Board is now ready to serve! Gather your friends and family around and present your delightful creation. The vibrant colors, playful designs, and array of flavors will spark joy and excitement, making it an unforgettable centerpiece for your gathering.
Expert Tips for Hocus Pocus Snack Board
• Choose Quality Cheese: Opt for high-quality brie and sliced cheeses to ensure a creamy, flavorful experience. Avoid cheap alternatives that can detract from the taste.
• Mix Textures: Incorporate a variety of textures, like crunchy popcorn and creamy cheese, to elevate your Hocus Pocus Snack Board. Balance is key for an inviting spread!
• Plan for Evenness: Arrange fruits and garnish symmetrically around the brie wheels. This creates visual harmony and makes for a stunning presentation.
• Play with Colors: Use vibrant fruits and snacks that contrast well with each other. The more colorful your board, the more appealing it will be!
• Prepare Ahead: If possible, prep your ingredients in advance. Assemble your snack board shortly before serving to keep everything fresh and visually captivating.
• Don’t Overcrowd: Leave some empty spaces on the board to prevent a cramped look. A little breathing room can enhance both presentation and enjoyment.
Hocus Pocus Snack Board Variations
Feel free to sprinkle your own magic on this recipe with these delightful twists!
-
Vegan Option: Swap out the brie for a dairy-free cheese alternative, and enjoy a cruelty-free charcuterie experience!
-
Fruity Twist: Add sliced strawberries or kiwis to enhance the fruity elements, making it even more vibrant and colorful. They keep the board fresh and playful.
-
Nut-Free Delight: Replace popcorn with toasted chickpeas for a satisfying crunch without nuts. It's a great way to add protein to the mix.
-
Spicy Kick: Incorporate spicy salami or chorizo instead of pepperoni for those who enjoy a little heat. The smoky flavor adds a thrilling dimension to the snack board.
-
Herb Infusion: Garnish with fresh herbs like rosemary or thyme to give the board an aromatic touch while enhancing the aesthetic appeal.
-
Single-Serve Cups: For easier serving, arrange the components into individual cups. Guests will love the personalized snack experience!
-
Cheese Variety: Include a mix of cheeses like gouda, cheddar, or blue cheese for a more complex flavor profile that will intrigue your guests.
-
Crispy Additions: Add pita chips or pretzel crisps to elevate the crunchy texture on your board, ensuring there's a satisfying crunch in every bite.
No matter how you decide to customize, these variations promise to keep the spirit of fun and creativity alive in your Hocus Pocus Snack Board!
Make Ahead Options
These Hocus Pocus Snack Boards are perfect for busy home cooks looking to save time! You can pre-assemble all the fruits and cheese accents and refrigerate them up to 24 hours in advance, ensuring they remain fresh and vibrant. To maintain quality, store the cheese and cut fruits separately in airtight containers to prevent browning and moisture loss. When you're ready to serve, simply arrange the brie wheels on your board and add the creative touches like popcorn hair and Twizzlers lips right before presentation. This way, you’ll enjoy a stunning snack board that’s just as delightful and fresh, making your gatherings a breeze!
How to Store and Freeze Hocus Pocus Snack Board
Fridge: Store leftover components in airtight containers for up to 3 days to maintain freshness. Keep fruits and cheese separated to prevent moisture transfer.
Freezer: For extended storage, you can freeze the brie cheese, but it's best to consume the processed board right away. This will preserve its visual appeal and quality.
Reheating: If you choose to reheat any components, such as leftover cheeses, do so gently in the microwave at low power for a few seconds to soften without melting completely.
Assembly Tip: When you're ready to serve the Hocus Pocus Snack Board again, simply regroup the remaining ingredients, adding fresh fruit if needed for a vibrant display!
What to Serve with Hocus Pocus Snack Board?
Nothing pairs better with this festive board than delightful treats that enhance your gathering.
- Crispy Breadsticks: Serve these alongside the snack board for a satisfying crunch that perfectly complements creamy textures.
- Seasoned Popcorn: Offer an extra twist with a different popcorn flavor, like cheddar or caramel, to surprise your guests!
- Fruit Salad: A refreshing fruit salad brings a burst of freshness, balancing the savory elements while echoing the board's vibrant colors.
- Spooky Sugar Cookies: These festive, theme-inspired cookies can add a sweet touch, creating a delightful contrast to savory bites.
- Cider or Sparkling Juice: Refresh your guests with these drinks, enhancing the fun atmosphere and providing a flavor palate to match the board.
- Chocolate-Covered Pretzels: Introduce a sweet and salty balance, these treats provide delightful bites that kids and adults will love alike.
- Cheese Fondue: For a fun and interactive element, a small pot of cheese fondue will invite guests to dip their favorite snacks into melted goodness!
- Dark Chocolate: Offer a few rich dark chocolate pieces to round off your festivities, satisfying those with a sweet tooth while adding a touch of elegance.
- Candy Corn: Embrace the Halloween spirit with this classic treat that adds a sweet crunch—with colors that perfectly tie into the theme of your board!
Hocus Pocus Snack Board Recipe FAQs
How do I select ripe ingredients for my Hocus Pocus Snack Board?
Absolutely! When choosing fruits, look for those that are firm and vibrant in color. For berries, like blackberries and raspberries, ensure they are free from dark spots or mushiness. For grapes, opt for ones that are plump and tightly attached to the stem. And remember, for the brie cheese, choose wheels that are creamy and have a pleasant aroma, ensuring they are fresh and ready to delight your taste buds!
What is the best way to store leftover snack board items?
Very! Store leftover ingredients in airtight containers in the refrigerator. Most fruits and cheeses can last up to 3 days. For optimal freshness, keep fruits like blackberries and grapes separate from the brie cheese. This prevents moisture from the fruits affecting the creaminess of the cheese. I often make a lovely sweet salad with any leftover fruits, which is a wonderful way to reuse them!
Can I freeze any components of the Hocus Pocus Snack Board?
Absolutely! You can freeze brie cheese, but the assembled snack board is best enjoyed fresh. If you're freezing the cheese, wrap it tightly in plastic wrap, then place it in an airtight container or freezer bag. It can last for up to 3 months in the freezer. When you’re ready to use it again, thaw it in the refrigerator overnight before serving. However, I'd recommend making this snack board fresh for the best flavors and aesthetics.
What should I do if my brie cheese is too hard to spread or cut?
Very detailed! If your brie is too hard, pop it in the microwave for 10 to 15 seconds on low power. This will soften it slightly and make it easier to work with. Another option is to let it sit at room temperature for about 30 minutes before assembling your snack board. This allows the cheese to soften beautifully, enhancing its creamy texture and flavor. Just don't forget to unwrap it from any packaging while it warms!
Are there any dietary considerations for making the Hocus Pocus Snack Board?
Definitely! Be mindful of food allergies, especially when it comes to fruits and dairy. For guests with cheese sensitivities, consider offering a dairy-free alternative, such as cashew cheese or a spreadable hummus. Always check labels on pre-packaged items like crackers and licorice for potential allergens, such as nuts or gluten. Personalize the board to cater to guests' preferences or dietary restrictions, ensuring everyone can enjoy a magical snack experience!
create a Spooky Hocus Pocus Snack Board for Fun Gatherings
Ingredients
Equipment
Method
- Prepare a large festive board. Place the brie cheese wheels evenly spaced as the base.
- Use licorice to create playful lips on each brie wheel.
- Slice black olives and place them on each brie to form eyes.
- Use popcorn for hair on Sarah's brie wheel.
- Roll pepperoni and secure with toothpicks for Winifred's hair.
- Arrange blackberries atop the last brie for Mary's hair.
- Scatter raspberries, grapes, and oranges around the board for colorful dresses.
- Cut fun shapes from sliced cheese with cookie cutters and scatter them around.
- Fill any gaps with extra fruits, crackers, or chips for visual appeal.
- Serve and enjoy your Hocus Pocus Snack Board with friends!

Leave a Reply