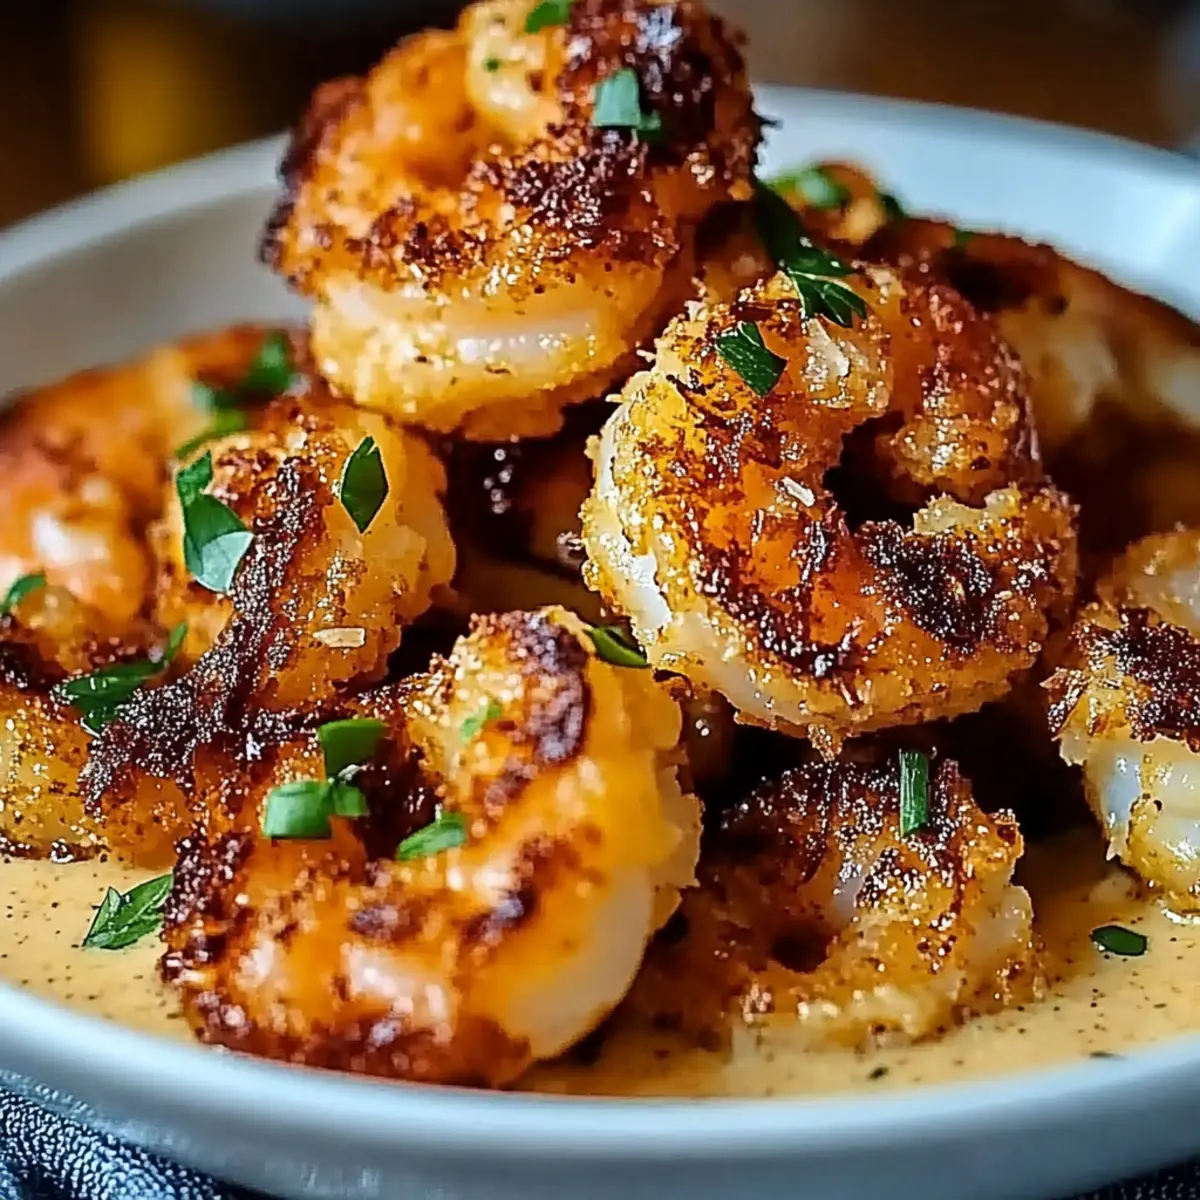
As I sat at the dinner table, the aroma of freshly baked coconut shrimp wafted through the air, sparking joyful chatter—none more eager than mine. There’s something magical about preparing Baked Coconut Shrimp that combines simplicity with a touch of elegance, making it an ideal choice for both weeknight dinners and special gatherings. This dish not only comes together in just 35 minutes but also transforms ordinary shrimp into a crunchy delight, perfect for satisfying those seafood cravings without the guilt of deep frying. Paired with a deliciously sweet chili mayo, it’s a winning combination that will have everyone reaching for more. Are you ready to impress your friends and family with a dish that feels fancy but is incredibly easy to whip up? Let’s dive into this tropical escape!

Why Choose Baked Coconut Shrimp?
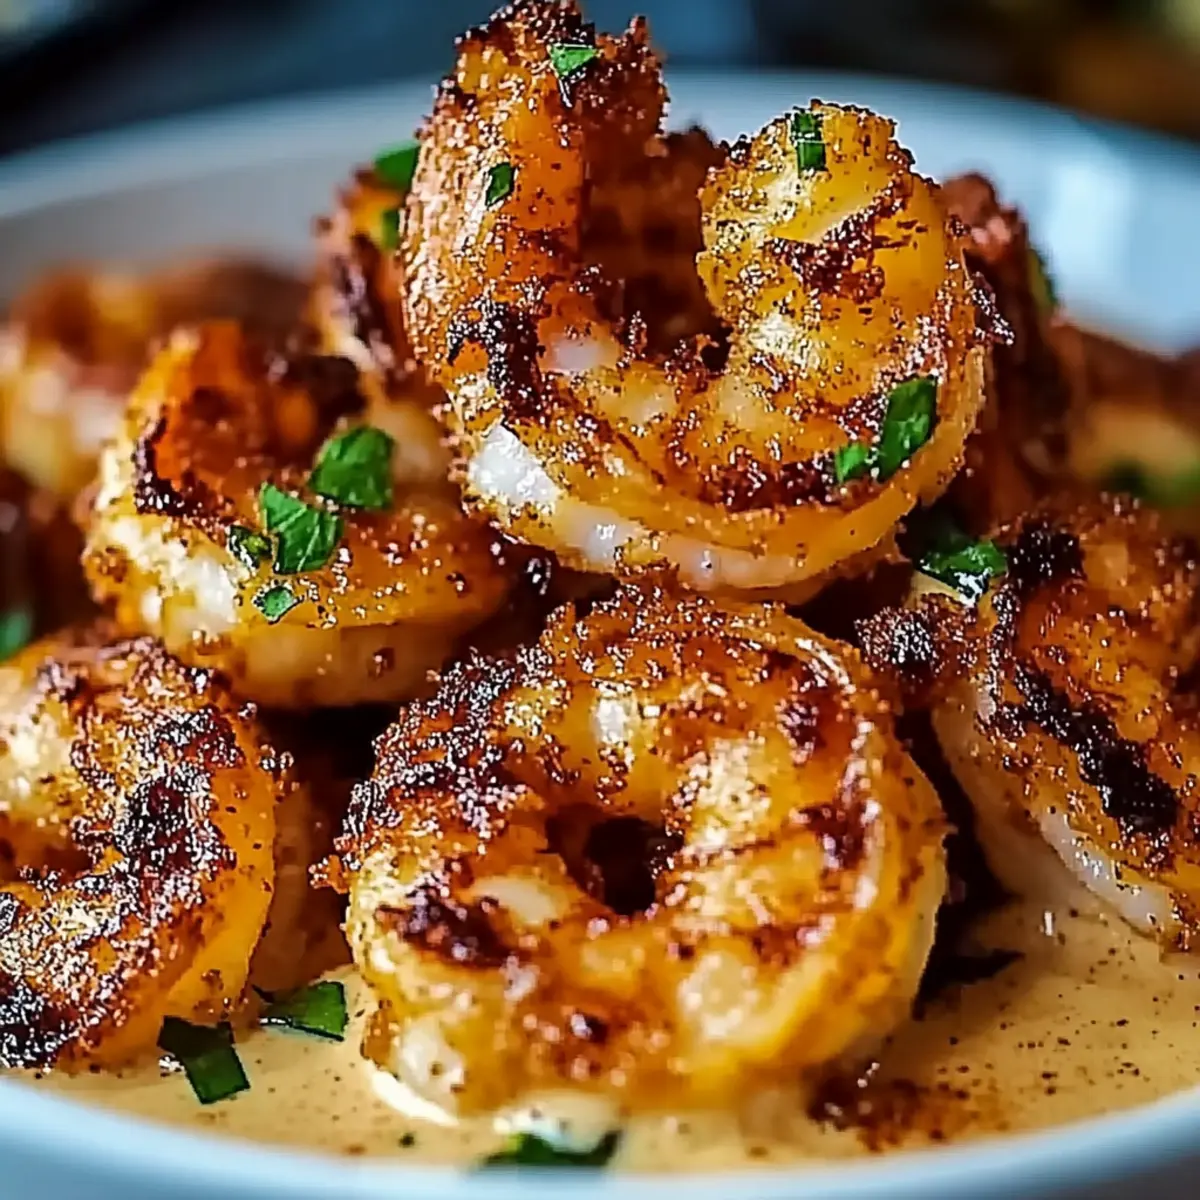
Flavor Explosion: The crispy panko-coating combined with the sweetness of toasted coconut creates an irresistible flavor that dances on your palate.
Quick Prep: With just 15 minutes of prep time, you can have this stunning dish ready in no time. Perfect for any weeknight dinner or special occasion!
Healthy Alternative: Baking instead of frying means you’ll indulge without guilt, keeping the flavor while reducing calories.
Versatile Pairing: Delightfully served with sweet chili mayo, but feel free to experiment with your favorite dipping sauces like Baked Apple Chips for an extra twist!
Crowd-Pleaser: Impress guests at your next gathering; everyone loves finger foods, especially when they taste this good!
Baked Coconut Shrimp Ingredients
• To create this delightful dish with ease, gather the following ingredients.
For the Breading
- All-purpose flour – acts as the base coating that helps the egg adhere to the shrimp.
- Panko breadcrumbs – offers a light, crispy texture that's essential for that irresistible crunch.
- Salt – enhances the overall flavor, balancing the sweetness of the coconut.
- Pepper – adds a subtle kick to every bite, elevating the flavor profile.
- Cayenne pepper – a little heat goes a long way in boosting the taste without overwhelming the dish.
- Shredded coconut – brings tropical sweetness and toasty notes to your baked coconut shrimp.
For the Shrimp
- Medium or jumbo shrimp – the star of the show, make sure they are peeled and deveined for a quick prep step.
- Large eggs – provides moisture and helps the breading adhere beautifully to the shrimp.
Enjoy this Baked Coconut Shrimp with a side of sweet chili mayo for a tropical and delightful adventure!
Step-by-Step Instructions for Baked Coconut Shrimp
Step 1: Preheat the Oven
Start by preheating your oven to 400°F (200°C). This temperature ensures a perfectly crispy exterior while keeping the shrimp succulent inside. As the oven heats, line a baking sheet with parchment paper to prevent sticking and make cleanup a breeze later.
Step 2: Prepare the Breading Stations
In a shallow bowl, whisk together 1 cup of all-purpose flour, 1 teaspoon salt, ½ teaspoon pepper, and ¼ teaspoon cayenne pepper. This will create a flavorful base for your Baked Coconut Shrimp. In a separate bowl, beat 2 large eggs until they are fully blended, creating a smooth coating for the shrimp.
Step 3: Mix the Coconut Coating
In a third bowl, combine 1 cup of panko breadcrumbs with 1 cup of shredded coconut, mixing them well. This crunchy mixture will be what gives your shrimp that delightful golden brown top as they bake. Make sure the shredded coconut is evenly distributed throughout the panko for an even coating.
Step 4: Bread the Shrimp
Now it’s time for the fun part! Take each medium or jumbo shrimp and dip it into the flour mixture first, ensuring it’s evenly coated. Next, dip it into the egg mixture, allowing any excess egg to drip off before transferring to the panko-coconut mixture. Press gently to coat thoroughly, creating that crispy layer that defines your Baked Coconut Shrimp.
Step 5: Arrange on the Baking Sheet
Place the breaded shrimp on the prepared baking sheet, ensuring they are spaced evenly apart. This is crucial for them to cook properly and get that delightful crunch. Make sure not to overcrowd the pan, as this will prevent proper browning.
Step 6: Bake the Shrimp
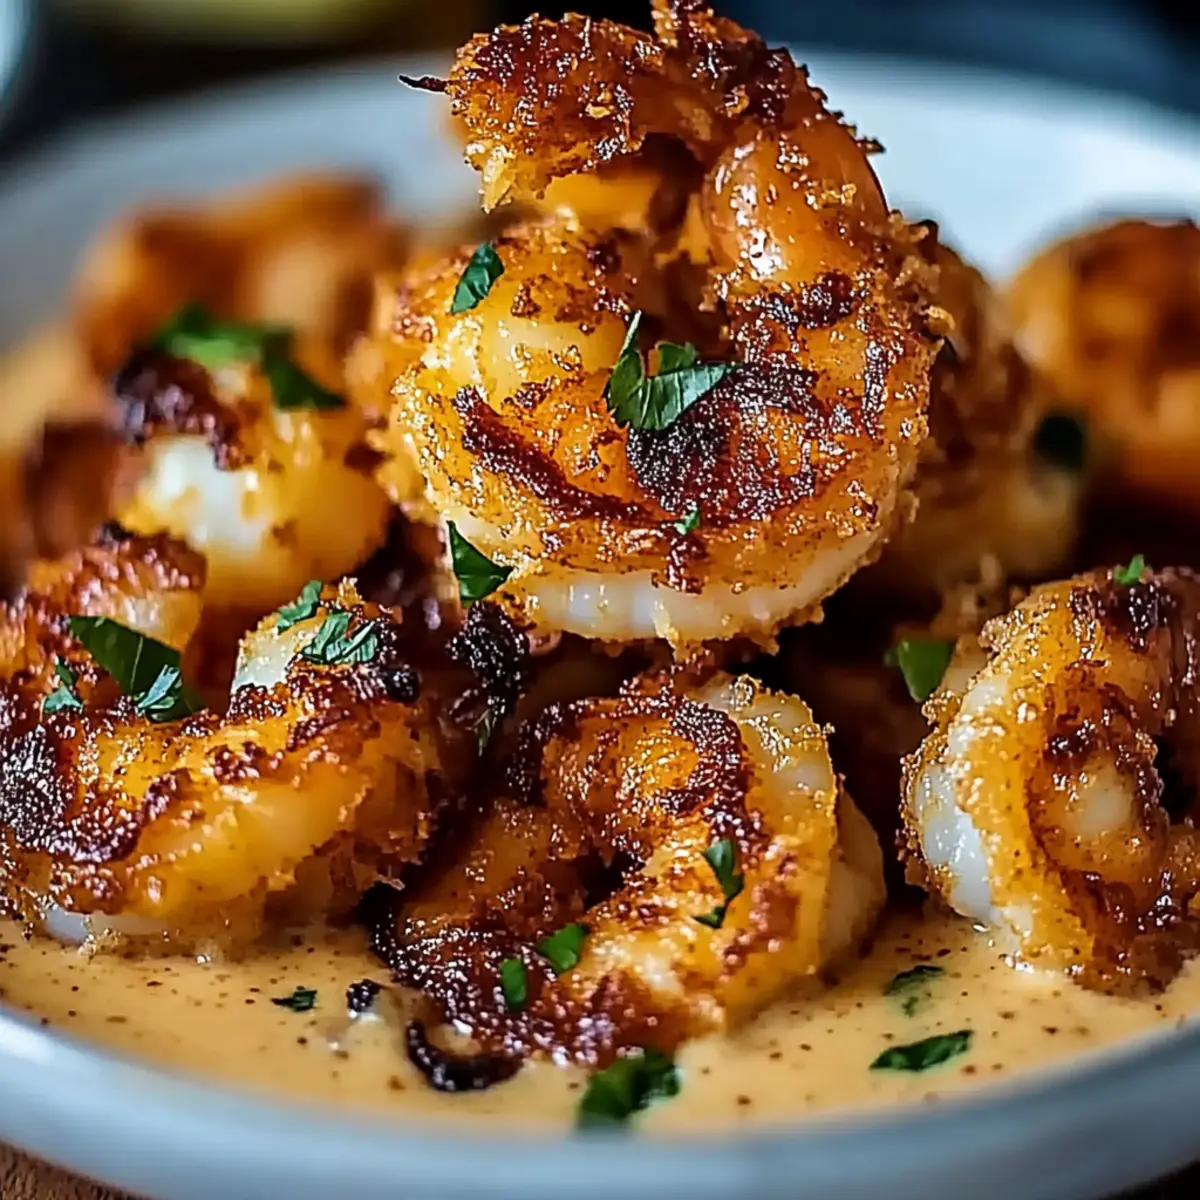
Slide the baking sheet into your preheated oven and bake the shrimp for 15-20 minutes. Keep an eye on them—the shrimp should be opaque and golden brown when done. The crispy coating will invite you to dig in, so be sure to wait until they reach that perfect moment of doneness.
Step 7: Serve and Enjoy
Once your Baked Coconut Shrimp are out of the oven, let them cool slightly for a few minutes. Serve them warm with a side of sweet chili mayo for dipping, allowing everyone to enjoy a taste of this tropical delight. Get ready for the compliments as you dig into this delicious dish!
Make Ahead Options
These Baked Coconut Shrimp are a fantastic option for meal prep! You can bread the shrimp up to 24 hours in advance by following steps 1 through 5. Simply prepare the shrimp, then arrange them in a single layer on a baking sheet and cover tightly with plastic wrap before refrigerating. This helps maintain quality and prevents the shrimp from becoming soggy. When you’re ready to enjoy, preheat your oven and bake them straight from the fridge—there's no need to thaw. Just add a few extra minutes to the baking time until they achieve that golden perfection. Enjoy the convenience of homemade elegance with minimal effort!
Helpful Tricks for Baked Coconut Shrimp
Choose the Right Shrimp: Always use fresh or properly thawed shrimp for the best texture. Frozen shrimp can become rubbery if not thawed correctly.
Perfect Panko Layer: Ensure the panko and coconut mixture is well-mixed for even coating. This will help achieve that perfect crunch in your Baked Coconut Shrimp.
Don’t Overcrowd: Arrange the shrimp evenly on your baking sheet. Overcrowding can lead to steaming rather than baking, resulting in less crispy shrimp.
Watch the Oven: Keep an eye on the shrimp during the last few minutes of baking. They can go from perfectly golden to overdone quickly, so stay vigilant!
Experiment with Spice: Adjust the cayenne pepper to your liking. It’s easy to tweak the heat level while still keeping the essence of the Baked Coconut Shrimp intact!
How to Store and Freeze Baked Coconut Shrimp
Room Temperature: Store any leftover Baked Coconut Shrimp at room temperature for no more than 2 hours, as seafood is best kept cool.
Fridge: Place cooled shrimp in an airtight container in the fridge for up to 3 days. Reheat in the oven for about 10 minutes at 350°F (175°C) for best results.
Freezer: For longer storage, freeze the baked shrimp in a single layer on a baking sheet, then transfer to a freezer-safe bag for up to 2 months.
Reheating: To reheat from frozen, bake at 375°F (190°C) for 15-20 minutes until heated through and crispy again. Enjoy your delicious Baked Coconut Shrimp anytime!
Baked Coconut Shrimp Customizations
Feel free to unleash your creativity and personalize your Baked Coconut Shrimp for a unique twist on this tropical favorite!
-
Gluten-Free: Substitute all-purpose flour with almond flour and panko breadcrumbs with gluten-free breadcrumbs for a celiac-friendly version.
-
Spicy Kick: Add extra cayenne pepper or a sprinkle of chili flakes to the breading mixture for those who love their food with a bit of heat.
-
Tropical Twist: Try mixing in some finely chopped pineapple into the panko-coconut coating for a sweet and fruity flavor explosion.
-
Herbaceous Flavor: Incorporate fresh herbs like cilantro or basil into the dressing alongside the sweet chili mayo for a fresh herb note that brightens everything.
-
Business as Usual: Go for pre-marinated shrimp or fresh ingredients designed specifically for seafood dishes. They can add incredible depth and enhance flavors effortlessly.
-
Crispy Veggie Additional: Consider adding thinly sliced zucchini or bell peppers to the baking sheet for an extra crunch. They take on the delightful flavors of the dish while adding more nutritional value.
-
Seafood Medley: Mix the shrimp with other seafood like scallops or fish, creating an adorable platter for your next special gathering.
-
Safer Sweets: For a fun dessert, serve your Baked Coconut Shrimp with a side of Baked Apple Chips! The contrast of sweet and savory is a delightful surprise.
What to Serve with Baked Coconut Shrimp?
As your Baked Coconut Shrimp emerges from the oven, the tantalizing scents fill your kitchen and spark ideas for delightful pairings.
-
Coconut Rice: The subtle sweetness of coconut rice complements the flavors of shrimp beautifully, creating a tropical duo.
-
Mango Salsa: Fresh, juicy mango salsa adds a vibrant, zesty kick that brightens every bite of the crispy shrimp. Try it with chips for added crunch!
-
Crunchy Coleslaw: A crisp, tangy coleslaw contrasts the shrimp's savory sweetness, balancing the meal with textures and flavors that play off each other perfectly.
-
Roasted Asparagus: Tender, roasted asparagus brings a touch of earthy elegance that elevates your dish while adding nutritional value.
-
Garlic Bread: Crisp garlic bread makes for a delightful companion, perfect for scooping up any leftover sweet chili mayo!
-
Sparkling Lemonade: Refreshing sparkling lemonade pairs beautifully, offering a citrusy zing that cleanses the palate between bites of succulent shrimp.
Explore these options to create a memorable dining experience that goes beyond just a meal!
Baked Coconut Shrimp Recipe FAQs
How do I choose the right shrimp for this recipe?
Absolutely! Opt for fresh or properly thawed shrimp to ensure the best texture. Look for shrimp that is firm and has a mild scent of the ocean. If using frozen shrimp, make sure to thaw them in the refrigerator overnight for optimal quality and to avoid rubberiness when cooked.
How should I store leftover Baked Coconut Shrimp?
To keep your Baked Coconut Shrimp fresh, place any leftovers in an airtight container and store them in the refrigerator for up to 3 days. For best results, reheat them in the oven at 350°F (175°C) for about 10 minutes to regain that crispy texture.
Can I freeze Baked Coconut Shrimp?
Certainly! To freeze, spread the baked shrimp in a single layer on a baking sheet and place it in the freezer for about 1-2 hours. Once they're frozen, transfer them to a freezer-safe bag. They can be stored for up to 2 months. When you're ready to enjoy them, simply bake from frozen at 375°F (190°C) for 15-20 minutes until heated through and crispy again!
What can I do if my shrimp aren’t getting crispy?
If you find your Baked Coconut Shrimp isn’t crisping up, be sure not to overcrowd them on the baking sheet while baking. This can cause steaming instead of baking. Ensure your oven is at the right temperature—if it’s too low, the shrimp may end up soggy. A good practice is to check the shrimp during the last few minutes to catch them just as they turn perfectly golden!
Are there any dietary considerations I should be aware of?
Very! This recipe contains shrimp, eggs, and gluten from the flour and panko breadcrumbs, which are key allergens. If you're serving guests with dietary restrictions or allergies, consider using gluten-free breadcrumbs and a substitute like flaxseed meal mixed with water instead of eggs for breading. Always double-check packaging on any ingredients to ensure they're allergy-friendly!
Baked Coconut Shrimp that'll Brighten Your Dinner Table
Ingredients
Equipment
Method
- Preheat your oven to 400°F (200°C) and line a baking sheet with parchment paper.
- In a shallow bowl, whisk together the flour, salt, pepper, and cayenne pepper.
- In another bowl, beat the eggs until fully blended.
- In a third bowl, mix the panko breadcrumbs and shredded coconut.
- Dip each shrimp in the flour mixture, then in the egg, and finally in the panko-coconut mixture.
- Arrange the breaded shrimp on the baking sheet, spaced evenly apart.
- Bake the shrimp for 15-20 minutes until golden brown and cooked through.
- Serve warm with a side of sweet chili mayo for dipping.


Leave a Reply