There’s something undeniably magical about the aroma of sweet chocolate and cherries wafting through the kitchen during the holiday season. When I stumbled upon this recipe for Black Forest Christmas Cookies, I knew I’d found a new tradition to share with loved ones. These delightful treats not only merge the rich flavors of chocolate and cherry but also come together in just about half an hour—perfect for those festive moments when you want to whip up something special without spending hours in the kitchen. Plus, they’re a wonderful way to impress guests when presented on a platter adorned with whipped cream and dark chocolate shavings. Ready to indulge your baking spirit and create a little magic in your own home? Let’s dive into this delicious recipe!
Why Are Black Forest Cookies So Special?
Irresistible Flavor: These cookies combine rich chocolate with tart cherry preserves for an unforgettable taste sensation that just screams celebration.
Quick and Easy: With a total time of just 32 minutes, you can whip up a batch without any fuss—perfect for those busy holiday schedules!
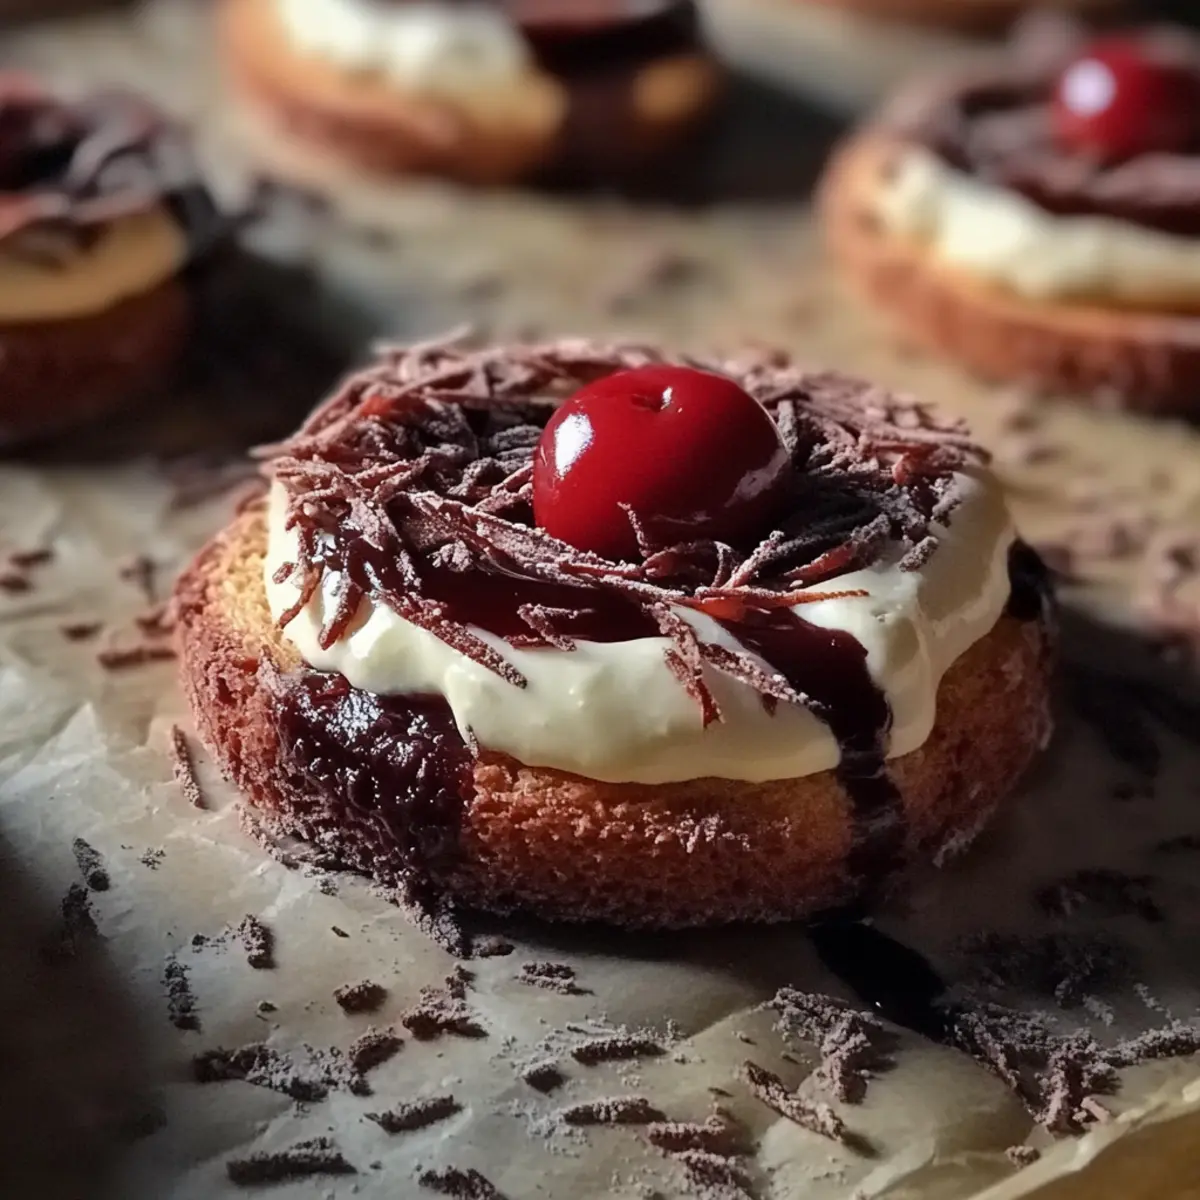
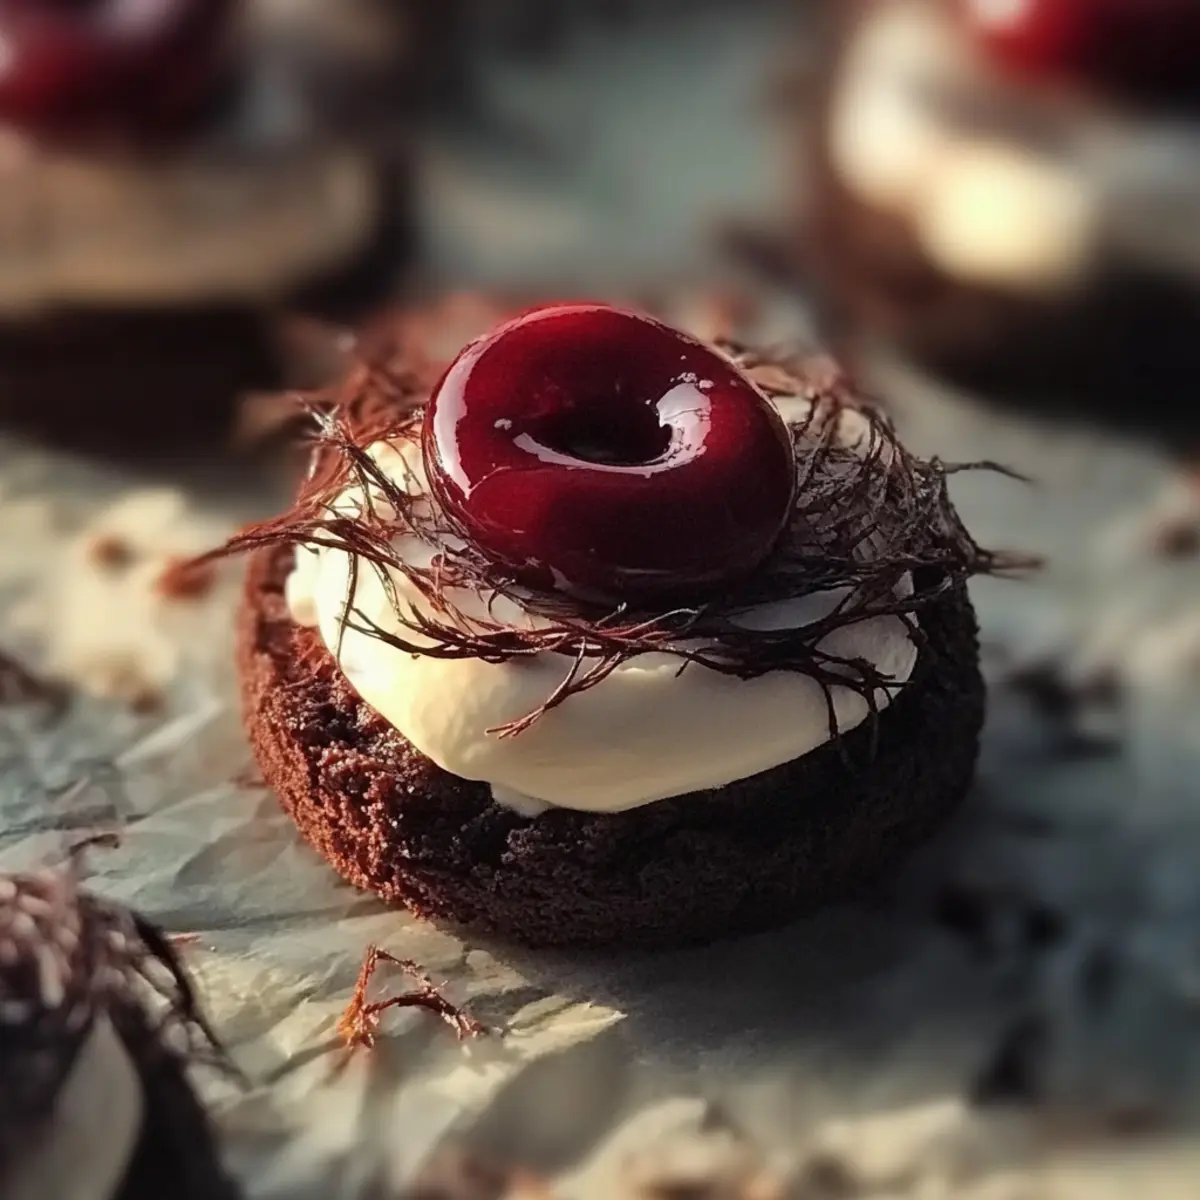
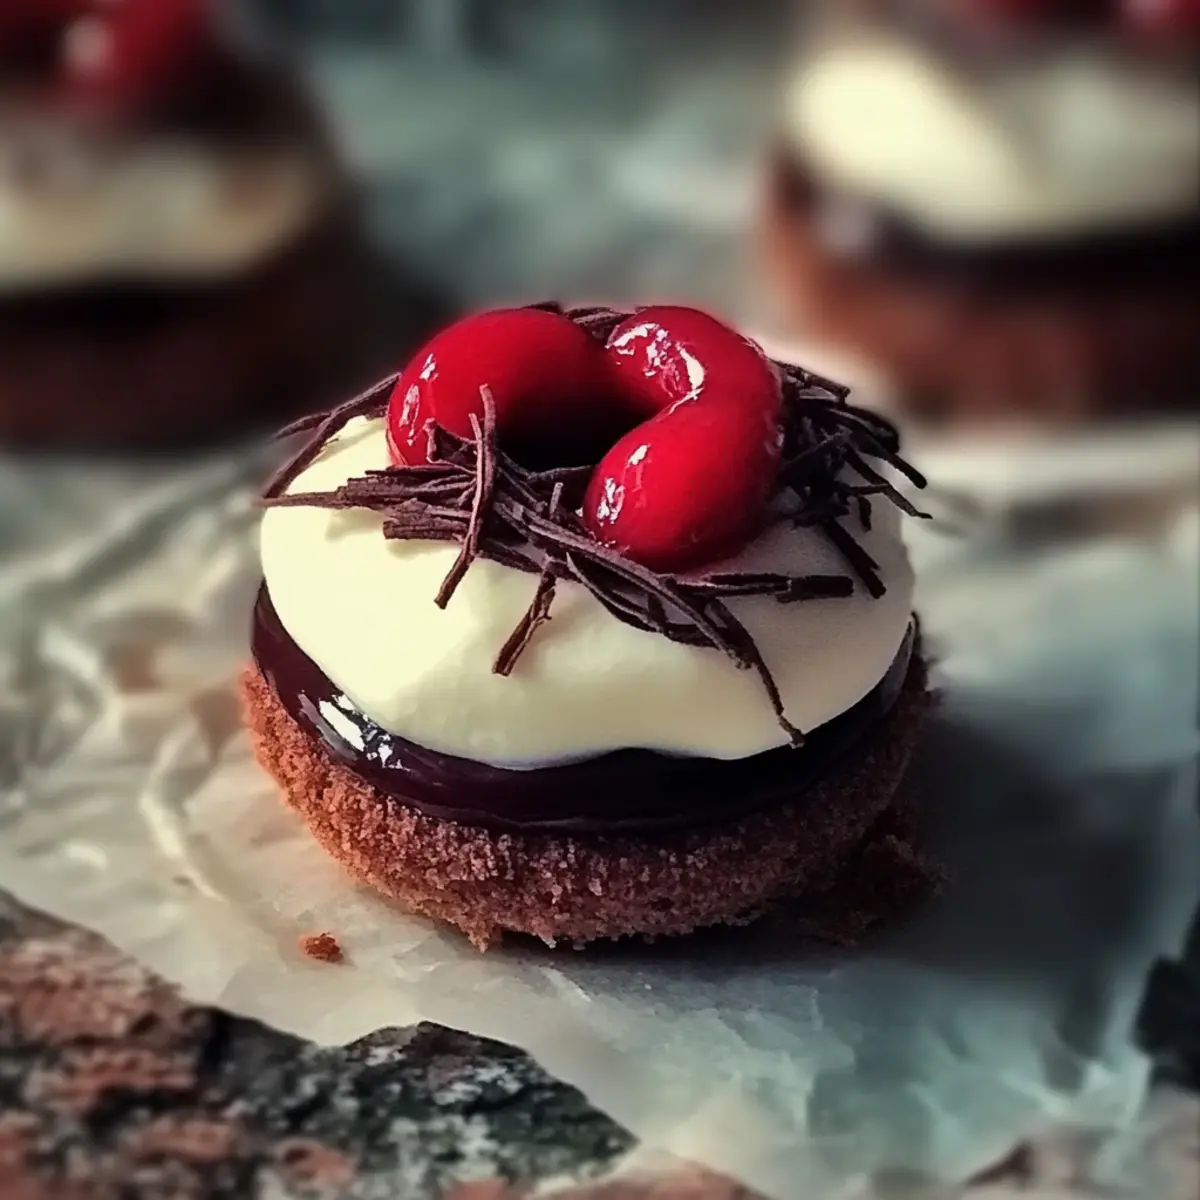
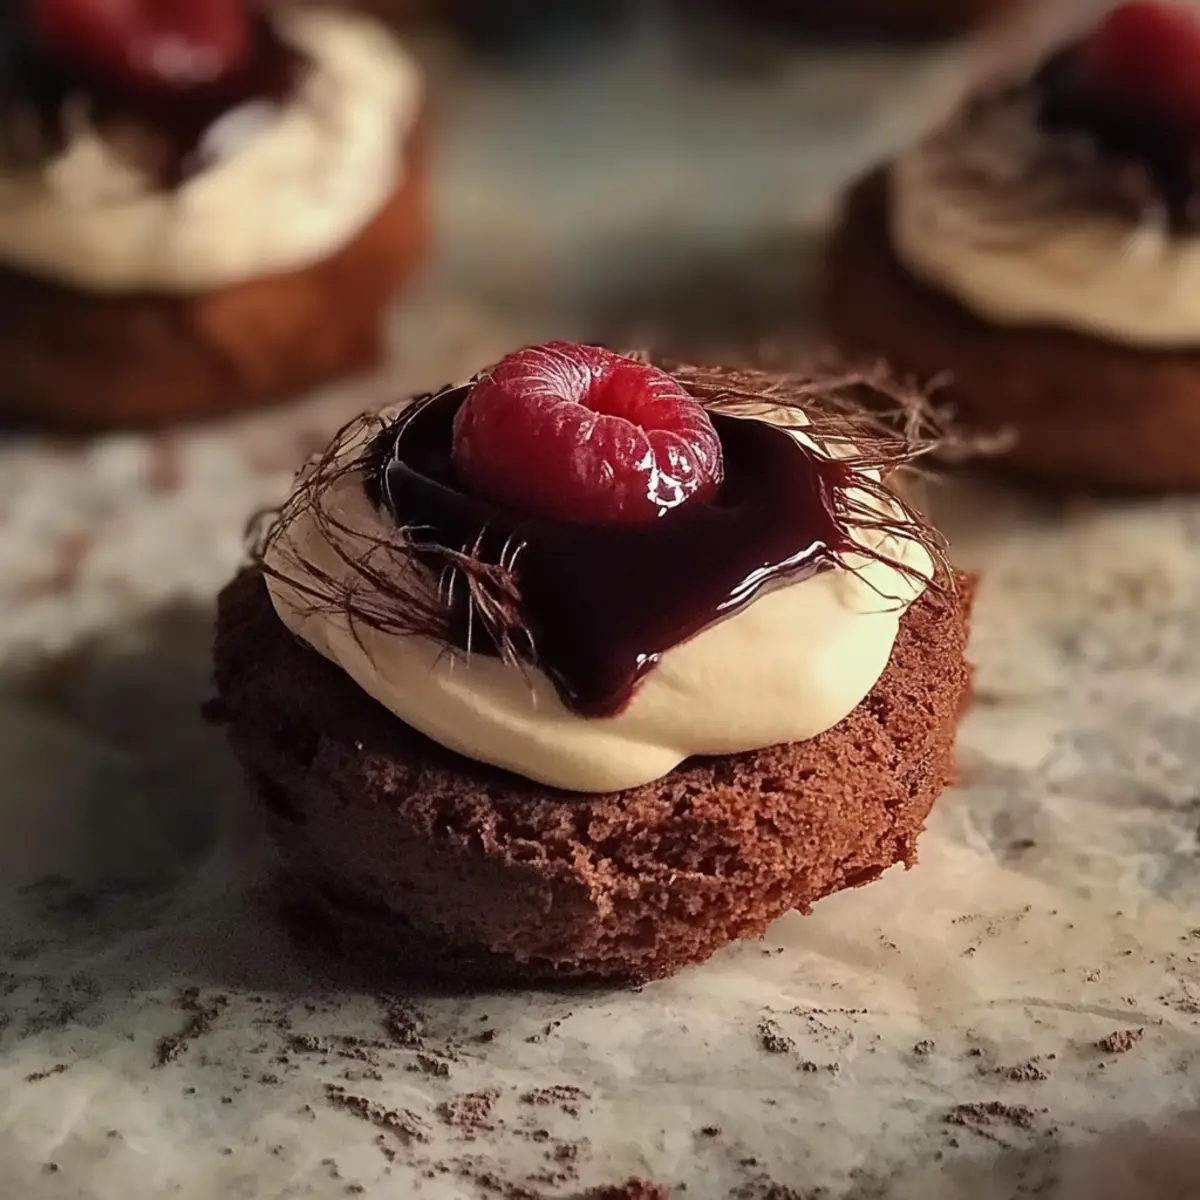
Charming Presentation: Top them with whipped cream and dark chocolate shavings for a stunning visual, making them perfect for holiday gatherings or cozy nights in.
Versatile Treat: Whether for festive occasions or just a sweet snack, these cookies are sure to be a hit with everyone.
Crowd-Pleasing Delight: Serve them at your next party, and watch them disappear—everyone will want the recipe!
Transform your holiday baking routine with these delightful Black Forest Christmas Cookies and enjoy the compliments that follow.
Black Forest Christmas Cookies Ingredients
For the Dough
- Unsalted butter – Softened butter ensures richness and a tender texture in your cookies.
- Granulated sugar – This adds sweetness and helps create a fluffy consistency.
- Large eggs – Eggs bind the ingredients and add moisture to the cookies.
- Vanilla extract – A splash of vanilla enhances the overall flavor profile.
- All-purpose flour – Provides structure to your cookies, making them sturdy yet soft.
- Cocoa powder – Contributes the rich chocolate flavor that pairs beautifully with cherries.
- Baking powder – Helps the cookies rise and become light and airy.
- Baking soda – Works in tandem with baking powder for a perfect cookie lift.
- Salt – Enhances the sweetness and balances flavors.
For the Topping
- Cherry preserves – A sweet and tangy spread that embodies the essence of Black Forest desserts.
- Heavy cream – Whipped to perfection, it adds a light and creamy layer on top of the cookies.
- Powdered sugar – Sweetens the whipped cream for a delightful finish.
- Dark chocolate shavings – For decoration, they add a touch of elegance and extra chocolatey goodness.
Elevate your holiday baking with these Black Forest Christmas Cookies that will surely leave everyone wanting more!
Step‑by‑Step Instructions for Black Forest Christmas Cookies
Step 1: Cream the Butter and Sugar
In a large mixing bowl, use an electric mixer to beat 1 cup of softened unsalted butter and 1 ½ cups of granulated sugar together until the mixture is light and fluffy, about 2-3 minutes. Then, add in 2 large eggs one at a time, ensuring to mix well after each addition, followed by 1 teaspoon of vanilla extract.
Step 2: Mix the Dry Ingredients
In a separate bowl, whisk together 2 cups of all-purpose flour, ¾ cup of cocoa powder, 1 teaspoon of baking powder, ½ teaspoon of baking soda, and ¼ teaspoon of salt until well combined. Gradually add this dry mixture to the wet ingredients, mixing until a soft dough forms that pulls away from the sides of the bowl.
Step 3: Chill the Dough
Wrap the cookie dough tightly in plastic wrap and refrigerate for at least 1 hour. This chilling time allows the flavors to meld and the dough to firm up, making it easier to scoop and shape into cookies later.
Step 4: Preheat and Prepare
While the dough chills, preheat your oven to 350°F (175°C) and line a baking sheet with parchment paper. This helps to prevent sticking and ensures even baking, making your Black Forest Christmas Cookies perfectly luscious.
Step 5: Shape the Cookies
After the dough has chilled, scoop tablespoon-sized portions and roll them into smooth balls. Place them onto your prepared baking sheet, spacing them about 2 inches apart to allow for spreading during baking. This will ensure each cookie has enough room to grow into a delightful treat.
Step 6: Bake the Cookies
Bake your cookies in the preheated oven for 10-12 minutes or until the edges are set yet slightly soft in the center. Once baked, remove them from the oven and let them cool on the sheet for about 5 minutes before transferring them to a wire rack to cool completely.
Step 7: Whip the Cream
In a clean bowl, whip 1 cup of heavy cream with 2 tablespoons of powdered sugar using an electric mixer until stiff peaks form. This whipped cream will add a light and airy layer to your Black Forest Christmas Cookies, enhancing their festive charm.
Step 8: Assemble the Cookies
Once the cookies are completely cooled, spread a generous tablespoon of cherry preserves onto each cookie. Top with the whipped cream, using a piping bag or dolloping it on with a spoon, and finish with a sprinkle of dark chocolate shavings for an elegant touch.
Step 9: Serve and Enjoy
Arrange your beautifully decorated Black Forest Christmas Cookies on a lovely platter and serve them at your holiday gatherings. The combination of flavors and textures will surely delight everyone, making these cookies a beloved festive treat.
Black Forest Christmas Cookies Variations
Feel free to unleash your creativity and make these cookies truly your own with these delicious variations!
-
Gluten-Free:
Swap out regular flour for a gluten-free blend to accommodate dietary needs without losing flavor. Your loved ones will never know the difference! -
Vegan:
Use coconut oil in place of butter and flax eggs instead of chicken eggs. These alternatives maintain the cookie's delightful texture while making them plant-based. -
Spicy Kick:
Add a pinch of cayenne or chili powder to the dough for an unexpected spicy twist that brings a warmth to the chocolate and cherry flavors. -
Nutty Addition:
Incorporate chopped walnuts or hazelnuts for a delightful crunch. They add depth and a lovely nuttiness that complements the sweetness beautifully. -
Fruity Variants:
Substitute cherry preserves with raspberry or strawberry preserves for a unique twist. Each option brings its own tantalizing fruity flavor to the celebration! -
Chocolate Lover's Delight:
Fold in chocolate chips or chunks before baking for an extra chocolatey treat. This will please any chocolate aficionado and enhance the cookie's fudgy texture. -
Creamy Filling:
Instead of whipped cream, try mascarpone cheese mixed with a bit of vanilla and sugar for a luxurious, creamy topping that adds an elegant touch. -
Mini Treats:
Make mini versions of the cookies by using a teaspoon for portions. Perfect for bite-sized sweets at holiday parties or gatherings!
Remember, the beauty of baking is that it invites experimentation. So go ahead, mix and match these variations to find the perfect combination that suits your festive spirit! And don’t forget to serve these enchanting cookies with a warm cup of cocoa or a delightful mulled wine for a truly cozy experience!
How to Store and Freeze Black Forest Christmas Cookies
Room Temperature: Cookies can be stored in an airtight container at room temperature for up to 3 days. This keeps them fresh and ready for snacking during the holiday festivities.
Fridge: For longer freshness, keep the cookies in the fridge for up to 1 week in an airtight container. This may slightly alter their texture but will maintain the flavor.
Freezer: Freeze your Black Forest Christmas Cookies in a single layer on a baking sheet, then transfer to a freezer-safe bag for up to 2 months. Thaw them at room temperature before serving.
Reheating: If you prefer them warm, simply pop the cookies in a preheated oven at 300°F (150°C) for about 5-7 minutes. Enjoy the revived flavors as they warm up!
Expert Tips for Black Forest Christmas Cookies
Chill the Dough: Ensure you refrigerate the dough for at least 1 hour. This step is crucial to avoid overly spread cookies that lose their shape.
Use Room Temperature Ingredients: For the best texture, let your butter and eggs come to room temperature before mixing. This helps create the perfect light and fluffy consistency.
Watch the Bake Time: Keep an eye on your cookies while they bake. Overbaking can lead to dry cookies, so take them out when the edges are set but the centers are still soft.
Fresh Ingredients: Use high-quality cocoa powder and fresh cherry preserves for the most intense flavor in your Black Forest Christmas Cookies.
Decorative Finish: To make presentation easier, use a piping bag for the whipped cream. It allows for beautiful swirls that elevate the visual appeal of your cookies!
What to Serve with Black Forest Christmas Cookies
There's nothing quite like a holiday feast where delightful treats mingle with comforting sides, enhancing the festive spirit and tantalizing your taste buds.
-
Warm Mulled Wine: This spiced beverage warms the heart and complements the chocolatey richness of the cookies beautifully.
-
Classic Vanilla Ice Cream: A scoop of creamy, dreamy vanilla perfectly balances the intense flavors of cherry and chocolate, making each bite heavenly.
-
Rich Hot Chocolate: Indulge in a cup of rich cocoa, topped with whipped cream to echo the cookie's flavors, creating a cozy, nostalgic experience.
-
Cherries Jubilee: The vibrant tang of cherries in this dessert mirrors the cherry preserves on the cookies, amplifying those scrumptious flavors.
-
Roasted Nuts: A bowl of mixed roasted nuts provides a crunchy texture that contrasts nicely with the soft, delicate cookies.
-
Peppermint Bark: The minty freshness of peppermint bark serves as a festive palate cleanser, adding a seasonal twist to your dessert table.
-
Cinnamon-Spiced Applesauce: This warm, comforting side adds a touch of sweetness and spices that brings out the cookie's delectable cocoa notes.
-
Eggnog: A glass of spiced eggnog is the ultimate holiday drink pairing, supporting the festive cheer while enhancing the cookies’ flavors.
-
Coconut Macaroons: These chewy, toasty treats add an exotic flair that complements the chocolate cherry cookies perfectly.
-
Coffee or Espresso: A strong cup of coffee or espresso cuts through the sweetness while elevating the overall experience with its rich, bold flavor.
Make Ahead Options
These Black Forest Christmas Cookies are ideal for those who want to streamline their holiday baking! You can prepare the cookie dough up to 24 hours in advance by wrapping it tightly in plastic wrap and refrigerating it. This not only saves you time but also allows the flavors to deepen, resulting in even tastier cookies. Additionally, you can whip the cream and store it in the refrigerator for up to 3 days. When you're ready to bake, simply scoop the chilled dough, bake for 10-12 minutes, and allow to cool. Finish by spreading cherry preserves and topping with whipped cream just before serving for that fresh, delightful taste!
Black Forest Christmas Cookies Recipe FAQs
What kind of cherries should I use for the preserves?
For the best flavor, I recommend using tart Morello cherries in your preserves. They provide the perfect balance of sweet and tangy that complements the rich chocolate flavors of the cookies beautifully.
How should I store these cookies for maximum freshness?
Absolutely! Store your Black Forest Christmas Cookies in an airtight container at room temperature for up to 3 days. If you'd like them to last longer, keep them in the refrigerator for about 1 week. Just be aware that refrigeration can change their texture slightly; they'll be a bit firmer but still delicious!
Can I freeze Black Forest Christmas Cookies?
Yes, you can! To freeze your cookies, first place them on a baking sheet in a single layer and freeze until solid. Then, transfer them to a freezer-safe bag or container for up to 2 months. When you're ready to enjoy, let them thaw at room temperature or pop them in a preheated oven at 300°F (150°C) for 5-7 minutes to warm them up.
What if my cookie dough is too sticky?
If your dough is too sticky to handle, I recommend chilling it for a bit longer. This not only makes the dough easier to scoop and roll but also helps the cookies hold their shape while baking. Just wrap it in plastic wrap and pop it back in the fridge for another 15-30 minutes.
Can I use gluten-free flour for this recipe?
Very! You can replace the all-purpose flour with a 1-to-1 gluten-free blend. Be sure to check for the right mix that works best for cookies, as not all gluten-free flours behave the same way. Follow the measurement guidelines on the blend for best results!
Are these cookies pet-friendly?
No, these cookies aren't suitable for pets. Ingredients like chocolate and sugar are harmful to dogs and other pets. It's best to keep these delicious treats out of their reach and enjoy them yourself!
Delicious Black Forest Christmas Cookies for Festive Cheer
Ingredients
Equipment
Method
- Cream the softened unsalted butter and granulated sugar together until light and fluffy, about 2-3 minutes. Add eggs one at a time and mix well, followed by vanilla extract.
- In a separate bowl, whisk together the all-purpose flour, cocoa powder, baking powder, baking soda, and salt. Gradually mix into the wet ingredients until a soft dough forms.
- Wrap the dough tightly in plastic wrap and refrigerate for at least 1 hour.
- Preheat the oven to 350°F (175°C) and line a baking sheet with parchment paper.
- Scoop tablespoon-sized portions of dough and roll into balls. Place on the baking sheet, spacing 2 inches apart.
- Bake for 10-12 minutes, until edges are set but centers are slightly soft. Cool on the sheet for 5 minutes before transferring to a wire rack.
- Whip the heavy cream with powdered sugar until stiff peaks form.
- Spread cherry preserves on each cooled cookie, top with whipped cream, and sprinkle with dark chocolate shavings.
- Serve and enjoy your Black Forest Christmas Cookies!


Leave a Reply