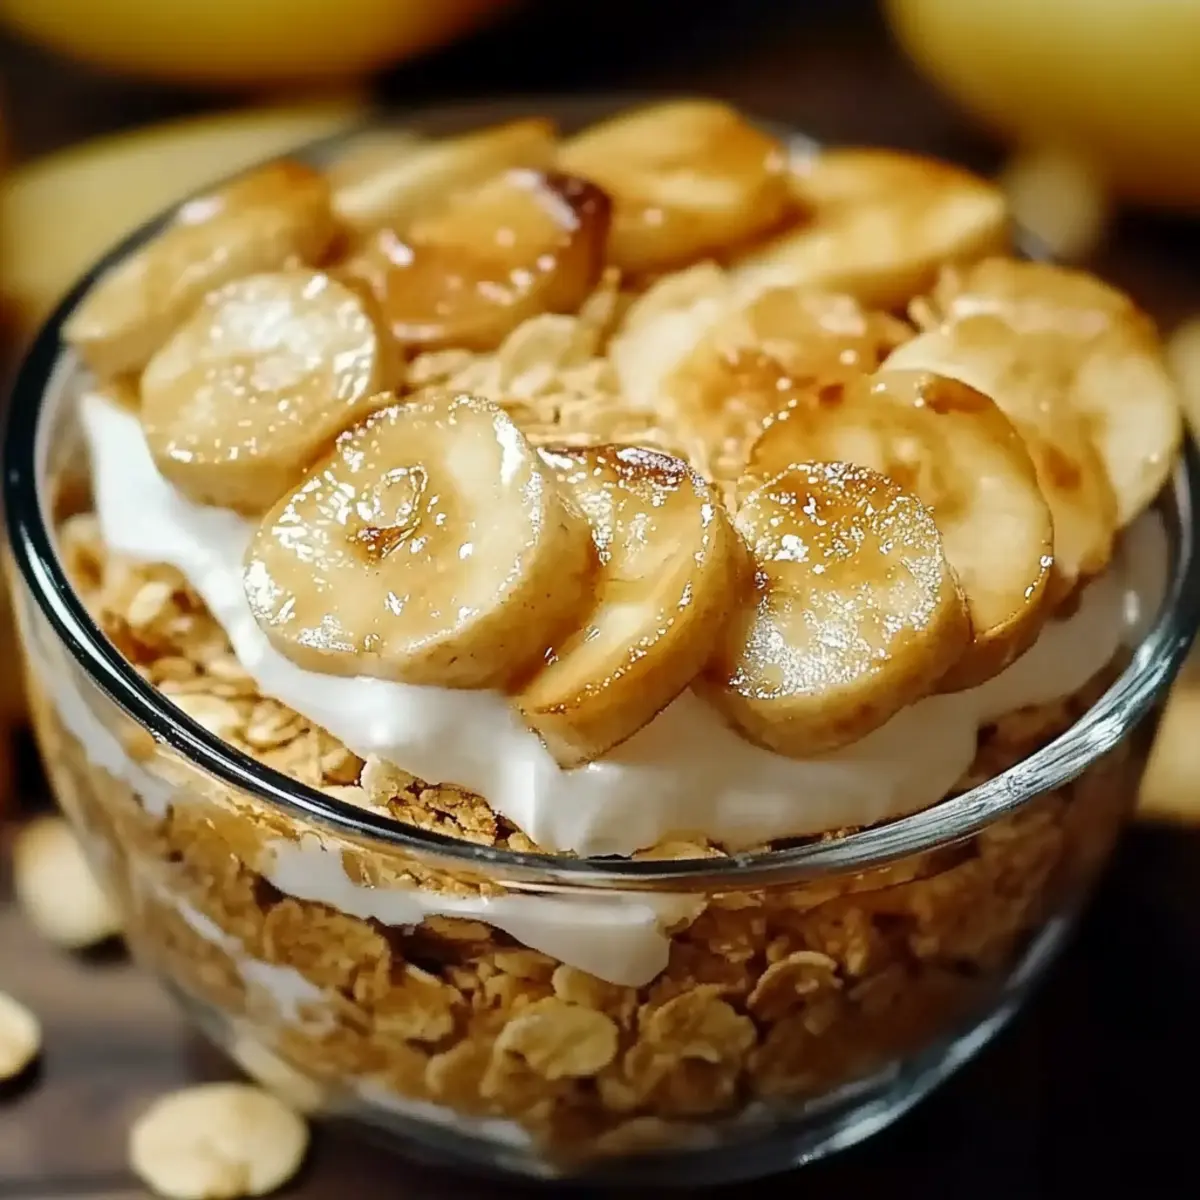
As I stood in my cozy kitchen, the aroma of sweet bananas and buttery vanilla wafted through the air, instantly transporting me to my grandmother’s home. Today, I’m excited to share my Old-Fashioned Homemade Banana Pudding recipe—a nostalgic delight that never fails to make my heart skip a beat. With its quick prep time and the comfort of classic flavors, this dessert is perfect for anyone looking to swap fast food for something truly homemade. Just imagine layers of creamy pudding, fresh banana slices, and crunchy vanilla wafers coming together to create a treat that feels like a warm hug. Ready to channel your inner pastry chef and whip up this crowd-pleasing dessert? Let’s dive in!
Why is this Banana Pudding a Must-Try?
Comforting, Timeless Flavor: This old-fashioned recipe brings the nostalgia of grandma’s kitchen straight to your table, combining creamy vanilla pudding with fresh bananas.
Effortless Preparation: In just 35 minutes, you can create a dessert that’s both simple and delightful—no advanced skills required!
Crowd-Pleasing Appeal: Whether it’s a family gathering or a cozy dinner with friends, this banana pudding is sure to impress with its inviting layers and delicious taste.
Versatile Serving Options: Enjoy it as a standalone dessert or paired with whipped cream. You can even make it ahead of time—just chill it for a couple of hours for that perfect creamy texture.
Healthy Indulgence: With bananas providing natural sweetness and essential nutrients, you can feel good about treating yourself. Dive deeper into the world of homemade desserts with this easy recipe that will leave you and your loved ones smiling!
Banana Pudding Ingredients
For the Pudding
• 2 cups milk – the creamy base that brings everything together.
• ½ cup granulated sugar – adds just the right amount of sweetness.
• ⅓ cup cornstarch – thickens your pudding to perfection.
• ¼ teaspoon salt – enhances flavors and balances sweetness.
• 3 large eggs – enriches the pudding for a velvety texture.
• 2 tablespoons unsalted butter – adds a rich, buttery essence.
• 1 tablespoon vanilla extract – infuses a warm, aromatic flavor.
For the Layers
• 3 bananas, sliced – provides fresh sweetness and a lovely texture.
• 12 ounces vanilla wafers – creates a delightful crunch that complements the creamy pudding.
This Banana Pudding is sure to become a family favorite!
Step‑by‑Step Instructions for Banana Pudding
Step 1: Cook the Pudding Base
In a medium saucepan, combine 2 cups of milk, ½ cup granulated sugar, ⅓ cup cornstarch, and ¼ teaspoon salt. Heat over medium, stirring continuously for about 8-10 minutes until the mixture thickens and bubbles slightly. Look for a smooth, creamy texture; this will be the base for your irresistible banana pudding.
Step 2: Temper the Eggs
In a separate bowl, whisk together 3 large eggs. Gradually add about a cup of the hot milk mixture to the eggs, whisking constantly to prevent curdling. This process helps gradually raise the egg temperature. Once combined, pour the egg mixture back into the saucepan with the remaining pudding base, stirring to combine smoothly.
Step 3: Final Cooking
Return the saucepan to medium heat and continue cooking the mixture for an additional 2-3 minutes, stirring until it thickens further. The pudding should be thick enough to coat the back of a spoon. Once thickened, remove it from the heat and add 2 tablespoons of unsalted butter and 1 tablespoon of vanilla extract, stirring until melted and well combined.
Step 4: Layer the Dish
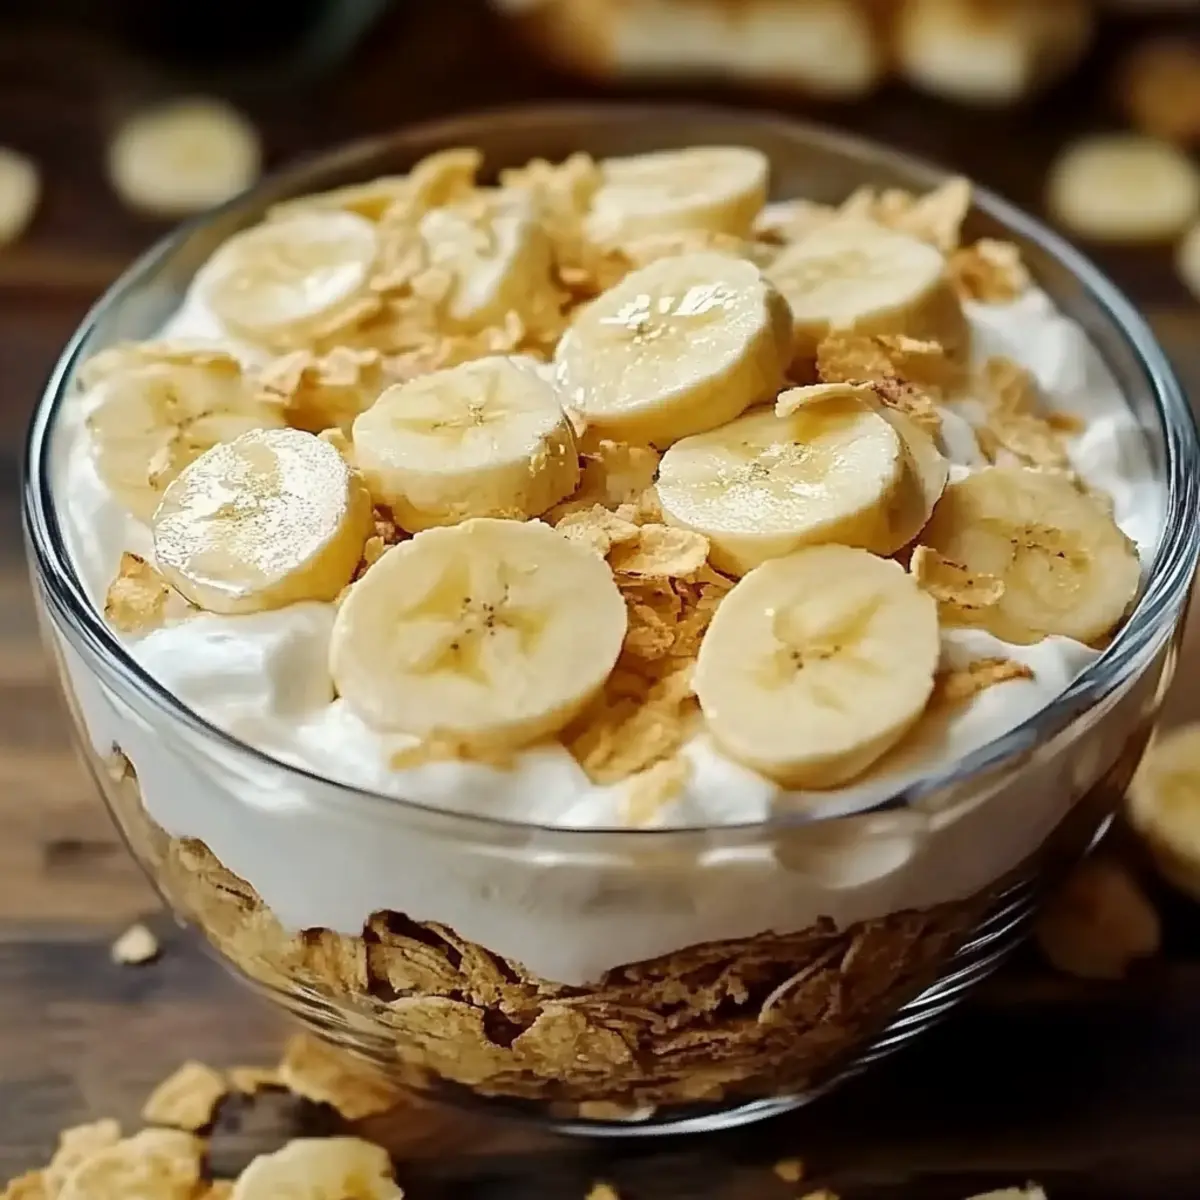
Prepare a serving dish (or individual cups) for assembling your banana pudding. Start by placing a layer of vanilla wafers at the bottom. Next, add a layer of sliced bananas, followed by a scoop of the creamy pudding. Make sure to spread the pudding evenly, creating a delicious foundation for the layers.
Step 5: Build More Layers
Continue layering the ingredients in the same order: vanilla wafers, sliced bananas, and pudding. Repeat these layers until you have used all your ingredients, finishing with a smooth layer of pudding on top to create an inviting surface. This will enhance the overall presentation of your homemade banana pudding.
Step 6: Chill to Set
Once your layers are complete, cover the dish with plastic wrap or a lid. Place it in the refrigerator and let it chill for at least 2 hours. This chilling time allows the flavors to meld beautifully and the pudding to set, ensuring a delightful texture when you finally serve your delicious banana pudding.
Banana Pudding Variations & Substitutions
Feel free to mix and match to create your perfect banana pudding masterpiece!
-
Dairy-Free: Substitute milk with almond, coconut, or oat milk for a lactose-free option. The nutty or creamy taste can add a unique twist!
-
Sweetener Swap: Replace granulated sugar with honey, maple syrup, or agave nectar for a natural sweet touch. Each option brings its delightful flavor notes that enhance the pudding.
-
Add Some Spice: Consider adding a pinch of cinnamon or nutmeg to the pudding for a warm, comforting spice vibe. These spices elevate the classic flavor, making it even more inviting.
-
Chocolate Lovers Unite: Layer in some chocolate chips or cocoa powder for a chocolate banana pudding experience. Just imagine those tasty bursts of chocolate throughout the creamy layers!
-
Vanilla Wafer Alternatives: Use graham crackers or shortbread cookies instead of vanilla wafers for a different texture and taste. These options can create a new flavor profile while still maintaining that crunch.
-
Fruit Boost: Toss in other fruits like strawberries, peaches, or blueberries alongside the bananas for a fruity medley. Each fruit offers a refreshing contrast to the creamy pudding.
-
Vegan Delight: Replace eggs with a combination of cornstarch and plant-based milk, and use coconut or vegan butter. This allows everyone to enjoy the classic-tasting pudding without any animal products.
-
Spicy Kick: Add a touch of cayenne pepper or a few dashes of hot sauce if you're feeling adventurous. The heat will contrast beautifully with the sweetness, creating a fun surprise with every bite.
As you explore these variations, remember that the joy of cooking lies in your personal touch. Not sure where to start? You might try a healthy twist with alternative sweeteners to suit your family's tastes—everyone will love it!
Make Ahead Options
These delightful Banana Pudding cups are perfect for meal prep enthusiasts! You can prepare the pudding base up to 24 hours in advance; simply cook and let it cool before storing it in the refrigerator. To maintain the creamy texture and prevent browning, slice the bananas just before assembly. When you're ready to serve, layer the original vanilla wafers, the freshly sliced bananas, and the chilled pudding in your dish. This way, your Banana Pudding will be just as delicious and cake-like with minimal effort! Get ready to impress your family with this homemade treat that is a labor of love yet saves you time during busy weeknights.
How to Store and Freeze Banana Pudding
Fridge: Store leftover banana pudding in an airtight container for up to 3 days to maintain freshness.
Freezer: For longer storage, freeze banana pudding without the bananas for up to 2 months. Add fresh banana slices after thawing.
Reheating: Thaw the pudding overnight in the fridge and allow it to come to room temperature before serving. Stir gently to restore the creamy texture.
Covering: Always cover tightly with plastic wrap or a lid to prevent the pudding from absorbing other odors in the fridge.
What to Serve with Old-Fashioned Homemade Banana Pudding
Create a delightful spread that complements the creamy indulgence of your banana pudding.
- Fresh Berries: Juicy strawberries or blueberries add a burst of freshness that balances the sweetness of the pudding.
- Whipped Cream: Light and fluffy, a dollop of whipped cream adds an extra layer of decadence, making each bite heavenly.
- Chocolate Sauce: Drizzling chocolate sauce over your banana pudding brings a rich, velvety contrast, enhancing the overall experience.
- Toasted Coconut: Sprinkling toasted coconut flakes on top introduces a crunchy texture and tropical flair that charms the taste buds.
- Coffee or Espresso: A cup of rich coffee or espresso pairs beautifully, cutting through the sweetness and enhancing the flavors of the pudding.
- Homemade Shortbread Cookies: These buttery treats offer a delightful crunch and a hint of saltiness, making them a wonderful companion to your dessert.
- Caramel Sauce: Swirling in caramel sauce lends a luscious, sweet undertone that complements the bananas and vanilla perfectly.
- Chilled Lemonade: A refreshing glass of lemonade offers a bright, zesty contrast to the creamy pudding, balancing the richness without overshadowing it.
- Ice Cream: A scoop of vanilla or banana ice cream amplifies the joy of your dessert, providing additional creaminess and a delightful chill.
- Banana Chips: For a playful twist, serve crispy banana chips on the side to echo the flavors while adding a crunchy texture.
Tips for the Best Banana Pudding
Layering Order: Always start with vanilla wafers: This ensures they don't become overly soggy and provides a nice crunch in every bite of your banana pudding.
Egg Tempering Technique: Avoid curdling: Gradually mix hot pudding into the eggs while whisking constantly to ensure a smooth custard.
Chill Thoroughly: Patience is key: Allow your banana pudding to chill for at least 2 hours. This helps the flavors meld and gives a creamier texture.
Serve Fresh Bananas: Add bananas just before serving: This prevents them from browning and maintains their fresh, appealing taste in the pudding.
Avoid Overcooking: Watch the thickening stage: Stir continuously while cooking the pudding to prevent lumps and achieve that irresistibly smooth texture.
Old-Fashioned Homemade Banana Pudding Recipe FAQs
What kind of bananas should I use for banana pudding?
Absolutely! Choose ripe bananas with a few brown spots. This signals they are sweet and flavorful, perfect for layering in your pudding. Avoid overripe bananas with dark spots all over, as they can turn mushy and detract from the texture.
What’s the best way to store leftover banana pudding?
I recommend placing any leftovers in an airtight container in the fridge for up to 3 days. Ensure the container is tightly sealed to keep your banana pudding fresh and free from any fridge odors that could affect the taste.
Can I freeze banana pudding?
Definitely, but it’s best to freeze the pudding without the bananas. To do this, let the pudding cool completely, then transfer it to a freezer-safe container, leaving some space at the top for expansion. You can freeze it for up to 2 months. When you’re ready to enjoy, thaw it in the fridge overnight, then add fresh banana slices just before serving.
How can I avoid my pudding becoming lumpy?
Very good question! To prevent lumps while cooking the pudding, stir continuously as it thickens. Additionally, use the egg tempering technique: whisk the eggs in a separate bowl, then gradually add a little of the hot milk mixture while whisking. This will help gently raise the temperature of the eggs without cooking them. Once combined, pour it back into the saucepan.
Are there any dietary considerations for banana pudding?
Yes! If you have allergies, note that this recipe contains eggs and dairy. For a dairy-free option, substitute the milk with almond or coconut milk and use a dairy-free butter alternative. Just make sure to choose a suitable vanilla extract that fits your dietary needs. Always check ingredient labels if you're catering to allergen-sensitive guests!
How long should I let the banana pudding chill?
Patience pays off! Allow your banana pudding to chill in the refrigerator for at least 2 hours. This chilling time is crucial as it allows the flavors to meld beautifully, creating that creamy texture everyone loves.
Irresistibly Creamy Banana Pudding That'll Make You Smile
Ingredients
Equipment
Method
- In a medium saucepan, combine 2 cups of milk, ½ cup granulated sugar, ⅓ cup cornstarch, and ¼ teaspoon salt. Heat over medium, stirring continuously for about 8-10 minutes until thickened.
- In a separate bowl, whisk together 3 large eggs. Gradually add about a cup of the hot milk mixture to the eggs while whisking constantly to prevent curdling.
- Pour the egg mixture back into the saucepan with the remaining pudding base, stirring to combine smoothly. Continue cooking for 2-3 minutes until thickened.
- Remove from heat and stir in 2 tablespoons of unsalted butter and 1 tablespoon of vanilla extract until melted and combined.
- Prepare a serving dish for layering. Place a layer of vanilla wafers at the bottom, followed by sliced bananas and a scoop of the creamy pudding.
- Continue layering with vanilla wafers, sliced bananas, and pudding until all ingredients are used, finishing with pudding on top.
- Cover with plastic wrap or a lid and chill for at least 2 hours to allow flavors to meld and pudding to set.


Leave a Reply