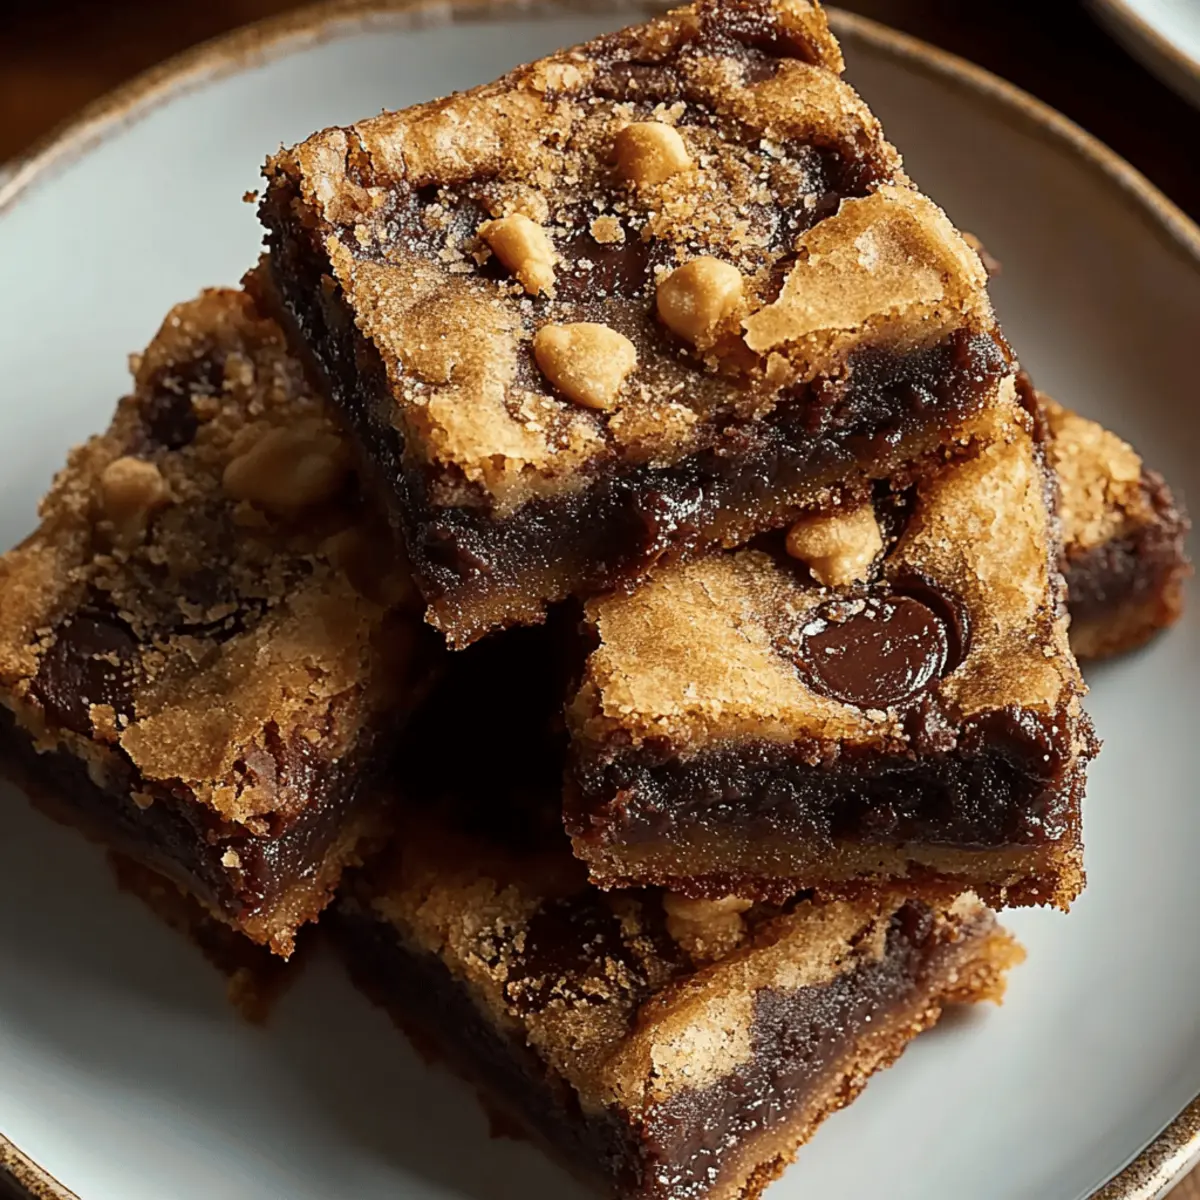
As I whipped up my latest batch of sweets, the intoxicating aroma of rich, nutty brown butter wafted through my kitchen, transporting me to my favorite cozy café. That’s how my obsession with Brown Butter Brookies began—a delightful union of chewy cookies and fudgy brownies that brings joy to anyone lucky enough to taste them. This recipe is not only a quick prep-time win but also a guaranteed crowd-pleaser at any gathering. With their irresistible chocolatey goodness and a hint of toasted flavor from the brown butter, these brookies are the perfect excuse to skip the fast food line and indulge in homemade comfort. Curious about how this delectable treat can elevate your dessert game?
Why Are Brown Butter Brookies So Irresistible?
Decadent flavor comes from the brown butter, which adds a rich, nutty taste that you won't find in ordinary treats. Easy to make in just under an hour, these brookies are perfect for those moments when you need a quick dessert. Chewy and fudgy textures provide a delightful contrast, ensuring each bite is heavenly. Crowd-pleaser potential means they're ideal for gatherings—who can resist cookies and brownies combined? Elevate your dessert game and enjoy these with family or friends, perhaps alongside a warm cup of coffee or our delicious Spooky Spider Brownies for a Halloween gathering!
Brown Butter Brookies Ingredients
• Get ready to bake a soulful dessert!
For the Brownie Layer
- Unsalted butter – enhances the rich flavor and ensures a perfectly moist texture.
- Granulated sugar – adds sweetness and helps achieve a chewy consistency.
- Light brown sugar – contributes a delicious caramel undertone to your brookies.
- Large eggs – bind the ingredients together and provide structure.
- Vanilla extract – enriches the flavor profile with warm notes of nostalgia.
For the Cookie Layer
- All-purpose flour – provides the base for the cookies, making them soft and chewy.
- Baking powder – helps the cookies rise and become fluffy.
- Baking soda – enhances browning and gives the cookies a delightful texture.
- Salt – balances flavors and enhances sweetness.
- Unsweetened cocoa powder – adds a rich chocolate flavor that chocolate lovers adore.
Mix-ins
- Semi-sweet chocolate chips – ensure every bite is filled with melty chocolate goodness.
- Chopped nuts (optional) – bring a delightful crunch—choose your favorites like walnuts or pecans!
Unlock the magic of your own Brown Butter Brookies and share this delightful recipe with someone you love!
Step‑by‑Step Instructions for Brown Butter Brookies
Step 1: Preheat the Oven
Begin by preheating your oven to 350°F (175°C). While the oven heats up, prepare your 9x13-inch baking dish by greasing it lightly or lining it with parchment paper for easy removal later. This ensures your Brown Butter Brookies will bake evenly and come out with a perfect texture.
Step 2: Brown the Butter
In a medium saucepan, melt 1 cup of unsalted butter over medium heat. Keep a close eye on it and stir frequently until it starts foaming and turns a lovely golden brown hue, releasing a nutty aroma that fills your kitchen. Once browned, remove from heat and let it cool slightly to avoid cooking the eggs in the next step.
Step 3: Combine Sugars and Butter
In a large mixing bowl, pour in the browned butter along with 1 cup of granulated sugar and 1 cup of packed light brown sugar. Stir until thoroughly combined, creating a smooth, glossy mixture. This combination of sugars will enhance the richness of your Brown Butter Brookies, making them delightful to taste.
Step 4: Mix in Eggs and Vanilla
Carefully add 3 large eggs to your sugar and butter mixture, one at a time, ensuring each is fully incorporated before adding the next. This process helps incorporate air, giving your brookies a light texture. Next, stir in 2 teaspoons of vanilla extract for an extra depth of flavor, merging the ingredients into a luscious batter.
Step 5: Whisk the Dry Ingredients
In a separate bowl, whisk together 2 cups of all-purpose flour, ½ teaspoon of baking powder, ½ teaspoon of baking soda, ½ teaspoon of salt, and ¾ cup of unsweetened cocoa powder. The dry mixture should be well combined to ensure even distribution of leavening agents, which will contribute to the perfect rise of your Brown Butter Brookies.
Step 6: Combine Wet and Dry Mixtures
Gradually mix the dry ingredients into the wet mixture, stirring gently until just combined. Be careful not to overmix; it’s okay if there are a few small flour pockets. This step is crucial to maintaining the airy texture of your brookies while blending those rich chocolatey flavors together harmoniously.
Step 7: Fold in Chocolate Chips and Nuts
Gently fold in 1 cup of semi-sweet chocolate chips and the optional chopped nuts. The chocolate chips will melt beautifully while baking, adding gooey, irresistible pockets of chocolate throughout. If you prefer a bit of crunch, the nuts will complement the texture perfectly, creating a delightful contrast in every bite.
Step 8: Spread the Batter
Pour the delicious batter into your prepared baking dish, spreading it evenly across the bottom with a spatula. Ensure the top is smooth to promote even baking. This generous layer of brownie-cookies mixture will rise and create a delectable combination in your Brown Butter Brookies.
Step 9: Bake the Brookies
Place the baking dish in your preheated oven and bake for 25-30 minutes. Check for doneness by inserting a toothpick into the center; it should come out with a few moist crumbs. These clues indicate you’ve achieved the perfect balance of chewy and fudgy textures that make this treat so enticing.
Step 10: Cool and Serve
After baking, remove the brownie/cookie creation from the oven and allow it to cool in the pan on a wire rack for about 10 minutes. Once cooled, cut into squares. The rich smell will be irresistible, making it hard to wait as you get ready to serve your delicious Brown Butter Brookies!
Make Ahead Options
These Brown Butter Brookies are perfect for meal prep and can save you precious time on busy weeknights! You can prepare the batter up to 24 hours in advance by mixing the wet and dry ingredients separately and storing them in airtight containers in the refrigerator. To maintain the brookies' delightful texture, be sure to refrigerate the two mixtures separately and combine them just before baking. When you’re ready to enjoy this delicious treat, simply mix the batters, fold in the chocolate chips, and bake as directed. This way, you’ll have warm, fresh Brown Butter Brookies with minimal effort right when you need them!
What to Serve with Brown Butter Brookies?
Elevate your dessert table with delightful pairings that enhance the rich flavors of these decadent treats.
-
Vanilla Ice Cream: A scoop of creamy vanilla ice cream melts beautifully over the warm brookies, creating a delightful contrast.
-
Fresh Berries: Tart raspberries or sweet strawberries add a pop of freshness, balancing the chocolatey richness perfectly.
-
Espresso: A strong cup of espresso or a mocha pairs wonderfully, enhancing the chocolate flavors and providing a gourmet experience.
-
Caramel Sauce: Drizzle warm caramel over the brookies for an upscale touch. The sweet, buttery flavor makes each bite irresistible.
-
Mint Chocolate Chip Milkshake: This refreshing, creamy treat cools down the palate and adds an exciting twist to the rich chocolate.
-
Whipped Cream: Light and airy, a dollop of lightly sweetened whipped cream serves as the perfect finishing touch, smoothing out the deep flavors.
-
Chocolate Sauce: For serious chocolate lovers, a drizzle of chocolate sauce intensifies the dessert experience, creating a fudgy delight.
-
Nutty Hot Chocolate: Warm up with a cozy mug of hot chocolate topped with whipped cream and crushed nuts for an extra crunch.
-
Fruit Tart: A light fruit tart adds a lovely balance, incorporating fresh flavors that contrast beautifully with the brookies.
-
Red Wine: A glass of rich red wine enhances the indulgent nature of your dessert, adding sophistication to your sweet finale.
Brown Butter Brookies: Delicious Variations
Feel free to get creative with your Brown Butter Brookies; the possibilities are endless!
- Gluten-Free: Use a gluten-free flour blend to make a delightful treat for your gluten-sensitive friends.
- Nut-Free: Substitute nuts with additional chocolate chips for that extra indulgence while keeping it nut-free.
- Double Chocolate: Replace half of the flour with more cocoa powder for an even richer chocolate flavor.
- Spicy Kick: Add a teaspoon of ground cinnamon or a pinch of cayenne pepper to the batter for a warm, spicy twist.
- Caramel Swirl: Fold in your favorite caramel sauce in the batter before baking to create gooey swirls throughout.
- Vegan: Swap eggs for flax eggs (1 tablespoon ground flaxseed + 2.5 tablespoons water) and use plant-based butter for a vegan delight.
- Peanut Butter Delight: Incorporate some creamy peanut butter into the batter for a sweet and salty twist.
- Salted Caramel Topping: Drizzle salted caramel sauce over the cooled brookies to elevate the flavor with a salty-sweet contrast.
With these fun variations, you can customize your Brown Butter Brookies to suit any taste. Enjoy exploring these ideas, and don't forget to share your delicious results with loved ones—maybe while enjoying the uniquely tasty Cowboy Butter Chicken for a delightful dinner paired with dessert!
Tips for the Best Brown Butter Brookies
-
Perfectly Browned Butter: Watch closely as the butter turns golden brown and begins to foam, ensuring that nutty flavor shines through. Under-browning can lead to a less flavorful treat.
-
Avoid Overmixing: When combining wet and dry ingredients, stir until just combined. Overmixing can make your brookies tough, rather than soft and chewy.
-
Check for Doneness: Use a toothpick to test for doneness. If it comes out with moist crumbs, your Brown Butter Brookies are perfectly baked. If it’s clean, they may be overcooked.
-
Cooling Time Matters: Allow your brookies to cool in the pan for at least 10 minutes before cutting. This helps them set and keeps them from crumbling apart.
-
Ingredient Temperature: Ensure your eggs are at room temperature for better integration into the batter, leading to a smoother texture in your Brown Butter Brookies.
-
Customize to Taste: Feel free to mix in your favorite nuts or chocolate varieties to make the recipe truly your own. It’s all about creating your perfect version!
How to Store and Freeze Brown Butter Brookies
Room Temperature: Keep your Brown Butter Brookies in an airtight container at room temperature for up to 3 days. This preserves their chewy texture and delicious flavor.
Fridge: Store brookies in the refrigerator for up to 1 week. Use parchment paper between layers to prevent sticking, ensuring you enjoy fresh treats every time.
Freezer: For longer storage, freeze the brookies for up to 3 months. Wrap them individually in plastic wrap and then place in a freezer bag to prevent freezer burn.
Reheating: To enjoy warm, simply reheat in the microwave for about 10-15 seconds or warm in the oven at 350°F (175°C) for 5-7 minutes. This will bring back that freshly baked taste!
Brown Butter Brookies Recipe FAQs
What type of butter should I use for the best flavor?
Absolutely! Unsalted butter is recommended for Brown Butter Brookies as it allows you to control the salt level in the recipe while providing a rich, creamy base. The browning of the butter also enhances the nutty taste, making all the difference in this decadent treat.
How can I tell if my ingredients are fresh?
Very! For the best results, make sure your eggs are fresh (check the date on the carton) and your cocoa powder has no lumps or odor. If you notice any dark spots on your unsalted butter or if it smells off, it’s best to toss it and grab a new stick for that heavenly flavor.
What is the best way to store leftover Brookies?
Absolutely! Keep your Brown Butter Brookies in an airtight container at room temperature for up to 3 days to maintain their chewy texture. If you have leftovers beyond that, place them in the refrigerator where they will stay fresh for up to a week. I often place parchment paper between layers to prevent them from sticking together.
Can I freeze the Brookies? How should I do it?
Of course! For freezing Brown Butter Brookies, cool them completely, then wrap each square individually in plastic wrap. Place wrapped brookies in a freezer-safe bag and store them in the freezer for up to 3 months. When you’re ready to enjoy them, simply thaw at room temperature or reheat in the microwave for about 10-15 seconds for that fresh-out-of-the-oven experience!
What should I do if my Brookies turn out too dry?
Very! If your Brown Butter Brookies end up dry, they may have been overbaked. Make sure to test for doneness with a toothpick; it should come out with a few moist crumbs. Also, keep an eye on your oven temperature—oven thermometers can help ensure it’s accurate. If you’d like a softer texture next time, you can try reducing the baking time slightly or adding a tablespoon of additional butter for extra moisture.
Are these Brookies suitable for special diets?
Certainly! If you have nut allergies, simply omit the chopped nuts from the recipe. For gluten-free options, you can substitute an all-purpose gluten-free flour blend. Just ensure that other ingredients, particularly any mix-ins like chocolate chips, are also gluten-free to maintain safety and taste.

Decadent Brown Butter Brookies: Your New Favorite Treat
Ingredients
Equipment
Method
- Preheat your oven to 350°F (175°C) and prepare your 9x13-inch baking dish.
- Melt 1 cup of unsalted butter over medium heat until browned.
- In a large bowl, mix the browned butter with 1 cup of granulated sugar and 1 cup of packed light brown sugar.
- Add 3 large eggs one at a time and 2 teaspoons of vanilla extract, mixing well.
- Whisk together 2 cups of flour, ½ teaspoon baking powder, ½ teaspoon baking soda, ½ teaspoon salt, and ¾ cup cocoa powder.
- Combine the dry ingredients into the wet mixture without overmixing.
- Fold in 1 cup of semi-sweet chocolate chips and optional nuts.
- Spread the batter evenly in the prepared baking dish.
- Bake for 25-30 minutes and check for doneness with a toothpick.
- Cool in the pan for about 10 minutes then cut into squares and serve.


Leave a Reply