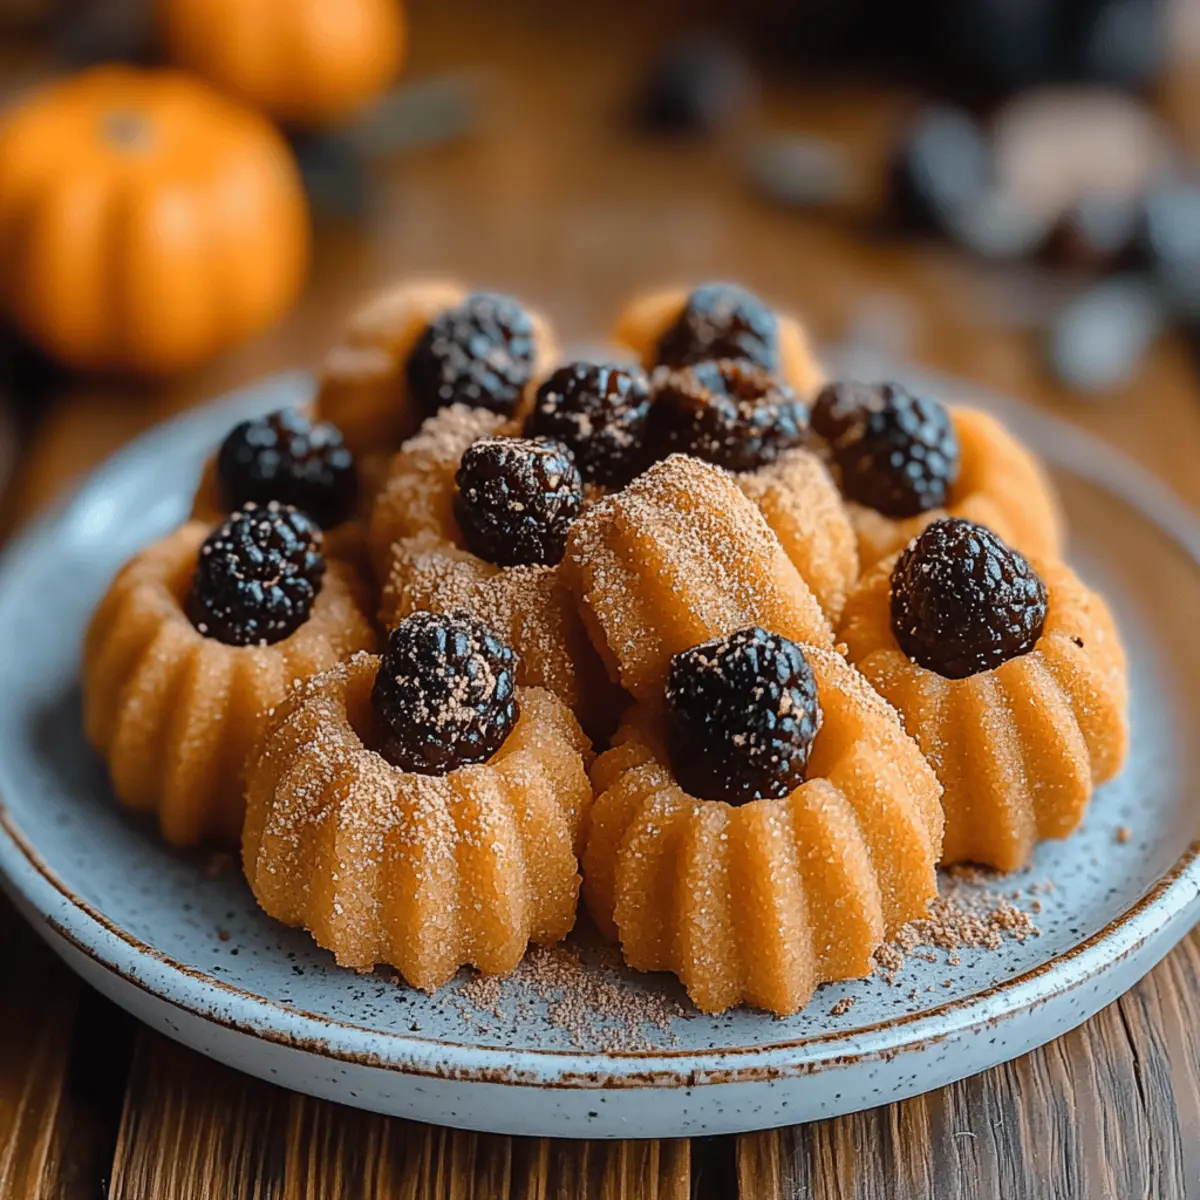
As the autumn leaves start dancing to the ground, there's nothing quite as cozy as indulging in sweet and spiced delights. That's where my Pumpkin Cheesecake Truffles come in! These little bites of joy are the perfect blend of silky cream cheese and rich pumpkin puree, making them a unique twist on traditional fall flavors. Not only do they come together in no time, but they also make for a delightful treat that’s ideal for gatherings—or simply to spoil yourself at home. Imagine rolling these luscious truffles in sugar and topping them with chocolate chips for that whimsical pumpkin look—perfect for impressing friends and family alike. Ready to dive into the delightful world of fall flavors with me? Let's craft these Pumpkin Cheesecake Truffles together!
Why are these truffles a must-try?
Irresistible flavor: The creamy blend of pumpkin and cream cheese makes for a delectable dessert that will have everyone coming back for more.
Quick to make: With just a few simple steps, you can whip up these delightful treats in no time.
Perfect for gatherings: These Pumpkin Cheesecake Truffles are ideal for Halloween, Thanksgiving, or any fall celebration that calls for a sweet touch!
Allergy-friendly option: Easily customize the recipe by substituting ingredients to meet dietary needs.
Joyful presentation: Their adorable pumpkin-like shape, topped with a chocolate chip, makes them a fun and festive addition to your dessert table.
Make-ahead convenience: Prepare them ahead of time, store in the fridge, and delight your guests with delicious homemade treats! If you're looking for more autumn-inspired ideas, check out my other fall desserts.
Pumpkin Cheesecake Truffles Ingredients
Get ready to make these creamy delights!
For the Truffle Mixture
- Butter – adds a rich flavor to the truffles; feel free to substitute with coconut oil for a dairy-free version.
- Cream Cheese – brings a delightful creaminess; use a low-fat version if you're looking to cut calories.
- Canned Pumpkin Puree – provides the fall flavor base; you can substitute with roasted fresh pumpkin puree if preferred.
- Sweetened Condensed Milk – sweetens the mixture and creates a smooth texture; try using evaporated milk with a little added sugar as an alternative.
- Pumpkin Pie Spice – infuses that classic fall flavor; mix your own with cinnamon, nutmeg, and ginger if you don’t have it on hand.
For the Coating
- Graham Cracker Crumbs – adds a crunchy texture; swap in crushed digestive biscuits for a different taste.
- White Chocolate Chips – help bind the mixture and add sweetness; dark chocolate chips can be a delicious alternative for richer flavor.
- Granulated Sugar – rolls easily onto the truffles to create a sparkling exterior; you can use coconut sugar for a healthier option.
For the Decoration
- Chocolate Chips – top the truffles to mimic a pumpkin’s stem; use colored chocolate melts for a festive twist.
- Orange Food Coloring (optional) – brightens the truffles' appearance for a more vibrant pumpkin color.
With these Pumpkin Cheesecake Truffles ingredients thoughtfully lined up, you’re all set to create a treat that embodies the joys of fall!
Step‑by‑Step Instructions for Pumpkin Cheesecake Truffles
Step 1: Combine the Base
In a skillet over medium heat, add the butter, softened cream cheese, canned pumpkin puree, sweetened condensed milk, and pumpkin pie spice. Stir continuously for about 5–7 minutes, watching for the mixture to thicken and blend smoothly. Once well-combined, the rich and creamy base will have a lovely caramel color, signaling it's ready for the next step.
Step 2: Incorporate the Crunch
Stir in the graham cracker crumbs and white chocolate chips into the pumpkin cheesecake mixture while still on the heat. Keep stirring for another 2–3 minutes until the chocolate melts completely and the mixture is smooth. If you’d like a pop of color, add a few drops of orange food coloring during this step, blending until fully incorporated for a vibrant finish.
Step 3: Chill the Mixture
Transfer the pumpkin cheesecake mixture onto a butter-greased baking sheet, spreading it evenly with a spatula. Ensure the layer is about ½ inch thick for easy rolling. Cover with plastic wrap and refrigerate for at least 2 hours or overnight until firm and set. You’ll know it’s ready when it holds its shape and feels solid to the touch.
Step 4: Shape the Truffles
Once chilled, lightly rub your hands with butter to prevent sticking, and scoop out portions of the chilled mixture. Roll each into small balls, about the size of a golf ball, ensuring a smooth exterior. This step will create the delightful Pumpkin Cheesecake Truffles that are both adorable and delicious.
Step 5: Add Sugar Coating
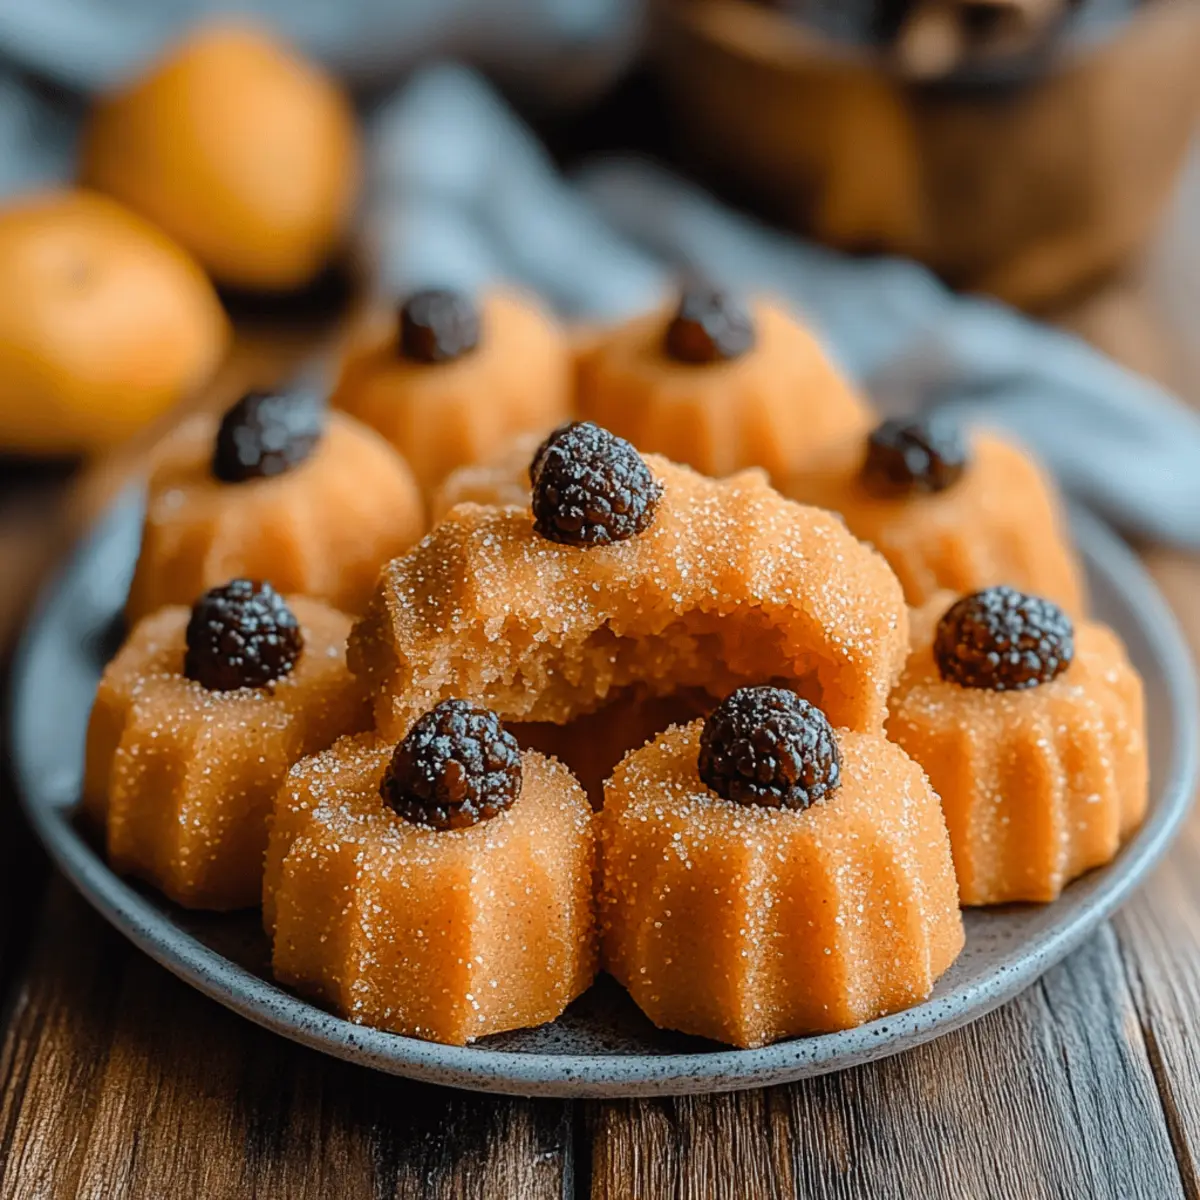
Roll each truffle in granulated sugar to coat them thoroughly, which not only adds a touch of sweetness but also gives a lovely sparkle. The sugar coats beautifully, making these Pumpkin Cheesecake Truffles visually appealing as well as scrumptious. Set them aside on a parchment-lined tray to prepare for decoration.
Step 6: Create Pumpkin Details
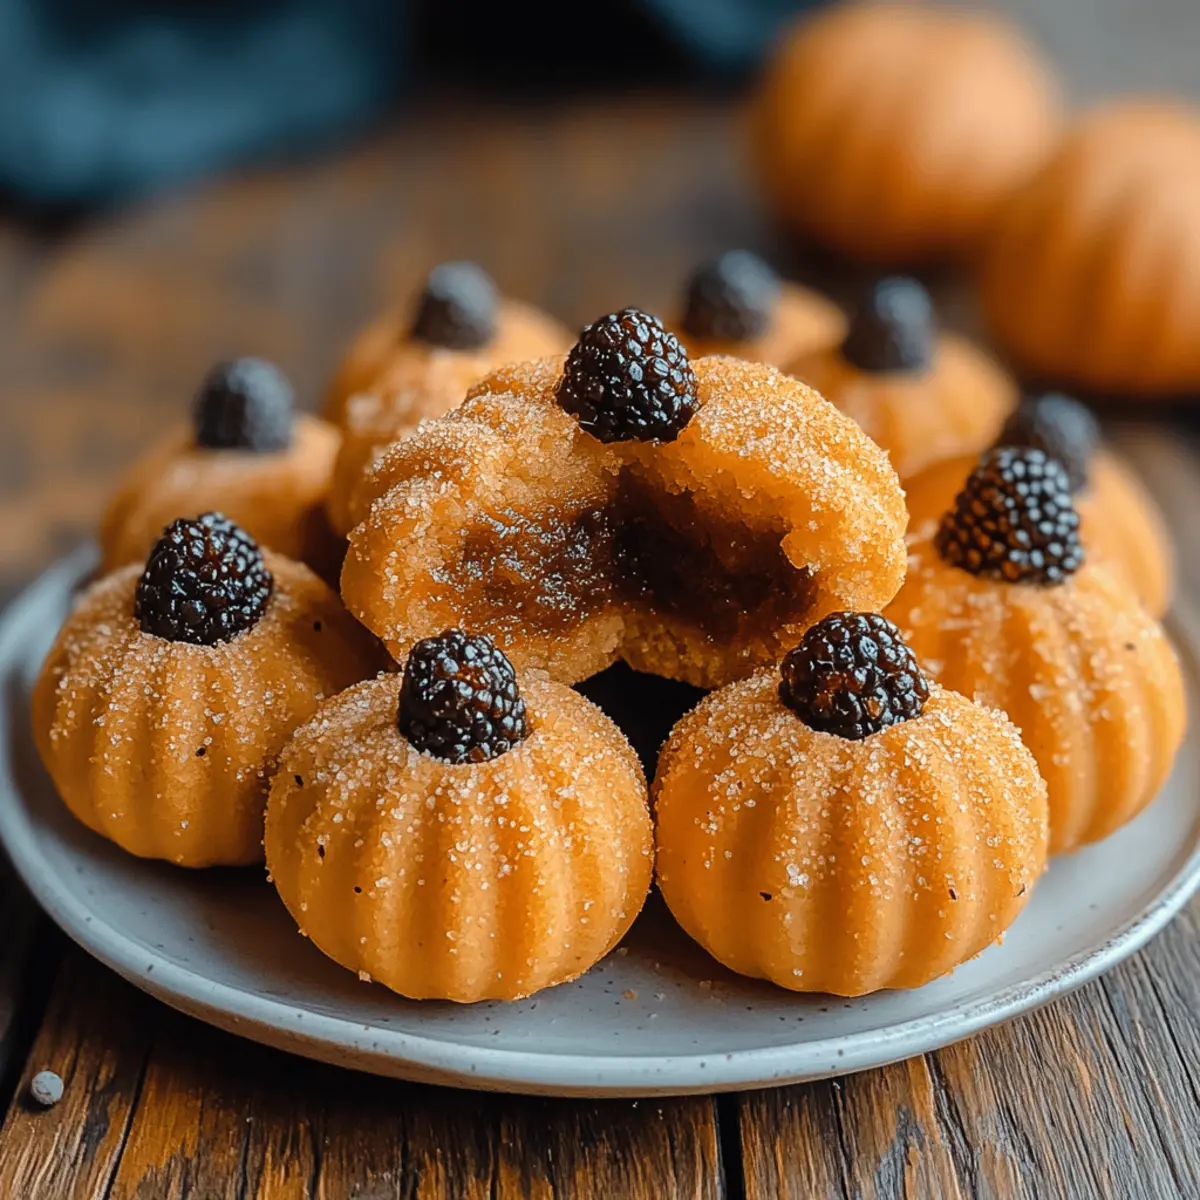
Using a toothpick, gently create ridges along the surface of each truffle, mimicking the look of a pumpkin. This simple yet effective technique adds character and charm. Top each truffle with a chocolate chip, positioning it at the top to resemble a pumpkin stem, transforming your treats into festive fall delights.
Step 7: Serve or Store
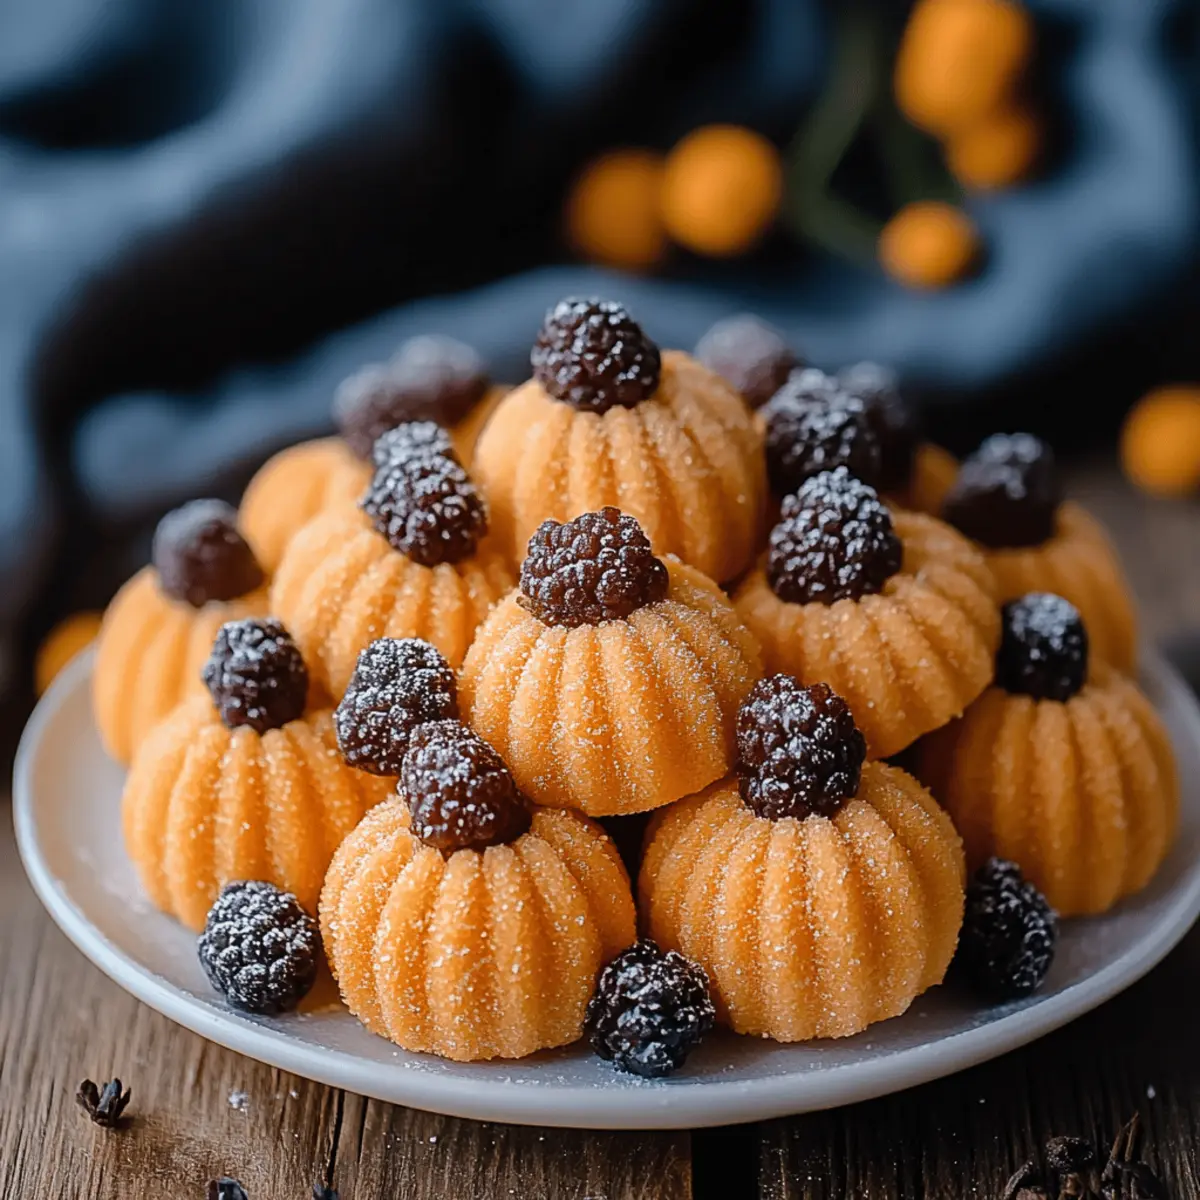
Your Pumpkin Cheesecake Truffles are now ready to be enjoyed! Serve them immediately, or, if you're preparing for a gathering, store them in the fridge in an airtight container until you’re ready to share. These tasty bites will surely be the star of any autumn celebration or cozy evening at home.
Expert Tips for Pumpkin Cheesecake Truffles
-
Chill Time Matters: Ensure you refrigerate the mixture for at least 2 hours. This helps firm up the truffles, making them easier to roll and shape.
-
Avoid Sticking: Rub your hands with butter before rolling the truffles to prevent the mixture from sticking, creating a smoother finish for your Pumpkin Cheesecake Truffles.
-
Sugar Coating: Don’t skip the granulated sugar roll! It not only adds a sweet touch but creates a lovely sparkle that makes your truffles visually appealing.
-
Creative Customization: Feel free to experiment with different coatings like crushed nuts or coconut flakes instead of sugar for variety. This can add new textures and flavors to your Halloween treat.
-
Coloring Tip: If adding food coloring, do so gradually to achieve the desired pumpkin hue without overpowering the truffle’s delicious flavor.
-
Store Smart: Keep your Pumpkin Cheesecake Truffles in an airtight container in the fridge. They can last up to a week, so make them ahead for gatherings!
Pumpkin Cheesecake Truffles Variations
Feel free to sprinkle your own magic on these truffles to cater to your taste buds and dietary needs!
- Dairy-Free: Substitute cream cheese with a dairy-free vegan cream cheese for a delightful alternative without compromising taste.
- Gluten-Free: Use gluten-free graham cracker crumbs or ground almonds instead, making these truffles accessible for everyone!
- Chocolate Lover: Swap white chocolate chips for dark chocolate or even a mix of both for a richer flavor experience.
- Nutty Twist: Roll the truffles in crushed nuts instead of sugar for an added crunch and unique flavor profile.
- Spicy Kick: Add a pinch of cayenne pepper to the mixture for a surprising and delightful warmth in every bite.
- Pumpkin Spice Swap: Create your own seasoning blend by mixing cinnamon, nutmeg, and cloves if pumpkin pie spice isn't available.
- Candied Coating: Roll the truffles in crushed candy corn or Halloween sprinkles for a festive touch fit for fall parties.
- Fruit Fusion: Mix in finely chopped dried cranberries or raisins for a chewy texture that complements the creamy truffles beautifully.
With these variations, you can make your Pumpkin Cheesecake Truffles a unique treat for any occasion. If you’re craving more fall favorites that celebrate the season, check out my fall desserts or discover how to incorporate seasonal spices into your cooking with my tips on spice blends!
Make Ahead Options
These Pumpkin Cheesecake Truffles are ideal for meal prep, allowing those busy weeknights to feel a little less hectic! You can prepare the base of the truffles up to 24 hours in advance — simply follow the initial steps and refrigerate the mixture overnight. Once chilled and firm, roll the truffles into balls, coat them in sugar, and add the chocolate chips right before serving to ensure they maintain their delightful texture and presentation. Storing them in an airtight container in the fridge will keep them fresh for up to 3 days. This way, you can treat yourself to these creamy, festive delights without the last-minute rush!
How to Store and Freeze Pumpkin Cheesecake Truffles
Fridge: Store your Pumpkin Cheesecake Truffles in an airtight container in the refrigerator for up to 1 week. This helps to maintain their creamy texture and delicious flavor.
Freezer: You can freeze the truffles for longer storage! Place them in a single layer on a baking sheet and freeze for 1-2 hours before transferring them to a freezer-safe bag. They can last up to 2 months.
Reheating: There's no need to thaw the truffles before serving; simply enjoy them cold or at room temperature for the best taste and texture.
Make-Ahead: These Pumpkin Cheesecake Truffles are ideal for preparing ahead of time, making them perfect for parties. Just remember to store them properly to keep that wonderful flavor intact!
What to Serve with Pumpkin Cheesecake Truffles
Imagine a cozy autumn evening filled with laughter, warmth, and sweet flavors that dance on your palate.
- Spiced Apple Cider: This warm beverage brings comforting spices that enhance the cozy pumpkin flavor and warms you from the inside out.
- Nutty Trail Mix: A crunchy mix of nuts and dried fruit adds texture and a balanced bite alongside the smooth truffles, making your snack experience delightful.
- Creamy Vanilla Ice Cream: The cool, creamy scoop melts beautifully when paired with the truffles, elevating the flavor combination to heavenly levels.
- Homemade Whipped Cream: Light and airy whipped cream enhances the richness of the truffles while adding a lovely, fluffy touch that complements every bite.
- Cranberry Sauce: The tartness of homemade cranberry sauce creates a refreshing counterpart to the sweetness of the truffles, balancing the dessert beautifully.
- Pumpkin Spice Latte: Brew a delicious coffee treat that incorporates the same warm spices as your truffles, uniting your flavors and creating a cozy beverage option.
- Chocolate-Dipped Pretzels: The salty crunch of pretzels coated in chocolate pairs perfectly with the richness of the truffles, adding a fun twist to your dessert platter.
- Mulled Wine: For those looking for an adult pairing, the spiced flavors and warmth of mulled wine will complement the festive nature of pumpkin cheesecake truffles beautifully.
- Ginger Cookies: These spicy treats bring a wonderfully nostalgic fall flavor that resonates with pumpkin, making them a delightful accompaniment to your truffle indulgence.
Pumpkin Cheesecake Truffles Recipe FAQs
What should I look for when selecting canned pumpkin puree?
Absolutely! When choosing your canned pumpkin puree, look for brands that list 100% pumpkin without any added sugars or spices. Check the label for a rich, deep orange color, which indicates high-quality pumpkin packed with flavor. You'll want to avoid anything labeled as pumpkin pie filling, as it contains extra sugars and spices that can affect your truffles' taste.
How should I store the leftover Pumpkin Cheesecake Truffles?
To keep your Pumpkin Cheesecake Truffles fresh, store them in an airtight container in the refrigerator for up to 1 week. Make sure to separate layers with parchment paper to prevent sticking. I often make a batch ahead of time for gatherings, and this storage method keeps them creamy and delightful!
Can I freeze Pumpkin Cheesecake Truffles? If so, how?
Absolutely! Freezing is a great way to preserve these delightful treats. Start by placing the truffles in a single layer on a baking sheet. Freeze for about 1-2 hours until they harden. Then, transfer them to a freezer-safe bag, removing as much air as possible. These can stay stored for up to 2 months. When you’re ready to enjoy them, there's no need to thaw—simply serve them cold or at room temperature.
What should I do if my truffle mixture is too sticky?
If you find your mixture is too sticky to roll into balls, don’t worry! The simplest fix is to chill the mixture for an additional 30 minutes or so in the refrigerator. This will help it firm up. You can also apply a little more butter to your hands while shaping, or dust your hands with powdered sugar or cornstarch to help prevent sticking.
Are these Pumpkin Cheesecake Truffles safe for pets or those with food allergies?
While these truffles are a delightful treat for humans, they contain ingredients that might not be safe for pets—especially chocolate, which is toxic to dogs. As for allergies, if you're serving the truffles at gatherings, be sure to check with your guests for any dairy, gluten, or nut allergies. You can make substitutions, like using dairy-free cream cheese or chocolate, to accommodate various dietary needs.
How can I customize my Pumpkin Cheesecake Truffles for different flavor profiles?
Very! You can easily adjust your Pumpkin Cheesecake Truffles to suit various tastes. For a spicier kick, add more pumpkin pie spice or a pinch of cayenne pepper. If you love chocolate, incorporate cocoa powder into the mixture or roll them in cocoa powder instead of sugar. Introducing crushed nuts or drizzle of caramel can create a fun flavor adventure too!
Pumpkin Cheesecake Truffles: Irresistibly Creamy Fall Treats
Ingredients
Equipment
Method
- In a skillet over medium heat, combine the butter, cream cheese, pumpkin puree, sweetened condensed milk, and pumpkin pie spice. Stir continuously for 5–7 minutes until thickened and smooth.
- Stir in the graham cracker crumbs and white chocolate chips. Continue stirring for 2–3 minutes until chocolate melts completely. Add food coloring if desired.
- Transfer the mixture to a butter-greased baking sheet, spreading it into a ½ inch thick layer. Cover with plastic wrap and refrigerate for at least 2 hours until firm.
- After chilling, rub your hands with butter and scoop portions of the mixture, rolling each into a golf ball-sized truffle.
- Roll each truffle in granulated sugar to coat and place on a parchment-lined tray.
- Using a toothpick, create ridges on the surface of each truffle and top with a chocolate chip to mimic a pumpkin stem.
- Serve immediately or store in the fridge in an airtight container until ready to share.


Leave a Reply