While rummaging through my pantry, I stumbled upon an unassuming jar of creamy peanut butter, and an idea sparked a wave of nostalgia. It reminded me of the magical combination of flavors that come alive in my Valentine Peanut Butter Cookie Bars. Perfectly soft and fudgy, these bars are a delightful twist on traditional cookies, making them a must-have for any celebration or cozy night in. Not only are they quick to whip up, but they also serve as a fantastic crowd-pleaser, satisfying both chocolate lovers and peanut butter aficionados alike. With vibrant Valentine’s M&M’s adding a pop of color and a sprinkle of joy, these bars are sure to become a new favorite in your recipe repertoire. Ready to indulge in a slice of happiness? Let's dive into the world of baking these delicious treats together!
What Makes These Bars So Irresistible?
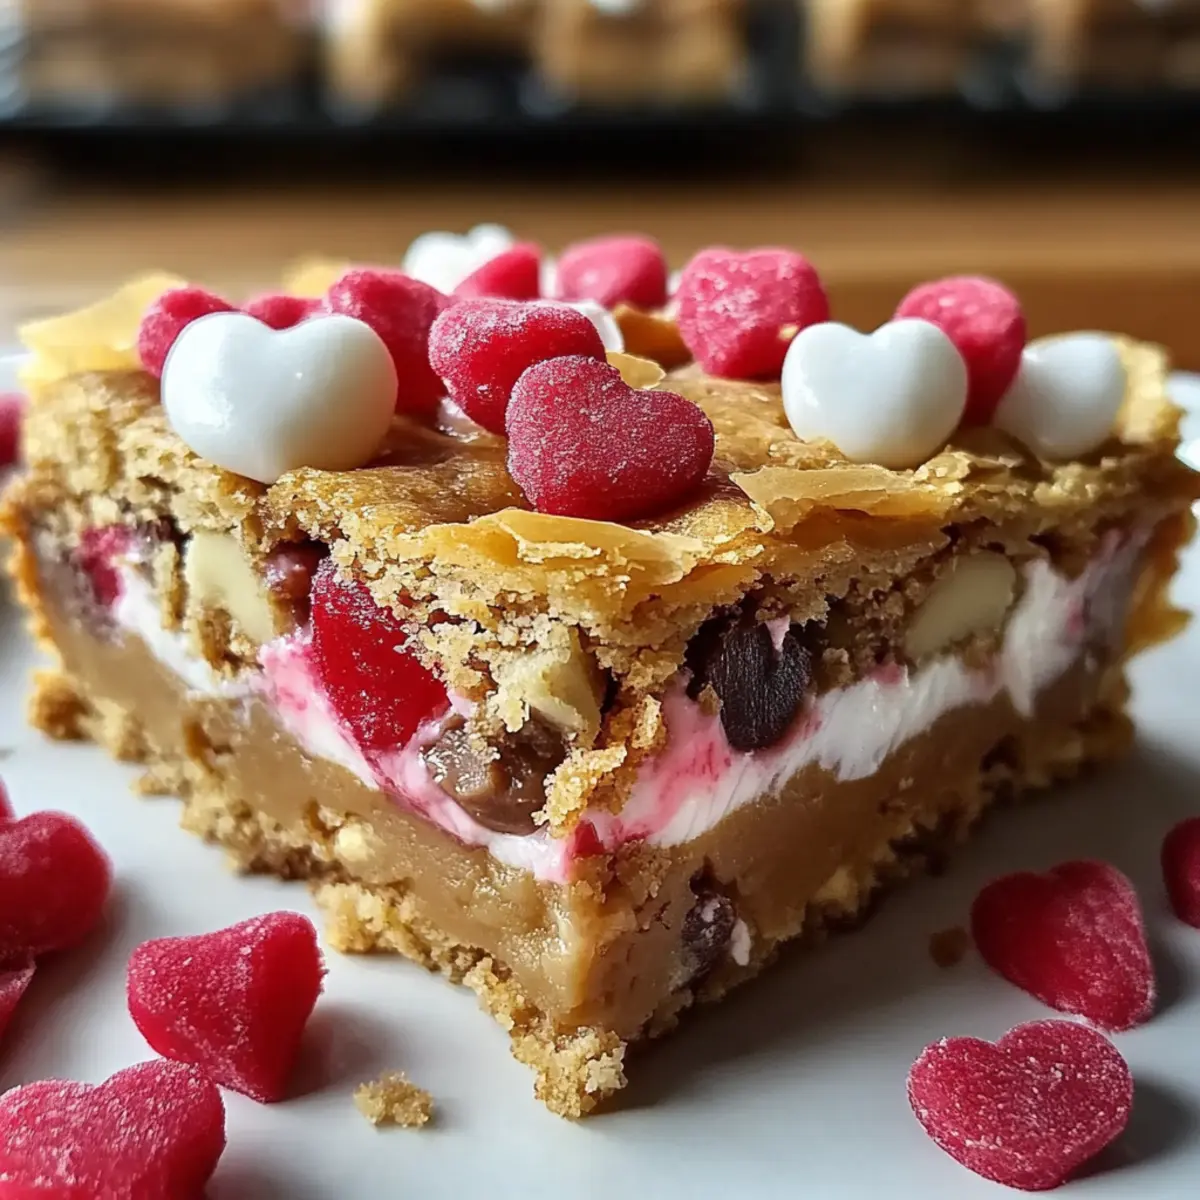
Irresistible Flavors: The combination of creamy peanut butter and rich chocolate creates a mouthwatering blend that’s simply divine.
Quick and Easy: With just 20 minutes of prep, you can have these baked goodies ready to impress everyone!
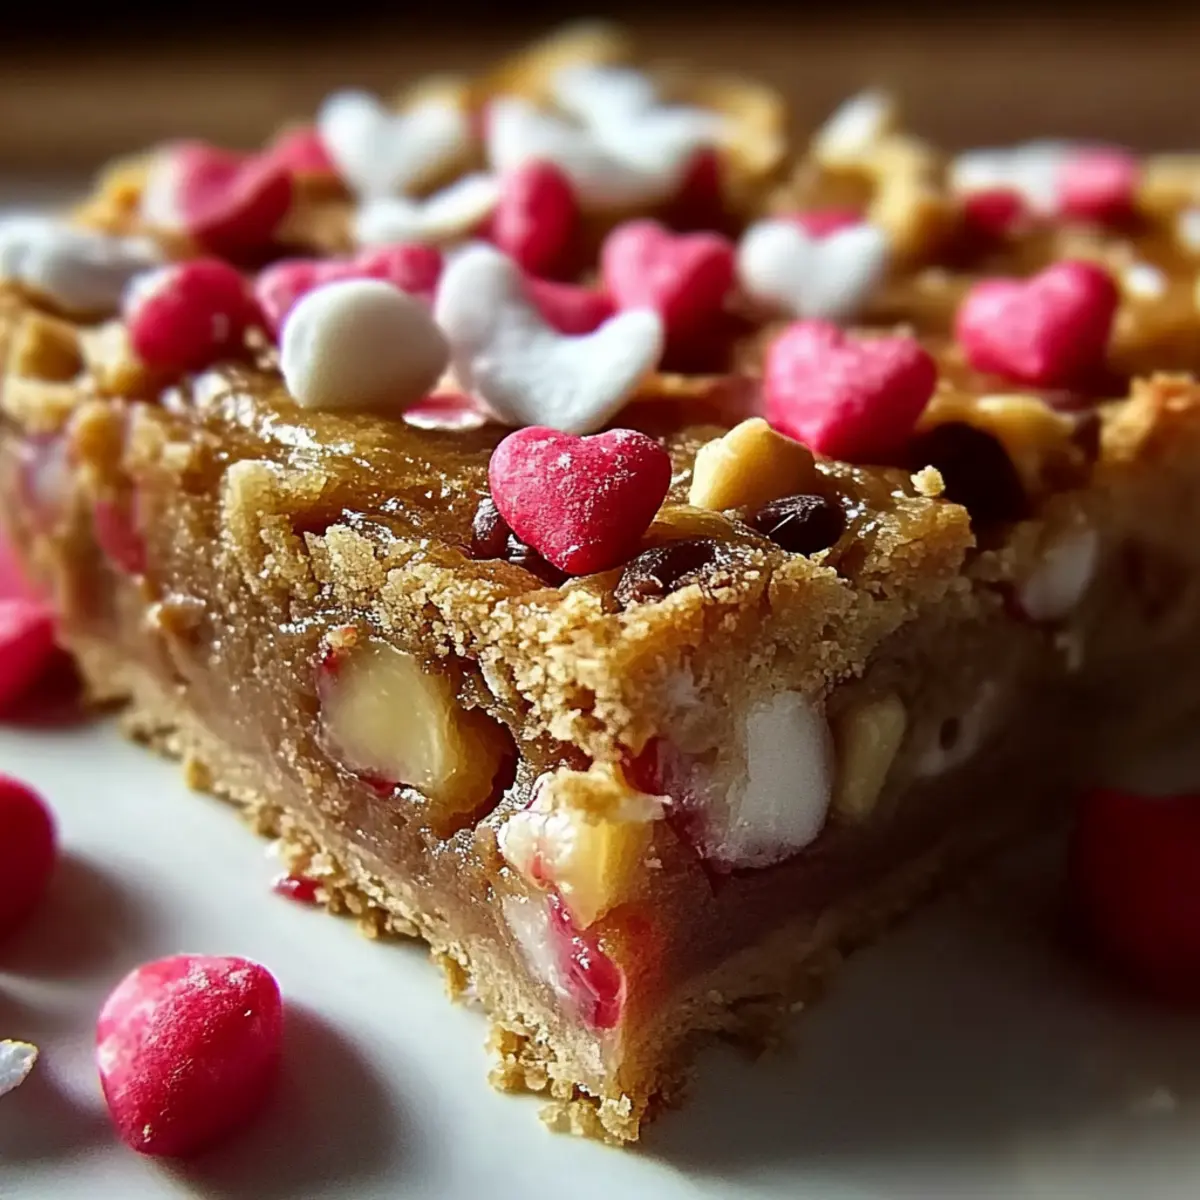
Festive Appeal: Bursting with Valentine's-themed M&M’s and sprinkles, these bars are perfect for any celebration or casual gathering.
Texture Galore: Enjoy a luscious, chewy base topped with a delightful crunch from the chocolate chips—every bite is a treat!
Perfect for Sharing: These bars are a crowd-pleaser, ensuring that everyone gets their fill of sweet indulgence. Grab your friends and dive into your new favorite go-to dessert!
Peanut Butter Cookie Bars Ingredients
• Get ready to explore the delightful elements of these peanut butter cookie bars that promise to bring joy with every bite!
For the Base
• Unsalted butter – ½ cup, melted and cooled; it adds flavor and moisture to your bars.
• Creamy peanut butter – ¾ cup; make sure it's well-stirred for a smooth texture.
• Light brown sugar – 1 cup, packed; it gives the bars a rich flavor and chewy texture.
• Granulated sugar – ¼ cup; balances sweetness to perfection.
• Large eggs – 2, at room temperature; they help bind the ingredients for a rich texture.
• Pure vanilla extract – 1 ½ teaspoons; a must for enhancing the bar’s overall flavor.
For the Dry Mix
• All-purpose flour – 1 ¼ cups, spooned and leveled; it provides the necessary structure for the bars.
• Baking powder – ½ teaspoon; helps achieve a perfect rise in the bars.
• Baking soda – ¼ teaspoon; adds to the leavening for soft and chewy results.
• Fine sea salt – ½ teaspoon; it balances the sweetness and enhances flavor.
For the Chocolatey Goodness
• Semi-sweet chocolate chips – 1 cup; you can opt for milk chocolate if you prefer a sweeter touch.
• White chocolate chips – ½ cup; adds a creamy contrast to the chocolatey base.
For the Festive Touch
• Valentine-colored M&M’s – ¾ to 1 cup; they bring a pop of color and excitement to each bite.
• Valentine sprinkles (optional) – 2 tablespoons; makes these bars extra festive for the occasion.
• Flaky sea salt (optional) – for sprinkling on top; it enhances the flavors like magic!
For the Optional Drizzle
• White chocolate chips – ½ cup; for that irresistible drizzle that makes everything better!
• Neutral oil – 1 teaspoon; helps achieve a smooth consistency for drizzling.
Step‑by‑Step Instructions for Peanut Butter Cookie Bars
Step 1: Prepare the Baking Pan
Lightly grease a 9 x 13 inch baking pan with butter or nonstick spray. Next, line the bottom and long sides with parchment paper, allowing for an overhang for easy lifting later. Give the parchment a quick spray of grease as well, ensuring a smooth release.
Step 2: Preheat the Oven
Preheat your oven to 350°F (175°C) and adjust the rack to the center position. This allows for even heat circulation, perfect for baking your Peanut Butter Cookie Bars. The oven should be ready to create that deliciously warm environment for the bars to rise beautifully.
Step 3: Combine Wet Ingredients
In a large mixing bowl, whisk together the melted butter and creamy peanut butter until smooth and well combined. Add in both sugars and whisk until the mixture appears thick and glossy. Crack the eggs in one by one, whisking thoroughly after each addition, and finish by stirring in the vanilla extract.
Step 4: Mix Dry Ingredients
In a separate medium bowl, whisk together the all-purpose flour, baking powder, baking soda, and fine sea salt. This dry mixture is essential for the structure of your Peanut Butter Cookie Bars, ensuring they have that perfect soft yet chewy texture.
Step 5: Combine Wet and Dry Mixtures
Gently add the dry ingredient mixture into the wet bowl with your creamy peanut butter mixture. Fold the two together with a spatula until just combined, being careful not to over-mix. Stop as soon as no dry streaks remain for the best texture.
Step 6: Incorporate Chocolate Chips
Sprinkle the semi-sweet and white chocolate chips over the dough in the bowl. Gently fold them into the mixture until they are evenly distributed throughout, adding richness and melty goodness to your Peanut Butter Cookie Bars.
Step 7: Transfer Dough to Pan
Spoon the dough into your prepared pan and use a spatula to press it evenly into all corners. Make sure to level off the top for a beautiful finished appearance. The dough should be firm yet pliable, ready for the festive toppings.
Step 8: Add M&M's and Sprinkles
Gently press half to two-thirds of the Valentine-colored M&M’s into the surface of the dough, ensuring they are partially embedded for a delightful crunch. If you like, sprinkle Valentine sprinkles on top for an extra festive touch.
Step 9: Bake to Perfection
Slide the pan into your preheated oven and bake for 18 to 24 minutes. Start checking at 18 minutes; the edges should be lightly golden while the center retains a slight jiggle. This doneness will ensure a fudgy, gooey texture throughout.
Step 10: Press M&M's After Baking
As soon as the Peanut Butter Cookie Bars come out of the oven, press any reserved M&M’s into any bare spots that might need a little love. This adds vibrant color and extra sweetness to make your bars irresistibly appealing.
Step 11: Cool Completely
Allow the bars to cool completely on a wire rack for at least 1 to 1½ hours. If you prefer extra fudginess, chill the bars in the refrigerator for 30 to 45 minutes before slicing. This helps set the texture beautifully while intensifying the flavors.
Step 12: Optional Drizzle Preparation
For the optional white chocolate drizzle, combine ½ cup white chocolate chips and 1 teaspoon neutral oil in a microwave-safe bowl. Heat in 15–20 second bursts, stirring until smooth. Drizzle over the cooled bars and scatter extra Valentine sprinkles on top for a finishing touch.
Step 13: Slice and Serve
Use the overhanging parchment paper to lift the cooled bars from the pan onto a cutting board. Cut into squares or rectangles, letting the delicious aroma waft through your kitchen. These Peanut Butter Cookie Bars are now ready to be shared and enjoyed!
Step 14: Store the Bars
To keep your delicious bars fresh, store them in an airtight container at room temperature for up to 3–4 days. For longer storage, refrigerate for up to a week or freeze individual bars for up to 2 months. Enjoy every moment with these delightful treats!

How to Store and Freeze Peanut Butter Cookie Bars
Room Temperature: Store cooled bars in an airtight container at room temperature for up to 3–4 days for the best texture and flavor.
Fridge: For extended freshness, refrigerate your Peanut Butter Cookie Bars for up to a week. Make sure they are well-wrapped to avoid dryness.
Freezer: Freeze individual bars for up to 2 months. Wrap each bar tightly in plastic wrap and store in a freezer bag for optimal preservation.
Reheating: To enjoy a warm slice, reheat bars in the microwave for 10-15 seconds. Add a scoop of ice cream on top for an indulgent treat!
Peanut Butter Cookie Bars Variations
Feel free to play with these delightful twists, taking your peanut butter cookie bars to new heights of flavor and texture!
-
Gluten-Free: Substitute all-purpose flour with a 1:1 gluten-free baking blend for a totally tasty treat.
-
Nut-Free: Swap out peanut butter with sunbutter or almond butter for the same creamy goodness without the nuts.
-
Chocolate Lovers: Add an extra ½ cup of your favorite chocolate chunks for an even richer chocolate experience in every bite.
-
Spicy Kick: Incorporate a pinch of cayenne pepper or cinnamon for a warm, spicy twist that pairs beautifully with the sweetness.
-
Oaty Goodness: Mix in ½ cup of rolled oats for a heartier texture that adds a delightful chew to your bars.
-
Caramel Drizzle: For a luscious topping, drizzle warm caramel sauce over the cooled bars, adding a decadent flavor contrast.
-
Dairy-Free: Use coconut oil instead of butter and non-dairy chocolate chips for a creamy treat that everyone can enjoy.
-
Fruity Surprise: Stir in ½ cup of dried cranberries or cherries for a fruity burst that complements the rich peanut butter.
With these variations, feel empowered to create a batch that's uniquely yours! Whether serving them for a special occasion or just for a sweet snack, these peanut butter cookie bars will surely earn rave reviews. If you want to explore different flavors further, check out my ideas on flavor boosts and textural twists for even more inspiration!
What to Serve with Valentine Peanut Butter Cookie Bars
Indulging in sweet, chewy bars opens the door to endless pairing possibilities that can enhance your treat experience.
-
Vanilla Ice Cream: This classic pairing adds creamy coolness that perfectly contrasts the warm, sweet bars. It’s a dreamy duo everyone loves!
-
Fresh Berries: Bright, juicy strawberries or raspberries bring a refreshing element, balancing the richness of peanut butter and chocolate for an exciting flavor adventure.
-
Coffee or Espresso: Rich, brewed coffee complements the sweetness, deepening flavors in every bite. An ideal combination for a cozy afternoon treat!
-
Chocolate Milkshake: Sipping on a thick and creamy shake will amplify the dessert vibes, making for a truly decadent indulgence worthy of sharing.
-
Chopped Nuts: Sprinkling crunchy peanuts or pecans adds texture and a lovely nutty flavor, enhancing the overall experience of your cookie bars.
-
Milk or Dark Chocolate Ganache: A drizzle of ganache elevates the bars, adding luxury and a richness that’s indulgently delightful.
-
Festive Fruit Platter: A colorful array of seasonal fruits not only balances sweetness but also adds a refreshing zing, perfect for gatherings or special occasions.
-
Sweet Red Wine: A glass of lightly chilled sweet red offers a delightful contrast that enhances the chocolate and peanut butter combination, creating an elegant dessert moment.
-
Whipped Cream: Pillowy whipped cream adds a lightness that balances the density of the bars, making every bite feel like a celebration of treats!
Make Ahead Options
These Peanut Butter Cookie Bars are a fantastic choice for meal prep! You can prepare the dough up to 24 hours in advance by mixing the wet and dry ingredients, then refrigerating it in an airtight container to maintain freshness. You can also press it into the pan and cover it tightly with plastic wrap, ready for baking whenever you are. Just remember to let it warm slightly at room temperature for about 15 minutes before baking. When you’re ready to indulge, simply bake as directed, and you'll have warm, gooey bars that are just as delicious as if they were made fresh! Enjoy the time-saving magic of having these dreamy treats at your fingertips!
Tips for the Best Peanut Butter Cookie Bars
Choose the Right Peanut Butter: Use creamy, well-stirred peanut butter for a smooth texture—natural varieties can result in dry or crumbly bars.
Don't Overmix: When combining wet and dry ingredients, mix just until no dry spots remain. Overmixing can lead to tough cookie bars.
Mind the Baking Time: Check your bars at the 18-minute mark. They should be lightly golden on the edges and slightly jiggly in the center for that perfect chewy finish.
Chill for Fudginess: For extra fudgy bars, cool them completely, then chill in the fridge before slicing. This enhances the rich flavor!
Store Properly: Keep your Peanut Butter Cookie Bars in an airtight container at room temperature for 3–4 days, or freeze for longer enjoyment.

Peanut Butter Cookie Bars Recipe FAQs
What type of peanut butter is best to use?
Absolutely! For the best texture, use creamy peanut butter that's well-stirred. It provides a smooth consistency that integrates beautifully into the bars. Avoid natural peanut butters, as they can lead to a drier, crumbly outcome.
How should I store my peanut butter cookie bars?
To keep your delicious bars fresh, store them in an airtight container at room temperature for up to 3–4 days. If you want to extend their life, pop them in the fridge for up to a week. Just make sure they’re well-wrapped to prevent drying out!
Can I freeze peanut butter cookie bars, and how?
Yes, you can freeze individual bars for up to 2 months! Here’s how: Wrap each bar tightly in plastic wrap, ensuring no air escapes, then place them in a freezer bag. When you’re ready to enjoy one, just thaw it at room temperature or reheat it for 10-15 seconds in the microwave for a warm treat.
Why are my cookie bars too dry or crumbly?
If your bars turn out dry, it’s usually due to overmixing or using the wrong kind of peanut butter. Mix until ingredients are just combined, and stick to creamy, well-stirred peanut butter—this will ensure that perfect chewy texture. Also, keep an eye on the baking time to avoid overbaking!
Can my pets have these cookie bars?
No, it’s best to keep these treats away from pets, especially dogs. Ingredients like chocolate and sugar can be harmful to them. Always be mindful of what’s safe for our furry friends when baking!
Can I substitute ingredients in this recipe?
Very! You can swap semi-sweet chocolate chips for milk chocolate if you prefer a sweeter flavor. Additionally, feel free to use dairy-free chocolate chips for a vegan-friendly version. Just keep in mind that any changes may alter the final taste and texture slightly!
Irresistibly Chewy Peanut Butter Cookie Bars to Share
Ingredients
Equipment
Method
- Lightly grease a 9 x 13 inch baking pan with butter or nonstick spray. Line the bottom and long sides with parchment paper, allowing for an overhang for easy lifting. Spray the parchment with some grease.
- Preheat your oven to 350°F (175°C) and adjust the rack to the center position.
- In a large mixing bowl, whisk together the melted butter and creamy peanut butter until smooth. Add both sugars and whisk until thick and glossy. Crack in the eggs, whisking thoroughly after each addition, and stir in the vanilla extract.
- In a separate medium bowl, whisk together the all-purpose flour, baking powder, baking soda, and fine sea salt.
- Gently add the dry mixture into the wet mixture and fold until just combined, careful not to over-mix.
- Sprinkle the semi-sweet and white chocolate chips over the dough and fold them in until evenly distributed.
- Spoon the dough into the prepared pan and press it evenly into all corners, leveling off the top.
- Press half to two-thirds of the Valentine-colored M&M’s into the surface and sprinkle with Valentine sprinkles if desired.
- Bake for 18 to 24 minutes, checking at 18 minutes for lightly golden edges and a slight jiggle in the center.
- Press any reserved M&M’s into bare spots immediately after removing from the oven.
- Allow the bars to cool completely on a wire rack for at least 1 to 1½ hours. Chill for extra fudginess if desired.
- For an optional drizzle, combine white chocolate chips and neutral oil in a microwave-safe bowl. Heat in 15–20 second bursts until smooth and drizzle over cooled bars.
- Lift the cooled bars from the pan using parchment and cut into squares or rectangles.
- Store bars in an airtight container at room temperature for up to 3–4 days.


Leave a Reply