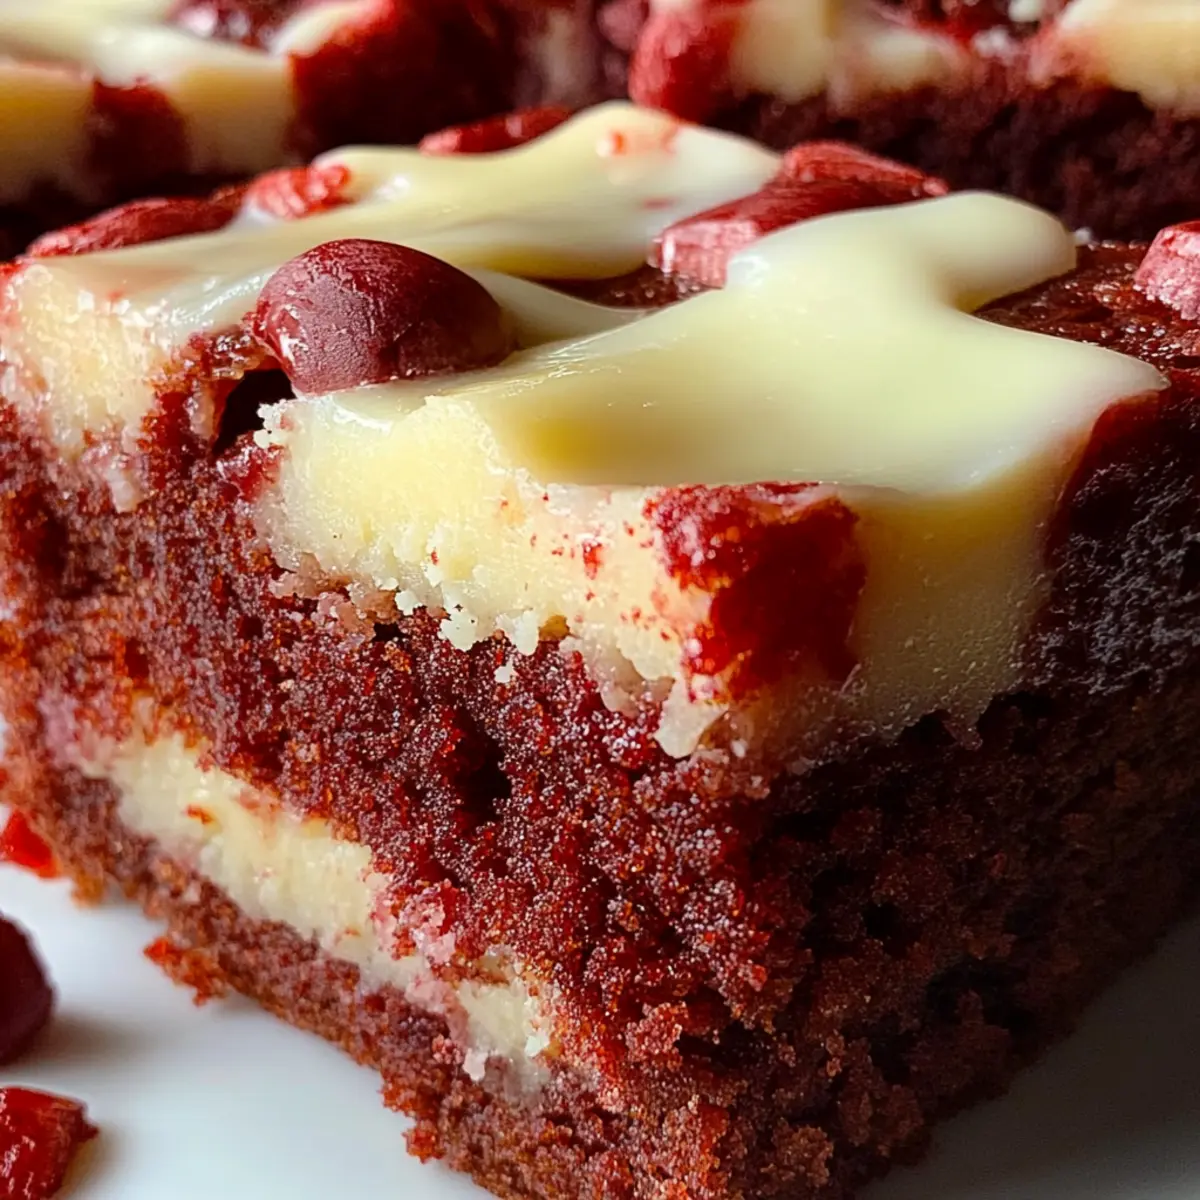
There's something magical about the vibrant red hue of these Red Velvet Cookie Bars that makes my heart skip a beat. As I stirred the rich batter, I couldn't help but think how this recipe not only transforms a classic flavor into an easy baking delight but also brings people together for special moments. The combination of velvety cake and chewy cookie textures, topped with a luscious cream cheese frosting, creates a true holiday treat that feels both festive and indulgent. Plus, with simple ingredients like white chocolate chips ready to melt in your mouth, you'll find it's perfect for those cozy nights at home or festive gatherings. Curious about how to whip up this delightful dessert that’s bound to impress your friends and family? Let’s dive into the delicious world of Red Velvet Cookie Bars!
Why Are Red Velvet Cookie Bars So Irresistible?
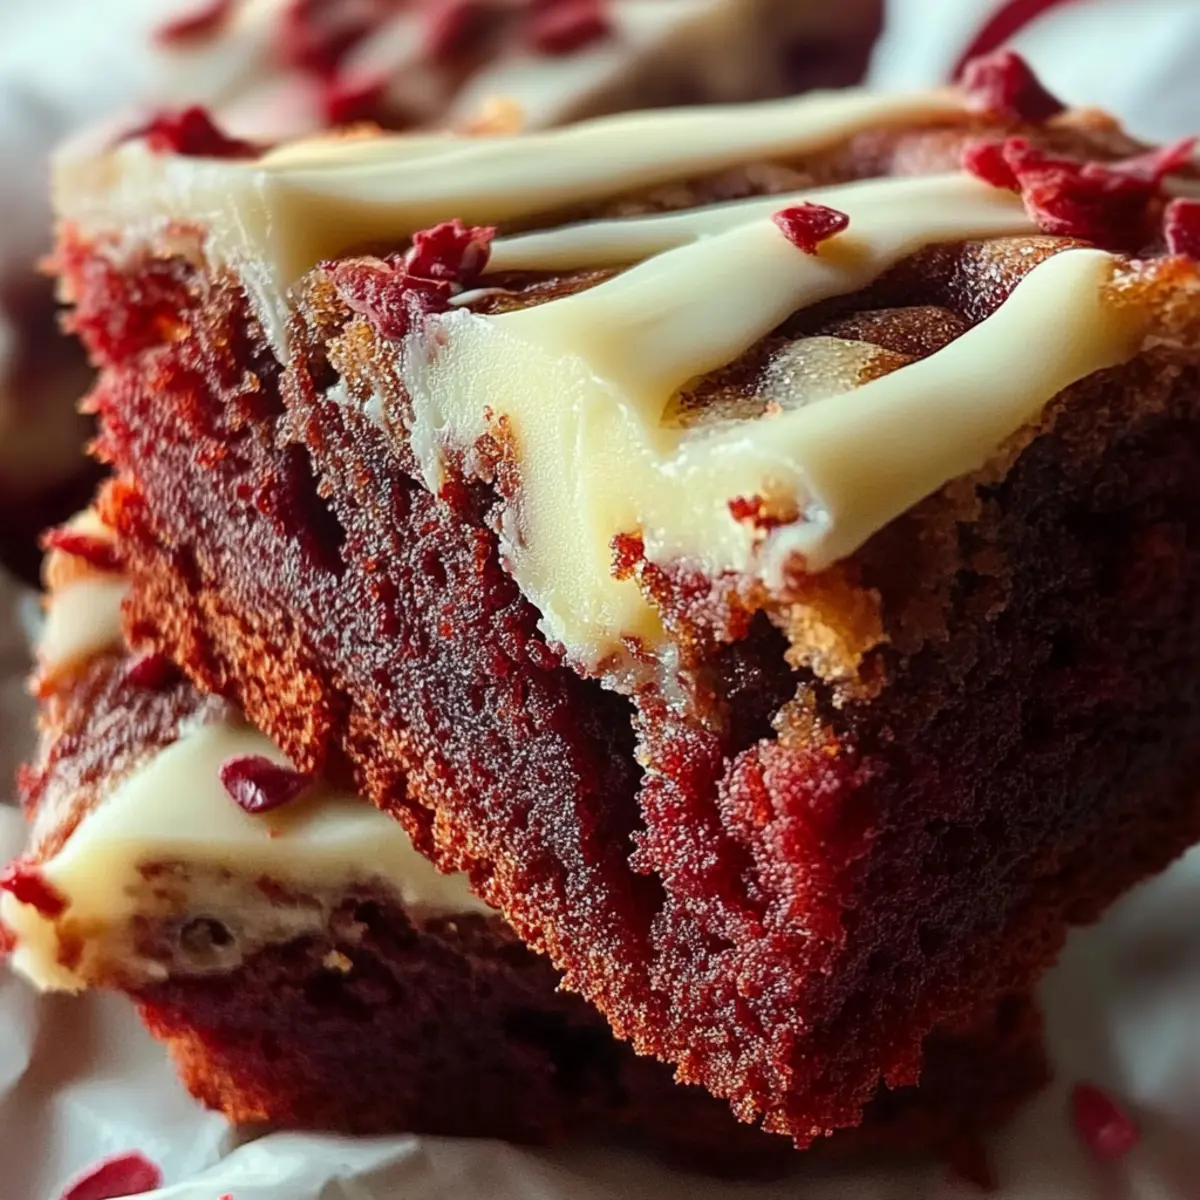
Colorful Delight: The vibrant red hue of these bars not only looks stunning but also adds a festive touch to any occasion.
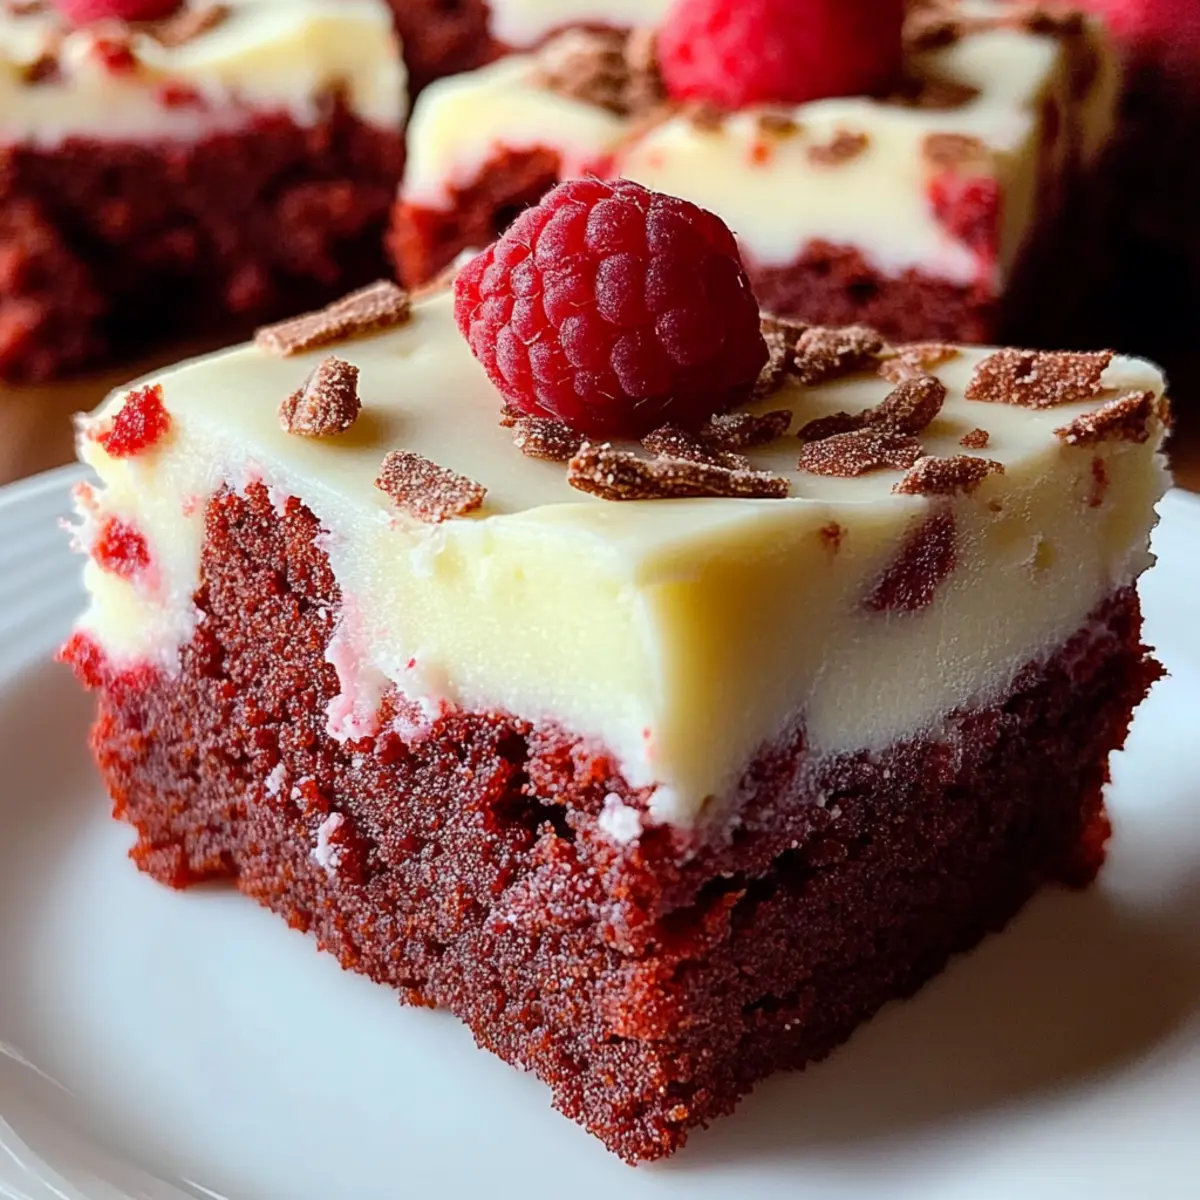
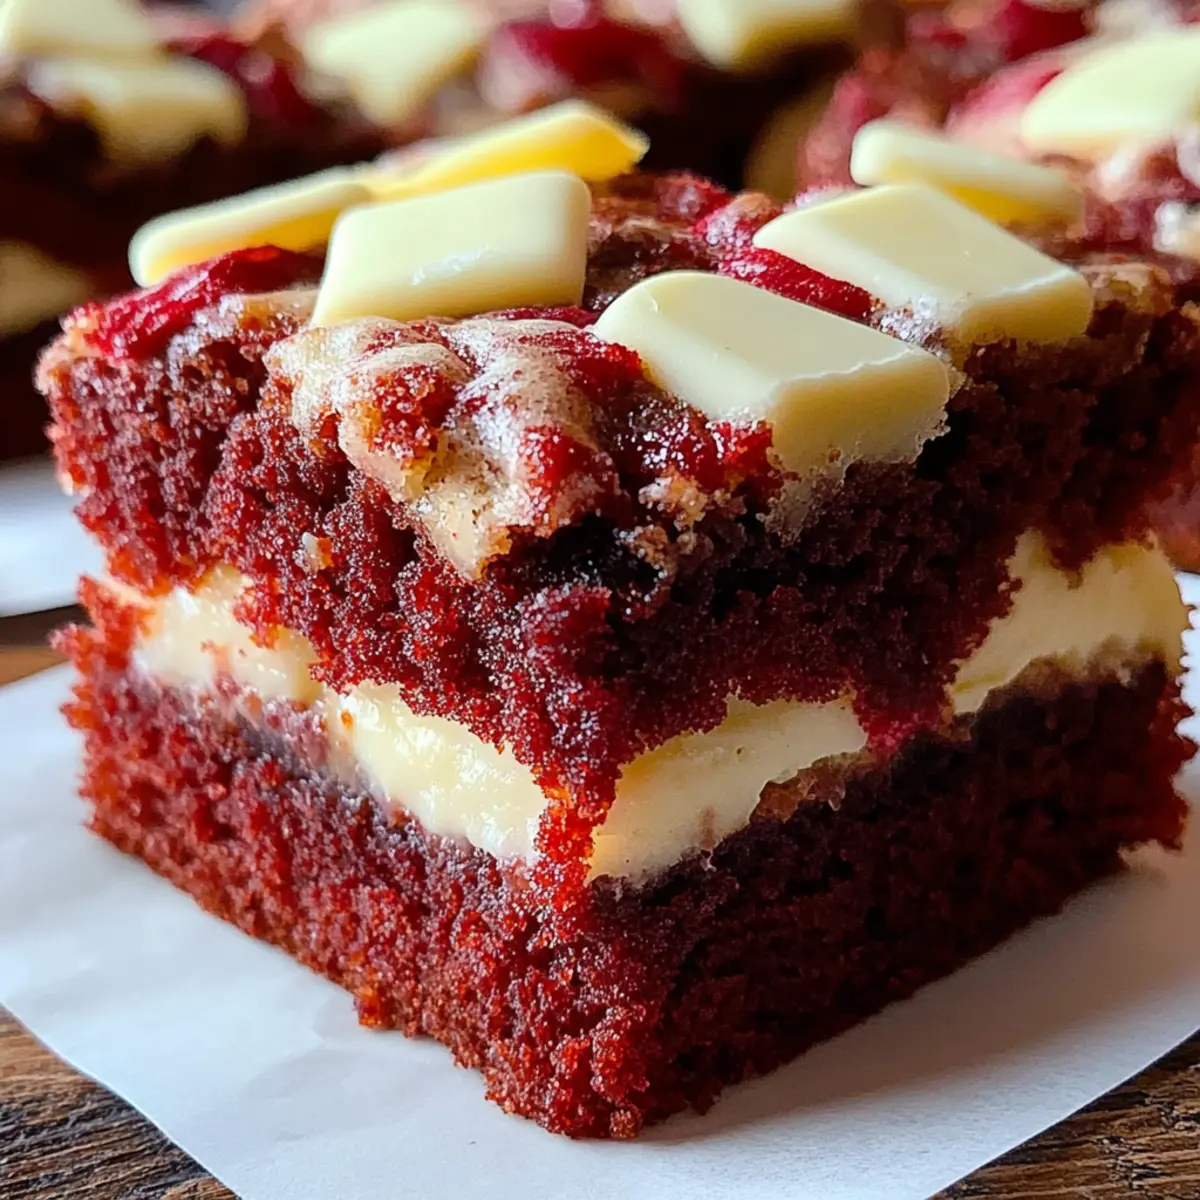
Rich, Creamy Topping: With a luscious cream cheese frosting on top, each bite is a harmonious balance of sweetness and tanginess.
Easy to Make: Even beginner bakers can whip these up with minimal fuss—perfect for a cozy night in or holiday gatherings!
Versatile Treat: Whether you serve them at a birthday party, holiday feast, or just as an afternoon snack, they are a crowd-pleaser that everyone will love.
Texture Magic: The chewy cookie base combined with the creamy frosting creates a delightful experience that keeps you coming back for more!
Curious about other delightful desserts? Check out my simple baking tips to elevate your homemade treats!
Red Velvet Cookie Bars Ingredients
For the Bars
• 2 ½ cups all-purpose flour – the base for those soft and chewy cookie bars.
• 2 tablespoons cocoa powder – a hint of chocolate to complement the red velvet flavor.
• 1 teaspoon baking soda – ensures your bars rise and stay fluffy.
• ½ teaspoon salt – balances the sweetness of the sugars in the bar.
• 1 cup unsalted butter, softened – adds richness and moisture to the bars.
• 1 ½ cups granulated sugar – for that perfectly sweet taste.
• ½ cup brown sugar, packed – keeps the bars nice and chewy with its molasses flavor.
• 2 large eggs – binds the ingredients together for a great texture.
• 2 teaspoons vanilla extract – enhances the overall flavor profile.
• 1 tablespoon red food coloring – gives those iconic red velvet cookie bars their vibrant color.
• 1 cup white chocolate chips – adds delightful pops of sweetness in every bite.
For the Topping
• 1 cup cream cheese frosting – either store-bought or homemade; it’s the perfect finishing touch for your cookie bars.
With these ingredients, you're set to create your own unforgettable Red Velvet Cookie Bars that will leave everyone wanting more!
Step‑by‑Step Instructions for Red Velvet Cookie Bars
Step 1: Preheat and Prepare
Start by preheating your oven to 350°F (175°C). While the oven heats, take a 9x13 inch baking pan and grease it with butter, or line it with parchment paper for easy removal later. This ensures your Red Velvet Cookie Bars will bake evenly and come out smoothly.
Step 2: Whisk Dry Ingredients
In a medium bowl, whisk together 2 ½ cups of all-purpose flour, 2 tablespoons of cocoa powder, 1 teaspoon of baking soda, and ½ teaspoon of salt. This dry mixture will add structure and flavor to your cookie bars, so set it aside once well combined, ensuring no lumps remain.
Step 3: Cream the Butters and Sugars
In a large mixing bowl, use an electric mixer to cream together 1 cup of softened unsalted butter, 1 ½ cups of granulated sugar, and ½ cup of packed brown sugar. Beat this mixture on medium speed for about 3-4 minutes until it’s light and fluffy. This step creates the base for the decadent texture of your Red Velvet Cookie Bars.
Step 4: Add Eggs and Flavorings
Next, crack in 2 large eggs, adding one at a time while mixing well after each addition. Then, stir in 2 teaspoons of vanilla extract and 1 tablespoon of red food coloring until fully combined. You'll notice the mixture becoming a vibrant red; this is a key characteristic of your sensational Red Velvet cookie bars.
Step 5: Combine Wet and Dry Ingredients
Gradually add the dry ingredient mixture from Step 2 into the wet mixture, mixing only until just combined. It’s important to avoid overmixing to ensure your cookie bars remain tender. You'll want the dough smooth and a bit thick as you incorporate the delightful red hue throughout.
Step 6: Fold in White Chocolate Chips
Using a spatula, gently fold in 1 cup of white chocolate chips, making sure they’re evenly distributed throughout the dough. This step adds a perfect touch of sweetness to your Red Velvet Cookie Bars, enhancing their overall flavor and texture.
Step 7: Spread the Dough in the Pan
Pour the red velvet cookie dough into the prepared baking pan, spreading it out evenly with a spatula. Ensure the dough is level for even baking. As you look at the vibrant batter, get excited for the deliciousness to come!
Step 8: Bake to Perfection
Place the pan in your preheated oven and bake for 25-30 minutes. To check for doneness, insert a toothpick into the center; it should come out clean or with a few moist crumbs. This ensures your Red Velvet Cookie Bars are perfectly baked and ready for the next step.
Step 9: Cooling Time
Once baked, carefully remove the pan from the oven and set it on a wire rack to cool for about 10-15 minutes. This slight cooling allows the bars to firm up a bit before you transfer them. After that, gently lift the cookie bars out of the pan to cool completely on the rack.
Step 10: Frost Your Bars
Once the bars are completely cool, it’s time to spread 1 cup of cream cheese frosting evenly over the top. Whether you choose to use store-bought or homemade frosting, this creamy layer adds the perfect finishing touch to your Red Velvet Cookie Bars.
Step 11: Cut and Serve
With the frosting in place, cut the bars into squares of your desired size. Serve them as a delightful treat for family and friends, or store them in an airtight container at room temperature to keep them fresh and scrumptious for later enjoyment!
Make Ahead Options
These Red Velvet Cookie Bars are perfect for meal prep enthusiasts looking to save time in the kitchen! You can prepare the cookie dough up to 24 hours in advance by mixing all the ingredients together and storing the dough in an airtight container in the refrigerator. This way, the flavors meld beautifully, enhancing the overall taste. When you're ready to bake, simply take the dough out, spread it in the pan, and bake as directed. Additionally, you can frost the bars a few hours before serving; just make sure to refrigerate any leftovers. With these make-ahead options, you'll have delicious, festive treats ready with minimal effort on busy days!
How to Store and Freeze Red Velvet Cookie Bars
Room Temperature: Keep your cookie bars in an airtight container at room temperature for up to 5 days to maintain their delicious softness.
Fridge: If you prefer your Red Velvet Cookie Bars chilled, store them in the refrigerator for up to a week. Just allow them to come to room temperature before serving!
Freezer: For longer storage, freeze your cookie bars. Wrap them tightly in plastic wrap and then place them in a freezer-safe bag. They’ll last up to 3 months.
Reheating: To enjoy the bars warm, simply reheat individual squares in the microwave for about 10-15 seconds until just warmed through.
Red Velvet Cookie Bars Variations
Feel free to stir up your creativity and customize these delightful Red Velvet Cookie Bars in a way that captures your taste buds!
-
Nutty Twist: Add 1 cup of chopped walnuts or pecans for a delightful crunch. The nuts bring a warm, toasty flavor that pairs beautifully with the sweetness.
-
Spice It Up: Mix in 1 teaspoon of cinnamon or nutmeg for a cozy, spicy element. This simple addition transforms the flavor profile into something unexpected and delicious!
-
Dairy-Free: Substitute 1 cup of coconut oil for the unsalted butter and use dairy-free chocolate chips. You won't sacrifice flavor, plus they become a wonderful option for those avoiding dairy!
-
Gluten-Free: Swap the all-purpose flour with a gluten-free flour blend. This adjustment allows everyone to enjoy these tasty cookie bars without the gluten.
-
Extra Creamy: Use mascarpone cheese mixed with a bit of powdered sugar instead of cream cheese for a richer frosting. The result is a luxurious, velvety topping that elevates each bite.
-
Layered Indulgence: Press half of the dough into the bottom of the pan, spread a layer of frosting in the middle, and add the remaining dough on top. It's a charming surprise that adds even more creaminess to every slice.
-
Fruit-Infused: Fold in 1 cup of fresh raspberries or crushed strawberries for a fruity twist that adds a refreshing touch to the bars. The bursts of fruit flavor will awaken your senses in the best way!
-
Spicy Kick: For those who like a bit of a bite, mix in a pinch of cayenne pepper or chili powder. This surprising element harmonizes with the sweetness for an unforgettable flavor explosion.
With these variations, you can keep the festive spirit alive while sending your tastebuds on an exciting journey. Don’t forget to try these delightful baking tips to enhance your next batch even further!
Expert Tips for Red Velvet Cookie Bars
-
Proper Mixing: Avoid overmixing the dough after adding dry ingredients to keep your cookie bars tender and chewy.
-
Cool Before Frosting: Let your Red Velvet Cookie Bars cool completely before adding the cream cheese frosting to prevent it from melting off.
-
Perfect Baking Time: Check for doneness at 25 minutes; every oven is different, and you want a toothpick to come out clean but not overbaked.
-
Storing Wisely: Store leftovers in an airtight container at room temperature for up to 5 days, keeping them soft and delicious.
-
Customization Options: Feel free to replace white chocolate chips with dark chocolate or nuts for your favorite flavor twist!
What to Serve with Red Velvet Cookie Bars
There's nothing quite like pairing something sweet with delightful accompaniments to elevate your dessert experience.
-
Velvety Vanilla Ice Cream: A scoop of vanilla ice cream brings a creamy contrast, balancing the sweet tang of the cream cheese frosting perfectly.
-
Fresh Berries Medley: Juicy strawberries and tart raspberries add a refreshing burst that cuts through the richness of the cookie bars, making each bite bright and vibrant.
-
Chocolate Drizzle: A simple drizzle of melted chocolate or a sprinkle of cocoa powder enhances the chocolate undertones and adds a touch of elegance to your presentation.
-
Coffee or Espresso: A warm cup of coffee or a shot of espresso pairs beautifully, as the bitterness complements the sweetness of the bars, making for a delightful afternoon treat.
-
Nutty Caramel Sauce: Drizzling some homemade or store-bought caramel sauce introduces a delightful nuttiness that plays well with the flavors of the cookie bars.
-
Chilled Milk or Nut Milk: A classic choice, a glass of cold milk—whether dairy or almond—makes every bite satisfyingly complete, perfect for both kids and adults alike.
-
Creamy Cheesecake Dip: A cheesecake dip offers a complementary creaminess and tang while perfect for dipping fresh fruits or even the cookie bars themselves.
With these delightful pairings, your Red Velvet Cookie Bars will shine even brighter!
Red Velvet Cookie Bars Recipe FAQs
What type of red food coloring should I use?
Absolutely! I recommend using a gel food coloring for the best results, as it provides a vibrant color without adding too much liquid to the batter. Liquid food coloring works too, but you may need to use more of it to achieve that stunning red hue.
How should I store the Red Velvet Cookie Bars?
You can store your cookie bars in an airtight container at room temperature for up to 5 days. To keep them fresh, make sure the container is sealed well to prevent any drying out. If you prefer them chilled, you can refrigerate them for up to a week; just let them sit out for a few minutes before serving.
Can I freeze Red Velvet Cookie Bars?
Yes, you can definitely freeze these cookie bars! To do this, wrap each cooled slice tightly in plastic wrap and place them inside a freezer-safe bag. They’ll stay delicious for up to 3 months. When you're ready to enjoy them, simply let them thaw at room temperature or reheat them in the microwave for a quick treat!
What should I do if my cookie bars are too dry?
If your Red Velvet Cookie Bars turn out dry, it may be due to overbaking or using too much flour. To prevent this, always measure your flour correctly by spooning it into the measuring cup and leveling it off. If you find your bars are dry after baking, you can serve them with extra cream cheese frosting to add moisture back in!
Are there any allergy considerations with Red Velvet Cookie Bars?
Of course! If you’re baking for someone with dietary restrictions, be mindful of potential allergens such as gluten in the all-purpose flour and dairy in the butter and cream cheese frosting. For a gluten-free alternative, you can use a gluten-free all-purpose flour blend, and coconut or vegan cream cheese can replace traditional cream cheese for a dairy-free option.
Can I substitute white chocolate chips?
Very much yes! If white chocolate isn't your thing, feel free to swap it out with dark chocolate chips, semi-sweet chocolate, or even nuts for an extra crunch. The more the merrier when it comes to personalizing your Red Velvet Cookie Bars!
Decadent Red Velvet Cookie Bars with Creamy Frosting
Ingredients
Equipment
Method
- Preheat your oven to 350°F (175°C) and grease a 9x13 inch baking pan.
- In a medium bowl, whisk together flour, cocoa powder, baking soda, and salt.
- In a large mixing bowl, cream together softened butter, granulated sugar, and brown sugar until light and fluffy.
- Add eggs one at a time, mixing well after each addition, then stir in vanilla extract and red food coloring.
- Gradually add the dry ingredient mixture into the wet mixture, mixing until just combined.
- Fold in white chocolate chips.
- Pour the dough into the prepared baking pan and spread evenly.
- Bake for 25-30 minutes, checking for doneness with a toothpick.
- Remove from oven and cool on a wire rack for 10-15 minutes.
- Spread cream cheese frosting over the cooled bars.
- Cut into squares and serve.


Leave a Reply